
Quick Summary: Repairing caulking is a straightforward DIY project you can master! This guide provides a genius, step-by-step fix for cracked, peeling, or moldy caulk, ensuring a watertight seal and a fresh look in under an hour. You’ll learn which tools are essential and how to achieve professional results with confidence.
Have you ever noticed that cracked, peeling, or even moldy caulk around your sink, bathtub, or windows? It’s a common sight in many homes, and it’s not just an eyesore. Old, damaged caulk can lead to water leaks, which can cause bigger problems like rot or mold growth. It can be frustrating to see these little imperfections detract from your home’s appearance. But don’t worry! Fixing it is a skill anyone can learn. With the right tools and a little patience, you can tackle this common household chore and get that smooth, clean finish back. This guide will walk you through every step of the process.
Why Repairing Caulk Matters
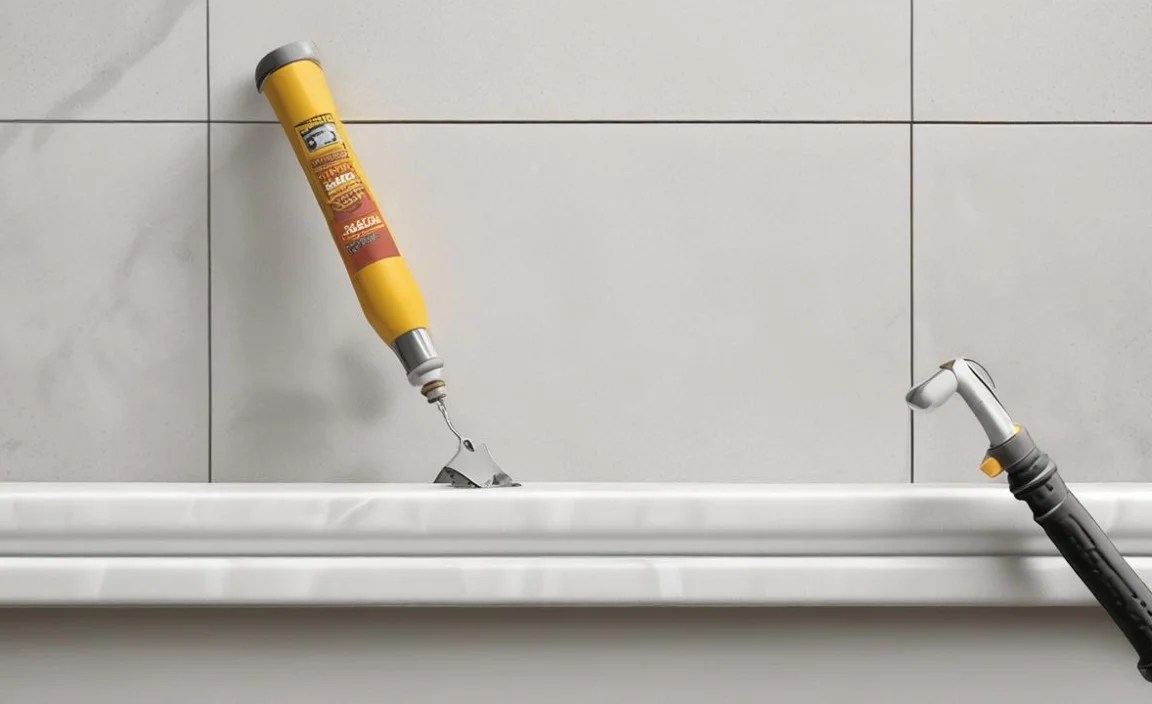
Caulking, also known as sealant, is like the unsung hero of your home’s watertight integrity. It’s the flexible material applied in the gaps and seams between different surfaces – think where your countertop meets the backsplash, around your bathtub and shower, or where a window frame meets the wall. Its primary job is to create a barrier against moisture.
When caulk starts to fail, it can’t do its job effectively. This means water can seep into places it shouldn’t, leading to a host of other issues. For example, water getting behind your tub or shower surround can damage the drywall or subfloor. Leaks around windows can compromise the structural integrity of your home and lead to energy loss as heated or cooled air escapes. Mold and mildew also love to grow in damp, dark spaces created by failing caulk.
Regularly inspecting and repairing your caulking isn’t just about making your home look tidy; it’s a crucial part of preventative maintenance that can save you a lot of money and headaches down the line. A fresh bead of caulk helps protect your home from the elements and keeps it looking its best.
What You’ll Need: Your Caulking Repair Toolkit

Before you dive into the repair, it’s good to have all your supplies ready. This makes the job go smoothly and prevents interruptions. Don’t let the list intimidate you; most of these are common household items or easy to pick up at your local hardware store.
Here’s a breakdown of the essential tools and materials for a successful caulk repair:
Essential Tools
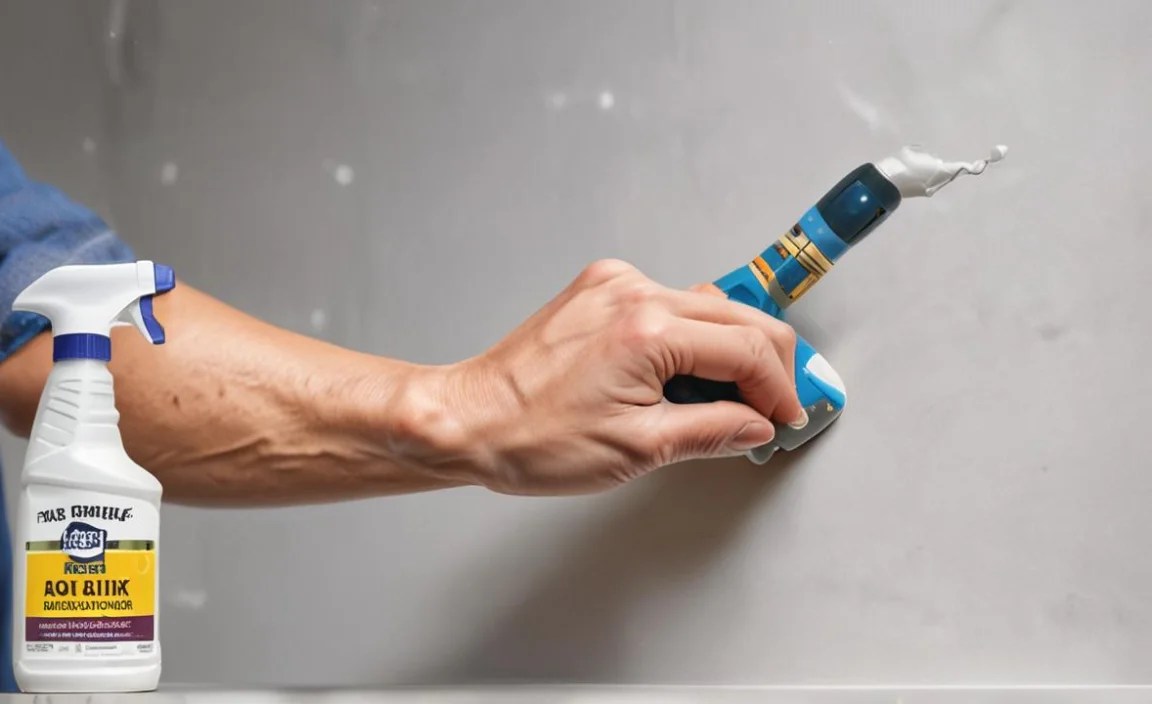
Utility Knife or Caulk Removal Tool: This is crucial for cutting away old caulk. A dedicated caulk removal tool often has different blades for scraping and has a pointed end for prying.
Putty Knife or Scraper: Useful for getting rid of any stubborn residue left behind.
Gloves: Protect your hands from cleaning solutions and sealant.
Safety Glasses: Always a good idea when scraping or cutting to protect your eyes.
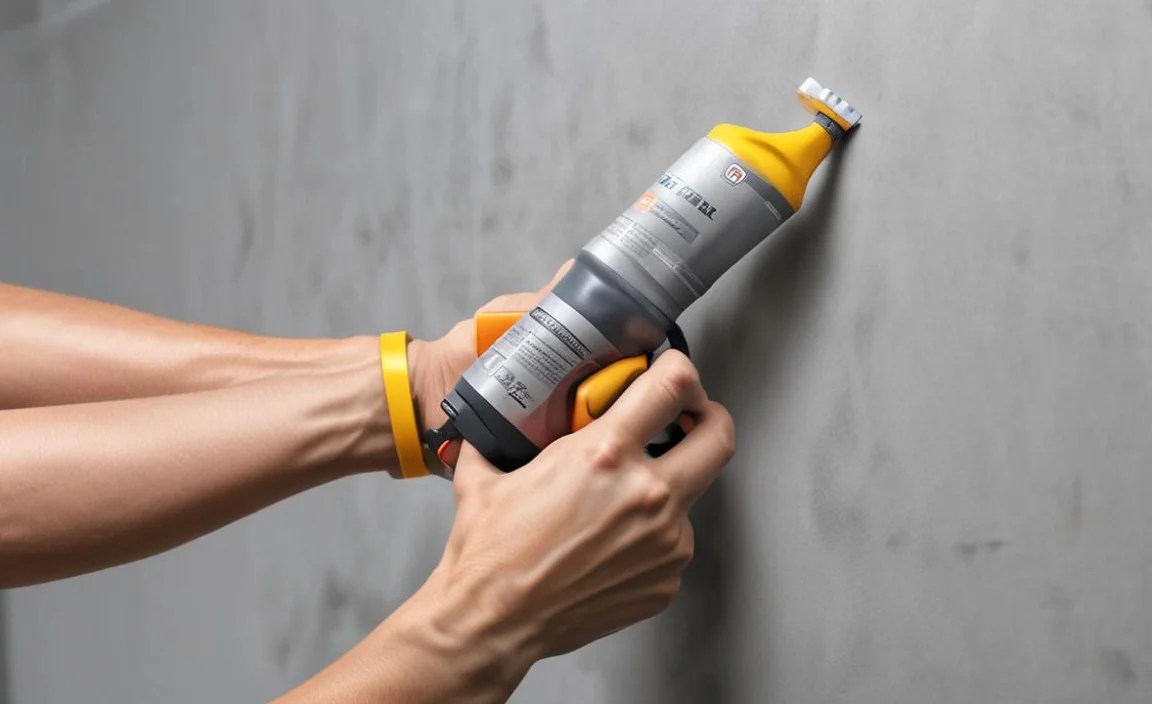
Caulking Gun: This tool holds the caulk tube and allows for a controlled, even application. Manual guns are common for DIYers. If you plan on using silicone caulk, some come in squeeze tubes, but a gun is usually preferred for larger jobs and better control.
Rubbing Alcohol or Mineral Spirits: For cleaning surfaces before applying new caulk.
Clean Rags or Paper Towels: For wiping and cleaning up excess.
Masking Tape (Painter’s Tape): This is a beginner’s best friend for creating crisp, clean caulk lines.
Caulk Types and Why They Matter
Choosing the right caulk is as important as the application. Different types are formulated for different purposes and environments.
| Caulk Type | Best For | Pros | Cons |
| :————————- | :—————————————————————————————— | :——————————————————————- | :———————————————————————– |
| 100% Silicone Caulk | Bathrooms, kitchens, areas with high moisture and temperature fluctuations. | Excellent water resistance, flexible, durable against mildew. | Can be tricky to paint over, requires mineral spirits for cleanup. |
| Acrylic Latex Caulk | Indoor seams, trim, windows, doors. | Easy to apply, easy cleanup with water, paintable. | Less flexible than silicone, not ideal for constantly wet areas. |
| Siliconized Acrylic Latex | A good hybrid for many indoor and some outdoor applications. | Easier cleanup than silicone, paintable, better flexibility than latex. | Not as waterproof as 100% silicone, can still crack eventually. |
| Polyurethane Caulk | Exterior applications, joints that move a lot (like around decks and concrete). | Very durable, excellent adhesion, flexible, paintable. | Can have a strong odor, requires mineral spirits for cleanup, more expensive. |
For most DIY bathroom and kitchen repairs, a siliconized acrylic latex or a 100% silicone caulk (especially one labeled “kitchen and bath” with mildew resistance) is your best bet. Always check the tube for the recommended application.
Step-by-Step: Your Genius Caulking Repair Guide
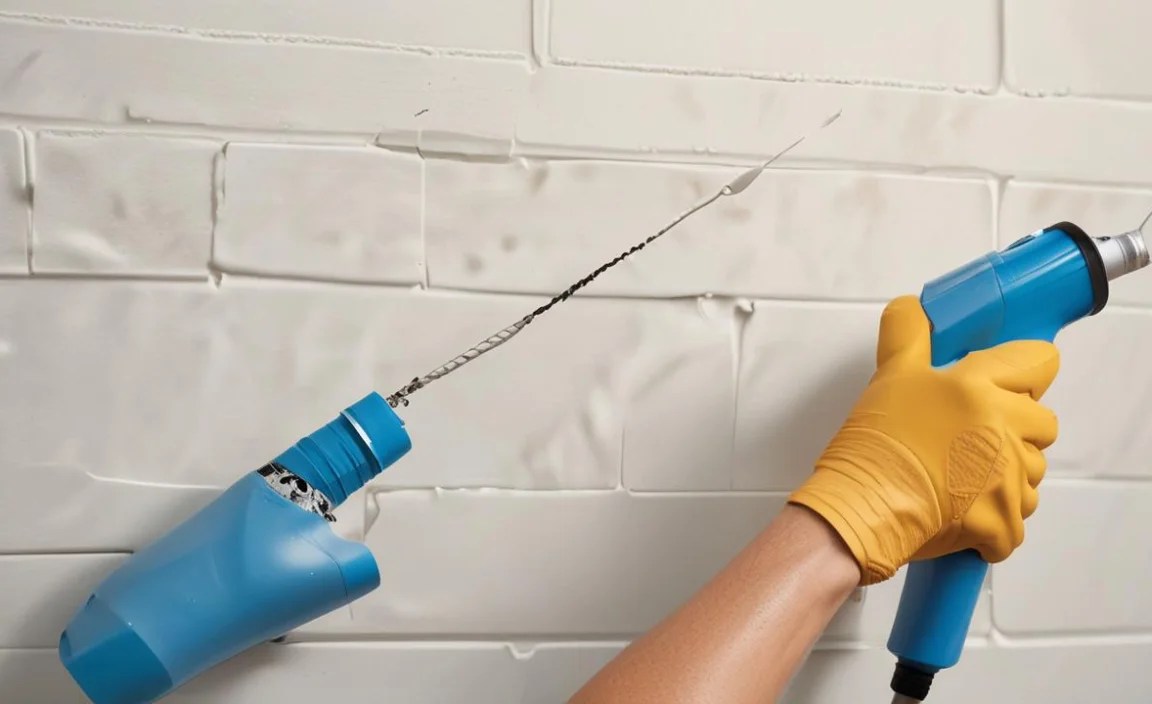
Now, let’s get to the rewarding part – making that caulk line look brand new! Following these steps will ensure a professional-looking finish.
Step 1: Remove the Old, Failing Caulk
This is often the most time-consuming part, but it’s critical for a good finish. If you apply new caulk over old, cracked caulk, it won’t adhere properly, and the problem will return.
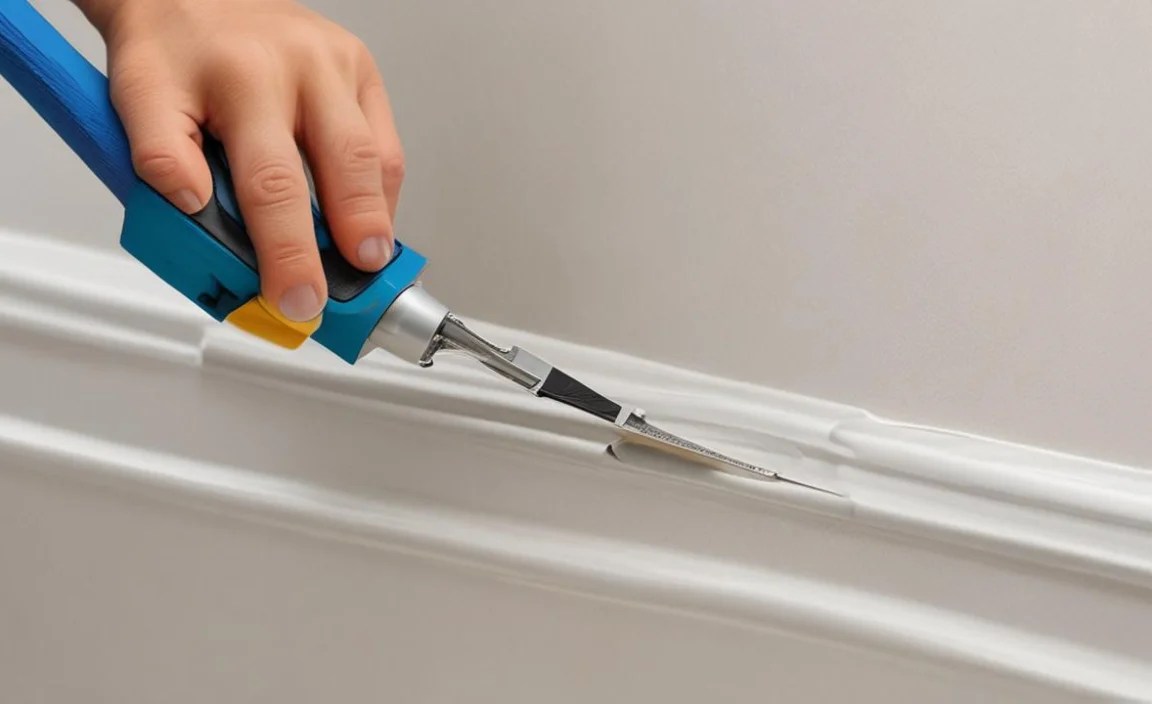
Score the edges: Use a sharp utility knife or the pointed end of your caulk removal tool to carefully cut along both edges of the old caulk bead. This loosens it from the surfaces. Be careful not to cut too deep into your surrounding material (like tile or drywall).
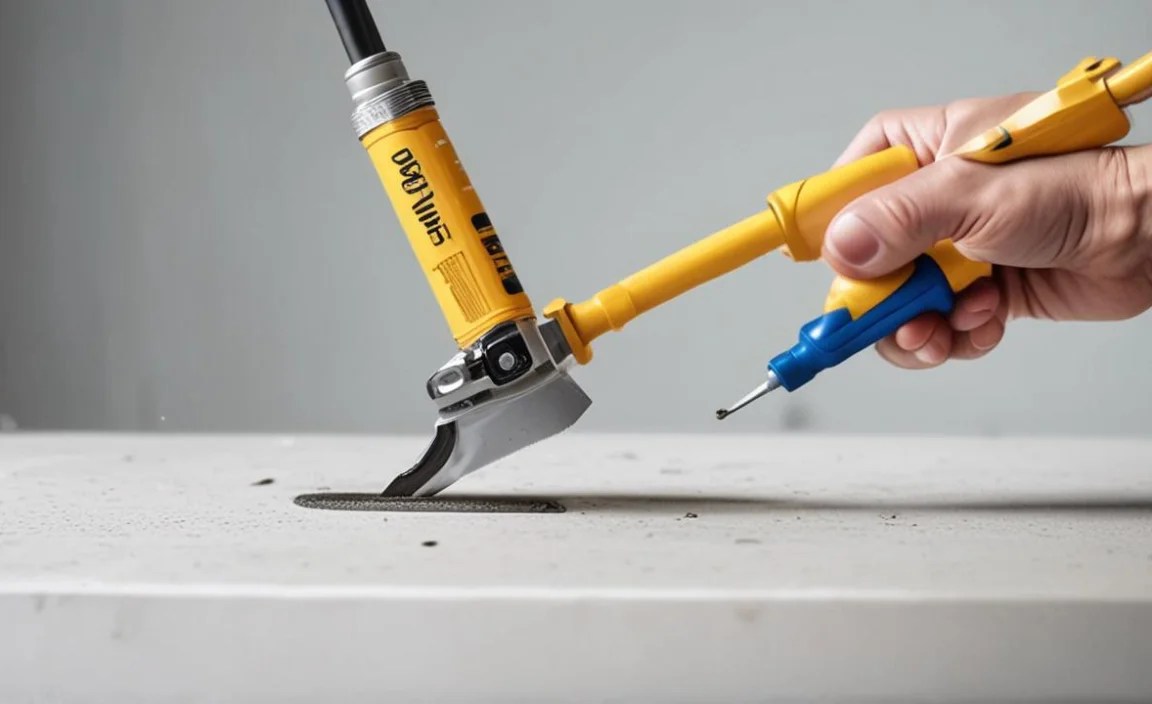
Pry and scrape: Gently insert the putty knife or the flat edge of your caulk removal tool underneath the loosened caulk. Work your way along the seam, prying out the old caulk. For any bits that are stuck, use the scraper or the flat side of the putty knife.
Stubborn bits: If some caulk just won’t budge, you might need to make a few more scores or gently heat it with a hairdryer to soften it.
Clean up debris: Once you’ve removed as much as possible, use your vacuum or a brush to clean up all the rubbery bits and dust.
Step 2: Clean the Surface Thoroughly
A clean surface is essential for new caulk to stick properly.
Wash away residue: You want to remove any remaining caulk residue, soap scum, grease, or mildew. Use a sponge with warm water and a mild detergent. For tougher residue or mildew, a solution of rubbing alcohol or a 1:1 mixture of white vinegar and water can be very effective.
Rinse and dry: Rinse the area completely with clean water and a damp cloth to remove any cleaning solution. Then, dry the area thoroughly with a clean towel. Caulk will not adhere well to a wet surface. Allow it to air dry for at least an hour, or even better, overnight if possible, especially in humid bathrooms. Ensuring it’s bone dry is key to a lasting repair.
Step 3: Apply Masking Tape for Clean Lines (Optional but Recommended)

For beginners, tape is a game-changer. It provides a guide for your caulk bead and creates those sharp, professional-looking edges that are hard to achieve freehand.
Position the tape: Place a strip of painter’s tape along the edge of each surface where the caulk will be applied. Leave a gap between the two tape lines that is slightly larger than the gap you want to fill with caulk. For instance, if you want a ¼-inch bead of caulk, the gap between the tape lines should be about ¼-inch.
Press firmly: Make sure the tape is pressed down firmly all along its edges. This prevents caulk from seeping underneath.
Step 4: Prepare and Load the Caulk Tube
Now it’s time to load up your caulk gun.
Cut the tip: Using your utility knife, cut off the very tip of the caulk tube nozzle. Cut it at a 45-degree angle. Start with a small opening – you can always cut more if needed. A smaller opening gives you more control.
Puncture the inner seal: Most caulk tubes have a sealed inner diaphragm. You’ll need to puncture this. Most caulk guns have a long metal rod for this purpose. Insert the rod into the nozzle and push firmly.
Load the gun: Pull back the plunger on the caulk gun. Insert the caulk tube, nozzle-first, into the gun’s barrel. Then, push the plunger mechanism so it presses against the back of the caulk tube.
Release pressure: Most caulk guns have a trigger lock or release lever. When you’re not actively dispensing caulk, press this lever to release pressure on the tube. This stops caulk from oozing out when you’re not squeezing the trigger.
Step 5: Apply the New Caulk
This is where the magic happens! Steady hands and a consistent pace are key.
Test first: Before applying to your main project area, test the caulk on a scrap piece of cardboard or an inconspicuous area to get a feel for how it dispenses and to ensure it’s flowing smoothly.
Start applying: Place the tip of the caulk tube at the beginning of the seam, holding the gun at a 45-degree angle, the same angle as the cut tip. Squeeze the trigger gently and steadily, moving the gun along the seam at a consistent speed. Aim to fill the gap completely with a single, continuous bead.
Maintain pressure: Try to apply even pressure to the trigger and move at a pace that allows the caulk to fill the gap without overfilling or leaving gaps. You’re aiming for a smooth, slightly rounded bead that adheres to both surfaces.
Overlap slightly: If you have to stop and restart, slightly overlap the new bead onto the old one to ensure a continuous seal.
Step 6: Tool and Smooth the Caulk Bead
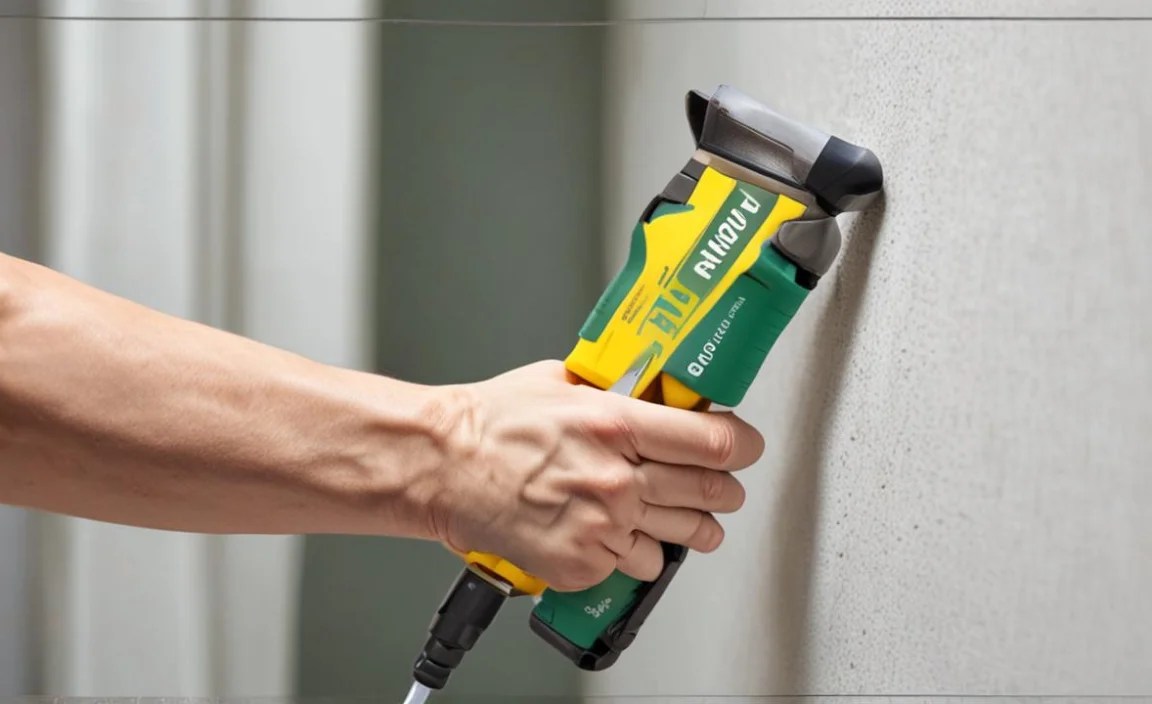
This step turns a messy bead into a neat, professional finish.
Remove the tape (if used): If you used masking tape, carefully peel it off immediately after applying the caulk. Pull it off at a 45-degree angle away from the freshly applied caulk. Doing this while the caulk is wet ensures you don’t pull the caulk up with the tape.
Smooth the bead: There are a few ways to do this:
Caulking tool: Many caulk removal tools have a smoothing end. Run this along the bead, applying light pressure to shape it and push it into the gap.
Damp finger: Dip your finger in water (if using latex-based caulk) or rubbing alcohol (if using silicone caulk). Gently run your wet finger over the caulk bead to smooth it down and press it into the seam. Wipe excess caulk off your finger frequently using a damp rag or paper towel.
Spoon or popsicle stick: A plastic spoon or a craft stick can also work well. Lightly dampen it with water or alcohol and run it along the bead.
Wipe away excess: Use a damp rag or paper towel to wipe away any excess caulk that squeezed out onto the surrounding surfaces. Clean up any smudges immediately.
Step 7: Curing Time and Final Touches
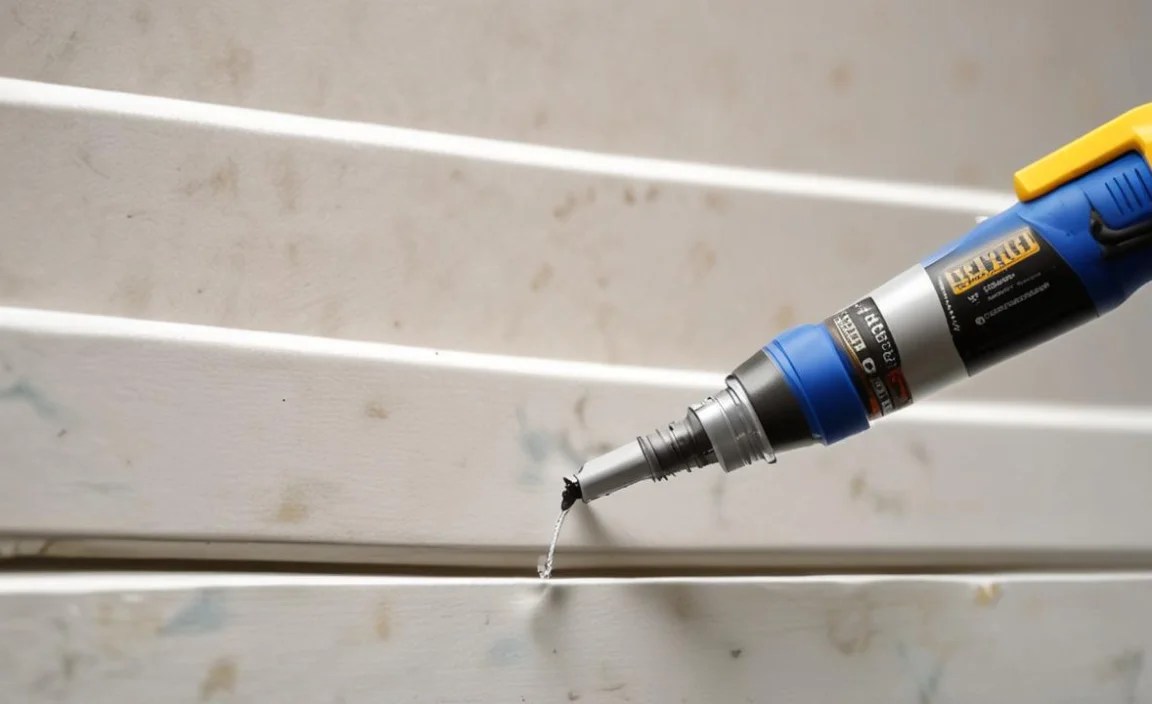
Let the caulk cure properly.
Read the tube: Check the caulk tube for specific drying and curing times. Drying time is when it’s no longer wet to the touch, while curing time is when it has fully hardened and achieved its maximum water resistance.
Avoid moisture: Keep the area dry and avoid using the sink, shower, or opening the window for the recommended cure time. This is usually at least 24 hours for full cure, though it can be touch-dry much sooner.
Inspect: Once the caulk is fully cured, inspect your work. If there are any small imperfections you missed, you can touch them up carefully with a small amount of new caulk.
Troubleshooting Common Caulking Problems
Even with the best intentions, you might run into a few snags. Here are some common caulking issues and how to fix them:
Uneven Caulk Bead
Cause: Inconsistent pressure on the caulk gun, inconsistent speed, or a tip that’s too large or too small.
Fix: For minor imperfections, you can often smooth them out with a damp finger or smoothing tool before the caulk sets. If it’s really bad, you may need to remove it and start again, focusing on steady pressure and speed.
Caulk Not Sticking
Cause: Surface wasn’t clean or dry enough, or the old caulk wasn’t fully removed.
Fix: This is frustrating, but the only real fix is to remove the offending caulk entirely, thoroughly clean and dry the area, and reapply. Proper prep is key to adhesion.
Caulk Pulling Away or Cracking
Cause: Using the wrong type of caulk for the situation (e.g., non-flexible caulk in an area with movement), or applying it too thinly.
Fix: Remove the old caulk, choose a more flexible or appropriate caulk type, and apply a slightly thicker bead that properly bridges the gap.
Mold or Mildew on New Caulk
Cause: Inadequate ventilation, using a caulk without mildew inhibitors in a damp area.
Fix: Clean the affected area with a vinegar/water solution or a specialized mold remover. Ensure the area is well-ventilated. For future applications, always use a caulk specifically designed for kitchens and bathrooms, which includes mildew resistance.
Maintaining Your New Caulk Job
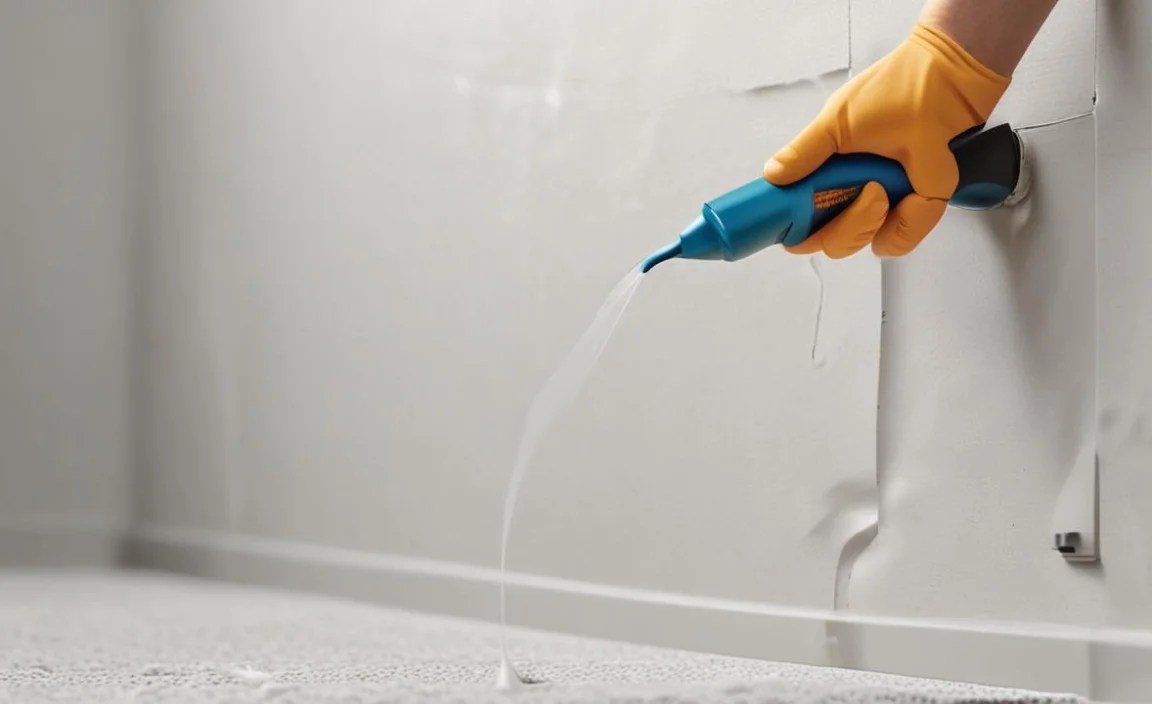
Once you’ve got that beautiful new caulk bead, a little maintenance will keep it looking great for years to come.
Ventilate: Always ensure good ventilation in bathrooms and kitchens. Use exhaust fans during and after showers or cooking. Open windows when possible. This helps moisture dissipate quickly.
Wipe up spills: If you spill something on the caulk, wipe it up promptly, especially if it’s colored or greasy.
Gentle cleaning: Clean caulk regularly with a mild soap and water or a mild household cleaner. Avoid abrasive scrubbers, as they can damage the caulk surface over time. For mildew spots, a 1:1 solution of white vinegar and water is often effective and safe.
Inspect periodically: Make it a habit to check your caulking seasonally. Look for any signs of cracking, peeling, or pulling away from the surface. Catching small issues early can prevent bigger problems and make future repairs much simpler.
Frequently Asked Questions About Repairing Caulking
Q1: How long does it take to repair caulking?

A: For a small section, like around a sink, the actual application and smoothing might only take 15-30 minutes. However, the most time-consuming part is removing the old caulk and preparing the surface, which can take up to an hour or more. Plus, you need to factor in drying and curing time.
Q2: What is the best caulk for a bathroom?

A: For bathrooms, you want a caulk that is waterproof and mildew-resistant. A 100% silicone caulk or a high-quality siliconized acrylic latex caulk labeled for “kitchen and bath” is ideal. These are designed to withstand moisture and frequent cleaning.
Q3: Can I caulk over old caulk?
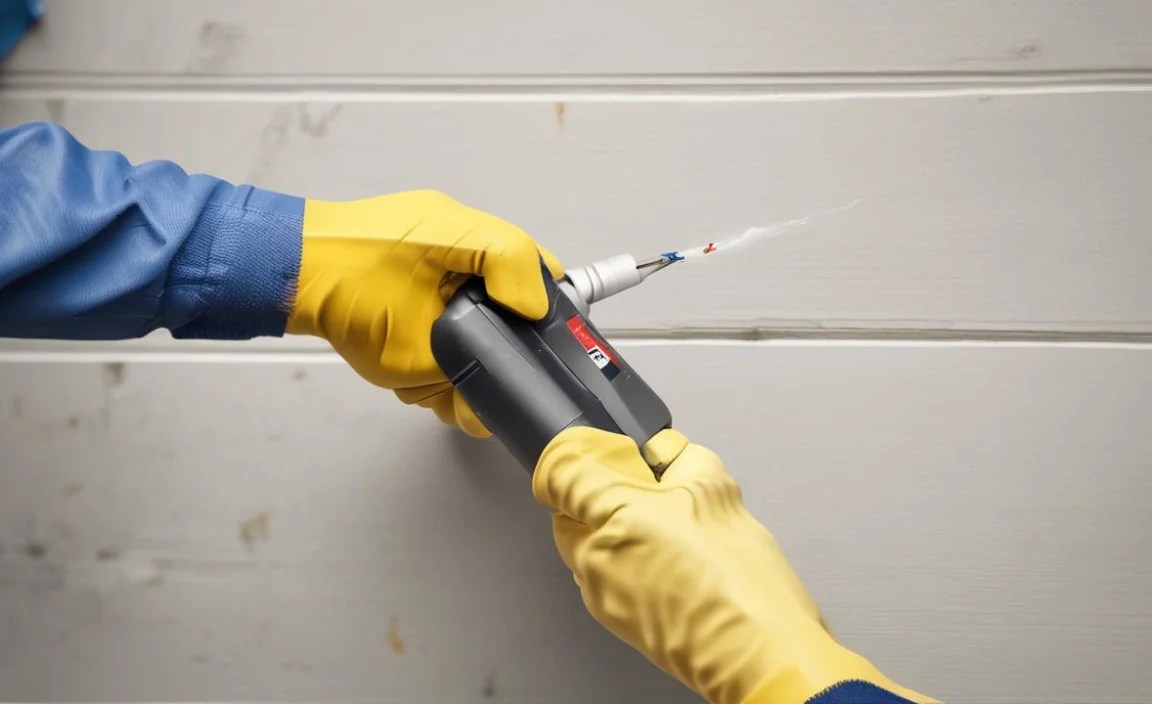
A: It is strongly advised not* to caulk over old caulk. The new caulk won’t adhere properly to the old caulk, leading to a failed seal, cracking, and peeling. Always remove all old caulk first for a durable repair.
Q4: What if I make a mistake and mess up the caulk bead?

A: Don’t panic! If the caulk is still wet, you can usually wipe it away with a damp rag (for latex) or a rag with mineral spirits (for silicone) and start that section over. If it has started to set, you’ll need to carefully scrape away the mistake and reapply.
Q5: How do I know when the caulk is fully cured?
A: Check the caulk tube’s instructions. Most caulks are tack-free within an hour or two, but full cure, meaning it has reached its maximum hardness and water resistance, typically takes 24-48 hours. It’s best to keep the area dry until fully cured to ensure maximum durability.
Q6: How can I ensure a perfectly straight caulk line?

A: The best way for beginners is to use painter’s tape. Apply tape along both edges of the seam, leaving a gap the width you want your caulk bead to be. Apply the caulk, smooth it, and then carefully remove the tape while the caulk is still wet. This creates a clean, straight edge.
Conclusion
Repairing caulking might seem like a small task, but it plays a vital role in protecting your home from moisture damage and keeping it looking sharp. By following these steps, you’ve learned how to confidently remove old, failing caulk, prepare your surfaces, and apply a new bead that provides a watertight seal and a clean aesthetic. Remember, thorough preparation is the most crucial part of any successful caulk job, followed closely by patience and steady hands during application and smoothing.
With the right tools and a bit of practice, you can transform those unsightly gaps into smooth, professional-looking finishes. This skill will serve you well in many areas of your home, from bathrooms and kitchens to windows and baseboards. Don’t hesitate to tackle this project; you’ve got this! Keep your home protected and looking its best, one well-caulked seam at a time.
