
Quick Summary: Master your caulk bead with the right repair caulking tools! Essential pros know that choosing the best tools for smoothing, cutting, and cleaning makes a huge difference. This guide breaks down what you need for a smooth, professional caulk finish every time, even for beginners.
Have you ever tackled a nagging crack or a leaky seam, only to end up with a messy, uneven caulk line? It’s a common frustration! Getting that perfectly smooth, professional-looking seal might seem tricky, but it’s totally achievable. The secret isn’t just in the caulk itself, but in the tools you use.
Think of it this way: a painter needs good brushes, a carpenter needs sharp saws. For caulking, the right tools are just as important. They help you apply the caulk neatly, smooth it out beautifully, and clean up any mistakes without a fuss. We’ll walk you through the essential tools that pros rely on, making your next DIY caulking job a breeze.
Get ready to say goodbye to sloppy seams and hello to crisp, clean lines that protect your home and look fantastic. We’ll cover everything from the basic essentials to some handy pro tricks that will elevate your DIY skills.
Why the Right Caulking Tools Matter
Caulking is a simple yet crucial task around the home. It seals gaps and cracks, preventing water, drafts, and pests from entering. A professional-looking caulk job not only enhances the appearance of your home but also contributes to its overall integrity and energy efficiency. When DIYers skip using the right tools, they often face several common pitfalls.
A lack of proper tools can lead to:
- Uneven caulk beads that look unprofessional.
- Difficulty in applying consistent pressure, resulting in gaps or too much caulk.
- Messy cleanup and wasted caulk.
- A caulk line that fails quickly due to poor adhesion or an incomplete seal.
- Frustration and a diminished sense of accomplishment.
The right tools aren’t just about aesthetics; they’re about performance and longevity. They ensure the caulk adheres properly, creates a watertight seal, and integrates seamlessly with its surroundings. Think of them as your partners in achieving a durable, beautiful finish. Let’s dive into the essential repair caulking tools that will help you conquer any caulking project.
Essential Repair Caulking Tools You Need
You don’t need a massive toolbox to become a caulking pro. A few key items will make a world of difference. These are the workhorses that will handle most of your caulking needs, from prep to finishing touches.
1. The Caulk Gun: Your Primary Application Tool
This is the heart of your caulking operation. While they look pretty simple, there’s a bit more to a caulk gun than meets the eye. Knowing the types and features will help you choose the best one for your project.
Types of Caulk Guns:
- Drip-Free Caulk Gun: This is a lifesaver for beginners. When you release the trigger, a mechanism automatically retracts the rod, preventing drips. This means no annoying blobs of caulk where you don’t want them. Highly recommended for those just starting out.
- Ratcheting Caulk Gun: This is the standard workhorse. It has a plunger rod with teeth that advance with each squeeze of the trigger. Releasing a small lever allows the rod to retract. They are reliable and offer good control.
- Smooth Rod Caulk Gun: These are generally less expensive but offer less control. The rod is smooth, and you rely solely on releasing the trigger to stop the flow, which can be tricky to master and often leads to drips.
- Skeleton Caulk Gun: These are the most basic type, often called “skeleton guns” because they have an open frame. They are lightweight and usually good for lighter-duty caulk or adhesive tubes.
Key Features to Look For:
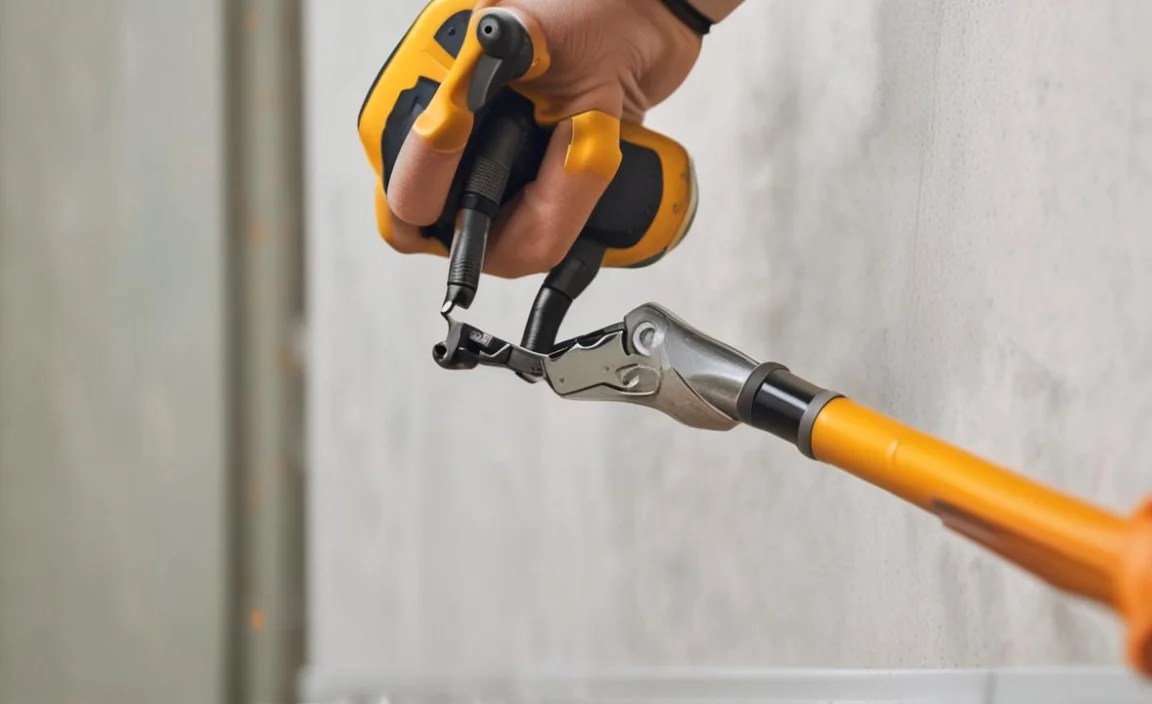
- Ergonomic Handle: Comfort is key, especially for larger projects. A well-designed handle reduces hand fatigue.
- Drip-Free Mechanism: As mentioned, this is invaluable for beginners.
- Smooth Trigger Action: A smooth, responsive trigger allows for better control over the flow of caulk.
- Built-in Cutter: Many guns have a small blade or notch on the side to cut the caulk tube tip. This saves you from fumbling for a utility knife.
- Puncture Tool: Most guns also have a rod that can be used to puncture the seal inside the caulk tube.
2. Utility Knife or Caulk Removal Tool
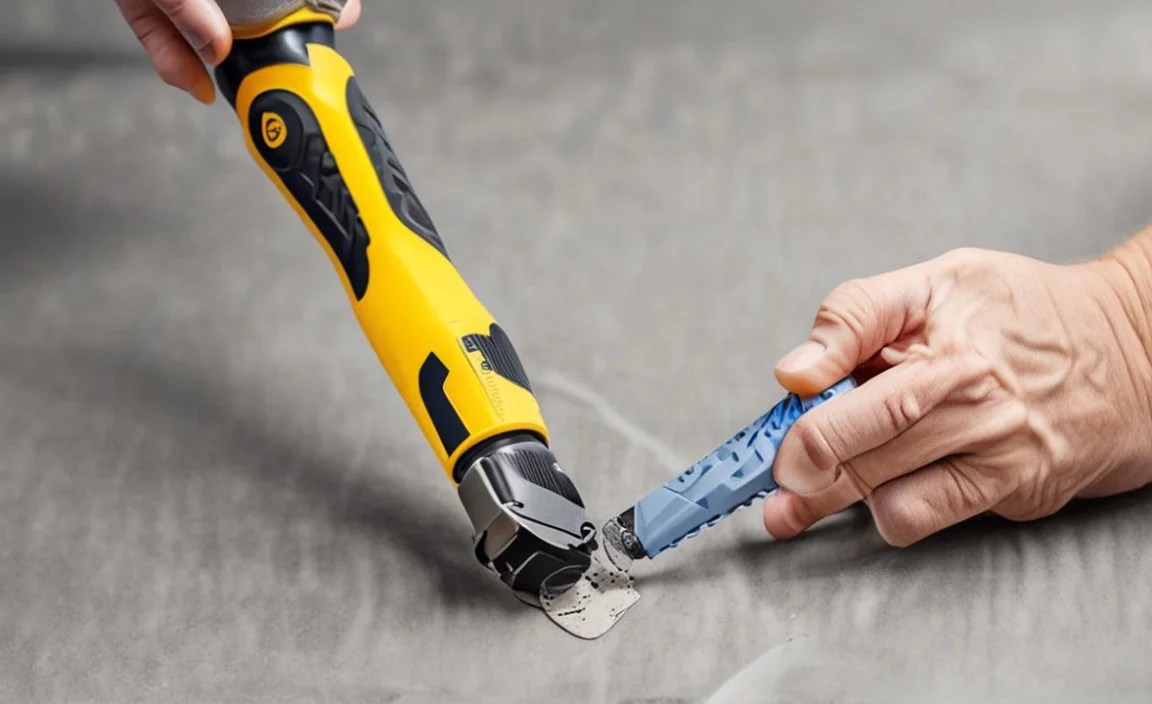
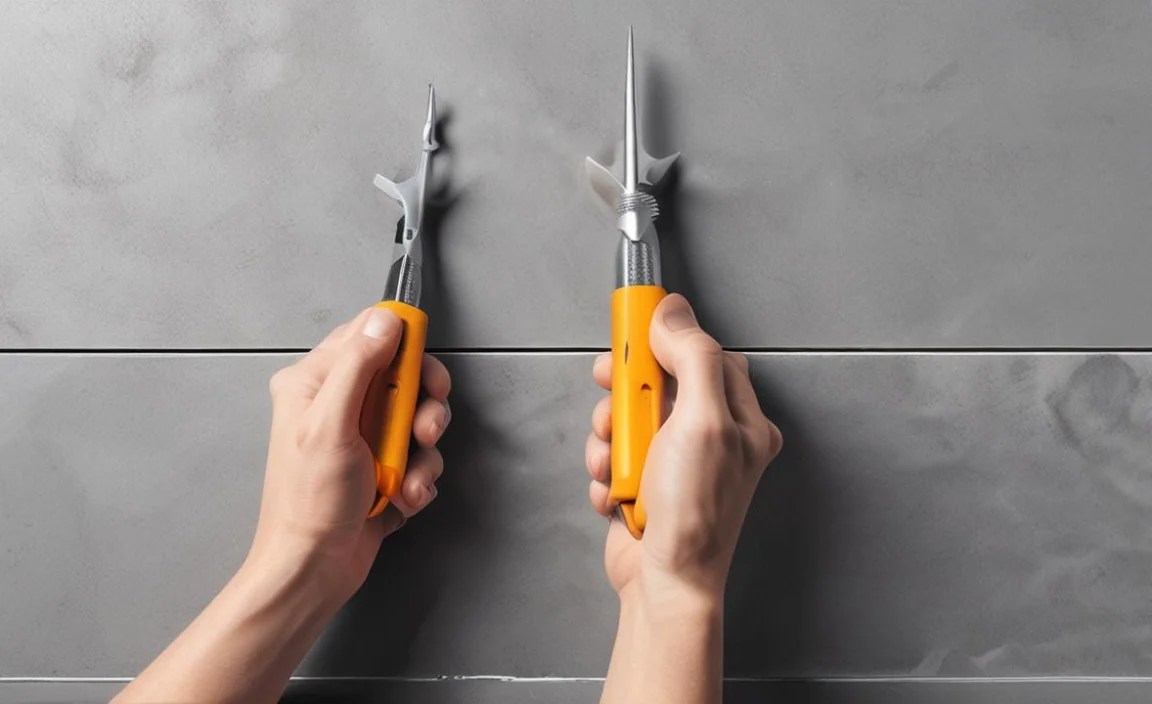
Before you can apply new caulk, you often need to remove the old, cracked, or moldy stuff. A sharp utility knife is essential for this. However, specialized caulk removal tools can make the job even easier and safer, minimizing damage to the surrounding surfaces.
Using a Utility Knife:
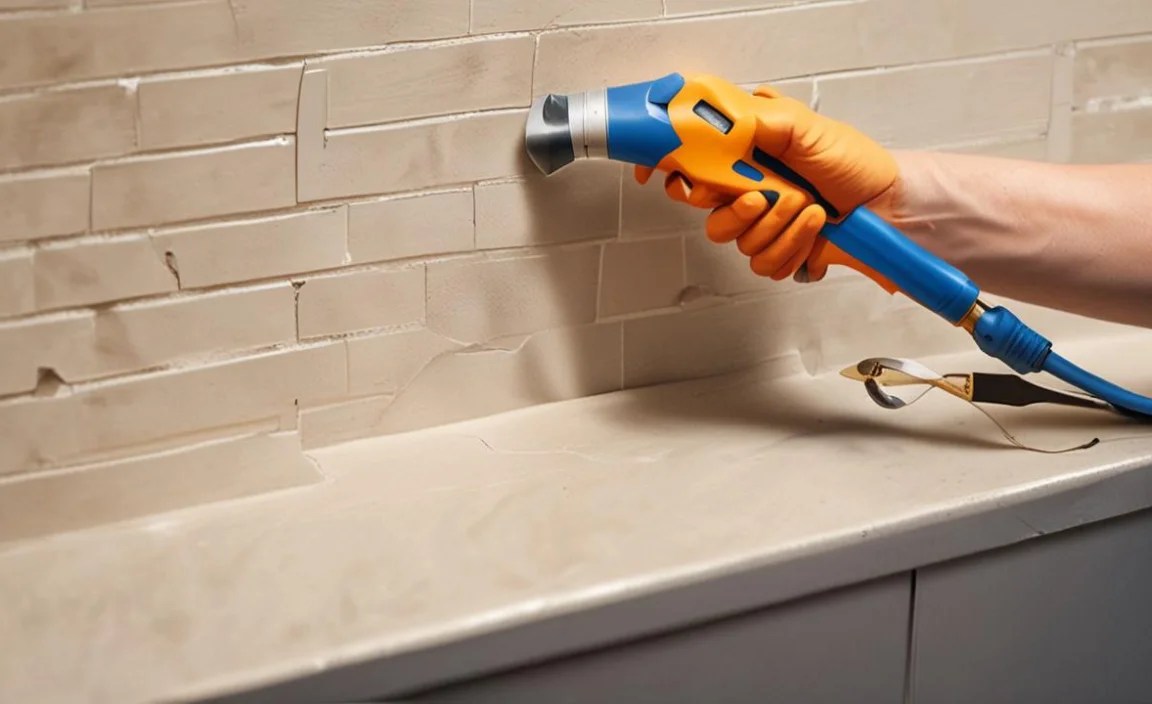
- Ensure you have a sharp blade for clean cuts.
- Carefully slice along the edges of the old caulk line.
- Work slowly and deliberately to avoid cutting into the material beneath, like drywall, tile, or wood.
- You may need to make multiple passes to fully remove the caulk.
Dedicated Caulk Removal Tools:
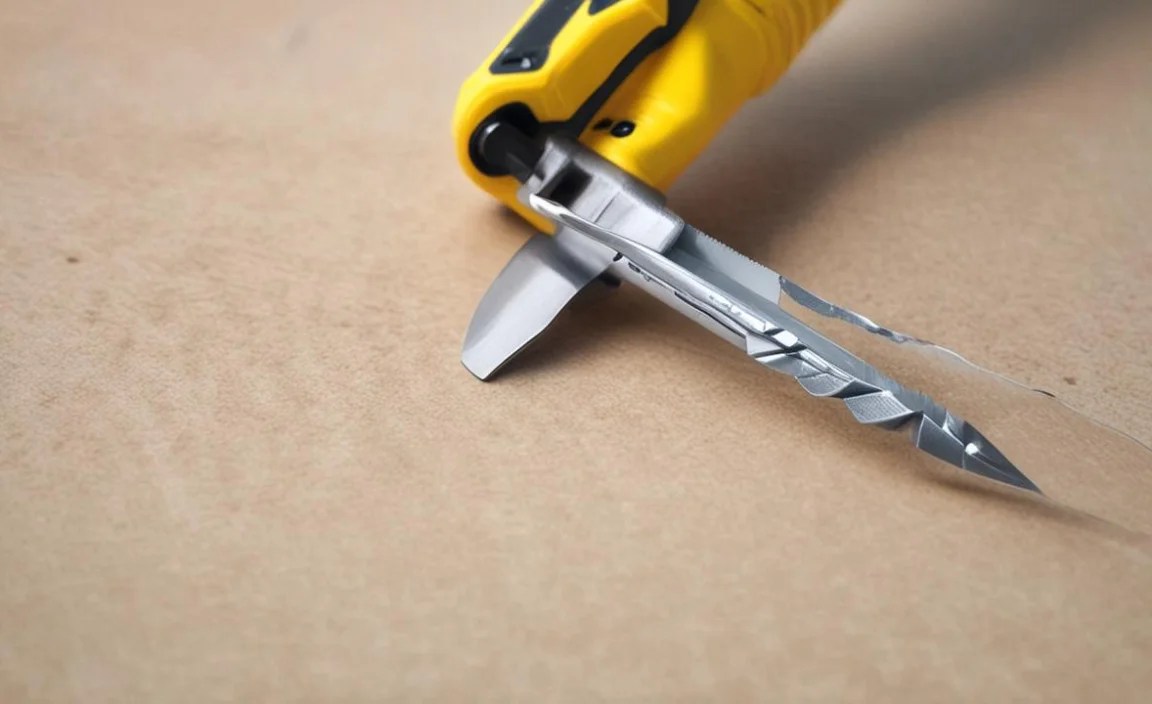
These tools are designed with specific angles and blades to get under old caulk and pry it away. Some have a hardened plastic scraper on one end and a metal blade on the other. They are excellent for getting into tight corners and along edges without gouging.
For a good rundown on safely removing caulk, check out this guide from Family Handyman.
3. Smoothing Tools: The Key to a Professional Finish

This is where the magic happens! Once the caulk is applied, you need to smooth it to create that neat, uniform bead. While your finger can work in a pinch, specialized tools offer much better control and consistency.
Types of Smoothing Tools:
- Caulk Finishing Tools (Plastic Trowels/Scrapers): These are probably the most popular and effective tools for beginners. They come in various profiles (concave, convex, different angles) that mimic the perfect bead shape. You simply drag them along the fresh caulk line. Many kits offer multiple shapes for different applications (e.g., corners, flat surfaces).
- Metal Scrapers/Trowels: These are more professional-grade and can be used dry or with a bit of soapy water. They offer precision but require a bit more practice to avoid damaging the surface.
- Your Finger (with caution): If you must use your finger, dip it in soapy water and wear a disposable glove. Use a consistent, light pressure. However, dedicated tools are generally far superior.
- Spoons: A common DIY hack is using the back of a spoon. The curved edge can create a nice, rounded bead. Again, a little soapy water helps.
The goal is to push the caulk into the gap and remove excess, creating a smooth transition. Using a tool with a specific radius can create a perfectly concave bead.
4. Cleaning and Preparation Supplies
Preparation is half the battle, and cleaning is critical for a good seal. You’ll need a few things to get the area ready for caulking and to clean up any messes.
- Rubbing Alcohol or Denatured Alcohol: Excellent for cleaning surfaces before applying caulk. It removes oils, grease, and dust that can prevent adhesion. A clean cloth or paper towel is used with the alcohol.
- Masking Tape (Painter’s Tape): This is your best friend for creating perfectly straight lines. Apply tape on either side of the gap you’re filling, leaving just the gap exposed. After smoothing the caulk, you peel the tape off immediately for super-crisp edges. Look for high-quality painter’s tape that won’t leave residue.
- Paper Towels and Rags: For wiping excess caulk, cleaning tools, and general cleanup.
- Bucket of Water (mixed with a little dish soap): Essential for cleaning up water-based caulk (like latex or acrylic). It helps keep tools and fingers from getting too sticky. For silicone caulk, you’ll need mineral spirits or a specialized silicone caulk remover.
5. Accessories for Better Application
These aren’t strictly “tools” but are incredibly helpful for making the caulking process smoother and more controlled.
- Caulk Tube Tip Cutter: While many guns have one, a dedicated cutter offers more precise angles for the nozzle opening. You want to cut the tip at a 45-degree angle to match the bead you want to lay down, and a specialized cutter helps achieve this.
- Nozzle Extender: For reaching into tight or awkward spaces, a flexible nozzle extender can be a real game-changer.
- Caulk Conditioning Tool: Some specialty tools are designed to “condition” the caulk bead after application, ensuring it’s smooth and uniformly shaped without leaving streaks.
Step-by-Step: Using Your Repair Caulking Tools for a Perfect Bead
Now that you know the essential tools, let’s walk through how to use them to achieve that professional, smooth caulk bead. This process breaks down a potentially daunting task into manageable steps.
Step 1: Preparation is Key
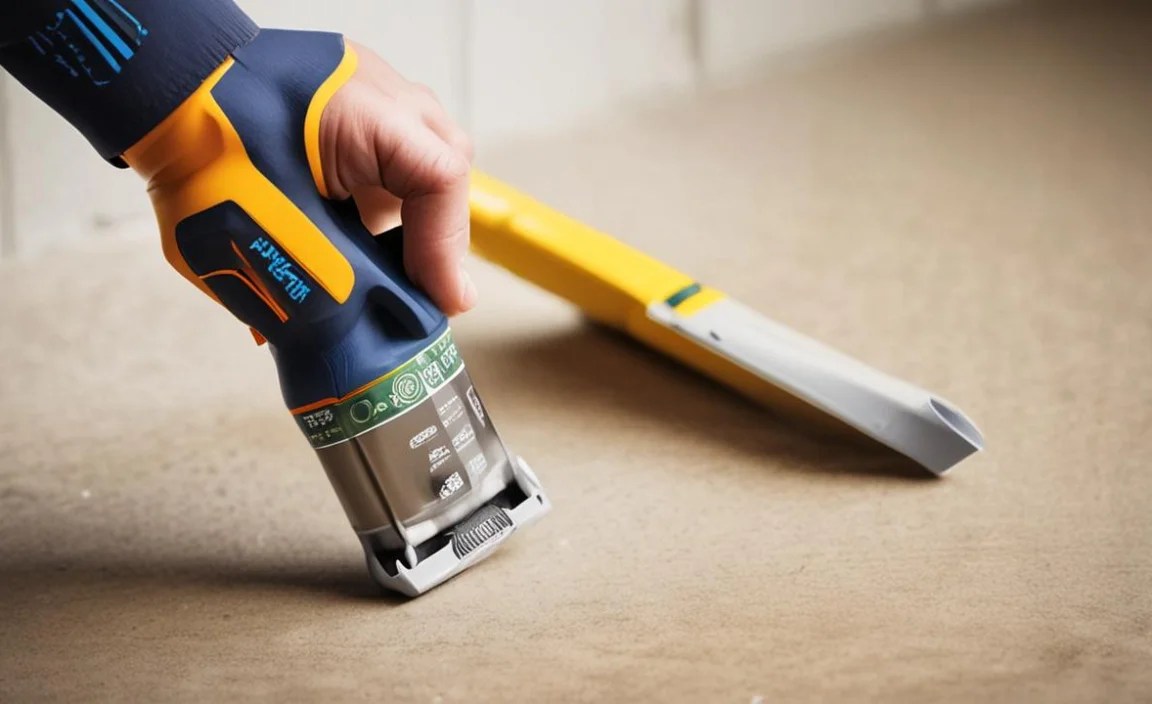
This is arguably the most important step. A clean, dry surface is crucial for caulk adhesion and a smooth finish.
- Remove Old Caulk: Use your utility knife or caulk removal tool to carefully remove all old caulk. Get as much of it out as you can.
- Clean the Area: Wipe down the gap and surrounding surfaces with a clean cloth. Use rubbing alcohol or denatured alcohol to remove any remaining dust, grease, or residue. Let it dry completely.
- Masking Tape (Optional but Recommended): For perfectly straight lines, apply painter’s tape along both edges of the gap. Leave a gap between the tape strips that is slightly wider than the bead of caulk you want to apply. Press the edges of the tape down firmly so caulk doesn’t seep underneath.
Step 2: Prepare the Caulk Tube
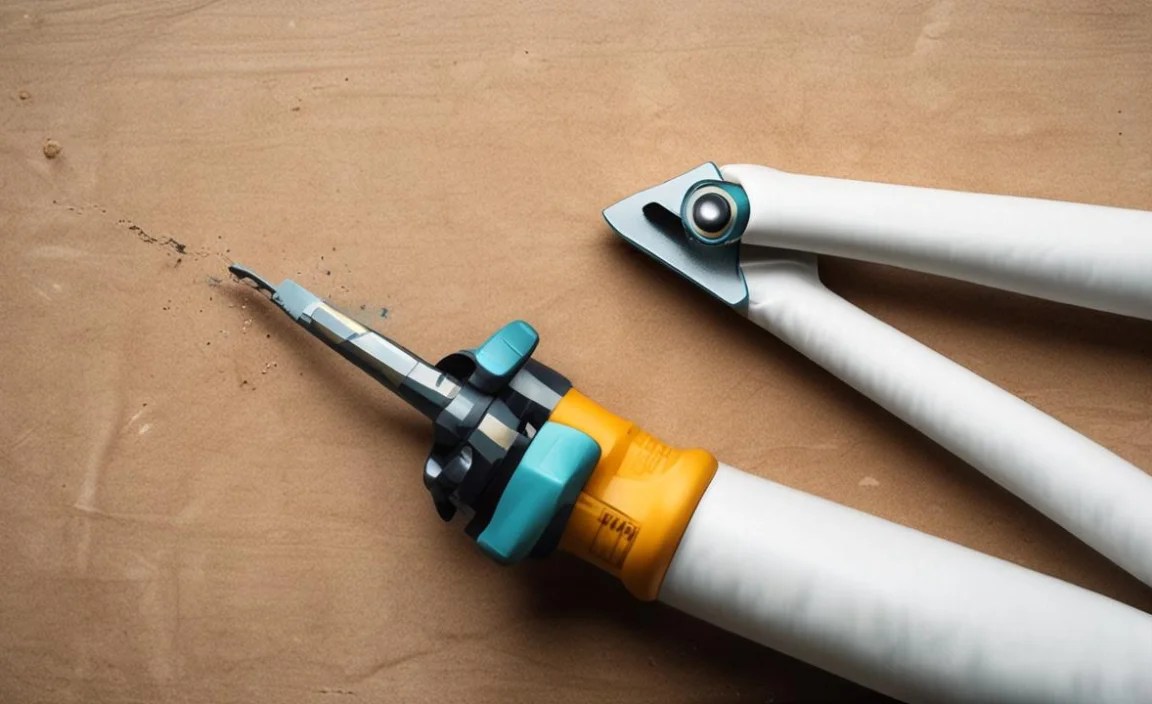
This is where your caulk gun and its accessories come into play.
- Cut the Nozzle: Using your caulk gun’s cutter or a utility knife, cut the tip of the caulk tube nozzle at a 45-degree angle. Start with a small opening – you can always cut more if needed. A smaller opening gives you more control, especially when learning.
- Puncture the Inner Seal: Most caulk tubes have an inner seal. Use the puncture rod on your caulk gun or a long nail to pop this seal.
- Load the Caulk Gun: Pull the plunger rod of the caulk gun all the way back. Insert the caulk tube with the cut tip facing forward. Push the rod forward until it firmly contacts the back of the tube.
Step 3: Apply the Caulk
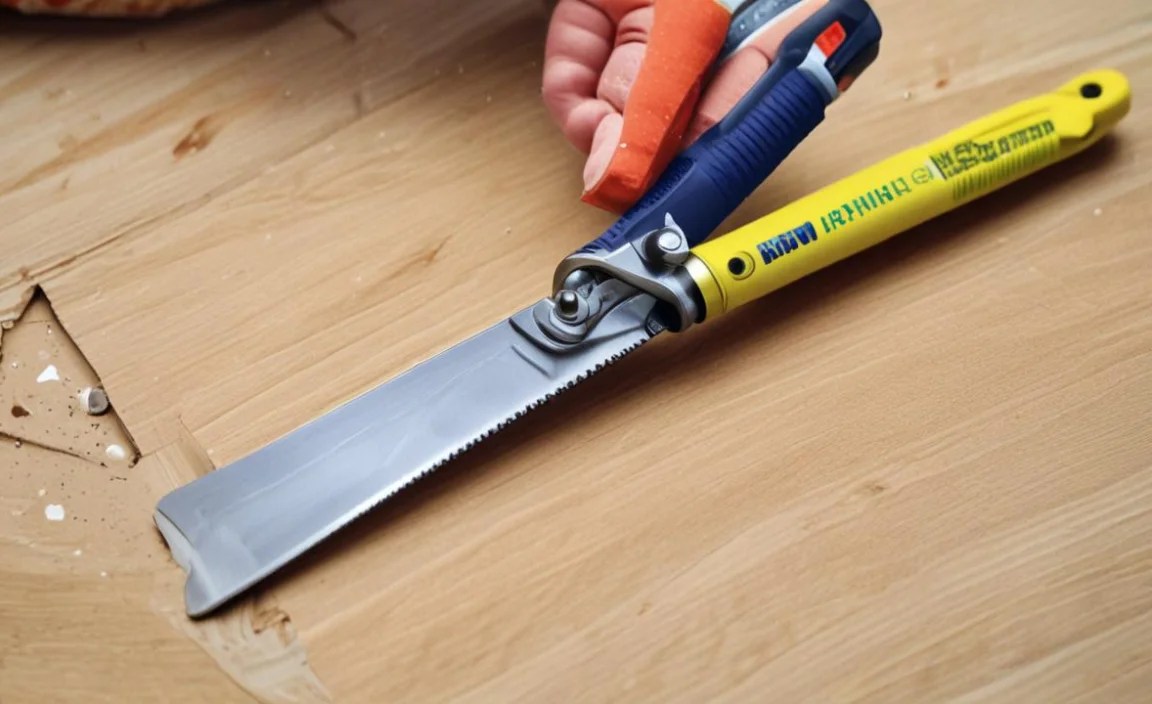
This is the moment of truth. Aim for a steady, consistent application.
- Test Application: Squeeze the trigger gently a few times away from your area to get a feel for the flow and ensure caulk is coming out smoothly.
- Initiate the Bead: Place the tip of the nozzle at the beginning of the gap where you want to start. Press the trigger with steady, even pressure.
- Move and Apply: Move the caulk gun smoothly along the gap at a consistent speed. The key is to aim for a continuous bead that fills the gap without being too thick or too thin. If you have a drip-free gun, release the trigger when you stop moving to prevent excess caulk. If not, you’ll need to release the pressure on the trigger and retract the plunger rod slightly.
- Work in Sections: For longer runs, it’s often easier to work in manageable sections (e.g., 2-3 feet) rather than trying to do the entire length at once.
Step 4: Smooth the Caulk Bead
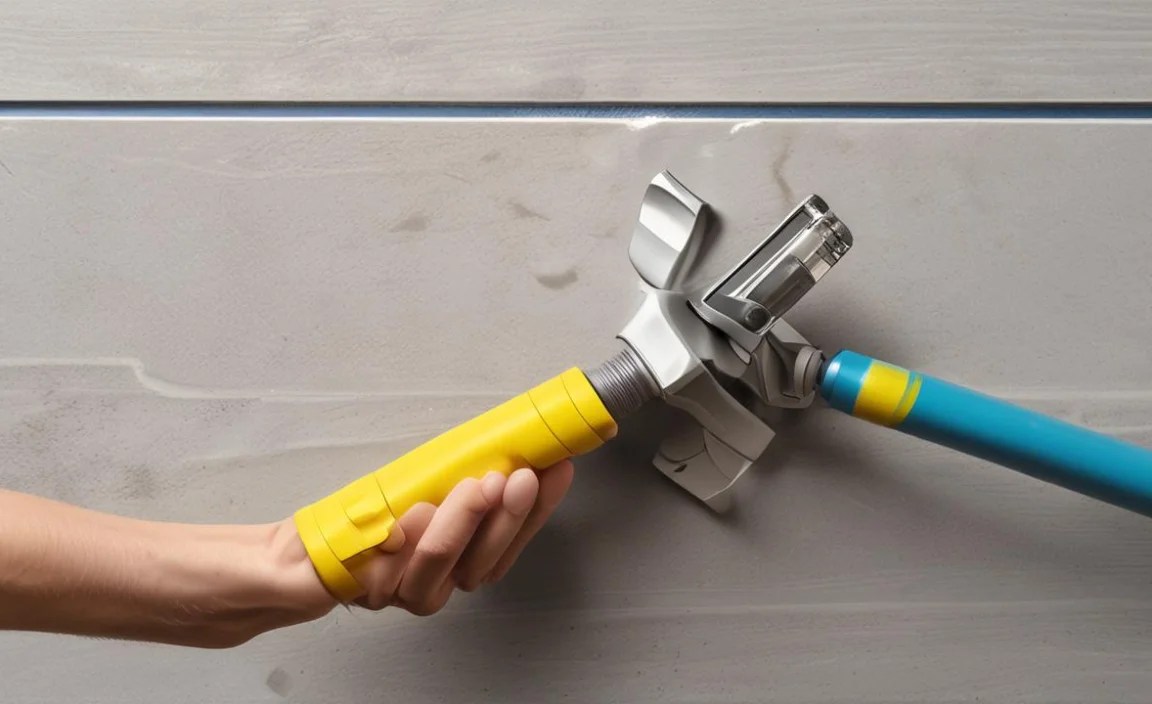
This step transforms a blob of caulk into a clean, professional seal.
- Choose Your Tool: Select your caulk finishing tool, scraper, or even a gloved finger.
- Apply Soapy Water (if needed): For latex or acrylic caulk, dipping your smoothing tool (or finger) in a bucket of soapy water can prevent sticking and help create a smoother finish. For silicone caulk, this won’t work; you’ll need to work dry or use a specialized solvent.
- Smooth with Confidence: Hold the tool at a consistent angle against the caulk bead. Apply light, even pressure and drag the tool smoothly along the entire bead. The tool will push caulk into the gap and remove the excess, leaving behind a uniform, concave surface.
- Clean Excess as You Go: Wipe away any excess caulk that collects on your tool onto a paper towel or rag. Re-dip in soapy water or clean the tool as needed.
Step 5: Immediate Cleanup
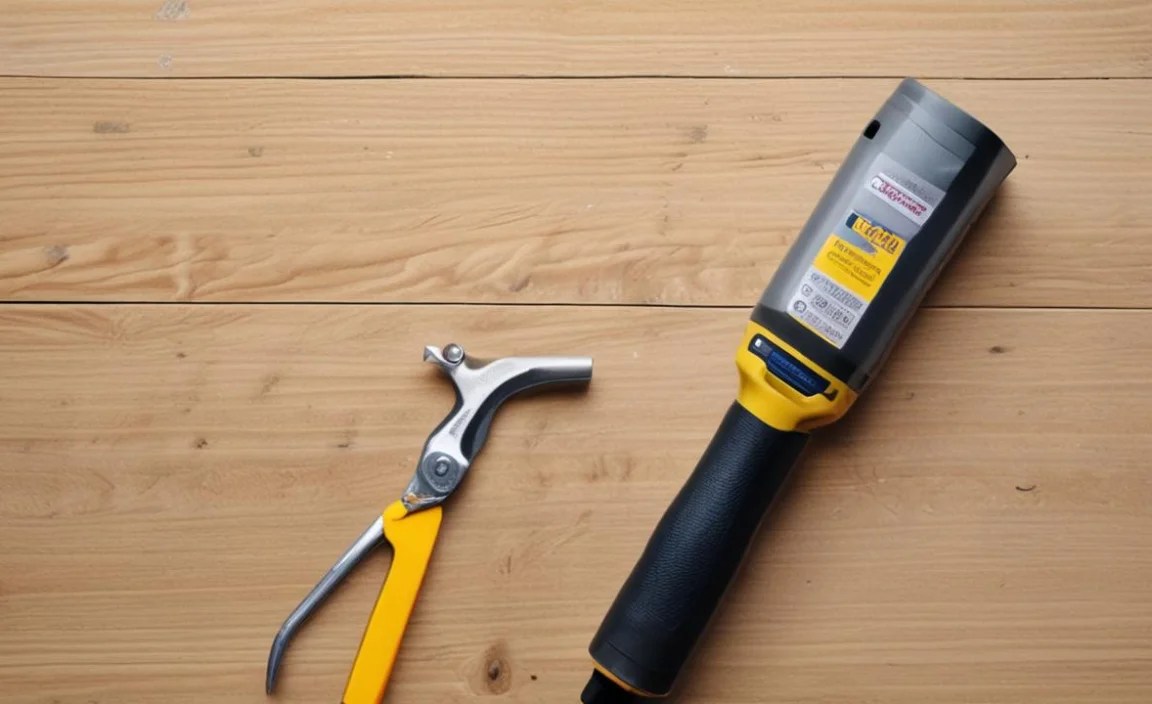
Don’t let the caulk dry on your tools or surrounding surfaces!
- Remove Masking Tape: If you used masking tape, carefully and slowly peel it off immediately after smoothing the caulk bead. Pull the tape away at a 45-degree angle from the caulk line. This ensures you don’t pull up any fresh caulk or leave uneven edges.
- Wipe Surfaces: Use a damp (for latex/acrylic) or solvent-moistened (for silicone) rag to wipe away any stray caulk marks or tape residue from surrounding surfaces.
- Clean Tools: Thoroughly clean your caulk gun, smoothing tools, and nozzle with appropriate cleaners (soap and water for latex/acrylic, mineral spirits or silicone remover for silicone).
Troubleshooting Common Caulking Problems
Even with the best tools and intentions, you might run into a few snags. Here’s how to fix them:
Problem: Gaps or Uneven Caulk Bead
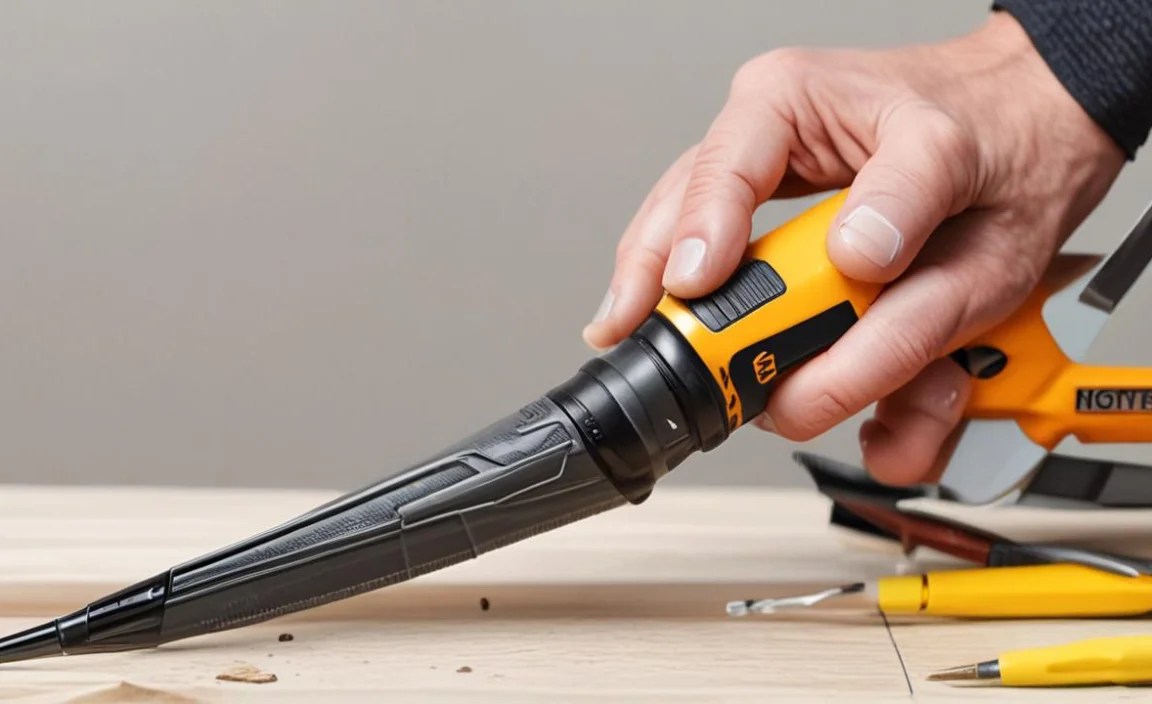
- Solution: This often happens if the caulk gun’s trigger pressure was inconsistent or the movement speed varied. If the caulk is still wet, try re-smoothing it. If it’s partially set, you might need to carefully remove the offending section with a utility knife and reapply a fresh bead, paying close attention to your speed and pressure. Masking tape is your best friend here to ensure a straight, even start and finish.
Problem: Caulk Not Sticking or Peeling
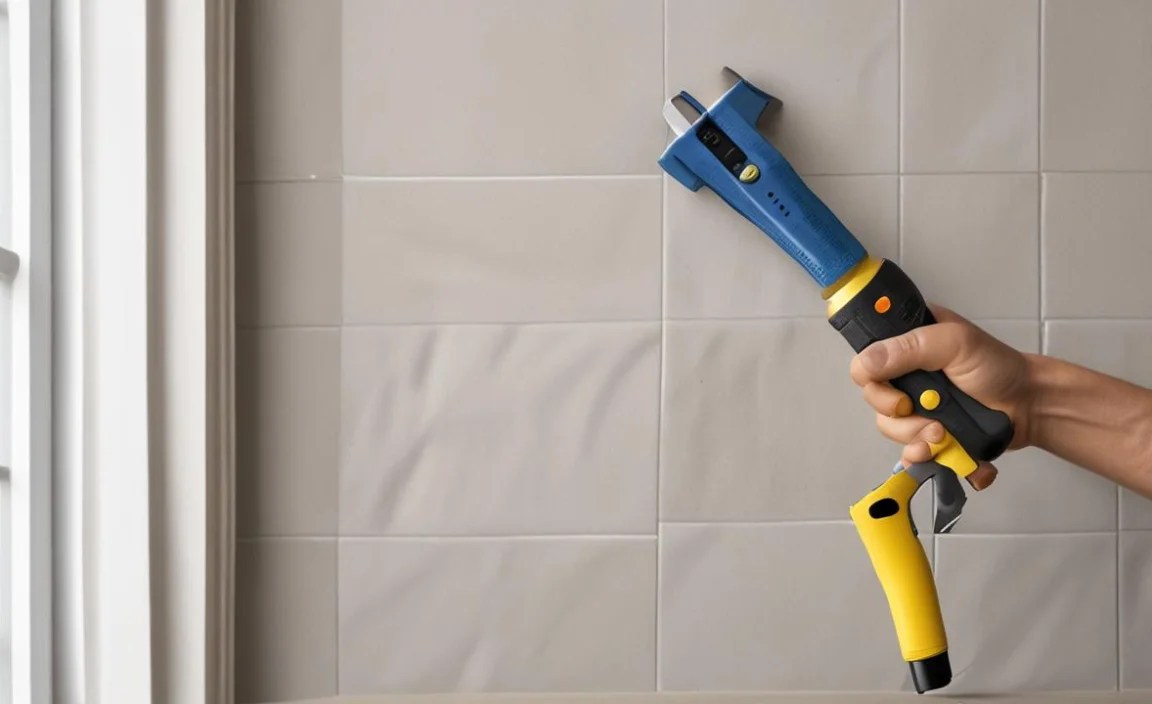
- Solution: This is almost always a surface preparation issue. The area wasn’t clean and dry, or there was residual soap, oil, or old caulk left behind. For a quick fix on a small area, you might be able to peel away the loose caulk, clean the surface thoroughly with alcohol, and reapply. For larger areas, complete removal and reapplication are necessary. Proper cleaning ensures maximum adhesion. For more on adhesion, the BuildingGreen resource offers insights into materials science.
Problem: Messy Edges/Smudges
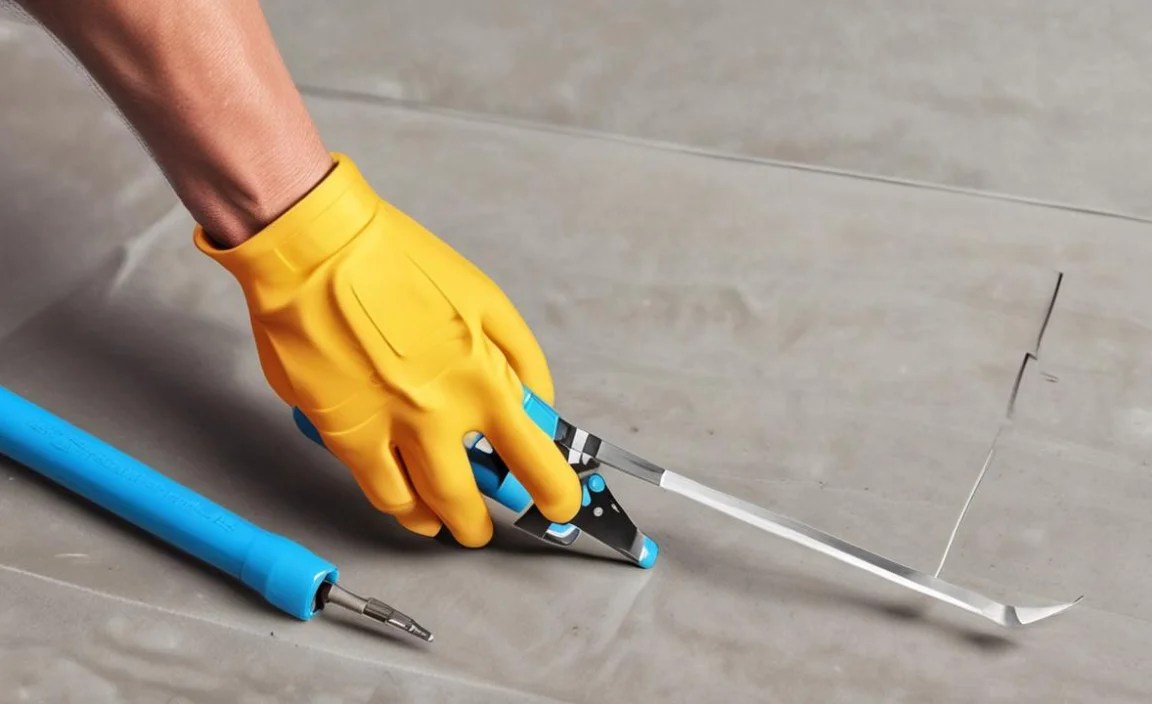
- Solution: This usually happens during the smoothing process or if the masking tape wasn’t applied or removed carefully. If the caulk is wet, immediately wipe away smudges with a damp (or solvent-dampened for silicone) cloth. If the tape was removed too late, you might get a slightly uneven edge. You can sometimes carefully trim this with a sharp utility knife.
Problem: Caulk Shrinking or Cracking
- Solution: Caulk can shrink if the gap is too large for the type of caulk used, or if it’s an inferior quality product. Some minor shrinkage is normal, but significant gaps often require a different type of filler or sealant. Caulk can also crack if it’s applied too thinly or if the joint experiences a lot of movement. Ensure you’re using the right caulk for the job and that the gap size is within the manufacturer’s recommendations.
Problem: Too Much Caulk Extruded
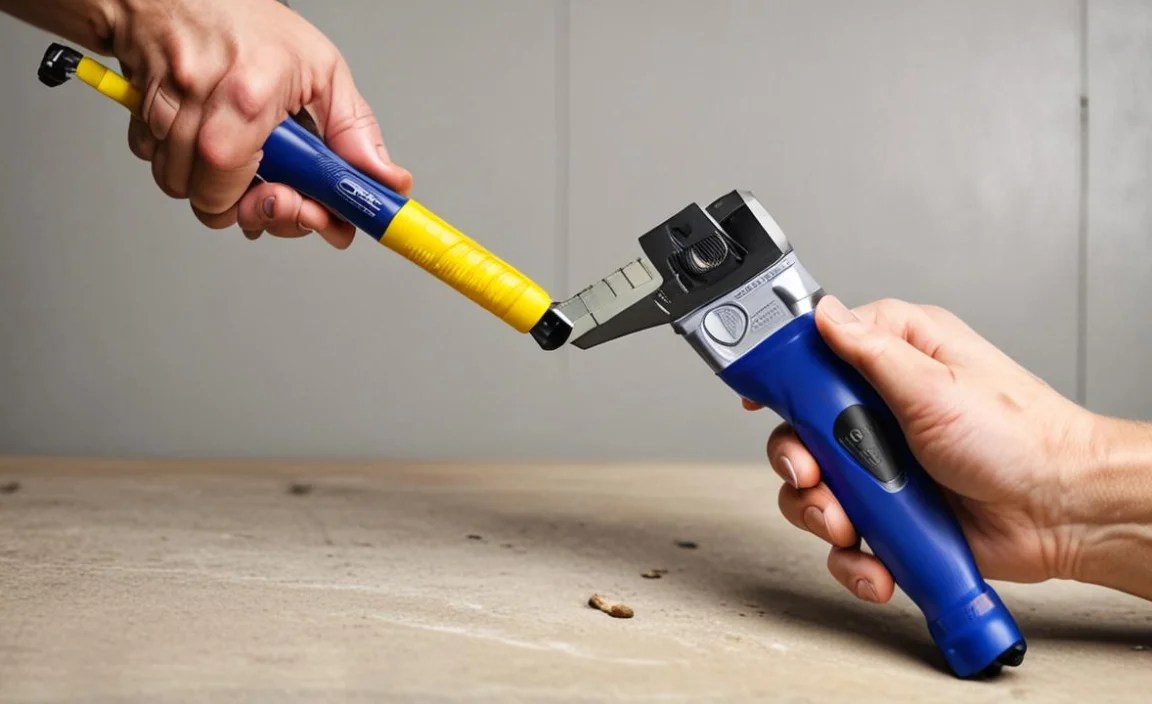
- Solution: If you accidentally apply too much, don’t panic! It’s easier to remove excess when wet. Use your smoothing tool to carefully scrape away the bulk of the excess. Wipe this excess onto a paper towel. Then, re-smooth the bead. For significant over-application, scraping with smoother tools or even a putty knife can help remove the bulk before the final finish.
Choosing the Right Caulk for Your Project
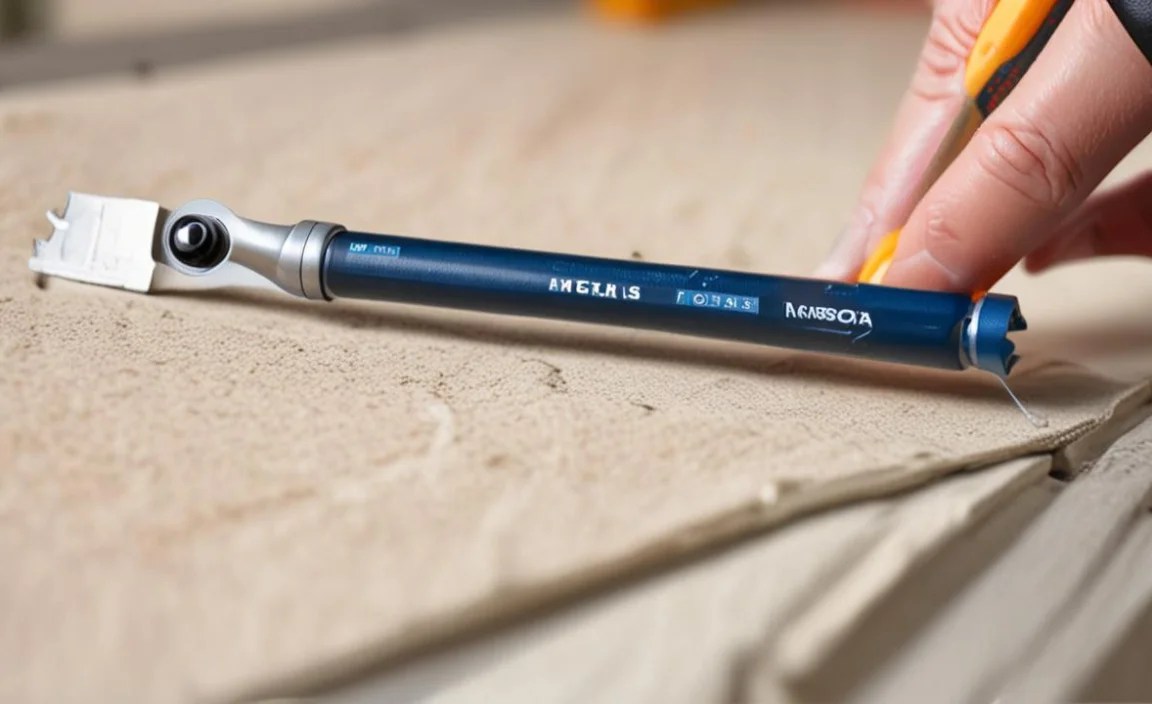
While this guide focuses on tools, picking the right caulk is equally important. The tools will help you apply it, but the caulk needs to be suitable for the job.
Common Caulk Types:
Here’s a quick look at what you might encounter:
| Caulk Type | Pros | Cons | Best For |
|---|---|---|---|
| Latex/Acrylic (Painter |
