
Quick Summary: Easily repair caulking yourself without needing a plumber! This guide details inspecting, removing old caulk, preparing surfaces, and applying new caulk for a watertight seal. Achieve professional-looking results with simple tools and clear steps, saving time and money on common household fixes.
Leaky seams around your sink, bathtub, or shower can be a real headache. Seeing water drip or finding mildew can make you think you need an expensive plumber visit. But guess what? Most of the time, you can fix that old, cracked caulk yourself! It’s a common household issue that you have the power to solve. With a few simple tools and this easy-to-follow guide, you’ll be a caulking pro in no time. We’ll walk you through everything, from spotting the problem to making it look like new. Ready to tackle those leaks and save some money? Let’s get started!
Why Repair Caulking Yourself?
Caulking is the unsung hero of your bathroom and kitchen. It creates a waterproof barrier, preventing water damage, mold, and mildew growth. When caulk cracks, peels, or wears out, it’s not just an eyesore; it’s an invitation for trouble. Ignoring damaged caulk can lead to more significant problems like wood rot or structural damage, which would require a professional. But, for the most part, repairing caulk is a straightforward DIY task. You can save a significant amount of money by doing it yourself, and the satisfaction of a job well done is a great bonus!
Think about it: a plumber’s visit can cost hundreds of dollars for simple tasks. Learning to repair caulk yourself empowers you to maintain your home’s integrity on your own schedule and budget. It’s about taking control of your home maintenance and building confidence in your DIY skills. Plus, it’s a relatively mess-free and quick project once you know the steps.
When to Repair Caulking
You don’t have to wait for a full-blown leak to take action. Here are key signs that your caulk needs attention:
- Cracks and Gaps: Small fissures or larger holes in the caulk are obvious entry points for water.
- Peeling or Shrinking: When caulk pulls away from the surface, especially at the edges, it loses its sealing power.
- Mildew or Mold: Black or discolored spots often indicate moisture trapped behind or within the caulk.
- Loose or Wobbly Fixtures: If a sink or tub feels loose, compromised caulk might be a contributing factor.
- Visible Water Damage: Stains on walls or ceilings near a fixture are a clear sign of a water intrusion problem that needs addressing.
Essential Tools and Materials
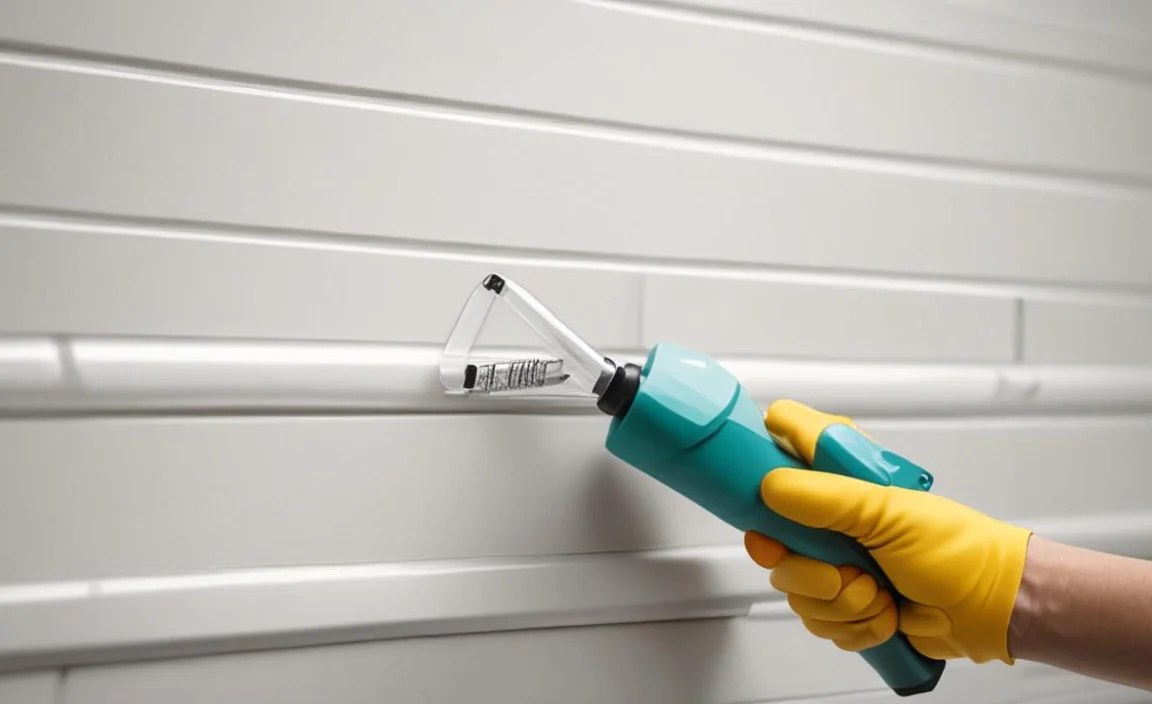
Don’t be intimidated by a trip to the hardware store. Most of the items you need are standard DIY supplies. Here’s what you’ll want to have on hand:
Tools:
- Utility Knife or Caulk Removal Tool: For cutting away old caulk. A dedicated caulk removal tool is often safer and more effective.
- Putty Knife or Scraper: To help lift stubborn bits of caulk.
- Cleaning Rags or Paper Towels: For wiping surfaces and cleaning up.
- Rubbing Alcohol (Isopropyl Alcohol): Excellent for cleaning and ensuring a dry, residue-free surface for new caulk.
- Caulk Gun: The tool that holds and dispenses caulk from a tube.
- Caulk Finishing Tool (Optional but Recommended): A specialized tool to create a smooth, consistent bead of caulk. You can also use a damp finger or a popsicle stick in a pinch.
- Gloves: To protect your hands from old caulk residue and new caulk.
- Safety Glasses: Especially important when using sharp tools to remove caulk.
Materials:
- New Caulk: Choose the right type for your area. For bathrooms and kitchens, look for 100% silicone or siliconized latex caulk that is advertised as waterproof and mildew-resistant. Home Depot offers a wide selection to choose from based on your project needs.
- Painter’s Tape (Optional): Can help create clean, straight caulk lines.
- Bucket of Water: For rinsing tools and your finishing finger/tool.
Step-by-Step Guide to Repairing Caulking
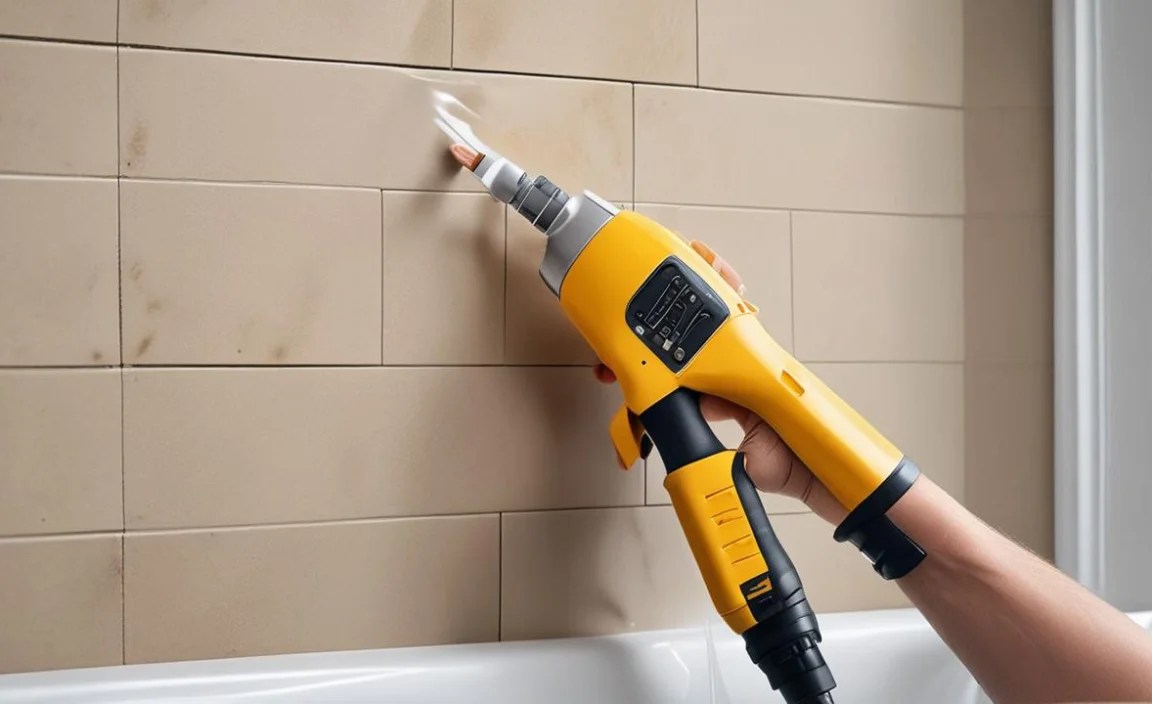
Follow these steps carefully for a professional-looking repair that lasts. We’ll break it down into easy stages.
Step 1: Remove Old Caulk
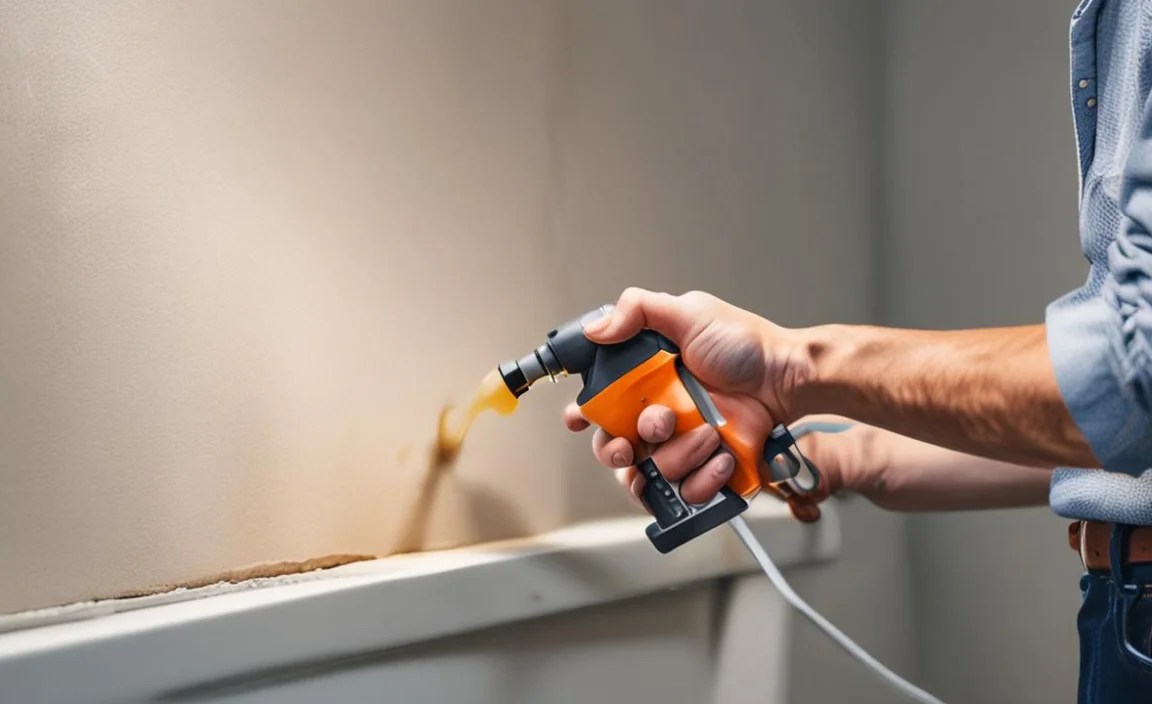
This is the most crucial step for a good bond. You can’t just caulk over old caulk; it needs to be completely removed. Start by using your utility knife or caulk removal tool to slice along the top and bottom edges of the old caulk bead, cutting into the caulk rather than the surrounding material.
Carefully insert the blade of a putty knife or scraper under the caulk and gently peel or scrape it away. Work slowly and deliberately. If you’re using a specialized caulk removal tool, follow its instructions. For stubborn residue, you might need a bit of elbow grease. Ensure you get all the loose bits off the surface!
A great tip is to make shallow scoring cuts if you’re worried about damaging the surface, especially in corners or around delicate finishes. You can find excellent caulk removal tools that are designed to get into tight spots without causing damage.
Step 2: Clean the Surface
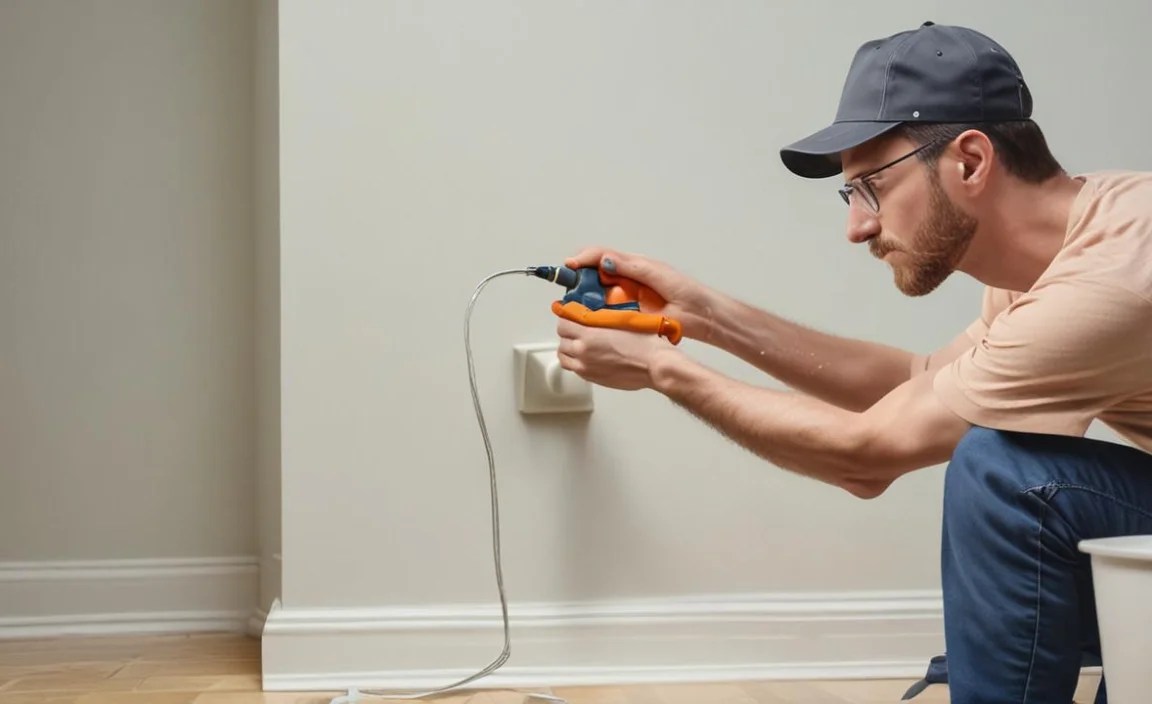
Once the bulk of the old caulk is gone, it’s time to get the area spotless. Use a rag or paper towel to wipe away any remaining caulk debris. Then, wash the area with soap and water to remove any dirt, grease, or soap scum.
For the best adhesion of the new caulk, it’s vital that the surface is completely dry and free of residue. A final wipe-down with rubbing alcohol is highly recommended. It evaporates quickly and leaves behind a clean surface that new caulk can easily stick to. Make sure the area is bone dry before proceeding.
Step 3: Prepare for New Caulk (Optional but Recommended)
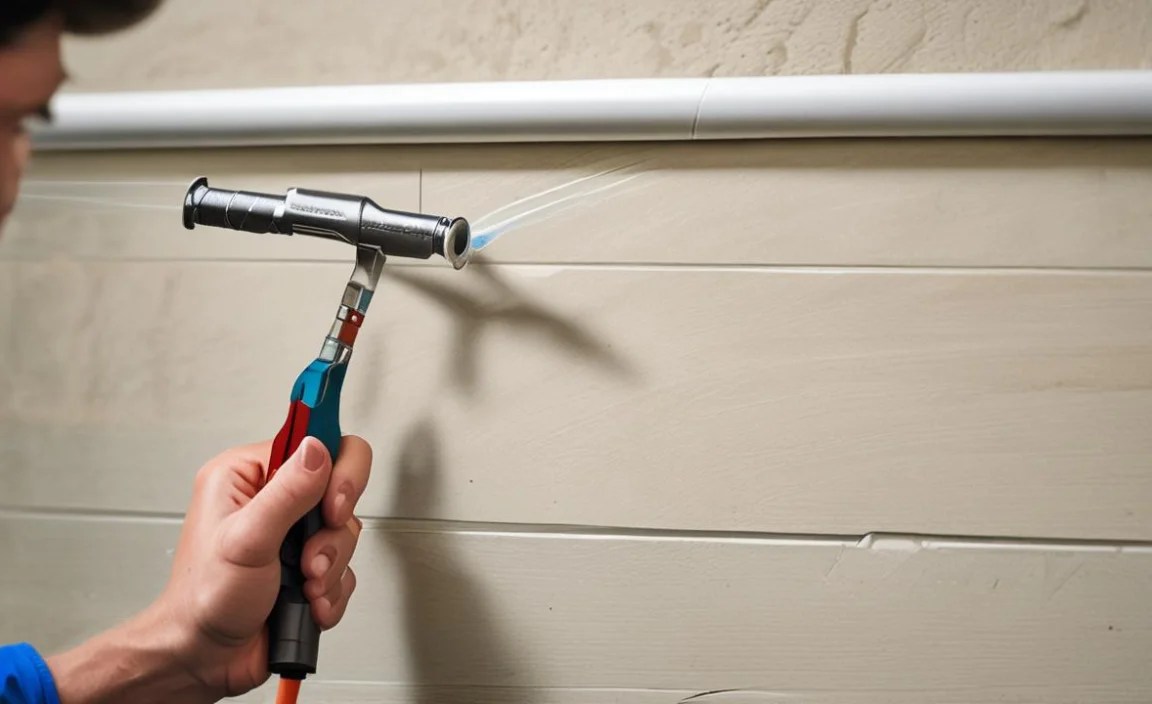
If you’re aiming for perfectly straight lines, painter’s tape is your best friend. Apply a strip of painter’s tape along each edge of the gap you’ll be filling with caulk. Leave a consistent gap between the two tape lines, matching the width you want your new caulk bead to be. This acts as a guide, so you don’t have to rely on freehand precision, and it helps catch any excess.
Ensure the tape is pressed down smoothly with no air bubbles. This will create very clean, sharp lines once you’re done with the caulk application and remove the tape.
Step 4: Cut and Prepare the Caulk Tube

Take your new caulk tube and snip off the tip. This is where technique matters! You want to cut the tip at a 45-degree angle. Start with a small opening – you can always cut it larger if needed. A smaller opening gives you more control, especially with a new caulk gun. The goal is to match the size of the opening to the width of the gap.
Next, puncture the inner seal of the caulk tube. Most caulk guns have a long metal rod that you can push through the nozzle. If yours doesn’t, you might need a long nail or a piece of wire to poke through the hole you cut. This releases the vacuum seal inside.
Step 5: Load the Caulk Gun
Pull back the plunger on the caulk gun. Insert the caulk tube, nozzle first, into the gun. Push the plunger rod against the back of the caulk tube. Many caulk guns have a release trigger or lever on the handle. Press this to disengage the plunger so you can extend it fully against the tube before starting.
To dispense caulk, you’ll squeeze the trigger. Most guns have continuous pressure, meaning it will keep flowing even after you stop squeezing. To stop the flow, you need to release the trigger and immediately activate the pressure release mechanism. This is usually a small lever or button near the trigger that will disengage the plunger. Practice this pressure release a few times without the caulk to get the feel for it, as it’s essential to prevent messy drips.
Step 6: Apply the New Caulk
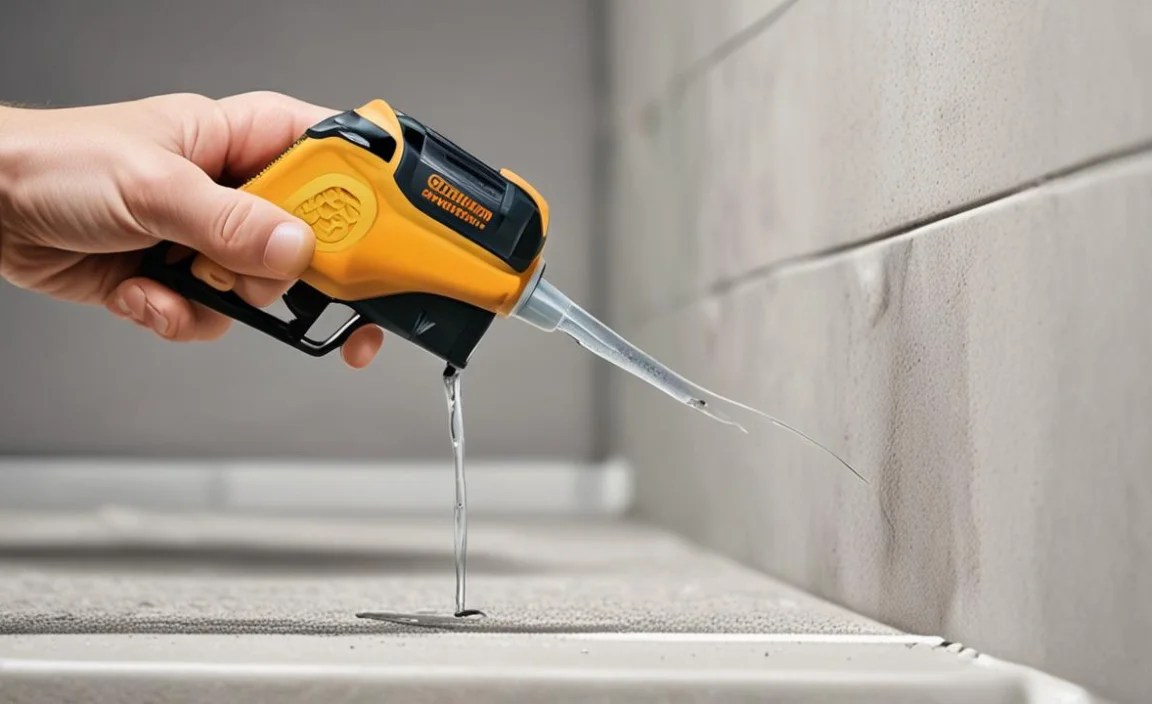
Position the tip of the caulk tube at a 45-degree angle to the seam you’re filling. Place it at the edge of the gap. Gently squeeze the caulk gun trigger, and move the gun smoothly along the seam at a consistent speed. Aim to lay down a continuous bead of caulk. Don’t apply too much at once; you can always add more. The idea is to fill the gap completely.
Keep the pressure on the gun steady and try to maintain the same angle and speed. If using painter’s tape, ensure the caulk bead bridges the gap between the two tape lines. A common mistake is to pull the gun towards you; it’s often easier and more controlled to push it away from you, or move it sideways along the seam.
Step 7: Tool and Smooth the Caulk
This is where you get that smooth, professional finish. If you used painter’s tape, do this step before the caulk starts to skin over (usually within 5-10 minutes). If you didn’t use tape, you’ll need to be a bit more careful to keep it neat.
Dip your finger (wear a glove!) or your caulk finishing tool into a bucket of water (or a mild soap-and-water solution). Gently run your wet finger or tool along the bead of caulk. The goal is to press the caulk into the seam and smooth the surface. Be consistent. Don’t press too hard, or you’ll remove too much caulk. You want to create a slightly concave surface that water will run off.
If you’re using a specialized tool, follow its shape to create a clean line against the wall and the fixture. For a DIY approach, a popsicle stick or even the clean edge of a plastic spoon can work, but keep it wet.
Step 8: Remove Painter’s Tape (If Used)
If you applied painter’s tape, remove it immediately after tooling/smoothing the caulk, while it’s still wet. Pull the tape off slowly and at an angle away from the fresh caulk bead. This will leave you with a sharp, clean line. If you wait too long, and the caulk starts to dry, you risk pulling the caulk bead up with the tape.
Step 9: Clean Up and Cure
Wipe away any excess caulk that may have squeezed out or dripped using a damp rag. Clean your tools promptly. Most caulk types require a specific curing time before they can be exposed to water. Check the packaging on your caulk tube. Typically, this is anywhere from 12 to 24 hours, but some fast-curing options are available. Avoid using the faucet or shower until the caulk is fully cured to ensure a durable seal.
Types of Caulk and Their Uses

Choosing the right caulk is important. Here’s a quick look at common types and where they’re best used around your home:
| Caulk Type | Pros | Cons | Best For |
|---|---|---|---|
| 100% Silicone Caulk | Excellent waterproofing, very flexible, durable, resists mold and mildew. Great for high-moisture areas. | Can be difficult to paint over, can be messy to apply initially, strong odor during application (use in well-ventilated areas). | Bathrooms (tubs, showers, sinks), kitchens (around sinks, countertops), windows, exterior gaps. |
| Siliconized Latex Caulk | Easier to apply and clean up than silicone, paintable once dry, good flexibility and water resistance. | Less flexible and durable than 100% silicone, not as ideal for constant submersion or extreme temperature fluctuations. | Interior trim, baseboards, windows, door frames, non-wet areas of bathrooms/kitchens. |
| Acrylic Latex Caulk | Very easy to apply, dries quickly, low odor, inexpensive, and easily paintable. | Least durable, prone to cracking over time, poor waterproofing, not suitable for wet areas. | Dry interior areas, baseboards, trim where no moisture is expected. |
| Polyurethane Caulk | Strong adhesion, very durable, flexible, excellent waterproofing, and can often be painted. | More expensive, can have a stronger odor, requires careful application. | Exterior applications, siding, masonry, areas needing high durability and weather resistance. |
For most bathroom and kitchen repairs, where water resistance and mildew resistance are key, a 100% silicone caulk or high-quality siliconized latex caulk is your best bet. Always check the product label to ensure it’s suitable for your specific application and environment. For instance, proper disposal of unused caulk and tubes is also something to consider after your project.
Common Mistakes to Avoid
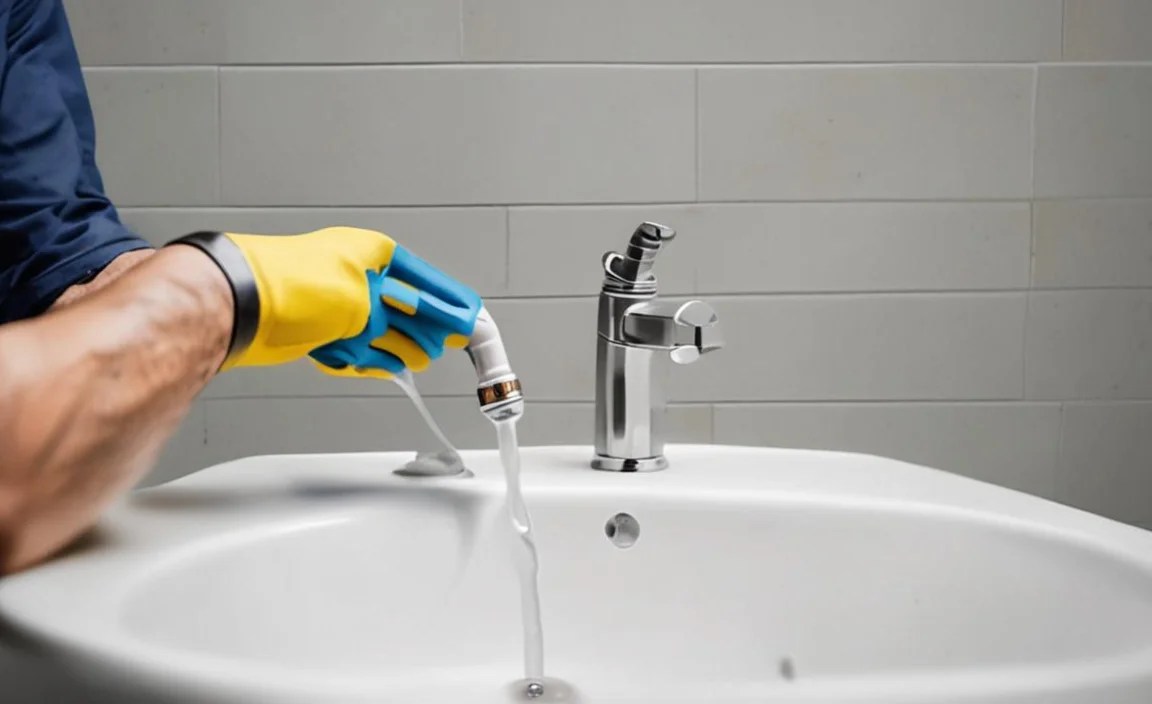
Even with the best intentions, DIYers can run into a few snags. Here are common mistakes and how to steer clear of them:
- Not removing all old caulk: This is the #1 mistake. New caulk won’t stick well to old caulk, leading to premature failure.
- Cutting the nozzle too large: This results in too much caulk being applied, making it hard to control and creating a messy bead. Start small!
- Applying caulk too thinly: This leaves gaps and won’t provide adequate protection. You need a bead that fills the gap completely.
- Not smoothing the caulk bead: An unsmoothed bead looks unprofessional and can trap dirt and moisture.
- Caulking over wet surfaces: New caulk needs a dry surface to bond properly. Ensure everything is completely dry before you start.
- Using the wrong type of caulk: Using interior latex caulk in a shower, for example, is a recipe for mold and water damage.
- Waiting too long to remove painter’s tape: If the caulk dries too much, pulling the tape will ruin your clean line.
- Not allowing caulk to cure: Exposing wet caulk to water too soon compromises its integrity and sealing ability.
Troubleshooting Common Caulk Issues
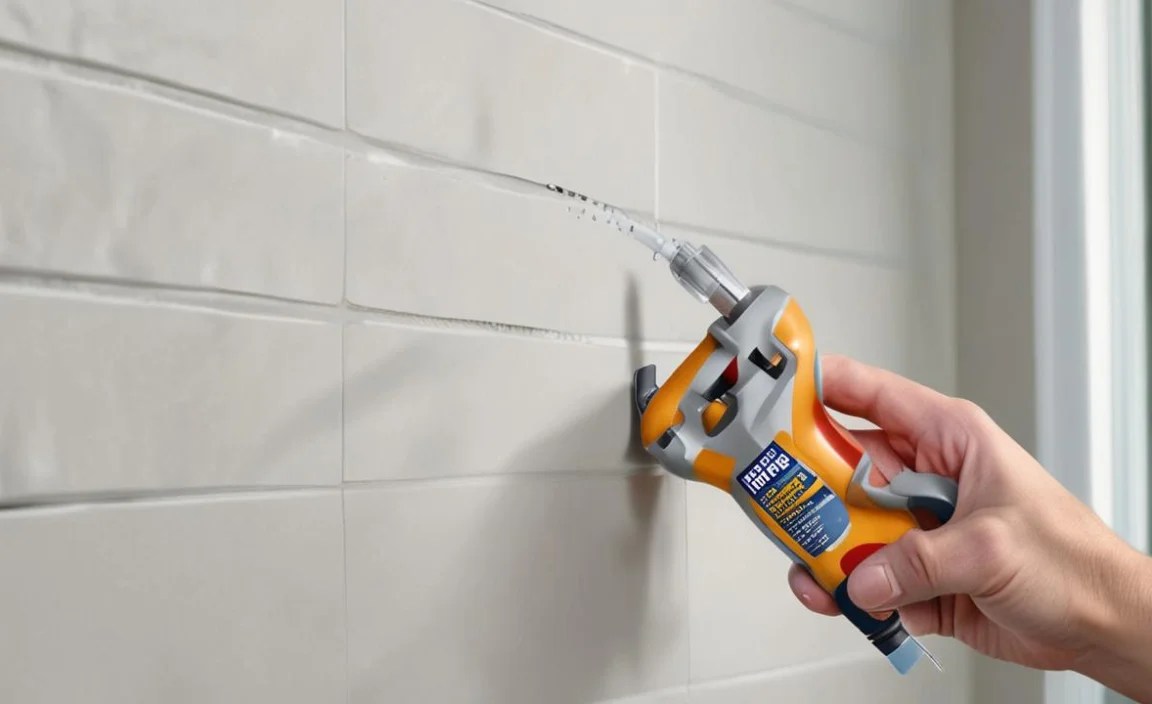
Even with careful work, you might encounter minor issues. Here’s how to fix them:
Uneven Bead
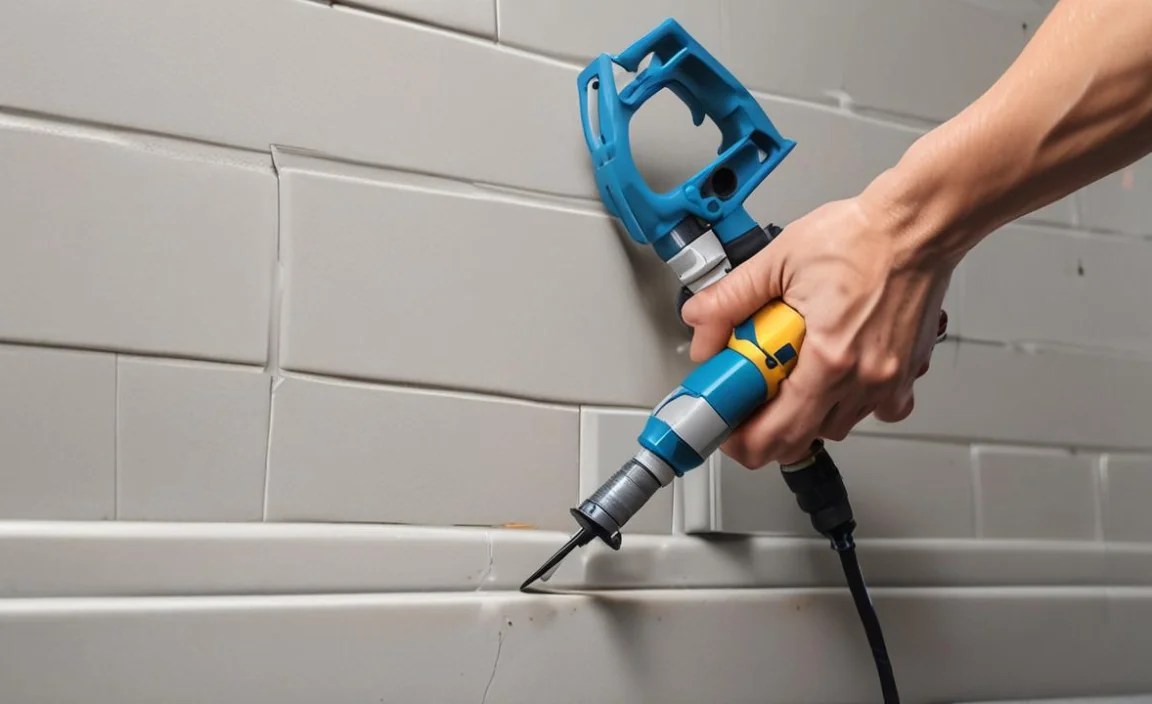
Problem: Your caulk line is bumpy or inconsistent.
Solution: If the caulk is still wet, you can carefully scrape away the offending section with a putty knife and reapply. For minor bumps, you can try to gently smooth them with a wet finger or tool. If it’s already hardened, you might need to remove the whole section and start again.
Too Much Caulk (Messy Application)
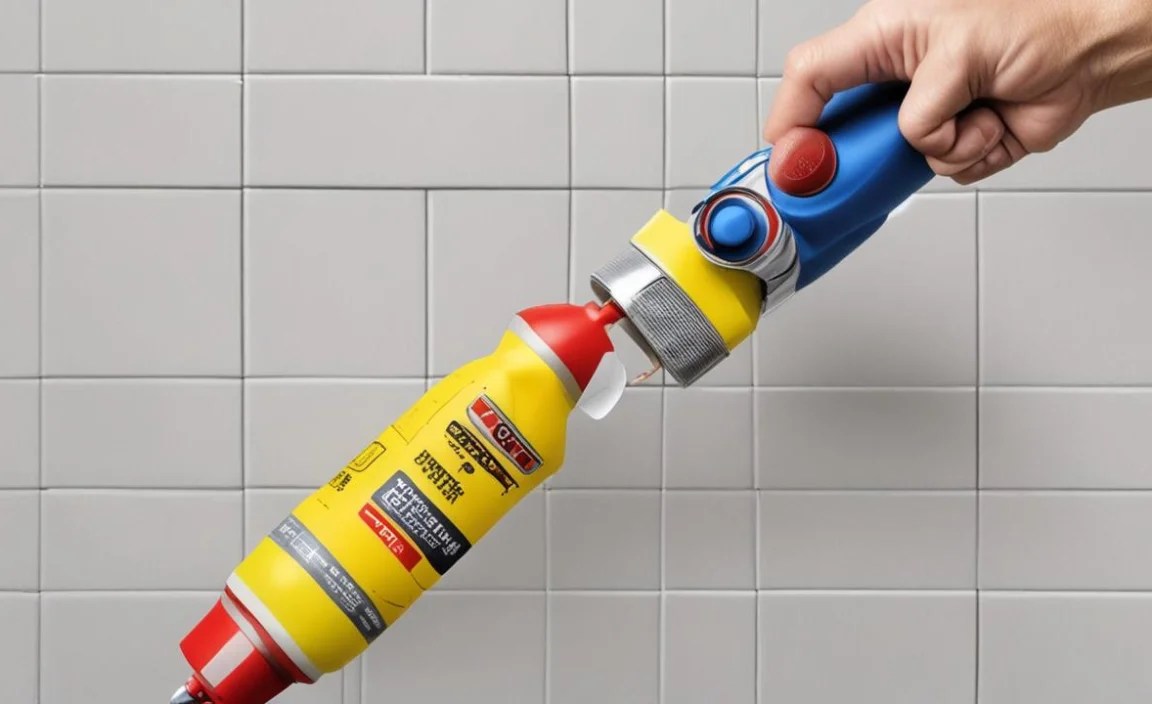
Problem: You applied way too much caulk, and it’s oozing everywhere.
Solution: If still wet, use a damp rag to carefully wipe away excess caulk. For larger messes, a putty knife can help scrape it off. If it’s already starting to set, use your caulk removal tool to scrape it off and reapply a thinner bead.
Caulk Pulls Away from the Wall/Fixture
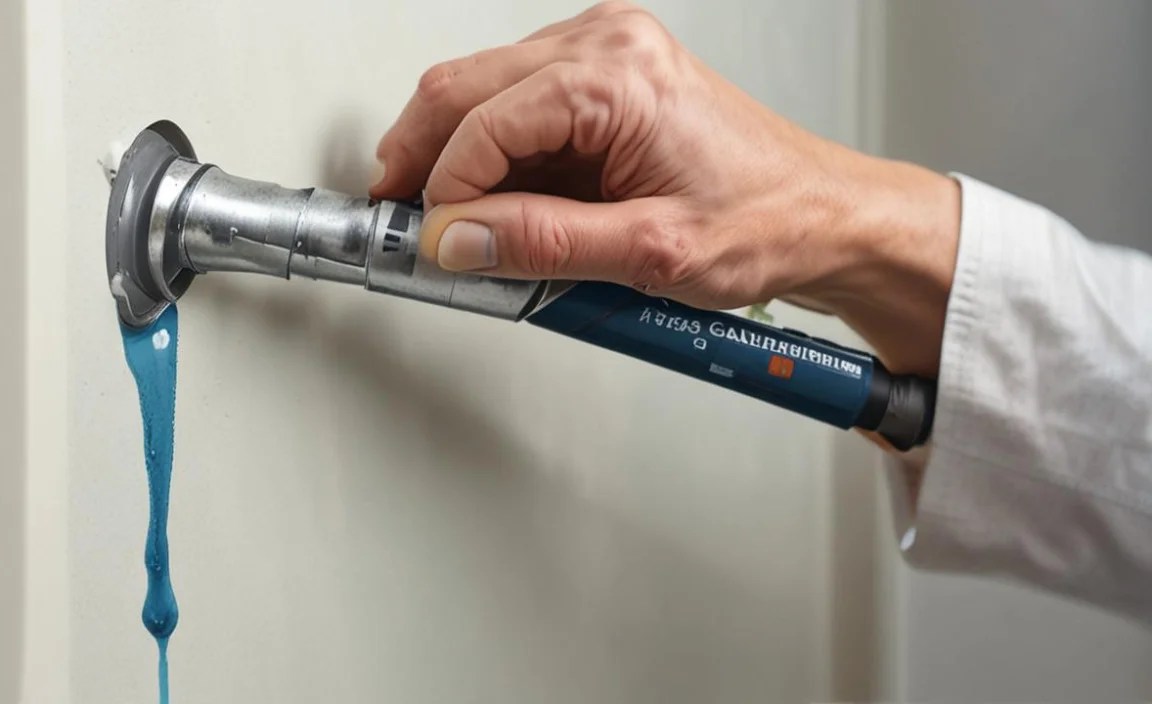
Problem: After a day or two, the caulk starts to shrink and pull away.
Solution: This is often because the surface wasn’t clean or dry enough, or the wrong type of caulk was used. You’ll need to remove the faulty caulk entirely, clean the surface thoroughly with rubbing alcohol, ensure it’s bone dry, and reapply with a high-quality, appropriate caulk. Letting it cure fully is also critical.
Mold or Mildew Returns Quickly
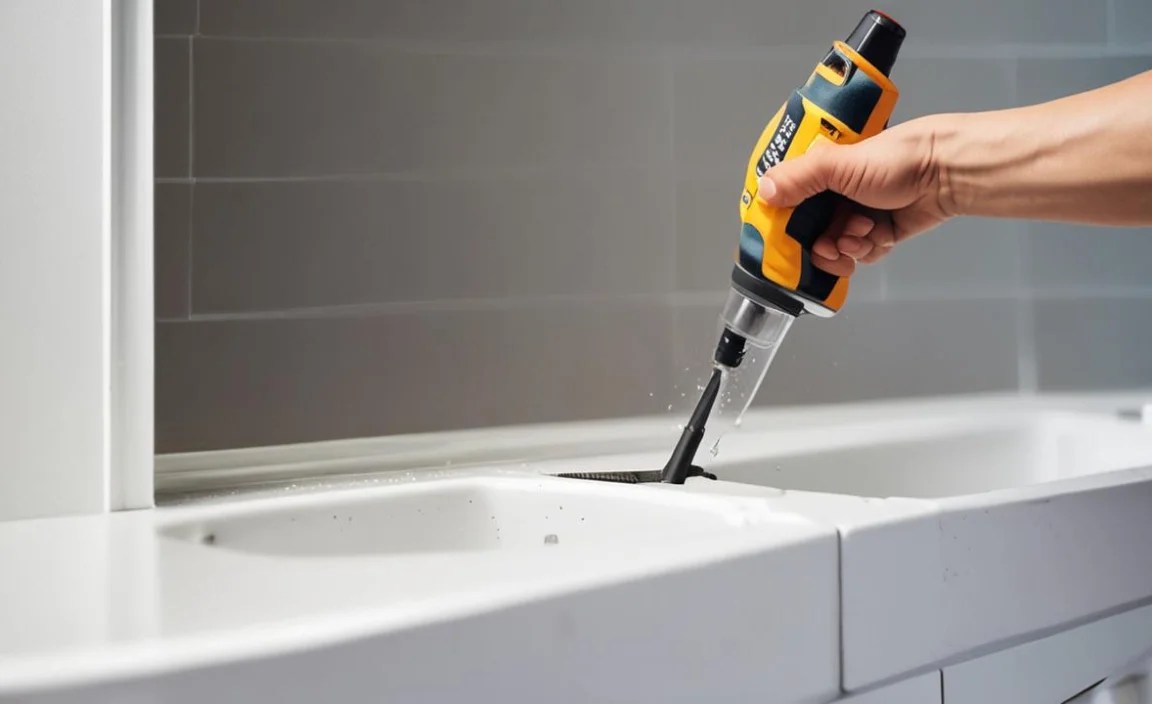
Problem: You re-caulked, but mold reappears shortly after.
Solution: This usually signifies a deeper moisture problem behind the caulk. Ensure you’re using a mildew-resistant caulk. If mold persists, there might be a leak, poor ventilation, or grout issues that need to be addressed. Sometimes, the area needs better long-term ventilation, like a stronger exhaust fan, as recommended by resources like the EPA for preventing mold.
Maintaining Your New Caulk
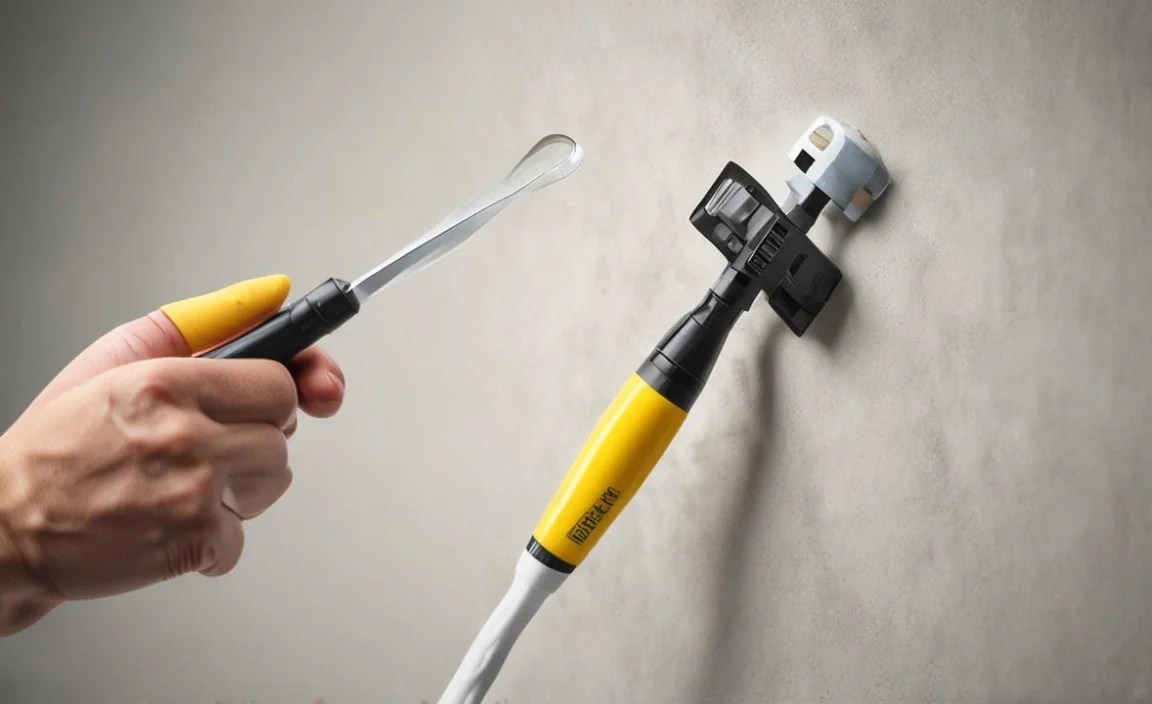
To keep your new caulk looking great and functioning properly for as long as possible:
- Ventilate: Ensure bathrooms are well-ventilated after showers or baths. Open windows or use exhaust fans to reduce humidity.
