
Repair drain cheap with these simple DIY fixes. Save money and avoid costly plumber calls by tackling common clogs and minor leaks yourself using everyday tools and proven, budget-friendly methods. Get your drains flowing freely again without breaking the bank!
A clogged or slow-draining sink, shower, or tub can be a real headache. It’s messy, inconvenient, and can leave you feeling stuck. The good news is that many common drain problems aren’t serious and can be fixed without calling a professional plumber. You don’t need fancy tools or a big budget either! This guide will show you how to repair your drain cheaply, empowering you to tackle these issues like a pro.
We’ll walk through simple, effective solutions for everyday drain woes. From stubborn clogs to minor leaks, you’ll discover affordable methods that really work. Get ready to save money and gain the confidence to handle basic plumbing fixes yourself. Let’s get those drains working smoothly again!
This guide will cover:
- Identifying common drain problems.
- Easy and cheap unclogging methods.
- Simple fixes for minor leaks.
- Essential tools for DIY drain repair.
- When it’s time to call a professional.
Understanding Common Drain Problems
Before we dive into repairs, let’s understand what might be causing your drain troubles. Most drain issues stem from blockages or minor seal failures. Knowing the culprits helps you choose the right, budget-friendly solution.
What Causes Drain Clogs?
Drain clogs are typically caused by a build-up of common household items. The most frequent offenders include:
- Hair: Especially common in showers and bathroom sinks, hair weaves into a stubborn clog.
- Grease and Oil: When poured down the kitchen sink, hot grease cools and solidifies, sticking to pipe walls and trapping other debris.
- Food Scraps: Small bits of food, coffee grounds, and eggshells can accumulate over time in kitchen drains.
- Soap Scum: Bathroom sinks and showers accumulate soap residue, which can harden and mix with hair, forming a dense blockage.
- Foreign Objects: Small items like cotton swabs, dental floss, or even children’s toys can accidentally fall into drains and cause obstructions.
What Leads to Minor Drain Leaks?
Leaks are often less dramatic but can still cause damage. Common causes for minor leaks include:
- Loose Connections: Pipes under sinks might become slightly loose over time, especially at joints or where they connect to fixtures.
- Worn-Out Seals or Washers: Rubber seals and washers in faucets or drain stoppers can degrade and crack, allowing water to seep out.
- Cracked Pipes: Though less common for minor leaks and usually indicative of a larger issue, hairline cracks can sometimes develop in older pipes.
Proven Affordable Drain Repair Solutions
Now that we know what causes the problems, let’s explore the DIY, wallet-friendly solutions. These methods are effective for most common drain issues and require minimal investment.
Cheap and Easy Ways to Unclog Drains

You don’t need harsh chemicals or expensive tools for most clogs. Start with these simple, eco-friendly methods!
1. The Boiling Water Flush (For Kitchen Sinks)
This is often the first and easiest step for kitchen sink clogs caused by grease and soap buildup. The hot water can help melt away softer blockages.
- Boil a kettle or pot of water (at least 4 cups).
- Carefully pour the boiling water directly down the drain opening.
- Wait a few minutes and test the drain.
- Repeat if necessary, but be cautious with PVC pipes, as excessive heat can sometimes damage them. For PVC, lukewarm or hot tap water is a safer alternative.
2. The Baking Soda and Vinegar Method
A classic DIY remedy that uses common kitchen ingredients to create a fizzing reaction that can break down grime and mild clogs. It’s safe for most plumbing systems.
- Pour about ½ cup of baking soda down the drain.
- Follow with ½ cup of white vinegar.
- Immediately cover the drain with a stopper or a wet cloth to contain the fizzing reaction.
- Let it sit for at least 30 minutes, or even overnight for tougher clogs.
- Flush the drain with hot water (or boiling water for metal pipes, as mentioned above).
3. The Plunger Power
A good old-fashioned plunger is a surprisingly effective tool for many clogs. The suction and pressure can dislodge blockages.
- Ensure there’s enough water in the sink or tub to cover the plunger’s rubber cup.
- For sinks with an overflow drain (a small hole near the top), block it with a wet rag to create a better seal.
- Place the plunger cup firmly over the drain opening, ensuring a tight seal.
- Push down and pull up with rapid, forceful strokes for about 20-30 seconds.
- Lift the plunger quickly. If water flows down, the clog is likely gone.
- Repeat the plunging process a few times if needed.
Tip: Use a cup plunger for sinks and toilets. A flange plunger (with an extra flap at the bottom) is best for toilets but can also work on sinks.
4. The Wire Hanger or Drain Snake (Manual)
For clogs caused by hair or other solid obstructions near the drain opening, a bent wire coat hanger or a simple drain snake can reach and pull out the gunk.
Using a Wire Hanger:
- Straighten out a wire coat hanger, leaving a small hook at one end.
- Carefully insert the hooked end into the drain.
- Gently twist and maneuver it to snag any visible debris.
- Pull out the debris and discard it.
- Flush with hot water to clear remaining residue.
Using a Drain Snake (Manual):
A manual drain snake (also called a plumber’s snake or auger) is a flexible cable that can reach further into the pipe.
- Feed the end of the snake into the drain opening.
- Push it in until you feel resistance – this is likely the clog.
- Turn the handle to rotate the snake’s tip, breaking up the clog or snagging it.
- Pull the snake back slowly, bringing any debris with it.
- Repeat if necessary.
- Flush the drain with hot water.
You can find affordable manual drain snakes at most hardware stores. For reference on how pipes work, check out these EPA resources on plumbing and drains.
5. Enzyme Drain Cleaners
If store-bought chemical drain cleaners worry you, enzyme-based cleaners are a gentler, eco-friendlier alternative. They use natural enzymes to break down organic waste like grease, hair, and food particles. They work slowly but are safe for pipes and the environment.
- Follow the product instructions carefully. Usually, you pour a specific amount down the drain and let it sit overnight.
- These are best for maintenance and slow drains rather than immediate clogs.
Fixing Minor Drain Leaks on a Budget
A small drip can lead to bigger problems if ignored. Fortunately, fixing minor leaks is often a simple DIY task.
1. Tightening Loose Connections
Many leaks under the sink are simply due to fittings that have loosened over time. Ensure the water supply is turned off before you begin.
- Locate the leaking joint or connection under the sink.
- Use an adjustable wrench to gently tighten any nuts or couplings. Turn clockwise.
- Don’t overtighten, as this can damage the pipes or fittings.
- Turn the water back on and check again for leaks.
2. Replacing Worn-Out Washers and Seals
Dripping faucets or leaky drain stoppers (like the pop-up type in bathroom sinks) are often caused by faulty rubber washers or seals.
For Faucets:
- Turn off the water supply to the faucet.
- Carefully disassemble the faucet handle and stem according to your faucet’s model (you may need to look this up online).
- Identify and remove the old, worn washer or O-ring.
- Take the old part to a hardware store to find an exact replacement – bringing the old part is the best way to ensure a good fit.
- Install the new washer or seal.
- Reassemble the faucet.
- Turn the water back on and test.
For Sink Stopper Leaks:
- Remove the stopper from the sink drain.
- Inspect the rubber seal around the stopper or the pivot rod if it’s a pop-up drain.
- Replace any cracked or worn-out seals or washers. These are often inexpensive and readily available.
- Reinstall the stopper and test for leaks when the sink is filled.
3. Using Plumber’s Tape (PTFE Tape)
When reconnecting threaded pipes or fittings, plumber’s tape can create a watertight seal. This is particularly useful for adding a new faucet or fixing a pipe joint.
- Ensure the threads are clean.
- Wrap the tape clockwise around the male threads of the pipe or fitting. Use 3-4 wraps, stretching the tape slightly so it conforms to the threads.
- Assemble the fitting. The tape will compress and fill any small gaps.
Essential Tools for Cheap Drain Repair
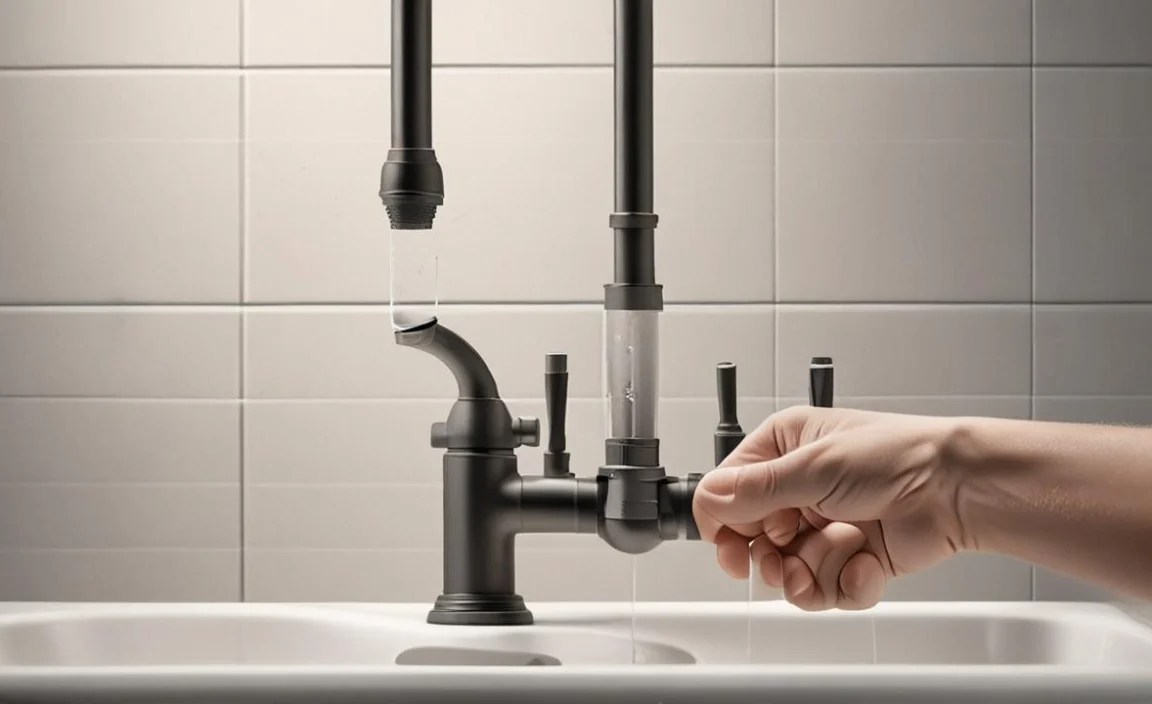
You don’t need a professional toolkit to handle most DIY drain repairs. Here are a few affordable and essential tools that will serve you well:
| Tool | Purpose | Approximate Cost (USD) | Why It’s Great for DIY |
|---|---|---|---|
| Plunger (Cup type recommended) | Creating suction and pressure for clogs. | $5 – $15 | Simple to use and highly effective for many clogs. |
| Baking Soda & White Vinegar | Natural cleaning agents to break down grime and clogs. | $2 – $5 (for both) | Already in your pantry for many households. |
| Wire Coat Hangers | Fishing out hair and debris from the drain opening. | Free (if you have them) – $2 (for a few from a cleaner) | Bendable and easily modified for tight spots. |
| Manual Drain Snake/Auger | Reaching deeper clogs and breaking them up or pulling them out. | $10 – $30 | More effective than hangers for tougher or deeper blockages. |
| Adjustable Wrench | Tightening loose pipe fittings and nuts. | $8 – $20 | Versatile for various sizes of nuts and bolts. |
| Bucket | Catching water when working under sinks or removing trap parts. | $3 – $10 | Essential for preventing messes. |
| Screwdriver Set (Phillips and Flathead) | Disassembling faucet handles or other fixture components. | $10 – $25 | Needed for accessing internal parts of some fixtures. |
| Plumber’s Tape (PTFE Tape) | Sealing threaded pipe connections to prevent leaks. | $2 – $5 | Small roll lasts for many uses. |
Having these basic tools on hand means you’re prepared for many common drain emergencies without needing to make a special trip to the store or call for help.
When to Call a Professional Plumber
While DIY solutions are great for saving money on common issues, it’s important to know your limits. Some problems require the expertise and specialized equipment of a professional plumber.
Signs You Need a Pro:
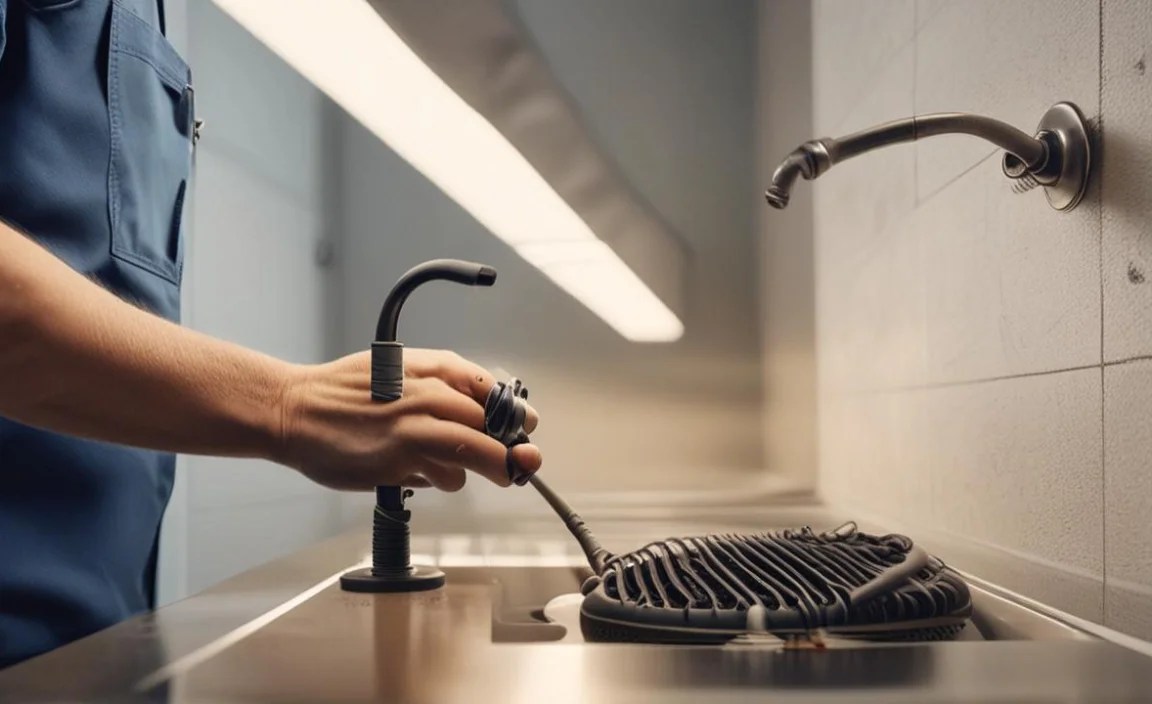
- Multiple Drains are Clogged: If all the drains in your house are slow or backed up, it likely indicates a blockage in the main sewer line, which needs professional attention.
- Recurring Clogs: If you frequently experience clogs in the same drain despite your best DIY efforts, there might be a more significant underlying issue like pipe damage or improper slope.
- Sewage Smells: Persistent foul odors emanating from your drains, especially if accompanied by gurgling sounds, can signal a serious sewer line problem or ventilation issue.
- Water Backing Up: If water backs up into sinks, tubs, or toilets when you flush, use appliances that drain water, or flush other fixtures, it points to a blockage further down the line.
- Visible Pipe Damage or Leaks: If you see cracks, significant corrosion, or large sections of leaking pipe, especially in hard-to-reach areas or if it’s a constant flow, it’s time to call a professional.
- No Improvement After DIY Attempts: If you’ve tried multiple DIY methods and the drain is still blocked or leaking, it’s wise to seek expert help rather than risk causing further damage.
- Lack of Confidence or Time: If you’re uncomfortable with any repair, don’t have the right tools, or simply lack the time, calling a plumber is the safest and most efficient route.
For more in-depth information on plumbing system health and maintenance, resources like the Plumbing Engineer’s guide to home plumbing systems can offer valuable insights.
FAQ: Your Drain Repair Questions Answered
Q1: Can I pour bleach down my drain to unclog it?

It’s generally not recommended. While bleach can kill some debris, it’s a harsh chemical that can damage certain pipe materials (especially older metal pipes) and is harmful to the environment if it gets into waterways. It’s also ineffective against many types of clogs, like solid obstructions.
Q2: How often should I use baking soda and vinegar for drain maintenance?

For regular maintenance and to keep drains fresh and clear, using the baking soda and vinegar method once a month is a good preventative measure. For a stubborn clog, you might need to use it more frequently or combine it with plunging.
Q3: My drain is still slow after plunging. What else can I try?

If plunging didn’t work, the next step is usually a manual drain snake or a bent wire hanger to try and physically remove the obstruction. If those don’t work, or if you suspect the clog is very deep, consider an enzyme cleaner for organic buildup or calling a plumber.
Q4: Are chemical drain cleaners truly harmful?

Yes, many commercial chemical drain cleaners contain corrosive substances like lye (sodium hydroxide) or sulfuric acid. They can: burn your skin, damage plumbing pipes (especially PVC and older metal), harm septic systems and the environment, and produce toxic fumes. Always use them with extreme caution and as a last resort, preferring safer alternatives first.
Q5: How can I prevent future drain clogs?
Prevention is key! Use drain strainers in sinks and showers to catch hair and food particles. Never pour grease or oil down the kitchen sink. Regularly flush drains with hot water. Consider using an enzyme cleaner monthly for maintenance. Periodically clear out hair traps in shower drains.
Q6: Is it safe to mix drain cleaning methods?
It’s very important NOT to mix different drain cleaning products, especially chemical ones. Mixing chemicals can create dangerous, toxic fumes or even cause explosions. If you use one method (like vinegar), flush your drain thoroughly with plain water before attempting another, especially a chemical cleaner.
Conclusion
Dealing with a clogged or leaky drain doesn’t have to be a costly or stressful experience. By understanding the common causes and equipping yourself with a few basic tools and techniques, you can effectively and affordably repair many drain issues. From the simple boiling water flush and baking soda concoction to the trusty plunger and manual snake, these DIY solutions are proven, budget-friendly, and surprisingly effective for most household drains.
Remember to always prioritize safety and know when to call in the
