
Quick Summary: This repair drain guide provides essential fixes for common clogs and leaks. Learn simple, safe DIY steps to clear slow drains, fix leaky pipes, and address other basic drain issues, saving you time and money on professional help.
Drains are a vital part of any home’s plumbing, quietly doing their job until they don’t. A slow-moving or completely blocked drain can be incredibly frustrating, leading to messy backups and unpleasant odors. Leaky pipes add water damage worries to the mix. But don’t worry! Many common drain problems are surprisingly easy to fix yourself with a few basic tools and techniques.
This guide is designed to walk you through the most common drain repair issues. We’ll demystify plumbing terms and provide clear, step-by-step instructions. You’ll gain the confidence to tackle these essential fixes, keeping your home running smoothly and preventing small issues from becoming big headaches.
Let’s dive into how you can become your own drain repair expert!
Common Drain Problems and Why They Happen
Before we jump into fixes, understanding why drains get clogged or start to leak can help you prevent future issues. Most problems stem from simple buildup or minor wear and tear.
Kitchen Sink Drains
These are notorious for grease, food scraps, and even small objects finding their way down.
- Grease and Oil: When hot grease cools, it solidifies and coats the inside of pipes, creating sticky traps for other debris.
- Food Scraps: Coffee grounds, eggshells, starchy foods (like pasta and rice), and fibrous vegetables can all contribute to clogs.
- Soap Scum: Even in the kitchen, soap residue can combine with other particles to form sludge.
Bathroom Sink/Shower/Tub Drains
Hair is the usual suspect here, often combined with soap and toothpaste.
- Hair: Long hair, especially, can easily tangle and form a substantial blockage.
- Soap Scum: Bar soap leaves behind residue that hardens over time.
- Toothpaste and Products: Pastes and other bathroom products can add to the buildup.
Toilet Drains
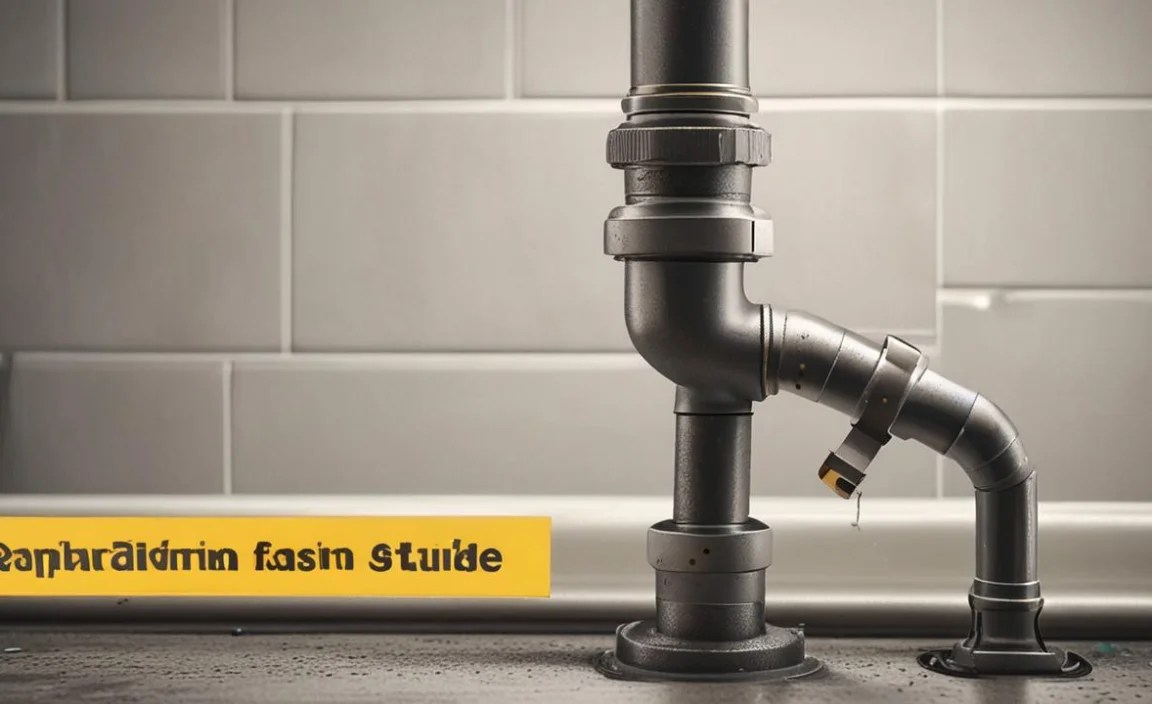
These are generally designed for human waste and toilet paper only.
- Excessive Toilet Paper: Using too much at once can overwhelm the pipes.
- “Flushable” Wipes: Despite the name, many “flushable” wipes do not break down easily and can cause severe clogs.
- Foreign Objects: Toys, cotton swabs, feminine hygiene products, and other non-flushable items are common culprits.
General Pipe Issues
Beyond specific fixtures, pipes themselves can develop problems.
- Tree Roots: In underground pipes, tree roots can seek out water and infiltrate pipes, causing cracks and blockages.
- Pipe Corrosion/Damage: Older pipes can corrode from the inside out, narrowing passages. Physical damage can also occur.
- Lack of Venting: Plumbing systems have vents to equalize pressure. If blocked, it can cause slow drainage and gurgling sounds.
Essential Tools for Drain Repair Beginners
You don’t need a professional plumber’s arsenal to handle most common drain issues. Here are some basics that will serve you well:
| Tool | Description & Use |
|---|---|
| Plunger | A basic rubber plunger (cup-shaped for sinks, flange-shaped for toilets) creates suction to dislodge clogs. |
| Plumber’s Snake (Auger) | A flexible metal cable that can be fed into pipes to break up or pull out clogs further down. Manual and electric versions exist. |
| Drain Cleaning Wand/Tool | A long, usually plastic, flexible tool with barbs or a hook to snag hair and debris near the drain opening. |
| Bucket | To catch water when disconnecting pipes or working under sinks. |
| Adjustable Wrench | Useful for tightening or loosening pipe fittings. |
| Pliers (Channel Lock or Slip-Joint) | Similar to wrenches, these offer good grip for turning nuts and pipes. | Protect your hands from dirty water and chemicals.
|
Essential for eye protection, especially when dealing with splashing or debris.
|
To clean up spills and protect surfaces. |
How to Fix a Clogged Drain: Step-by-Step Guides

Let’s tackle those stubborn clogs!
1. The Mighty Plunger: Your First Line of Defense
This is the simplest and often most effective first step.
When to Use a Plunger:
- Slow drains in sinks, tubs, or showers.
- Clogged toilets (use a flange plunger for toilets).
Steps:
- Create a Seal: For sinks, make sure there’s enough water in the basin to cover the rubber cup of the plunger. If not, add some. For toilets, ensure there’s enough water to submerge the plunger cup.
- Block Overflow (if applicable): Some sinks and tubs have an overflow drain. Cover this with a wet rag to ensure a good seal and maximum suction.
- Position the Plunger: Place the plunger firmly over the drain opening, ensuring a complete seal.
- Plunge Vigorously: Push down and pull up sharply about 5-10 times. The upward pull is often more effective in dislodging clogs.
- Check the Drain: Remove the plunger and see if the water drains. You might need to repeat the process a few times.
- Flush with Hot Water: If the drain starts to clear, run hot water for a few minutes to help wash away any remaining debris.
Pro Tip:

Never use a plunger immediately after pouring chemical drain cleaners down the drain. The splash-back could be harmful. Wait at least an hour or two, or opt for a plunger first.
2. The Drain Cleaning Wand/Tool: For Hair and Surface Debris
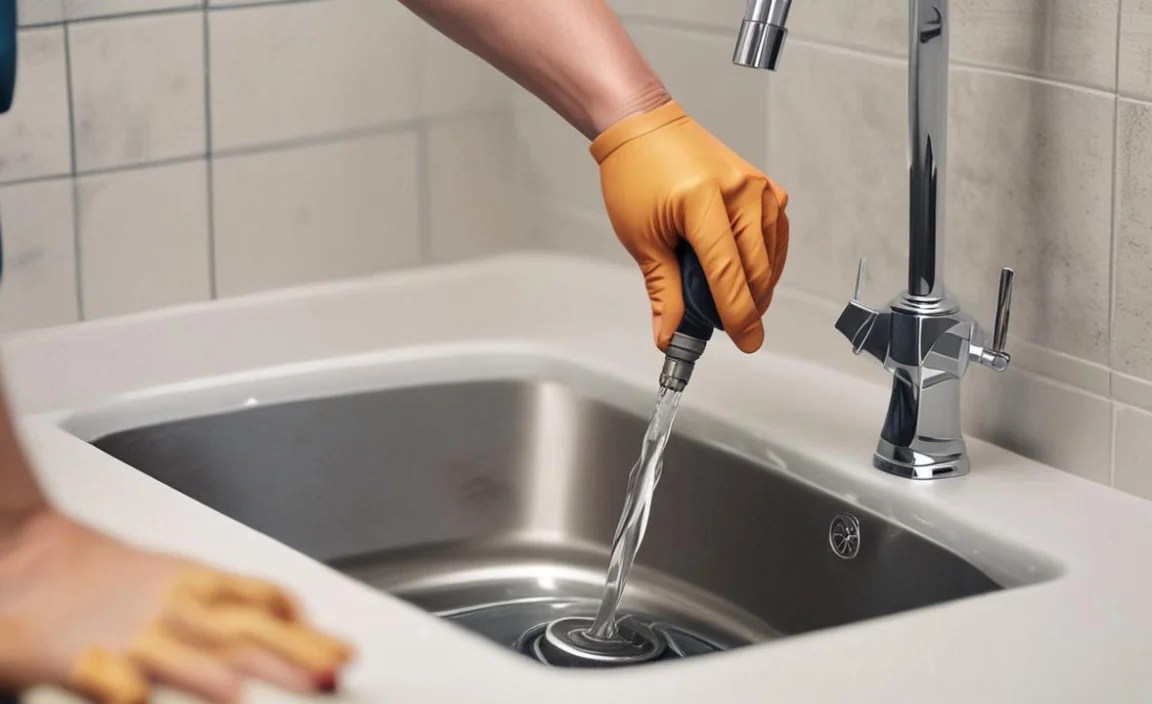
Ideal for bathroom drains where hair is the main culprit. These inexpensive tools are designed to grab and pull out gunk without damaging your pipes.
When to Use:
- Slow-draining showers or tubs.
- Sinks where you suspect hair is the primary blockage.
Steps:
- Gather Your Tools: You’ll need your drain cleaning tool, gloves, and possibly a bucket.
- Locate the Drain Cover: Remove any sink stoppers or shower drain covers. Sometimes these are held in place by a screw.
- Insert the Tool: Gently feed the flexible tool down the drain. Try to push it as far as it will comfortably go.
- Twist and Pull: Once you feel resistance or have reached the end of the tool’s reach, slowly twist and pull it back up. The barbs or hooks should snag hair and other debris.
- Clean the Tool: Carefully remove the collected gunk from the tool and dispose of it.
- Repeat if Necessary: You may need to repeat the process several times to clear the blockage.
- Flush with Hot Water: Run hot water for a few minutes to ensure the drain is clear.
3. The Plumber’s Snake (Auger): For Deeper Clogs
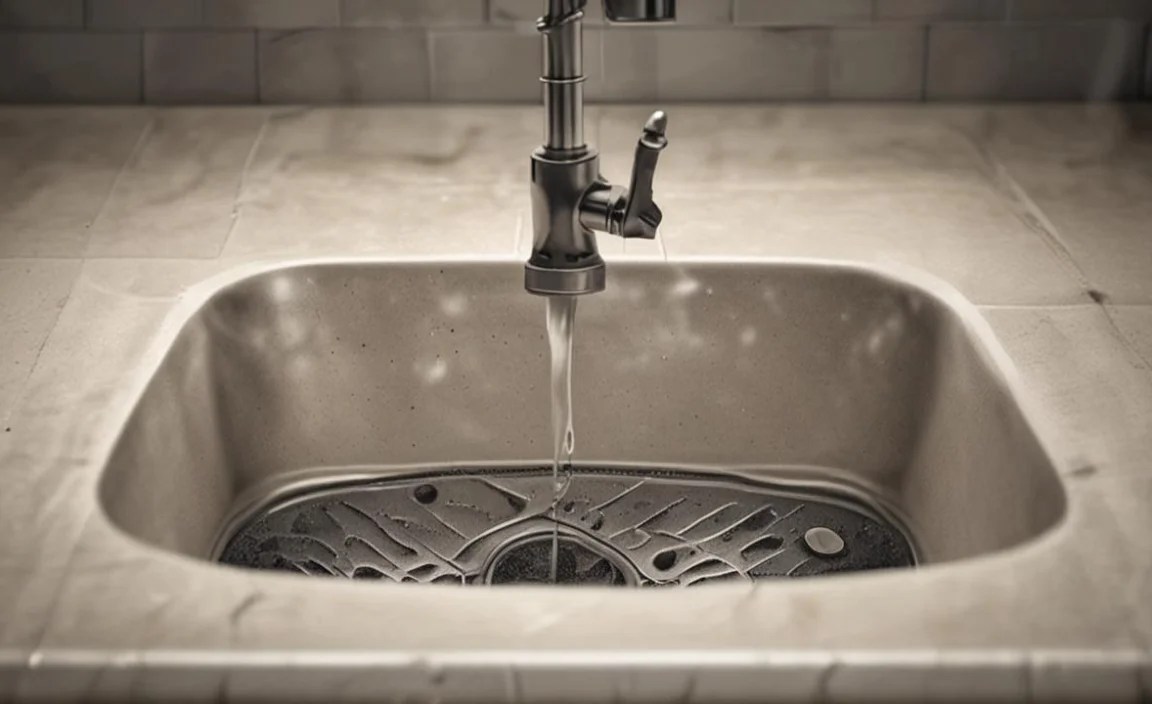
If plunging and simpler methods don’t work, a plumber’s snake is your next best bet for those tougher, deeper clogs.
When to Use:
- Stubborn clogs that plunging can’t fix.
- When you suspect the clog is further down the pipe.
Steps:
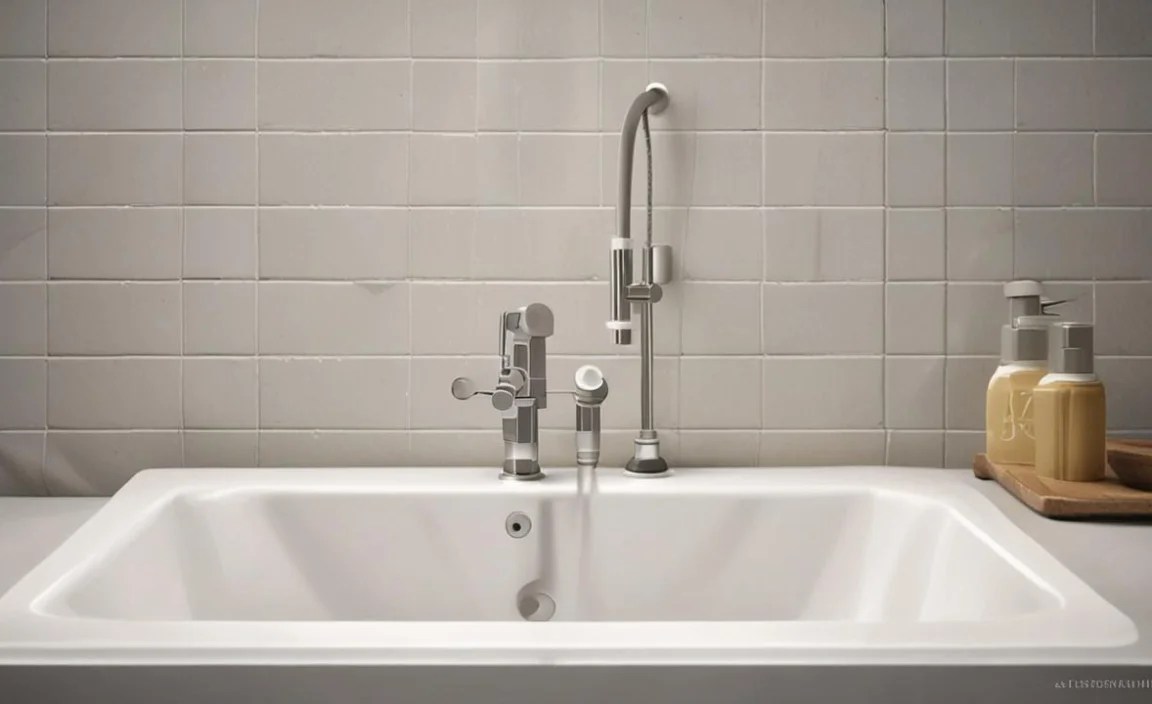
- Prepare the Area: Place a bucket under the P-trap (the U-shaped pipe under the sink) in case you need to access it. Lay down old towels.
- Insert the Snake: Feed the end of the snake into the drain opening. For sinks, you might need to remove the drain stopper assembly or even the P-trap for easier access. For toilets, feed it into the toilet trap.
- Advance the Cable: Slowly push the snake cable into the pipe. When you feel resistance, you’ve likely hit the clog.
- Work Through the Clog: Lock the cable (if your snake has a lock) and turn the handle clockwise to rotate the auger head. This will break up the clog or hook onto it.
- Retract the Snake: Once you’ve worked through the clog, slowly pull the snake back out, rotating the handle counter-clockwise. The auger might bring debris with it.
- Clean Up: Discard any debris collected on the snake. Reassemble any pipes you’ve taken apart.
- Test the Drain: Run hot water to check for drainage. You may need to repeat the snaking process.
For a visual guide to using a plumber’s snake, this resource from Reader’s Digest offers helpful tips.
4. Cleaning the P-Trap: A Common Culprit
The P-trap is the U-shaped pipe under your sink. It’s designed to hold water to prevent sewer gases from entering your home, but it can also catch debris.
When to Use:
- When other methods fail and you suspect a clog in the trap itself.
- For stubborn sink clogs.
Steps:
- Set Up: Place a bucket directly underneath the P-trap to catch any water and debris.
- Loosen the Slip Nuts: The P-trap is usually held in place by two large plastic or metal nuts, called slip nuts, on either side of the bend. Use channel lock pliers or your hands to loosen these nuts. Turn them counter-clockwise.
- Remove the Trap: Once the nuts are loose, carefully detach the P-trap. Be prepared for water to spill into your bucket.
- Clean the Trap: Empty the contents of the trap into the bucket. Use a brush or a bent coat hanger to clean out any gunk inside the trap itself. Rinse it thoroughly.
- Inspect the Pipes: Check the exposed ends of the pipe for any further obstructions. You might be able to reach them with your fingers or a small tool, or use your plumber’s snake if needed.
- Reassemble: Put the P-trap back in place, ensuring the seals are properly seated. Hand-tighten the slip nuts, then use pliers for a final snug (but not overly tight) turn.
- Test for Leaks: Run water slowly at first, checking the connections for any drips. Then, run the water at full flow to ensure it drains properly and no leaks are present.
For detailed diagrams and safety notes on P-trap maintenance, the Federal Trade Commission (FTC) offers practical advice on home upkeep.
How to Fix a Leaky Drain Pipe
Leaky pipes are a different beast from clogs, but often manageable for DIYers.
Identifying the Leak

First, pinpoint where the leak is coming from.
- Visual Inspection: Look for water stains, drips, or dampness around pipe joints, connections, and along the length of the pipe.
- Dry Everything: Wipe down the pipe with a dry cloth. Then, run water and watch for where the water reappears.
Common Types of Leaks and Fixes
1. Loose Connections

Often, leaks occur at joints where pipes connect. These can be due to vibration or improper initial installation.
When to Use:
- Drips around threaded connections or under sinks where pipes join.
Steps:
- Turn Off Water: Locate the shut-off valve for the fixture or the main water supply and turn it off.
- Dry the Area: Thoroughly dry the leaking connection with a cloth.
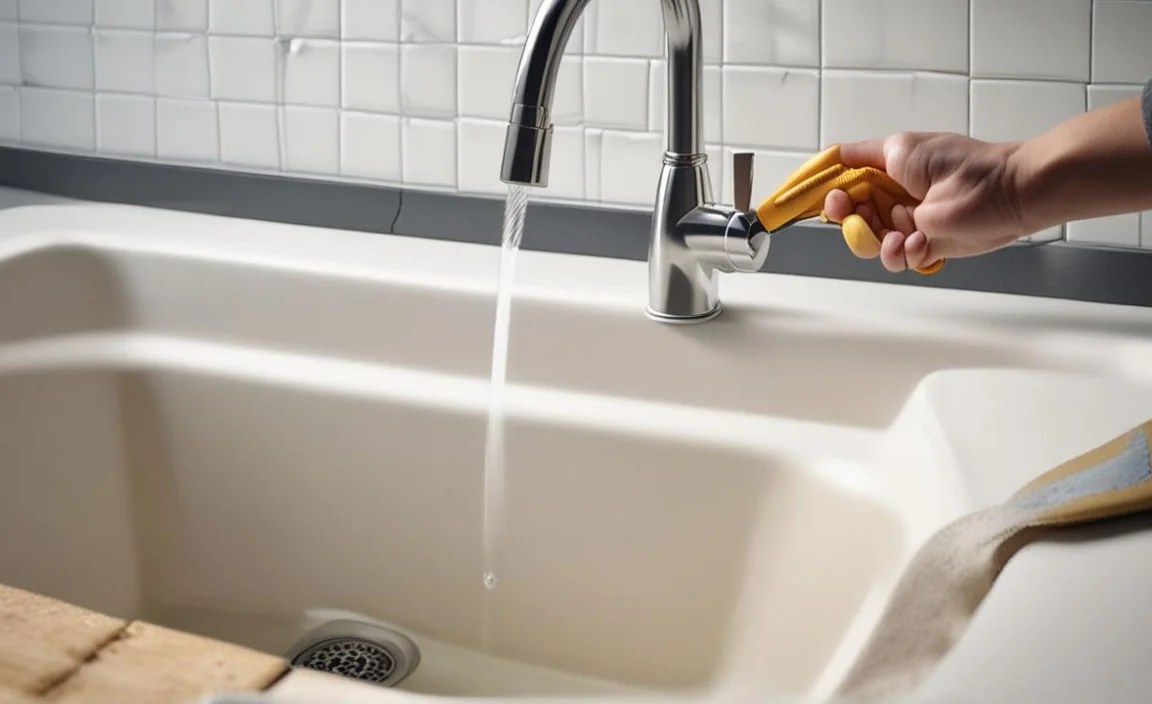
- Tighten Gently: Use an adjustable wrench or pliers to carefully tighten the connection. Turn clockwise, but don’t overtighten, as this could crack plastic pipes or strip threads.
- Test: Turn the water supply back on and check if the leak has stopped. If it persists, you may need to disassemble the connection, clean the threads, and reassemble, possibly with plumber’s tape on threaded connections.
2. Small Pinhole Leaks in Metal Pipes
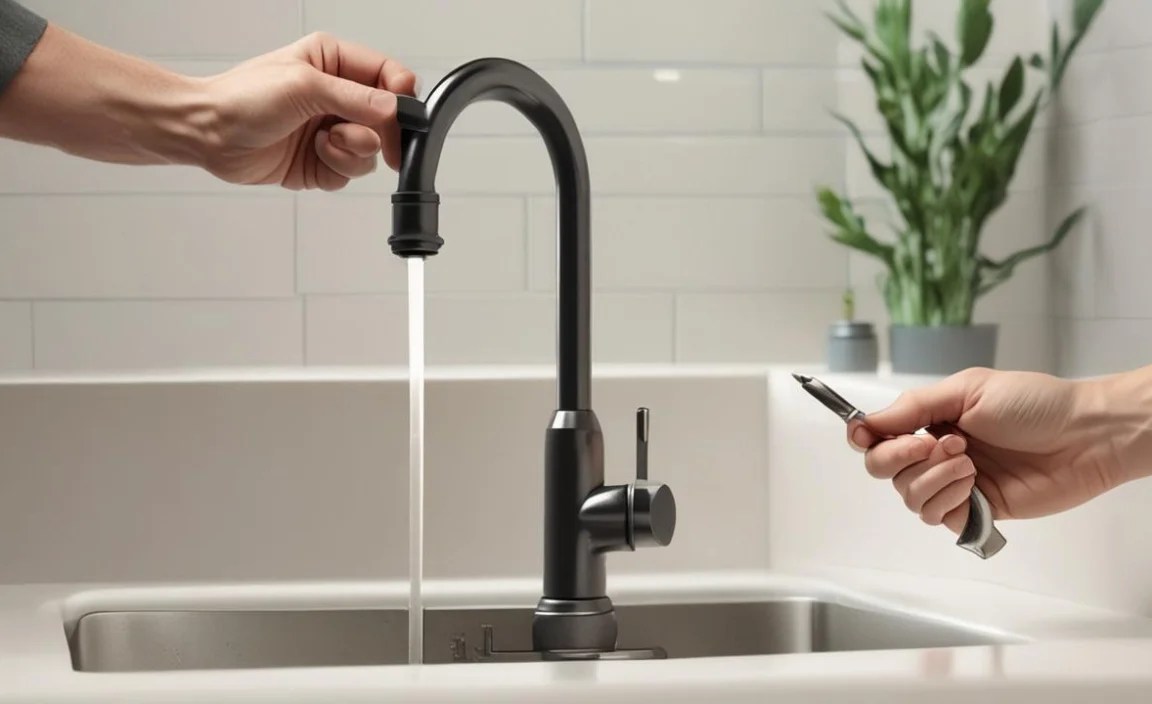
These are more challenging but can sometimes be temporarily repaired. This is a quick fix and not a permanent solution**. Professional repair or replacement is recommended for long-term reliability.
When to Use:
- Tiny holes or cracks in metal drain pipes (copper, galvanized steel).
Steps:
- Turn Off Water: Ensure the water supply is off.
- Repair Clamp/Tape: Purchase a pipe repair clamp specifically designed for your pipe size and type. Alternatively, specialized pipe repair tape (often fiberglass-based and activated by water) can be used as a temporary measure.
- Apply the Repair: Follow the manufacturer’s instructions precisely for the clamp or tape. Generally, this involves wrapping the material tightly around the damaged section of the pipe.
- Allow Curing Time: If using tape, ensure it cures fully according to the product’s instructions before turning water back on.
- Test Carefully: Turn the water on slowly, checking that the leak has stopped.
For more permanent solutions involving pipe replacement, this guide on This Old House explains the process.
3. Cracked or Damaged Pipe Section
If a section of pipe is cracked or significantly damaged, it typically needs replacement. This can be a more involved DIY project or a job best left to a professional.
When to Use:
- Visible cracks, breaks, or severe corrosion in a pipe section.
Steps (Simplified Overview – Professional Recommended):
- Turn Off Water: Shut off the water supply completely.
- Identify Replacement Section: Purchase a new pipe and fittings that match the existing plumbing material and size.
- Remove Damaged Section: Carefully cut out the damaged section of pipe using a pipe cutter.
- Install New Section: Fit the new pipe section using appropriate connectors (e.g., threaded fittings, solvent-welded PVC, or compression fittings).
- Test Thoroughly: Turn water on slowly and check all connections for leaks.
Working with plumbing can be tricky, and a mistaken repair could lead to water damage. If you’re unsure or the damage is extensive, calling a licensed plumber is always the safest bet. You can find qualified plumbers through resources like the International Code Council (ICC).
Preventative Maintenance: Stop Problems Before They Start
The best repair is the one you never have to do! Simple habits can significantly reduce the likelihood of clogs and leaks.
Kitchen Sink Prevention:
- Never pour grease or oil down the drain. Collect it in a container and dispose of it in the trash.
- Scrape food scraps into the trash or compost bin before washing dishes.
- Use a sink strainer to catch larger particles. Empty it regularly.
- Run hot water for a minute after using the sink, especially after washing greasy dishes.
- Periodically flush the drain with boiling water (be cautious with PVC pipes, as extreme heat can damage them over time; a very hot tap water flush is often safer).
Bathroom Sink/Shower/Tub Prevention:
- Use a hair catcher/strainer in shower and tub drains. Clean it out after every use.
- Brush long hair before showering to minimize shedding into the drain.
- Avoid letting soap scum build up.
- Don’t pour oils or lotions down the drain.
Toilet Prevention:
- Only flush toilet paper and human waste.
- Educate everyone in the household on what can and cannot be flushed. Keep a small trash bin nearby for sanitary products and other waste.
- Avoid using “flushable” wipes unless they are explicitly certified to break down rapidly (and even then
