
Repair drain step by step with these genius fixes to tackle clogs and leaks quickly and easily. This guide provides simple, actionable solutions for homeowners, ensuring your drains flow freely again without needing a plumber.
Dealing with a clogged or leaky drain is a common household frustration. It can disrupt your daily routine, from washing dishes to taking a relaxing shower. You might notice slow draining, gurgling sounds, or even unpleasant odors. Before you call in a professional, did you know that many common drain problems can be fixed with a few simple tools and a little know-how? This guide breaks down the process into easy-to-follow steps, empowering you to tackle these issues with confidence. We’ll walk you through identifying the problem and applying the right solution, ensuring your home’s plumbing runs smoothly again.
Common Drain Issues and When to Call a Pro
It’s helpful to know the signs of a minor drain issue versus something more serious. Most of the time, you can handle it yourself!
Slow Draining: Water takes a long time to go down the drain. This is often a sign of a partial clog.
Gurgling Sounds: This indicates air is being trapped, usually by a blockage further down the pipe.
Standing Water: Water doesn’t drain at all, or pools significantly. This points to a more serious obstruction.
Foul Odors: Smells coming from drains can be caused by accumulated grime and bacteria.
While many issues are DIY-friendly, some situations demand expert attention. You should consider calling a plumber if:
Multiple drains in your home are clogged simultaneously. This could signal a problem with your main sewer line.
You’ve tried basic fixes without success.
You suspect a leak in a hidden pipe or a more complex plumbing failure.
You’re uncomfortable with any part of the repair process. Safety first!
Your DIY Drain Repair Toolkit
Gathering the right tools before you start makes the job much easier and more effective. Here’s what you might need for common drain repairs:
| Tool | Primary Use | Beginner-Friendly Tip |
|---|---|---|
| Plunger | Creating suction/pressure to dislodge clogs. | Ensure a good seal around the drain opening for maximum effectiveness. |
| Auger (Drain Snake) | Mechanically breaking up or retrieving clogs deeper in pipes. | Start gently and push slowly to avoid damaging pipes. |
| Pliers (Channel Lock) | Gripping and turning pipes, nuts, or bolts. | Use on slip nuts under sinks only when a leak is the issue. |
| Bucket | Catching water and debris when working under a sink. | Always place it directly under any fitting you plan to loosen. |
| Gloves | Protecting your hands from dirt and potential hazards. | Wear sturdy, waterproof gloves for any drain work. |
| Vinegar & Baking Soda | Natural cleaning and minor clog removal. | A safe, eco-friendly alternative to harsh chemicals. |
| Screwdriver (Flathead & Phillips) | Loosening or tightening screws on drain components. | Use the correct size to avoid stripping screw heads. |
Genius Fix 1: Clearing a Clogged Drain with a Plunger
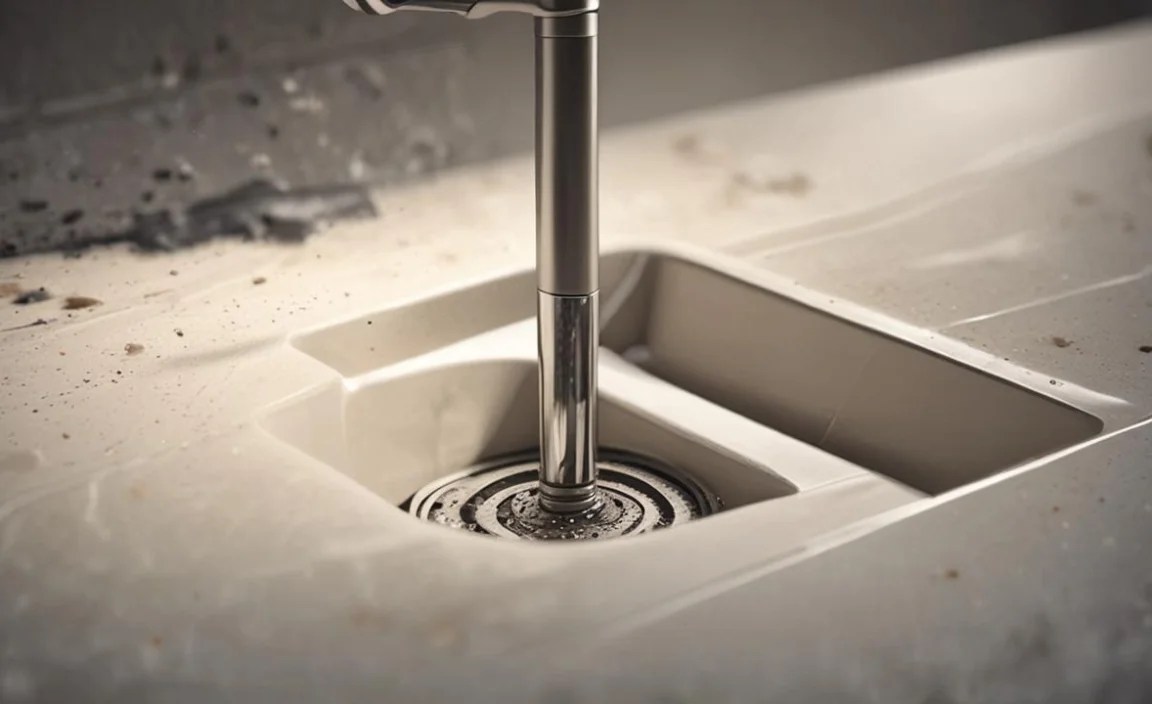
A plunger is often the first line of defense against a clogged drain. It works by creating pressure and suction to dislodge whatever is blocking the pipe.
Step-by-Step Guide:
1. Prepare the Area: Remove any standing water if possible, or ensure there’s enough water to cover the plunger’s rubber cup. If it’s a double sink, stuff a wet rag into the other drain opening to create a better seal.
2. Position the Plunger: Place the plunger over the drain opening, making sure the rubber cup forms a tight seal. For sink drains, a flange plunger works best. For toilets, use a toilet plunger.
3. Plunge Vigorously: Push down and pull up sharply about 15-20 times. The key is a quick, firm push and pull motion.
4. Check the Drainage: Remove the plunger. If the water drains, you’ve likely cleared the clog. If not, repeat the plunging process.
5. Flush the Drain: Once the water drains, run hot water (not boiling, as it can damage some pipes) down the drain for a few minutes to flush away any remaining debris.
Pro Tip: If plunging alone doesn’t work, try the vinegar and baking soda method before moving to more aggressive tools.
Genius Fix 2: The Vinegar and Baking Soda Power Duo

This is fantastic for light clogs and for deodorizing your drains. It’s a natural, safe, and surprisingly effective cleaning method.
When to Use It: Best for minor blockages caused by grease, soap scum, and general grime. Also great for preventing clogs and keeping drains smelling fresh.
Step-by-Step Guide:
1. Remove Standing Water: Try to clear as much standing water from the sink or tub as possible.
2. Pour Baking Soda: Pour about 1/2 cup to 1 cup of baking soda directly into the drain.
3. Add Vinegar: Immediately follow with an equal amount (1/2 cup to 1 cup) of white vinegar.
4. Cover the Drain: Quickly cover the drain opening with a stopper or a wet rag. You’ll hear fizzing and see bubbling – this is the chemical reaction working to break down buildup.
5. Let it Sit: Let the mixture work for at least 30 minutes, or even longer (up to a few hours or overnight for tougher jobs).
6. Flush with Hot Water: After the waiting period, pour a kettle of hot (not boiling) water down the drain to rinse away the loosened debris.
7. Repeat if Necessary: For more stubborn clogs, you might need to repeat this process a second time.
This method is particularly effective for kitchen sinks where grease and food particles tend to accumulate. For more information on natural cleaning solutions, resources like EPA’s Greener Cleaning can offer additional tips.
Genius Fix 3: Using an Auger (Drain Snake) for Deeper Clogs
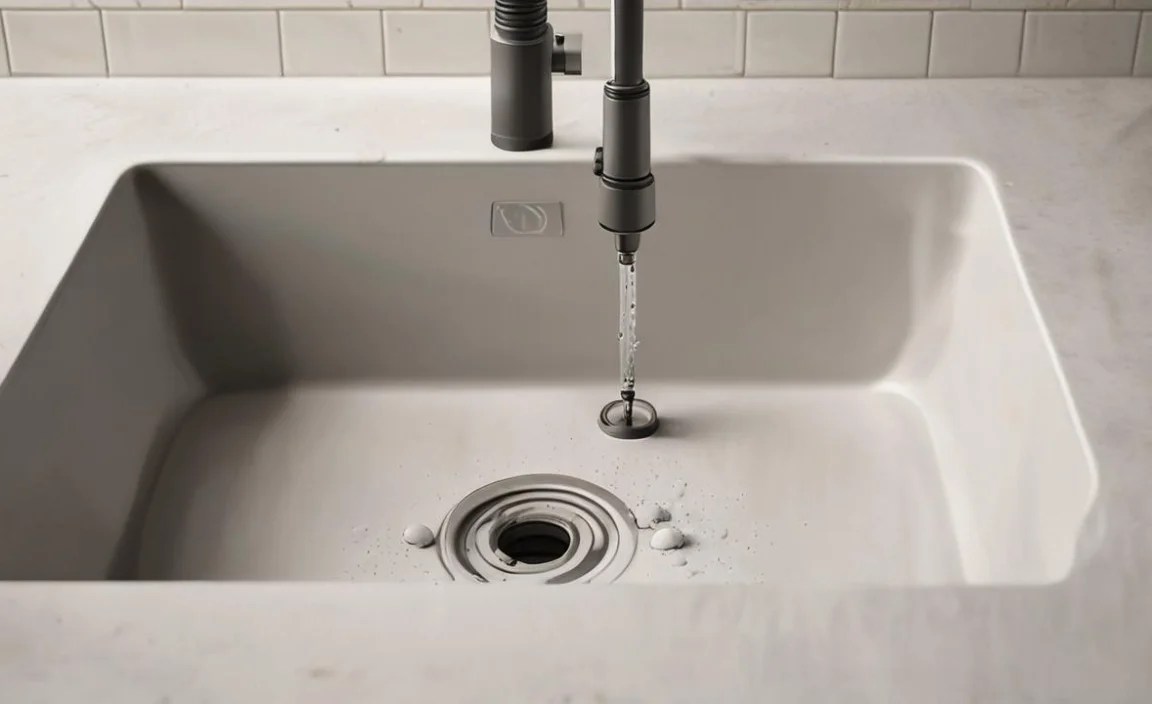
If plunging fails, an auger, often called a drain snake, is your next best tool. It’s a flexible cable that can reach further into your pipes to break up or pull out clogs.
Step-by-Step Guide:
- Insert the Auger: Feed the end of the auger cable into the drain opening. If you’re working on a sink, you might need to remove the sink stopper or strainers first. For tougher clogs, you might need to access the pipe under the sink by removing the P-trap (see Genius Fix 4).
- Advance the Cable: Push the cable further into the pipe. When you feel resistance (which is the clog), lock the cable in place (most augers have a locking mechanism).
- Crank the Handle: Turn the auger’s handle clockwise. This will cause the auger’s tip to rotate and break apart the clog, or it might hook onto it. Continue to crank until you feel the resistance loosen.
- Retract the Cable: Once the clog seems broken or hooked, slowly retract the cable by turning the handle counter-clockwise. Clean any debris that comes out with the auger.
- Test the Drain: Run hot water down the drain to check if the clog has been cleared.
- Repeat if Needed: If the drain is still slow or clogged, re-insert the auger and try again. You may need to go deeper or try a different angle.
Safety Note: Be careful not to force the auger too hard, as you could damage your pipes. If you encounter significant resistance that doesn’t yield, it might be time to call a professional.
Genius Fix 4: Fixing Leaky Sink Drains (P-Trap Repair)

Leaky pipes, especially under your sink, are usually caused by loose fittings or worn-out seals. The P-trap, the U-shaped pipe under your sink, is a common culprit.
Tools You’ll Need:
Bucket
Channel lock pliers
Rags
Possibly plumber’s tape or new washers
Step-by-Step Guide:
1. Clear Under the Sink: Remove everything from the cabinet below your sink to give yourself plenty of working space.
2. Place the Bucket: Position a bucket directly beneath the P-trap to catch any water or debris that may be released.
3. Identify the Leak: Turn on the faucet and observe where the water is coming from. If it’s from the P-trap connections, proceed.
4. Tighten the Slip Nuts: The P-trap is usually held together by large plastic or metal nuts called slip nuts. Try hand-tightening these first. If they’re stubborn, use channel lock pliers to tighten them about a quarter turn.
5. Test for Leaks: Turn on the water again and check if the leak has stopped.
6. If Tightening Doesn’t Work (Replace Washers/Tape):
Loosen and Disassemble: Place the bucket under the P-trap and use pliers to loosen the slip nuts. Carefully remove the P-trap. Be prepared for some water to drain into the bucket.
Inspect Washers: Inside the slip nuts, there are usually rubber or plastic washers. Check if they are cracked, brittle, or missing. If so, replace them. You can take the old washer to a hardware store to find a matching replacement.
Reassemble with Plumber’s Tape: If the washers look good or you’ve replaced them, you can add plumber’s tape (also called Teflon tape) to the threads of the pipes before reattaching the P-trap. Wrap the tape clockwise around the threads a few times.
Reattach and Tighten: Reconnect the P-trap and hand-tighten the slip nuts. Then, use pliers to give them a slight extra turn until snug.
7. Final Test: Run water down the drain and thoroughly check for any leaks.
For more detailed plumbing advice, plumbing associations often have guides. For instance, the National Association of Home Builders (NAHB) offers various home maintenance articles.
Genius Fix 5: Dealing with Shower Drain Clogs (Hair is the Enemy!)

Shower drains are notorious for clogs caused by hair and soap scum. These clogs can be particularly frustrating as they directly impact your ability to use your shower or tub.
Step-by-Step Guide:
1. Remove the Drain Cover: Most shower drain covers can be unscrewed or simply pried off with a flathead screwdriver. Be gentle.
2. Clear Visible Debris: Use your fingers (with gloves!) or tweezers to pull out any hair and gunk you can see immediately around the drain opening.
3. Use a Drain Hair Catcher/Snake: A specialized drain cleaning tool, often called a “hair snake” or “zip-it” tool, is excellent for this. They are long, thin strips of plastic with barbs designed to grab onto hair.
Insert the tool into the drain, pushing it down as far as it will go.
Slowly pull it back out, rotating it as you go. The barbs will snag the hair.
Clean the debris off the tool and repeat until no more hair comes out.
4. Try Plunging (If Applicable): If you can create a seal, a plunger can help dislodge deeper blockages.
5. Baking Soda & Vinegar: This is a good follow-up step if the hair removal didn’t completely resolve slow draining.
6. Flush with Hot Water: Once clear, run hot water down the drain to ensure it’s flowing freely.
Preventative Measure: Install a mesh drain cover or a hair catcher that fits over your drain. These simple accessories can catch most of the hair before it ever enters the pipe, significantly reducing the risk of future clogs.
What About Chemical Drain Cleaners?
While readily available, chemical drain cleaners are often a last resort for DIYers and should be used with extreme caution.
Pros:
Can be effective at dissolving certain types of clogs quickly.
Cons:
Harmful Chemicals: Contain corrosive substances that can damage pipes (especially older or plastic ones), septic systems, and are harmful to the environment and your health.
Ineffective on Some Clogs: They may not be strong enough for solid obstructions and can sometimes harden grease, making it worse.
Dangerous if Mixed: Never mix different chemical drain cleaners, or use them after other attempts (like plunging) have been made, as dangerous fumes can be released.
Can Make Professional Repairs More Hazardous: If the chemicals don’t work, a plumber might have to deal with them, which poses a risk.
If you do decide to use one, always follow the manufacturer’s instructions precisely, ensure good ventilation, and wear protective gear like gloves and eye protection. For most common clogs, the mechanical and natural methods described earlier are safer and often just as effective.
When to Consider Professional Help
No matter how handy you are, some drain issues are beyond the scope of a typical DIY repair. Recognizing these situations can save you time, money, and prevent further damage.
Signs You Need a Plumber:
Main Line Clog: If multiple drains in your home are backing up (toilets, sinks, showers on different floors), it indicates a clog in your main sewer line. This requires specialized equipment and expertise.
Recurring Clogs: If you find yourself repeatedly addressing the same drain clog, there might be a larger issue like a damaged pipe or an improper slope in your drainage system that a professional needs to diagnose.
Persistent Leaks: Small leaks can sometimes be fixed DIY, but larger, hidden leaks, or leaks that continue after you’ve tried simple repairs, need professional attention to prevent water damage and mold growth.
No Water or Pressure Issues: Problems affecting the overall water supply or pressure in your home are usually indicative of bigger plumbing system failures.
* You’re Unsure or Uncomfortable: Your safety and peace of mind are paramount. If at any point you feel out of your depth, it’s always best to call a qualified plumber. You can find local professionals through resources like the Plumbing-Heating-Cooling Contractors Association (PHCC).
FAQ: Your Drain Repair Questions Answered
Q1: How often should I clean my drains?
A1: For general upkeep and to prevent clogs, it’s a good idea to use the vinegar and baking soda method once a month, especially for kitchen and bathroom drains where grease and hair are common.
Q2: What’s the difference between a sink plunger and a toilet plunger?
A2: A sink plunger typically has a flat bottom and a rubber cup, designed to create a seal over a flat drain. A toilet plunger has a flange (an extra fold-out cup) that fits into the toilet bowl’s drain hole, creating a better seal.
Q3: Can I pour boiling water down my drain to clear clogs?
A3: While hot water can help, boiling water can damage PVC pipes and disrupt the seals in older plumbing. It’s safer to use very hot tap water or water that has been heated but is not boiling.
Q4: My drain still smells bad even after clearing it. What else can I do?
A4: Even after clearing a clog, residual grime can cause odors. Try the baking soda and vinegar method, or pour some natural enzyme-based drain cleaner (available at hardware stores) down the drain, followed by hot water, to break down lingering organic matter.
Q5: I removed the P-trap and found debris. Should I clean it out?
A5: Absolutely! Cleaning out the P-trap is crucial as it’s designed to catch debris and prevent sewer gases from entering your home. Make sure to clean it thoroughly and check the rubber washers for wear before reassembling.
Q6: How do I prevent drain clogs in the future?
A6: Be mindful of what goes down your drains. In the kitchen, avoid pouring grease or coffee grounds down the sink and use a strainer for food scraps. In the bathroom, use hair catchers and avoid flushing anything other than toilet paper. Regularly flush drains with hot water.
Conclusion: Masters of Your Drains
Fixing a drain might seem daunting, but with the right knowledge and tools, you can tackle most common issues yourself. From the simple effectiveness of a plunger to the deeper reach of a drain snake, these step-by-step methods empower you to maintain your home’s plumbing. Remember to start with the least invasive techniques, like plunging and the vinegar-baking soda method, before moving on to more robust solutions. Regularly maintaining your drains with simple cleaning routines will save you time, money, and the headache of dealing with a major backup. You’ve got this!
