
Quick Summary: Drains can be fixed with simple DIY solutions like clearing clogs using plungers or snakes, addressing slow drains with baking soda and vinegar, or tightening loose fittings. These proven repair drain tips empower homeowners to tackle common issues safely and effectively.
Dealing with a clogged or slow-moving drain can really disrupt your day. Whether it’s a sink, shower, or toilet, a backed-up drain is never a welcome sight. It’s a messy problem that most of us have faced at some point. But don’t worry, many common drain issues are surprisingly easy to fix yourself! This guide will walk you through proven, beginner-friendly solutions to get your drains flowing freely again, saving you time and money.
We’ll cover everything from simple plunge techniques to using common household items for a powerful clean. You’ll learn what tools to have on hand and how to use them safely. By the end of this article, you’ll feel confident tackling many drain problems on your own.
Understanding Common Drain Problems
Before we jump into fixes, let’s briefly touch on why drains get clogged. Most of the time, it’s due to everyday things going down the drain that shouldn’t. In kitchen sinks, it’s often grease, food scraps, and coffee grounds. Bathroom drains usually suffer from hair, soap scum, and toothpaste buildup. Toilets can get clogged by too much toilet paper or non-flushable items like wipes or personal hygiene products.
Understanding the cause can help you prevent future issues. Regularly cleaning your drains can save you a lot of hassle. Knowing the common culprits is the first step in keeping your plumbing happy and healthy.
DIY Drain Repair: Essential Tools for Beginners
You don’t need a professional plumbing toolkit to handle most minor drain issues. Here are a few basic tools that are incredibly helpful and easy to find:
- Plunger: Essential for most sink and toilet clogs. Make sure you have one specifically for toilets (with a flange) and one for sinks/showers (cup-shaped).
- Drain Snake/Auger: A flexible coil of wire that can reach deeper into the pipe to break up or pull out blockages.
- Baking Soda and Vinegar: A natural, effective duo for loosening minor clogs and deodorizing drains.
- Bucket: Useful for catching any water that might spill when disconnecting pipes.
- Gloves and Eye Protection: Always wear these to protect yourself from dirty water and any splashes.
- Old Rags or Towels: To clean up any mess.
- Screwdriver/Pliers (Optional): Sometimes necessary to remove drain stoppers or U-bend pipes.
Proven Solutions for Common Drain Issues
Let’s get to the good stuff! Here are step-by-step solutions for the most frequent drain problems.
1. The Power of the Plunger

A plunger is your first line of defense against a clogged sink or toilet. It works by creating pressure to dislodge the blockage.
How to Use a Plunger Effectively:
- Prepare the Area: Place old towels or rags around the drain to catch any overflow. If it’s a double sink, block the other drain with a wet rag. For a toilet, ensure there’s enough water in the bowl to submerge the plunger cup.
- Position the Plunger: Ensure the plunger cup completely covers the drain opening, creating a seal.
- Plunge Vigorously: Push down firmly and pull up sharply. Repeat this motion 15-20 times. The upstroke is just as important as the downstroke, as it helps pull the blockage free.
- Check the Drain: Remove the plunger and see if the water drains. If it’s still slow or clogged, repeat the plunging process.
- Flush (for Toilets): If plunging a toilet, try flushing after the water starts to drain to clear any remaining debris.
Pro Tip: For sink clogs where the stopper can be removed, try plunging with the stopper out. This allows for a better seal and more direct pressure on the clog.
2. The Baking Soda and Vinegar Drain Cleanse

This natural method is fantastic for minor clogs and is a great way to keep drains clear and fresh. It’s safe for all types of pipes.
Steps for a Natural Drain Cleanse:
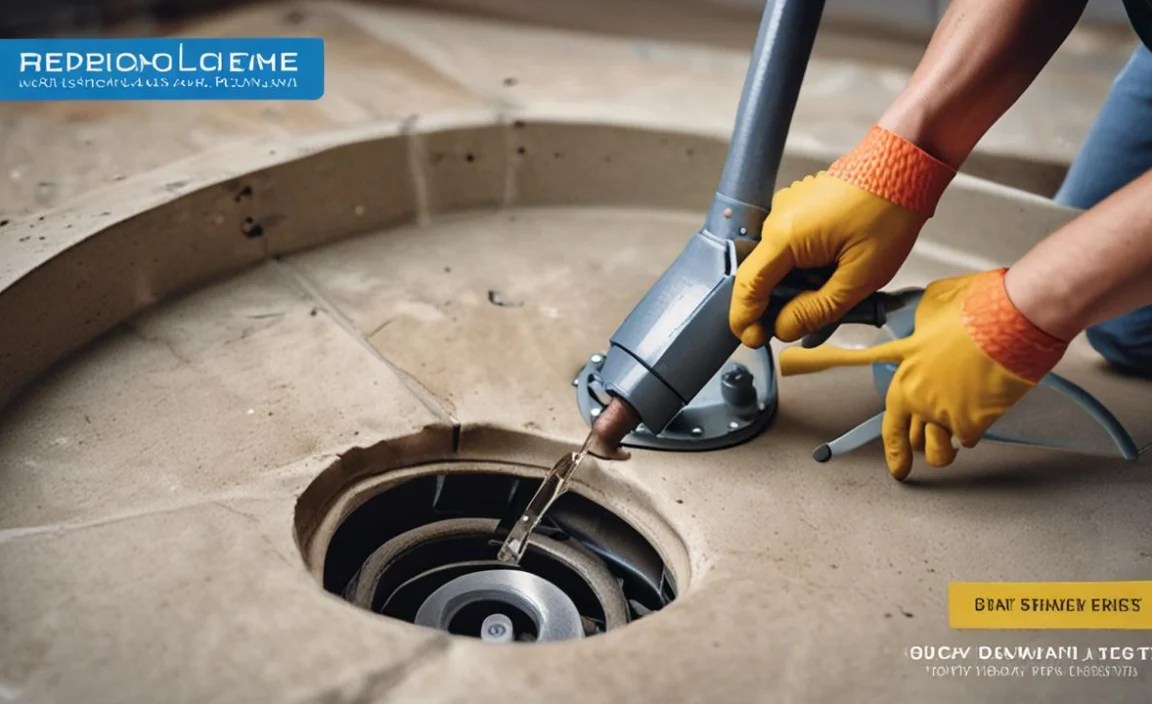
- Pour Hot Water: Start by pouring a kettle full of very hot (but not boiling) water down the drain. This can help loosen up some grease and gunk.
- Add Baking Soda: Pour about half a cup to a full cup of baking soda directly into the drain.
- Follow with Vinegar: Immediately pour about a cup of white vinegar over the baking soda. It will fizz and bubble – this is the chemical reaction working to break down gunk.
- Cover and Wait: Quickly cover the drain opening with a stopper or a wet rag to keep the fizzing action concentrated in the pipe. Let it sit for at least 30 minutes, or even an hour for tougher jobs.
- Final Rinse: Pour another kettle of hot water down the drain to flush everything through.
This method is excellent for tackling soap scum and light grease buildup that can cause slow drains.
3. Deploying the Drain Snake (Auger)
If plunging doesn’t work or the clog is deeper, a drain snake is your next best DIY tool. It’s a flexible cable that you feed into the drain.
Using a Drain Snake:
- Access the Drain: For sinks, you might need to remove the drain stopper or the U-bend pipe under the sink (place a bucket underneath first for any water!). For toilets, you might be able to insert it directly or through the overflow drain if accessible.
- Insert the Snake: Gently feed the end of the snake into the drain opening.
- Feed and Rotate: As you push the snake further into the pipe, you’ll feel resistance when you reach the clog. Once you hit it, start rotating the handle of the snake. The rotating end will either break up the clog or hook onto it.
- Pull Back and Clear: Slowly pull the snake back out, rotating as you go. Hopefully, it will bring the blockage with it. Clean off the snake.
- Flush the Drain: Run hot water down the drain to check its flow and clear any lingering debris. You might need to repeat the process.
Important Note: Be gentle! Forcing the snake can damage pipes. If you encounter stubborn resistance or a sharp bend you can’t get past, it might be time to call a professional. For more detailed guidance on different types of snakes, you can check out resources from the This Old House website. They have excellent visual guides.
4. Addressing Slow Drains
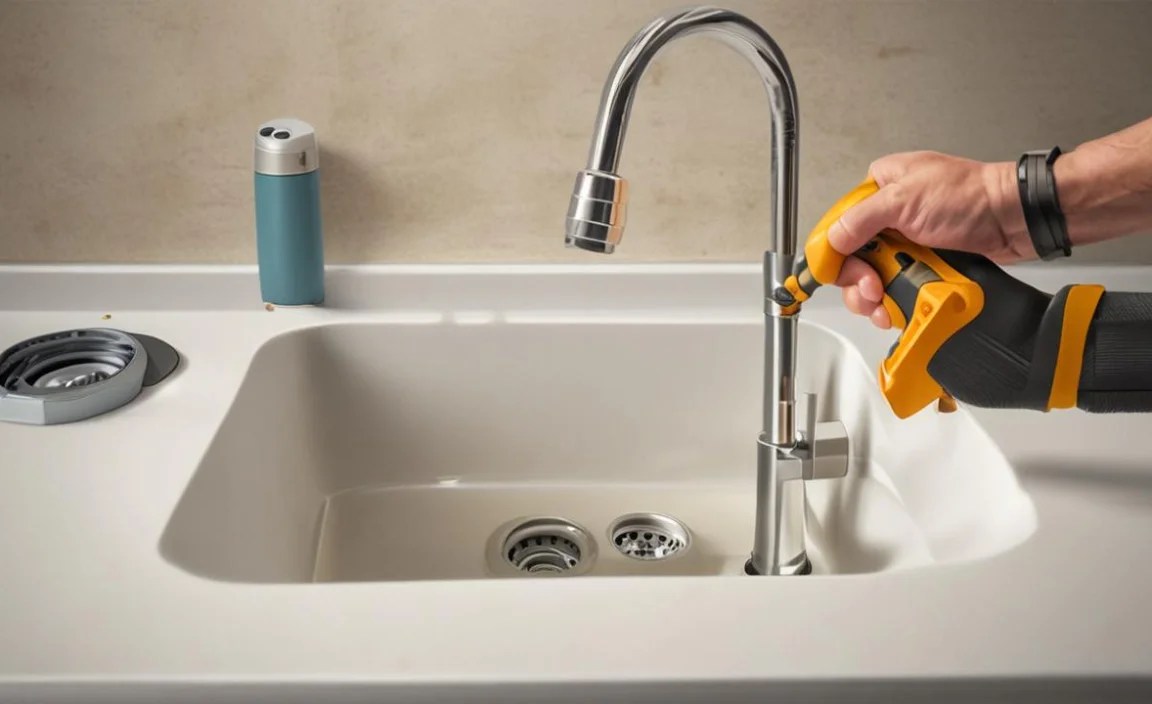
A slow drain is often the precursor to a full clog. It means something is already starting to build up.
Causes & Solutions:
- Grease and Soap Scum: Often found in kitchen and bathroom sinks. The baking soda and vinegar method (mentioned above) is excellent for this. Regular flushing with hot water after use also helps.
- Hair Buildup: A common issue in showers and bathroom sinks. A drain snake is effective here. You can also buy specific hair removal tools that are small and flexible, designed to grab hair.
- Food Debris: In kitchen sinks, this is usually related to the garbage disposal or food particles getting past the strainer. Always use a drain strainer and never put coffee grounds, eggshells, or fibrous vegetable peels down the drain.
Preventative Maintenance:
- Run hot water down drains after use, especially in the kitchen.
- Use drain strainers and clean them regularly.
- Do a monthly baking soda and vinegar cleanse on all drains.
- Be mindful of what goes down each drain.
5. Leaky or Loose Fittings
Sometimes, a “drain problem” isn’t a clog but a leak. This is often due to loose connections under the sink or around the toilet base.
Sink Drains:
- Check the Connections: Look for any visible drips or moisture around the pipe fittings under your sink. Gently try to tighten any loose nuts or connections with pliers or a wrench. Don’t overtighten, as this can crack plastic fittings.
- The U-Bend: The U-shaped pipe under the sink (called a P-trap) can sometimes come loose or its rubber seals can wear out. You might need to unscrew it (use a bucket to catch water) and re-seat or replace the seals.
- Examine the Drain Flange: The metal ring where the drain meets the sink basin can sometimes loosen. You might need to apply plumber’s putty to re-seal it.
Toilet Drains:
- Base Seal: If you see water around the base of the toilet, the wax ring seal between the toilet and the floor pipe may have failed. This is a more involved repair that often requires removing the toilet and replacing the wax ring. For beginners tackling this, it’s wise to consult detailed guides or video tutorials from reputable sources like the Family Handyman.
- Tank Connections: Check the connections where the water line enters the tank and where the tank connects to the bowl for any drips.
Safety First: Always turn off the water supply to the fixture before attempting repairs on leaky fittings. For toilets, this means turning the shut-off valve usually found behind the toilet.
When to Call a Professional Plumber
While these DIY tips are effective for common issues, there are times when you should call in the experts. Recognize your limits and prioritize safety. Here are situations where a professional plumber is recommended:
- Persistent Clogs: If you’ve tried multiple methods and the drain is still blocked.
- Multiple Clogged Drains: If several drains in your home are backing up simultaneously, this often indicates a deeper problem in your main sewer line.
- Foul Odors Persist: Deep-seated sewer gas issues require professional diagnosis.
- Water Damage: If you notice significant water damage or suspect a hidden pipe leak.
- Uncertainty or Discomfort: If you’re not comfortable performing a repair or are unsure of what to do, it’s better to be safe than sorry.
A professional plumber has specialized tools and extensive knowledge to diagnose and fix complex problems that are beyond the scope of basic DIY. They can also help ensure your repairs meet local plumbing codes.
Preventative Maintenance for Happy Drains
The best drain repair is often prevention! Keeping your drains clear and functional saves you time, effort, and potential water damage. Here are some simple habits:
- Regularly Clean Strainers: In sinks and showers, clean out hair and debris from strainers daily or every other day.
- Scrape Plates: Before washing dishes, scrape food scraps into the trash or compost bin, not down the drain.
- Avoid Pouring Grease: Never pour cooking grease, oil, or fat down any drain. Let it cool and solidify, then throw it in the trash.
- Use Drain Protectors/Screens: Simple mesh screens can catch a lot of hair and debris before it enters the pipe.
- Monthly Maintenance: Perform the baking soda and vinegar flush on all drains once a month.
- Mindful Flushing (Toilets): Only flush toilet paper and human waste. Avoid flushing paper towels, feminine hygiene products, cotton balls, or wipes, as these can cause significant clogs.
For more information on maintaining your home’s plumbing system, you can refer to helpful guides from organizations like the U.S. Environmental Protection Agency’s WaterSense program, which offers tips on water conservation and efficient use, often related to plumbing maintenance.
Troubleshooting Common Drain Materials
Different drain materials can react differently. While most modern plumbing uses durable PVC or copper, older homes might have cast iron or lead pipes.
Here’s a quick look:
| Pipe Material | Considerations for DIY Repair | Best DIY Methods | Caution |
|---|---|---|---|
| PVC (Plastic) | Lightweight, easy to work with, but can be brittle. | Plunging, baking soda/vinegar, drain snake (use gently). | Avoid harsh chemical drain cleaners, which can degrade PVC. Do not force augers. |
| Copper | Durable but can corrode over time. Soldered joints are common. | Plunging, baking soda/vinegar. Drain snakes should be used cautiously. | Avoid overtightening fittings when making repairs. Professional soldering is best for leaks. |
| Galvanized Steel | Common in older homes, prone to rusting and mineral buildup. | Baking soda/vinegar can help with minor buildup. Plunging is usually safe. | Aggressive snaking can worsen existing rust. Chemical cleaners are often less effective due to scale. |
| Cast Iron | Very durable but heavy and can corrode internally, leading to clogs. | Plunging, baking soda/vinegar (limited effectiveness on deep clogs). | Internal corrosion means clogs can be severe and hard to remove without professional equipment. |
Note on Chemical Drain Cleaners: While readily available, these are generally not recommended for DIY use, especially for beginners or in older homes. They contain harsh chemicals that can damage pipes (especially PVC and older metal pipes), harm your health, and are bad for the environment. If you choose to use them, always follow instructions precisely and ensure good ventilation. However, the methods described above are safer and more effective for most common drain problems.
Frequently Asked Questions About Drain Repair
Q1: How often should I clean my drains?
A: It’s a good idea to do a preventative clean (like the baking soda and vinegar method) on all your drains at least once a month. More frequently used drains, like kitchen or shower drains, might benefit from an extra flush with hot water after use.
Q2: What is the best DIY method for a clogged shower drain?

A: For shower drains, hair and soap scum are the main culprits. Start with a plunger. If that doesn’t work, a drain snake designed to grab hair is highly effective. The baking soda and vinegar method can help with soap scum buildup.
Q3: Can I pour bleach down my drain to unclog it?

A: While bleach can kill certain bacteria and deodorize, it’s not effective for most clogs and can damage certain pipe materials. It’s also dangerous if mixed with other chemicals. It’s best to avoid bleach for clogs.
Q4: My toilet is still clogged after plunging. What else can I do?

A: If plunging doesn’t work, try a toilet auger (a specialized toilet snake). If you don’t have one, you can carefully use a regular drain snake. Ensure there’s enough water in the bowl for plunging action. If these don’t help, it might be a more serious blockage requiring a plumber.
Q5: What is a P-trap, and why is it important for drain repair?

A: The P-trap is the U-shaped pipe under your sink. It holds a small amount of water, which creates a seal to prevent sewer gases from coming up into your home. Leaks or blockages in the P-trap are common and can often be fixed by tightening connections or cleaning it out.
Q6: How can I prevent my kitchen sink from getting clogged?

A: Never pour grease or oil down the drain. Scrape food scraps into the trash. Use a drain strainer to catch debris. Run hot water after using the sink, especially after washing greasy dishes. Consider a monthly baking soda and vinegar flush.
Conclusion
Tackling drain problems doesn’t have to be a cause for panic or an immediate call to the plumber. With a few basic tools and a bit of know-how, you can confidently address most common clogs and slow drains. From the simple power of a plunger to the natural effectiveness of baking soda and
