
Quick Summary: You can often repair a drain without a plumber by clearing blockages with simple tools like a plunger or drain snake, and addressing minor leaks with DIY sealants or replacement parts. These straightforward fixes save time and money, empowering you to handle common plumbing issues like a pro.
A clogged or leaky drain can be a real headache. Water backing up where it shouldn’t, or that frustrating drip, drip, drip – it’s enough to make anyone want to call a professional. But what if we told you that many common drain problems can be fixed yourself, without needing to wait for a plumber? This guide is packed with genius fixes that are easy for beginners to follow. We’ll walk you through simple, effective methods to get your drains running smoothly again, giving you the confidence to tackle these tasks like a seasoned DIYer.
Common Drain Problems Anyone Can Fix
Before we dive into the fixes, let’s chat about what usually goes wrong with drains. Most of the time, it’s simple stuff that’s easy to solve. We’re talking about gunk (hair, soap scum, food bits) building up in sink and shower drains, or tiny drips from a faucet or pipe connection. These aren’t usually signs of a major plumbing disaster, but rather commonplace issues that happen with daily use. Understanding these common culprits is the first step to confidently repairing your drain without a plumber.
Understanding Your Drain System
Your home’s drain system seems simple, but it’s a clever network designed to carry wastewater away. It starts with the fixtures (sinks, toilets, showers) and leads to P-traps, which are curved pipes designed to hold water. This water acts as a seal, preventing sewer gases from entering your home. From there, the pipes connect to a main drain line that carries everything to your septic tank or the municipal sewer system. Knowing this basic layout helps pinpoint where a problem might be occurring and how to approach a fix.
Your DIY Drain Repair Toolkit
You don’t need a professional plumber’s arsenal to handle most drain issues. A few handy tools can make a world of difference. Having these on hand means you’re ready to tackle a blocked drain or a minor leak the moment you spot it. This basic toolkit will serve you well for many home maintenance tasks, not just drains.
Essential Tools for Drain Repair
- Plunger: A good quality, heavy-duty plunger is your first line of defense against clogs. Make sure it has a flange for toilet drains.
- Drain Snake (or Auger): This flexible cable helps to reach deeper into the drain and break up or pull out stubborn clogs.
- Adjustable Wrench: Useful for tightening loose fittings or removing trap components.
- Bucket: Always handy for catching water when working under a sink.
- Screwdriver Set: You might need a Phillips or flathead screwdriver for various components.
- Gloves: For hygiene and protection, especially when dealing with dirty water.
- Old Towels or Rags: To clean up any spills.
- Safety Glasses: Protect your eyes from splashes.
Genius Fix 1: Clearing a Clogged Drain
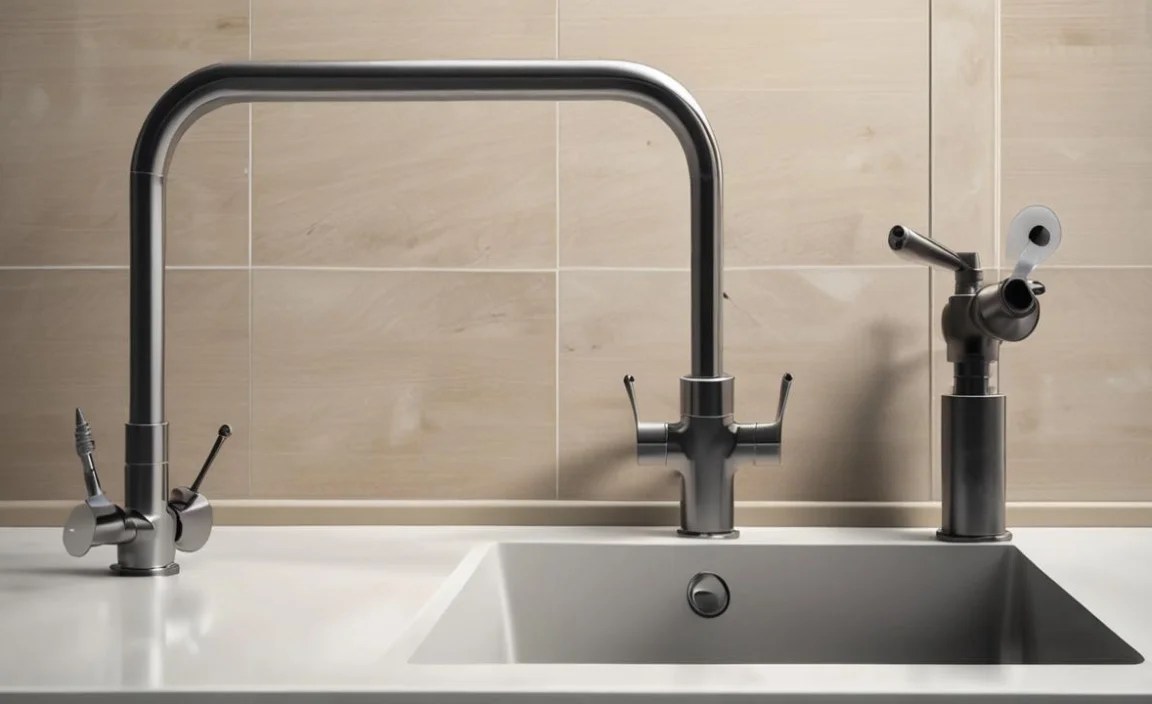
Clogged drains are perhaps the most common plumbing nuisance. Before you reach for harsh chemicals, try these effective, non-toxic methods for clearing blockages. It’s amazing what a little elbow grease and the right technique can do!
Step-by-Step: Using a Plunger
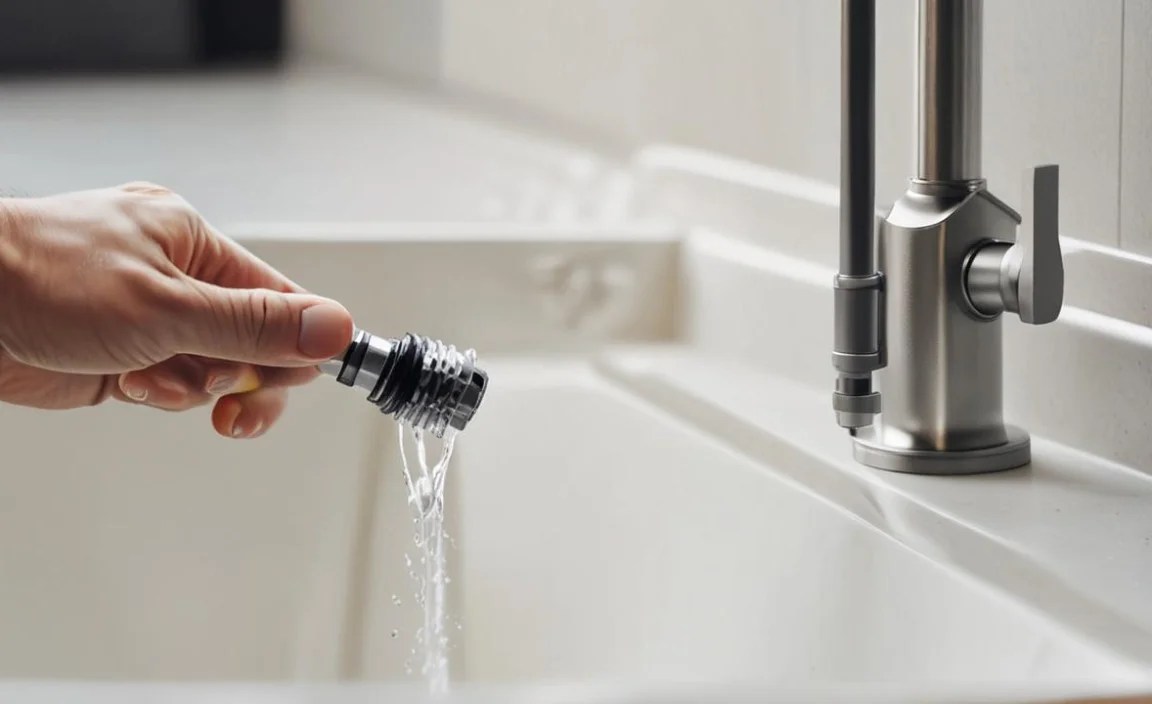
The humble plunger is an underrated hero in the fight against clogs. It works by creating suction and pressure to dislodge the blockage. For the best results, follow these steps:
- Ensure the Right Plunger: For sinks and tubs, a standard cup plunger works. For toilets, you need a flange plunger that creates a better seal.
- Create a Seal: Make sure there’s enough water in the sink or tub to cover the bell of the plunger. This helps create suction. If there isn’t, add some water.
- Position the Plunger: Place the plunger directly over the drain opening, ensuring a tight seal.
- Plunge Vigorously: Push down and pull up sharply, about 5-10 times. You’re trying to force water back and forth to break up the clog.
- Check the Drain: Lift the plunger away. If the water drains, you’ve likely cleared the clog. If not, repeat the process.
- For Sinks with an Overflow: Cover the overflow hole with a wet rag while plunging to maximize suction.
Step-by-Step: Using a Drain Snake (Auger)
If plunging doesn’t do the trick, it’s time to bring out the drain snake. This tool is great for clogs further down the pipe that plunging can’t reach. You can rent or buy these at most hardware stores.
- Access the Drain: For sinks, it’s often easiest to remove the drain stopper or overflow plate. In some cases, you might need to remove the P-trap (the U-shaped pipe under the sink).
- Insert the Snake: Feed the end of the snake into the drain opening.
- Push and Crank: Gently push the snake further into the pipe until you feel resistance. This is likely the clog.
- Work the Clog: Turn the handle of the snake clockwise to either break up the clog or hook onto it.
- Retrieve the Clog: Once you feel you’ve broken through or hooked the material, slowly pull the snake back out, cleaning off any debris as you go.
- Test the Drain: Run hot water to see if the drain is clear. You may need to repeat the process if the clog is stubborn.
Natural Drain Cleaning Solutions
Sometimes, a lighter clog can be managed with simple, natural ingredients. These are gentler on your pipes and the environment than chemical drain cleaners.
- Baking Soda and Vinegar: Pour about 1/2 cup of baking soda down the drain, followed by 1/2 cup of white vinegar. Let it fizz for about 30 minutes, then flush with hot water. This is great for deodorizing and tackling minor grease buildup.
- Hot Water Flush: For greasy clogs, simply pouring very hot (but not boiling) water down the drain can sometimes melt the grease and clear the pipe.
Always be cautious when dealing with hot water to avoid burns.
Genius Fix 2: Tackling Minor Leaks
A small leak might seem insignificant, but it can lead to water damage and wasted water over time. Fortunately, many minor leaks can be temporarily or even permanently fixed without a plumber.
Fixing a Leaky Faucet
Faucets commonly leak from the spout or the handle. The most frequent culprits are worn-out washers or O-rings.
- Turn Off the Water: Locate the shut-off valves under the sink and turn them clockwise. If there are no valves, you’ll need to turn off the main water supply to your house.
- Disassemble the Faucet: This varies by faucet type. You’ll typically need to remove decorative caps, then screws to lift off handles. Then, you might need an adjustable wrench to remove the packing nut and bonnet nut to access the stem or cartridge.
- Identify Worn Parts: Look for cracked, hardened, or deformed rubber washers and O-rings. The most common offenders are at the base of the stem or within the handle mechanism.
- Replace Parts: Take the old parts to a hardware store to find exact replacements.
- Reassemble: Put the faucet back together in reverse order.
- Turn Water Back On: Slowly turn the water supply back on and check for leaks.
For more detailed instructions, resources like This Old House offer excellent visual guides for different faucet types.
Sealing Pipe Joints and Connections
Sometimes, a leak simply comes from a loose connection or a small crack in a pipe fitting.
- Identify the Leak Source: Dry the pipe thoroughly and observe where the water is coming from.
- Tighten Connections: If it’s a threaded joint under a sink, try slightly tightening it with an adjustable wrench. Don’t overtighten, as this can cause more damage.
- Temporary Sealant: For small pinhole leaks in metal pipes, plumber’s tape (PTFE tape) wrapped tightly around the threads of a joint can help. For very minor cracks or drips on non-pressurized sections, a waterproof epoxy putty designed for plumbing can provide a temporary fix until a more permanent repair can be made. Follow the product instructions carefully.
For more durable repairs on PVC pipe joints, proper primer and cement are crucial. Understanding PVC pipe joining is a great skill for any DIYer.
Genius Fix 3: Addressing Slow Drains
A slow drain isn’t a complete blockage, but it’s a warning sign. It means something is starting to build up and will likely lead to a full clog if ignored. Catching it early makes repair much easier.
Preventing Buildup in the First Place
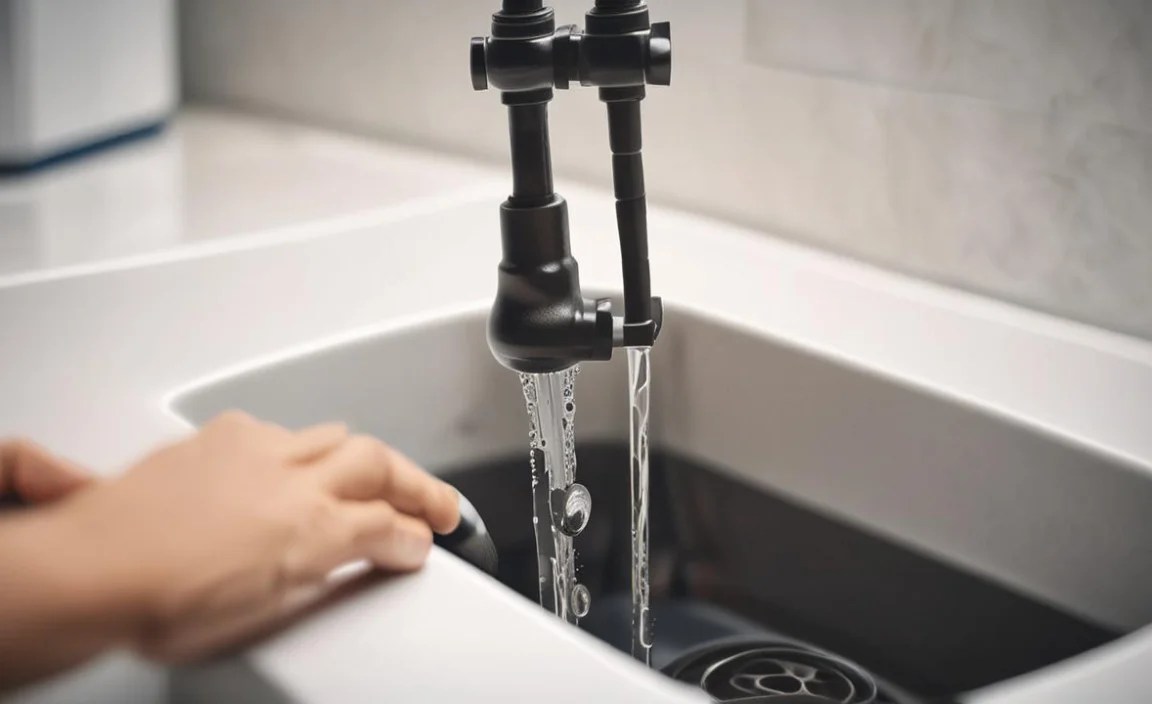
The best “repair” is prevention! This is especially true for kitchen sinks where grease and food particles are common culprits.
- Use a Drain Strainer: These inexpensive mesh covers catch hair, food scraps, and other debris before they enter the drain. Regularly clean out the strainer.
- Dispose of Grease Properly: Never pour cooking grease or oil down the drain. Let it cool and solidify, then scrape it into the trash.
- Run Hot Water: After using the sink, especially the kitchen sink, run hot water for a minute. This helps to flush away any residual grease or small particles.
- Regular Maintenance: Once a month, pour a pot of boiling water down all your drains to help clear any minor buildup.
Cleaning the Visible Drain Components
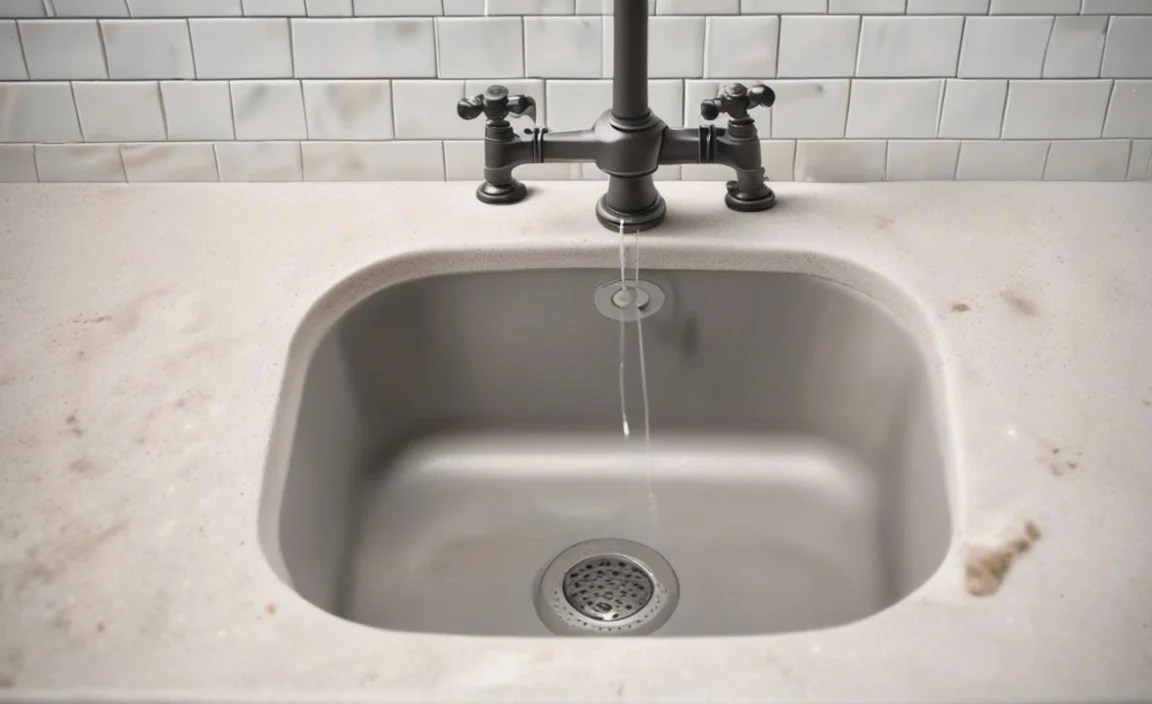
Sometimes, the clog is just a buildup of gunk around the drain opening or stopper.
- Remove the Stopper: In most sinks and tubs, the stopper can be simply lifted out or unscrewed. For pop-up stoppers in sinks, you might need to disconnect a lever arm under the sink.
- Clean the Stopper and Surrounding Area: Use an old toothbrush or a cloth to scrub away any accumulated hair, soap scum, or grime from the stopper and the immediate area around it.
- Flush with Hot Water: Once the stopper is removed and cleaned, run hot water to clear out any loosened debris further down.
When to Call a Plumber
While these DIY fixes are fantastic for common issues, it’s important to know your limits. Some problems are best left to the professionals.
Signs You Need Professional Help
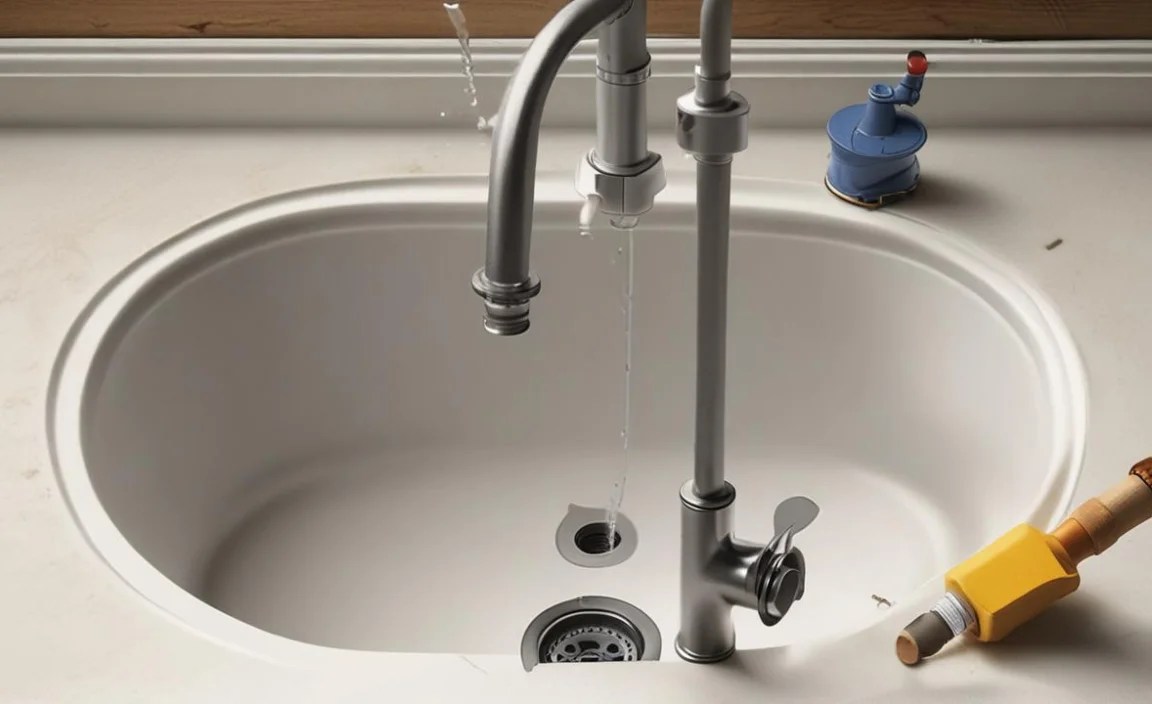
- Persistent Clogs: If you’ve tried plunging and snaking multiple times without success, the clog might be too severe or located in a main line.
- Multiple Drains Clogged: If more than one drain in your home is backing up, it often indicates a problem with the main sewer line, which requires professional attention.
- Sewage Odors: A persistent, foul smell coming from your drains can signal a larger issue with your sewer system or vent pipes.
- Water Damage: If you notice significant water damage, mold, or mildew, it’s time to call in a plumber and potentially a water damage restoration service.
- Lack of Confidence: If you feel uncomfortable or unsure about any repair step, it’s always better to be safe and call a qualified plumber.
The United States Environmental Protection Agency (EPA) provides valuable resources on water conservation and plumbing maintenance, which can help you understand when professional intervention is necessary and how to maintain your system effectively. You can find more information on their WaterSense program.
Troubleshooting Common Drain Issues: A Quick Guide
Here’s a handy table to help you quickly identify your drain problem and the best DIY approach.
| Problem | Likely Cause | DIY Fix | When to Call a Pro |
|---|---|---|---|
| Slow Draining Sink/Tub | Hair, soap scum, grease buildup | Plunger, drain snake, baking soda/vinegar, clean stopper | Persistent slow drain after attempts, multiple clogged drains |
| Completely Clogged Drain | Significant blockage (hair, food, foreign object) | Plunger, drain snake (deeper clogs) | Clot is very deep, multiple attempts fail, suspected main line issue |
| Leaky Faucet | Worn washers, O-rings, loose packing nut | Replace washers/O-rings, tighten packing nut | Leak persists after repair attempts, complex faucet type |
| Leaky Pipe Joint | Loose fitting, damaged seal | Tighten fitting, plumber’s tape, plumbing epoxy (temporary) | Persistent leak, damage to pipe itself, P-trap issues |
| Bad Odors from Drain | Trapped food particles, sewer gas backup | Baking soda/vinegar flush, hot water flush, clean drain components | Persistent odors, suspect vent stack issues |
Frequently Asked Questions (FAQ)
Q1: How often should I clean my drains to prevent clogs?

A: For busy households, a monthly flush with hot water or a baking soda/vinegar treatment is recommended. In kitchens with frequent grease use, consider weekly maintenance.
Q2: Can I use chemical drain cleaners safely?

A: While effective for some clogs, chemical drain cleaners can be harsh on pipes, harmful to the environment, and dangerous if mixed improperly. Always use them as a last resort, follow instructions precisely, and wear protective gear. Natural methods or mechanical removal (plunger, snake) are usually safer and better for long-term pipe health.
Q3: My kitchen sink is draining slowly, what’s the best first step?

A: Start by ensuring your garbage disposal (if you have one) is clear. Then, try running hot water. If that doesn’t help, use a plunger to create suction or a drain snake to dislodge any buildup, especially grease and food particles.
Q4: What if the drain snake doesn’t clear the clog?

A: If the snake doesn’t resolve the issue, the clog might be very dense, further down the line, or even in your main sewer line. At this point, it’s wise to consider calling a professional plumber.
Q5: How do I fix a dripping shower head?
A: A dripping shower head is often due to a worn-out washer or cartridge inside the handle. You’ll need to shut off the water supply to the shower, then carefully disassemble the handle and faucet body to access and replace these parts, similar to fixing a leaky faucet.
Q6: Is it safe to try and fix a leaking pipe myself?

A: Minor leaks from loose fittings under a sink can often be tightened. For actual pipe cracks or significant leaks, a temporary fix with epoxy putty might be possible, but a permanent repair by a qualified plumber is generally recommended to prevent water damage.
Conclusion
Mastering a few key DIY drain repair techniques can save you significant time and money. From clearing stubborn clogs with a trusty plunger or snake to tackling minor drips with simple tools, you now have the knowledge to confidently address many common household plumbing issues. Remember to always prioritize safety, understand when a problem might be beyond a DIY fix, and don’t hesitate to call a professional when needed. With practice and these handy tips, you’ll be a drain-fixing pro in no time!
