
Don’t let a faulty exhaust fan ruin your day! This guide offers simple, proven DIY fixes to get your bathroom or kitchen fan running smoothly again, saving you time and money on professional repairs. We’ll cover common issues like noise, poor ventilation, and strange smells with clear, step-by-step instructions.
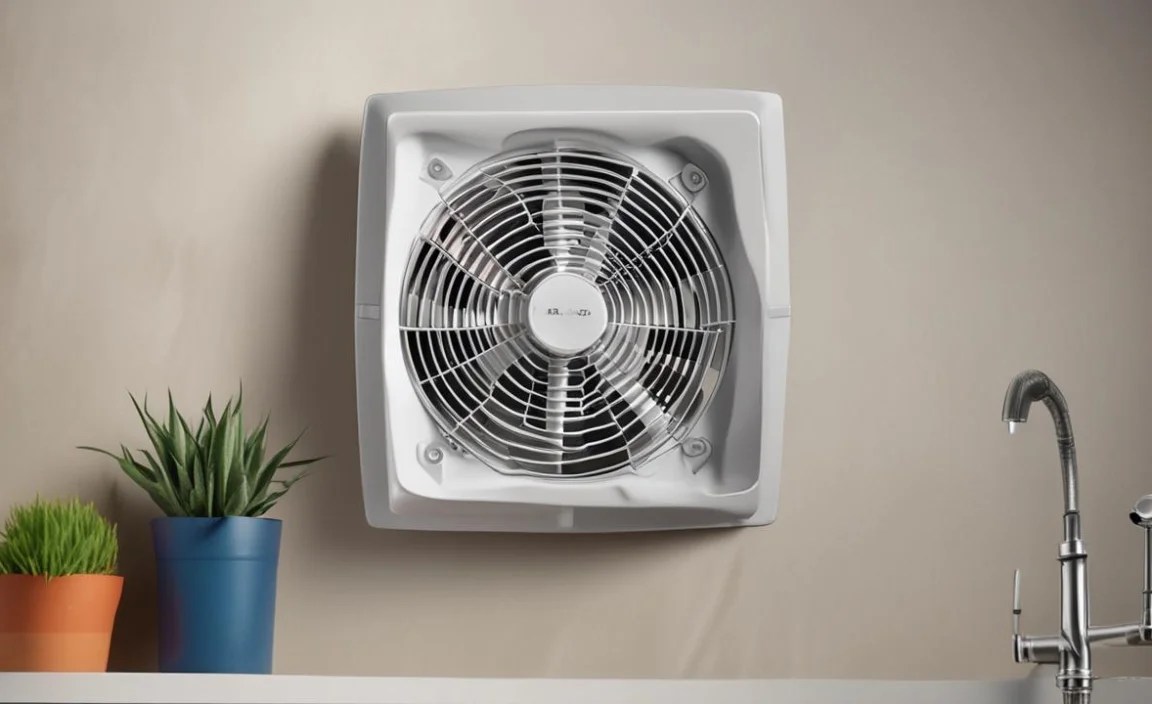
Is your bathroom fan making a racket? Or perhaps your kitchen fan just isn’t clearing out steam like it used to? These are common frustrations that can quickly turn a pleasant home environment into a damp, stuffy, or smelly one. The good news is that many exhaust fan problems are surprisingly simple to fix yourself! You don’t need to be a master mechanic to tackle these issues. With a few basic tools and this guide, you can identify the problem and implement a proven fix, restoring your fan’s performance and your peace of mind. Let’s dive into how you can repair your exhaust fan the DIY way.
Why Your Exhaust Fan Might Be Acting Up

Exhaust fans work hard to keep our homes comfortable and healthy. They pull moisture, odors, and stale air out of areas like bathrooms and kitchens, preventing mold growth, mildew, and lingering smells. Over time, however, these workhorses can develop problems. Understanding the common culprits behind a malfunctioning exhaust fan is the first step toward a successful DIY repair.
Here are some of the most frequent reasons your exhaust fan might need attention:
- Dust and Debris Buildup: This is the number one enemy of any fan. Over time, dust, lint, and even small insects can accumulate on the fan blades, motor housing, and vent grille. This buildup can cause the fan to work harder, become noisy, and move less air.
- Loose Parts: Vibrations from the fan’s operation can cause screws, blades, or even the motor itself to loosen over time. This can lead to rattling noises and reduced efficiency.
- Worn-Out Motor: Like any mechanical component, the motor in your exhaust fan has a lifespan. If it’s old or has been overworked, it might start to make grinding noises, overheat, or stop working altogether.
- Electrical Issues: Sometimes, the problem isn’t mechanical but electrical. This could be a loose wire, a failing capacitor (which helps start the motor), or even a tripped circuit breaker.
- Obstructions: Critters building nests in the ductwork or even large clumps of debris can block airflow, making your fan seem weak.
Don’t worry if some of these sound technical. We’ll break down how to address each one in a way that’s easy to understand.
Safety First! Essential Precautions Before You Start
Before you even think about unscrewing a single part, safety is paramount. Working with electrical appliances, even low-voltage ones like exhaust fans, requires caution. If you ever feel unsure or uncomfortable, it’s always best to consult a qualified electrician or handyman. However, for most basic repairs, following these safety steps will allow you to proceed with confidence.
1. Shut Off the Power!

This is non-negotiable. You need to cut the power to the exhaust fan at its source. You can do this in two ways:
- At the Circuit Breaker: Locate your home’s electrical panel. Find the breaker that controls your bathroom or kitchen and flip it to the “OFF” position. If you’re unsure which breaker it is, you can turn off the main breaker, but this will cut power to your entire home. It’s best to label your breakers clearly!
- At the Switch: Turn off the wall switch that controls the exhaust fan. While this is a good first step, it’s always wise to double-check the circuit breaker is off for complete safety to prevent accidental re-powering.
Tip: To be absolutely sure the power is off, try flipping the fan’s switch on and off after you’ve shut off the breaker. If the fan doesn’t turn on, the power is successfully disconnected.
2. Gather Your Tools
Having the right tools makes any DIY job easier and safer. For most exhaust fan repairs, you’ll likely need:
- Screwdrivers: A Phillips head and a flathead screwdriver are essential. A set with interchangeable bits is very handy.
- Ladder or Sturdy Step Stool: To safely reach the fan.
- Gloves: To protect your hands from dust and sharp edges.
- Safety Glasses: To protect your eyes from falling debris.
- Vacuum Cleaner with Hose Attachment: For cleaning dust and debris.
- Brush or Compressed Air: For dislodging stubborn dust.
- Optional: Multimeter (if you suspect electrical issues beyond simple connections).
3. Protect Your Area
Place a drop cloth or old towels beneath the fan to catch any dust or debris that might fall during cleaning or repair.
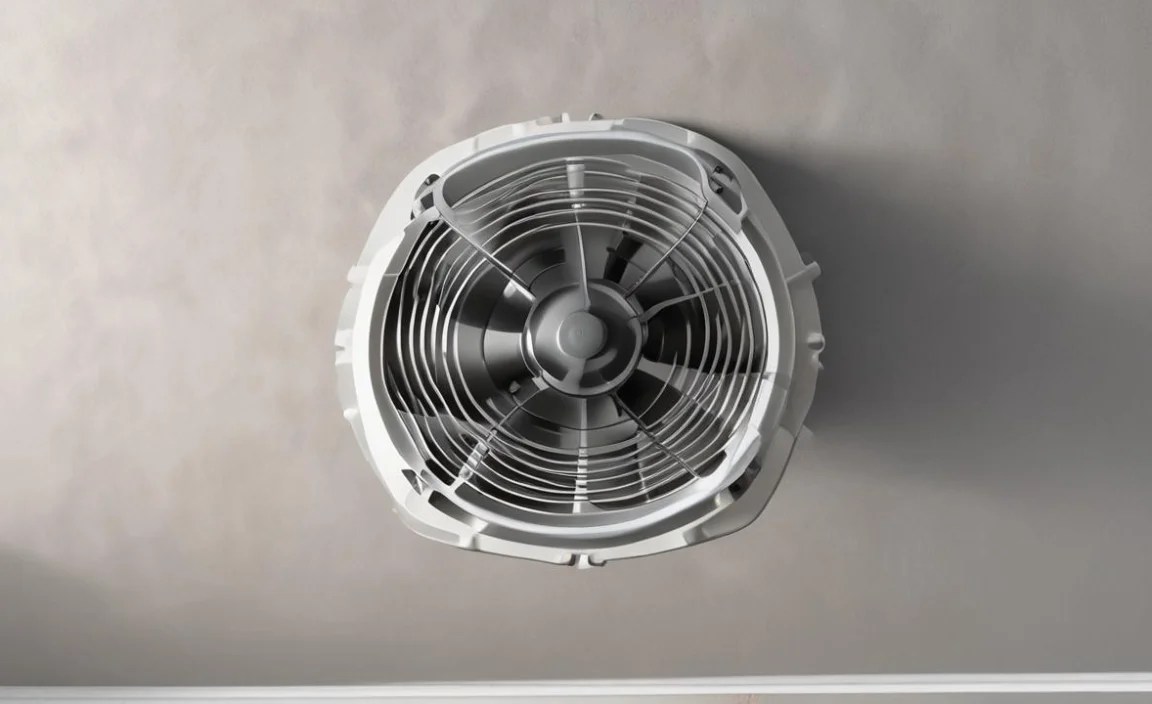
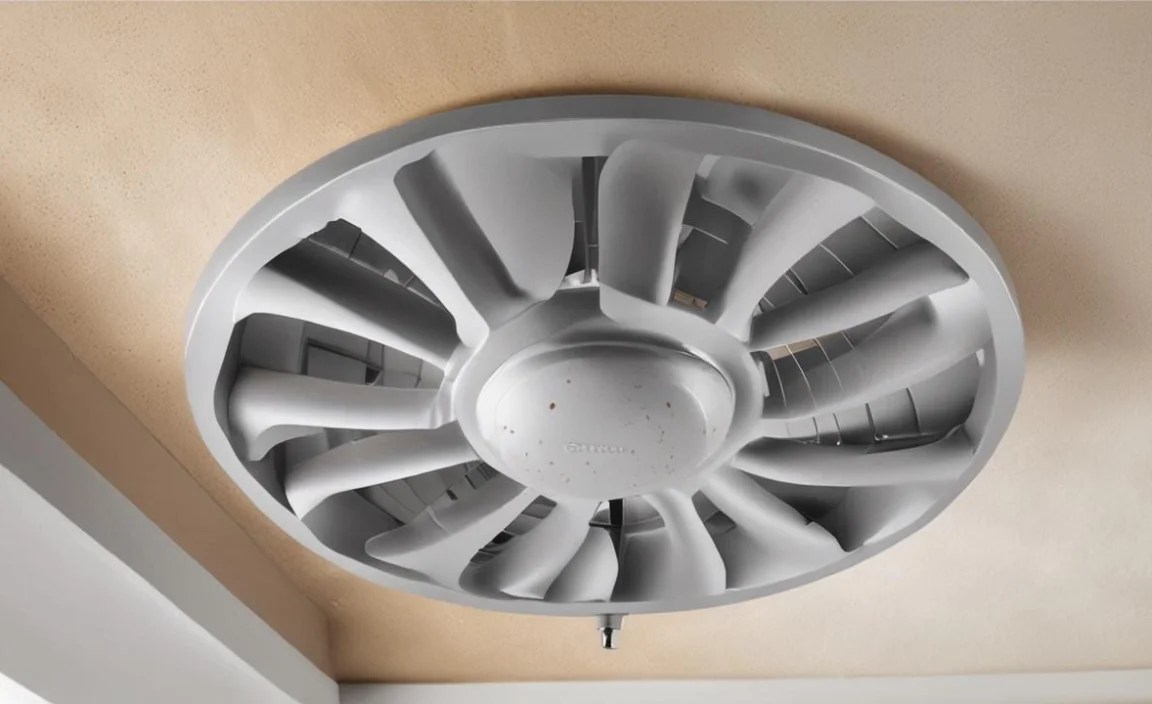
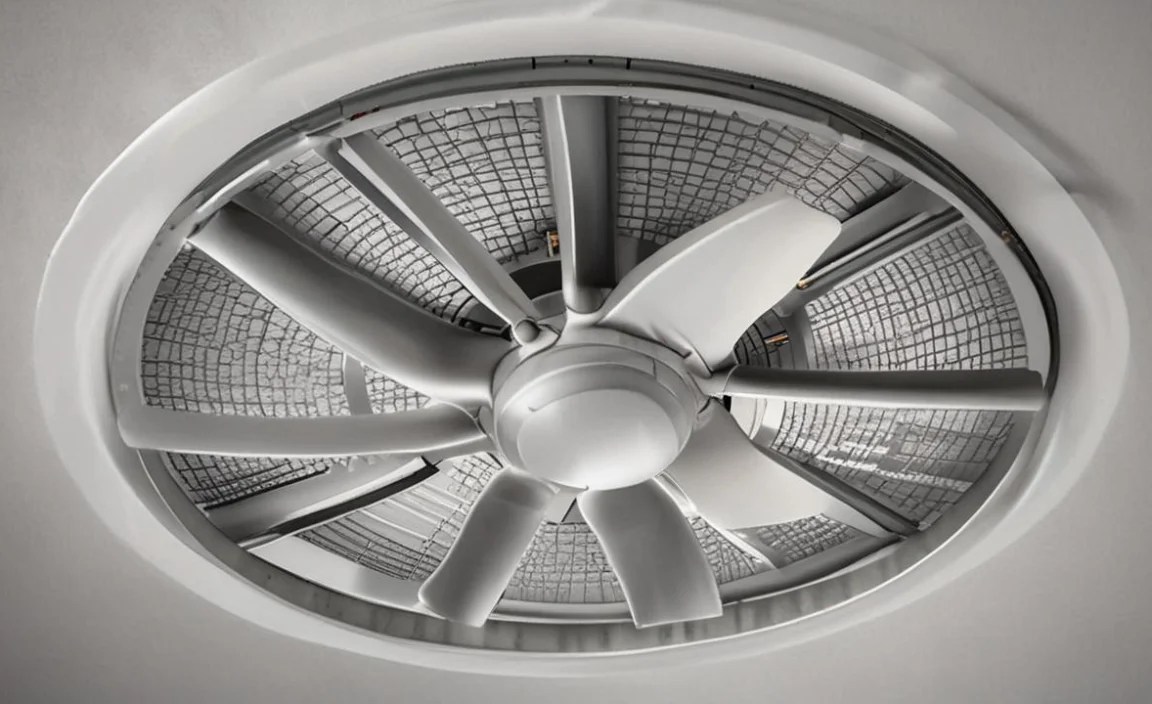
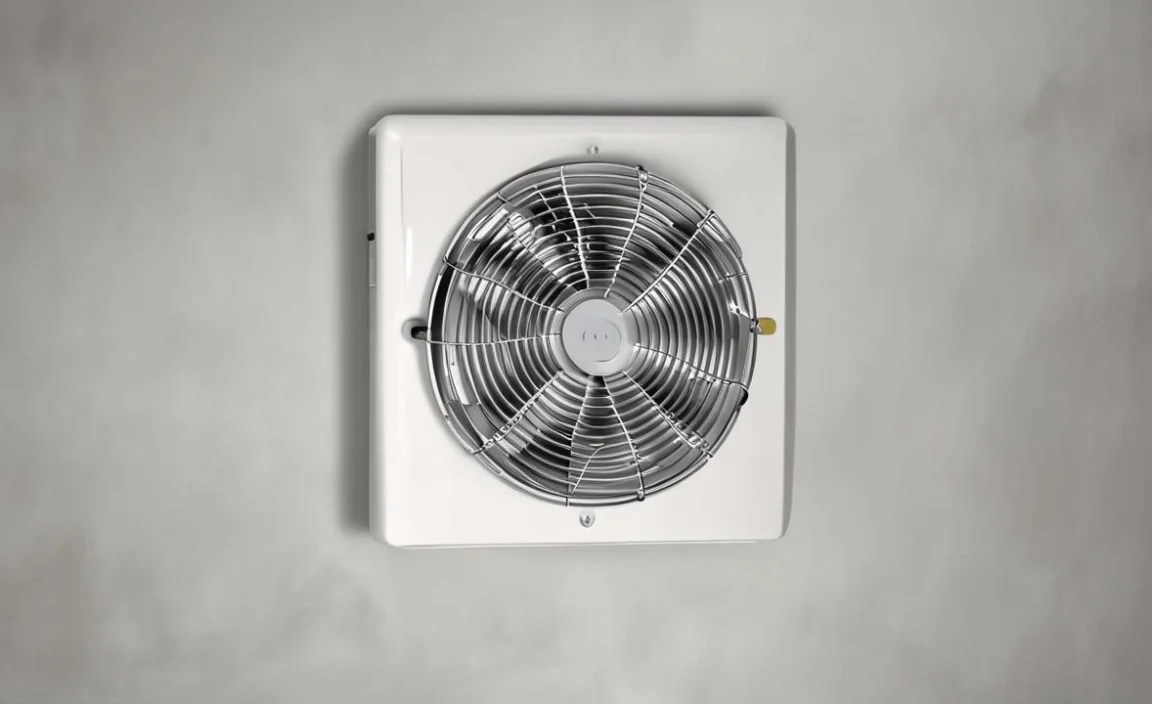
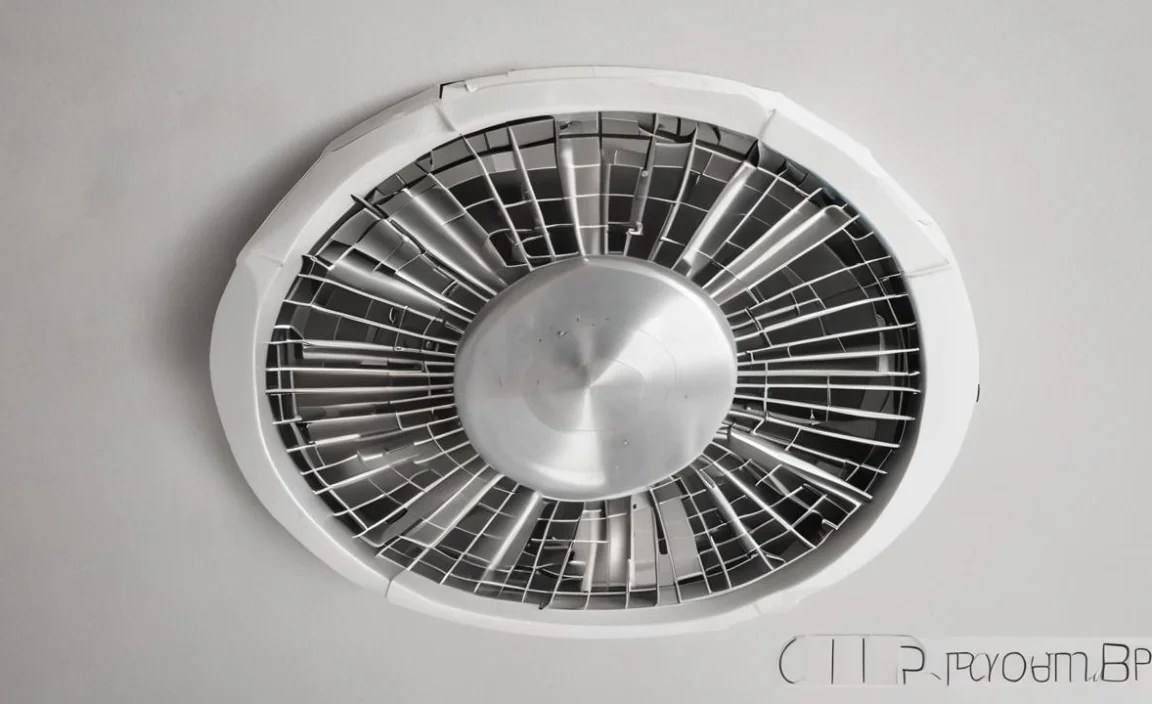
Common Exhaust Fan Noises and How to Fix Them

A noisy exhaust fan is often the first sign that something needs attention. The type of noise can give you a clue about the problem. Here’s how to tackle the most common unsettling sounds.
1. Squealing or Grinding Sounds
This type of noise usually points to a fan motor that’s either dry, dirty, or starting to wear out. The bearings inside the motor might be the culprit.
DIY Fix Steps:
- Ensure Power is Off: Double-check that the circuit breaker is OFF.
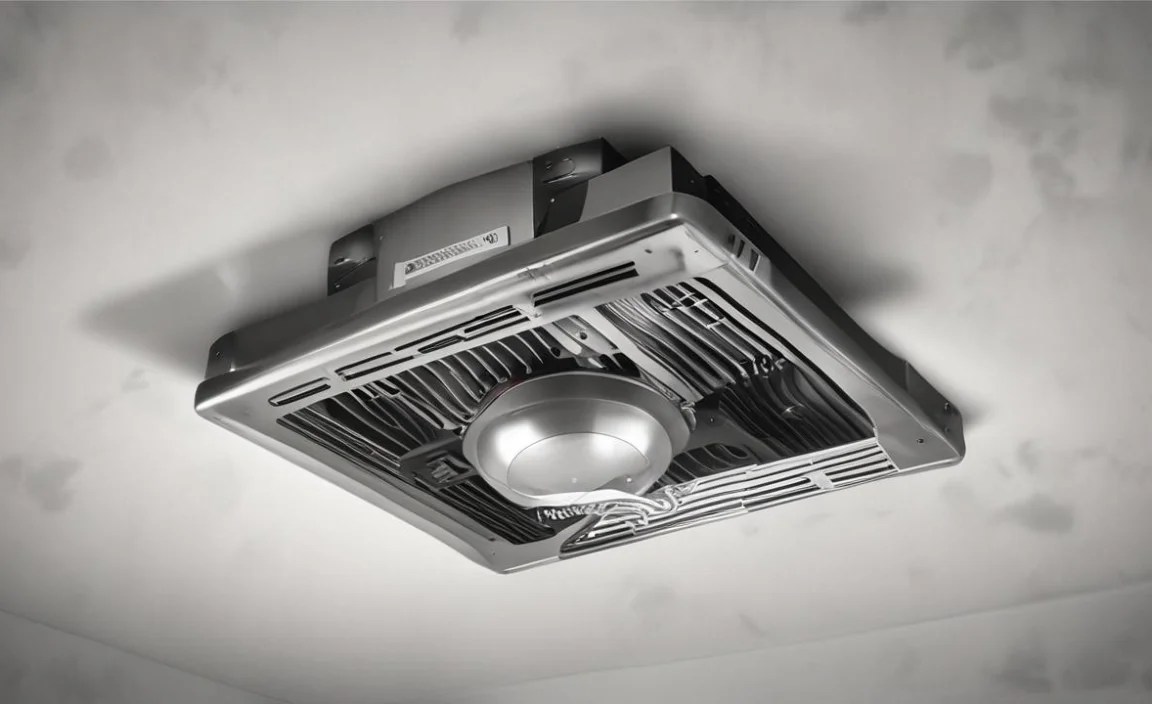
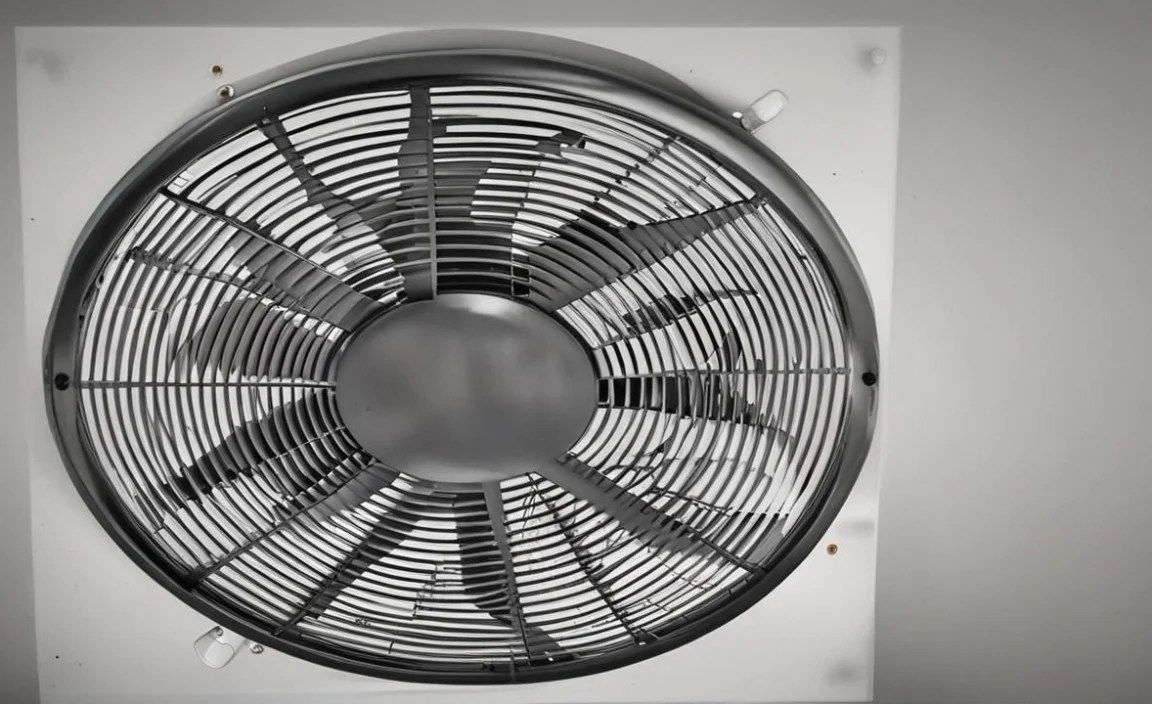
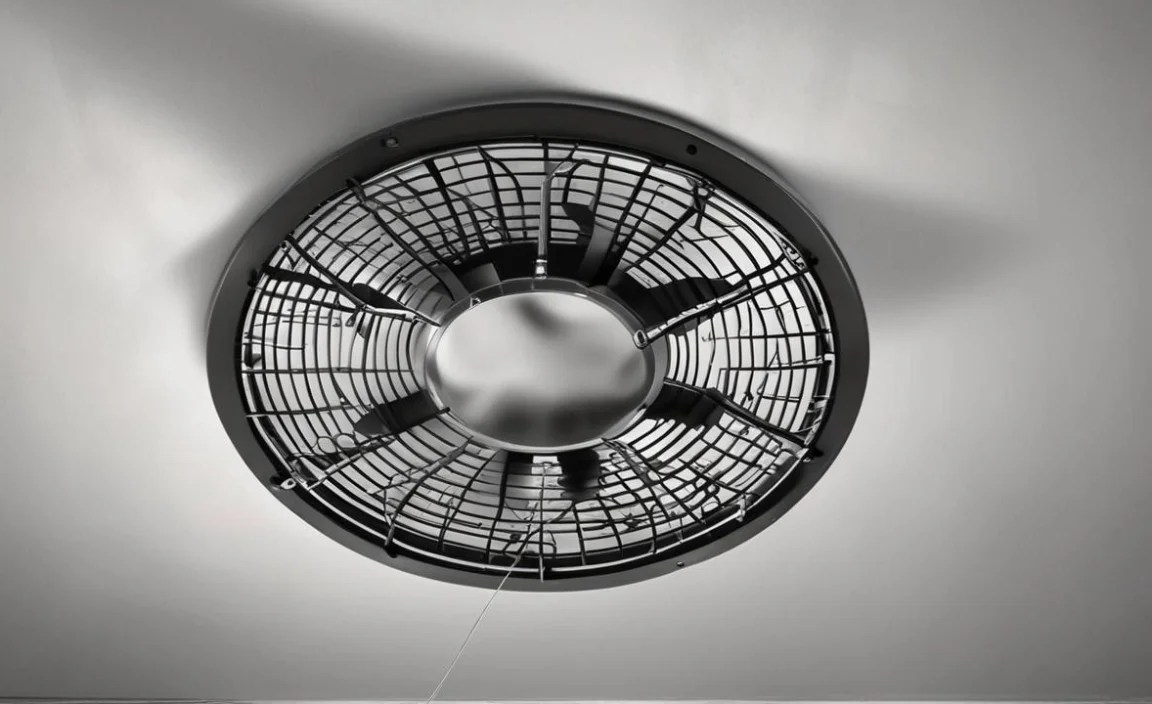
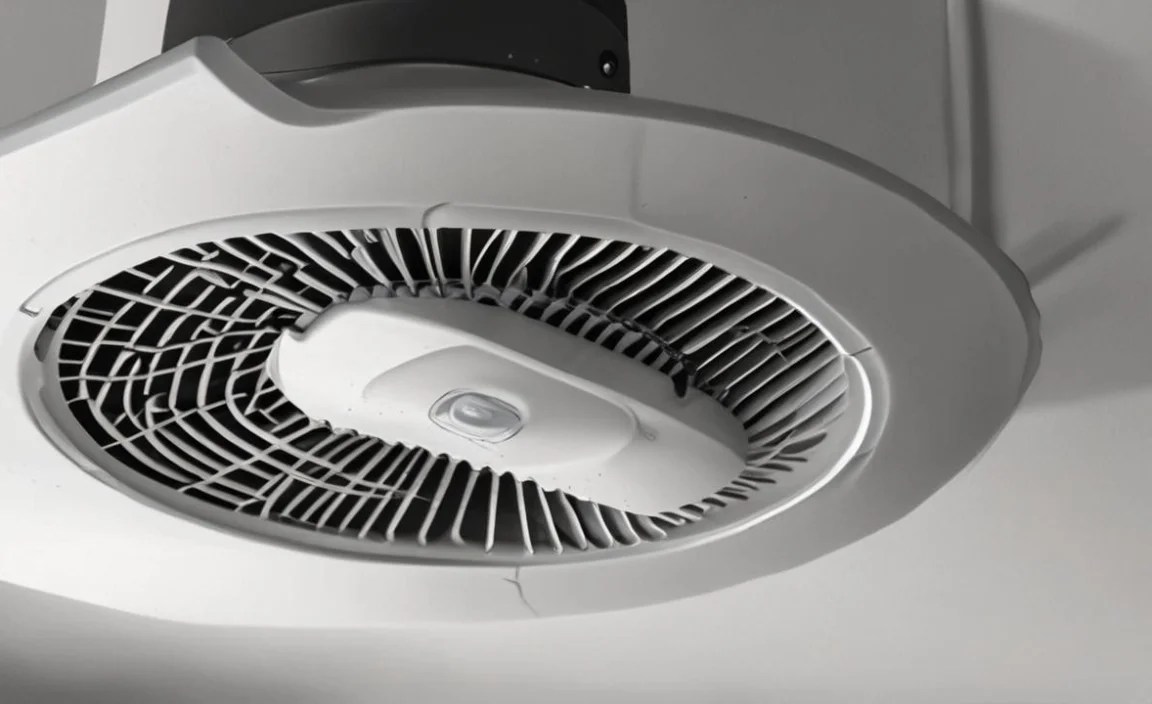
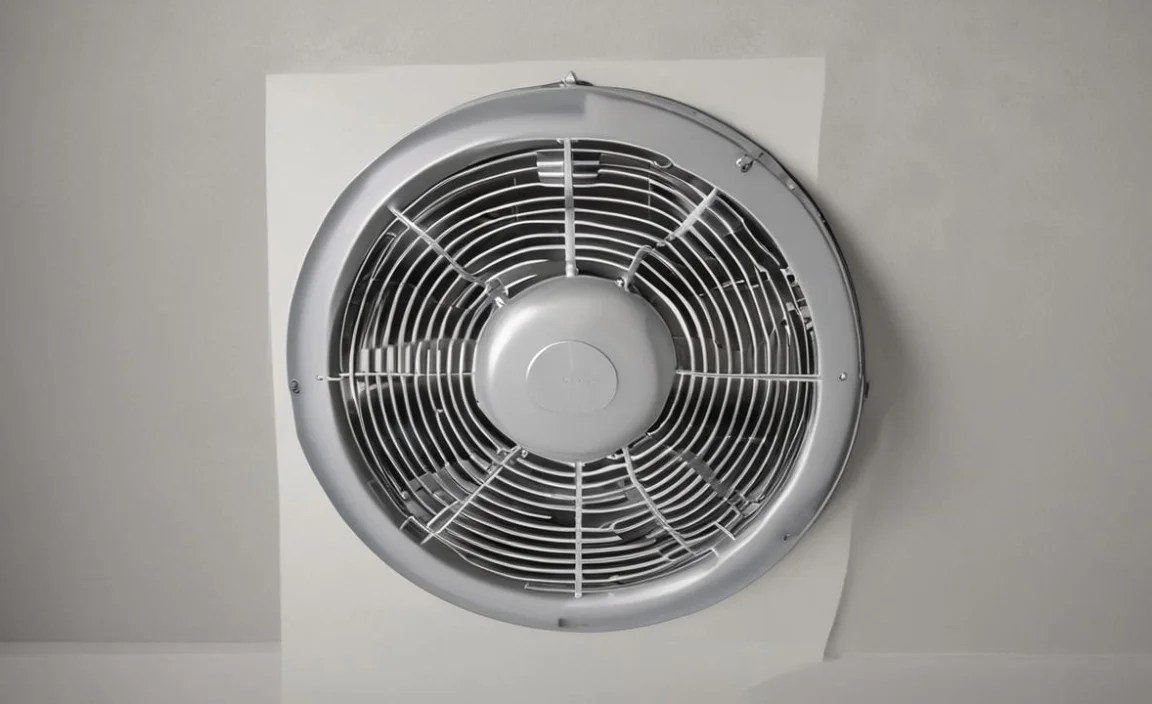
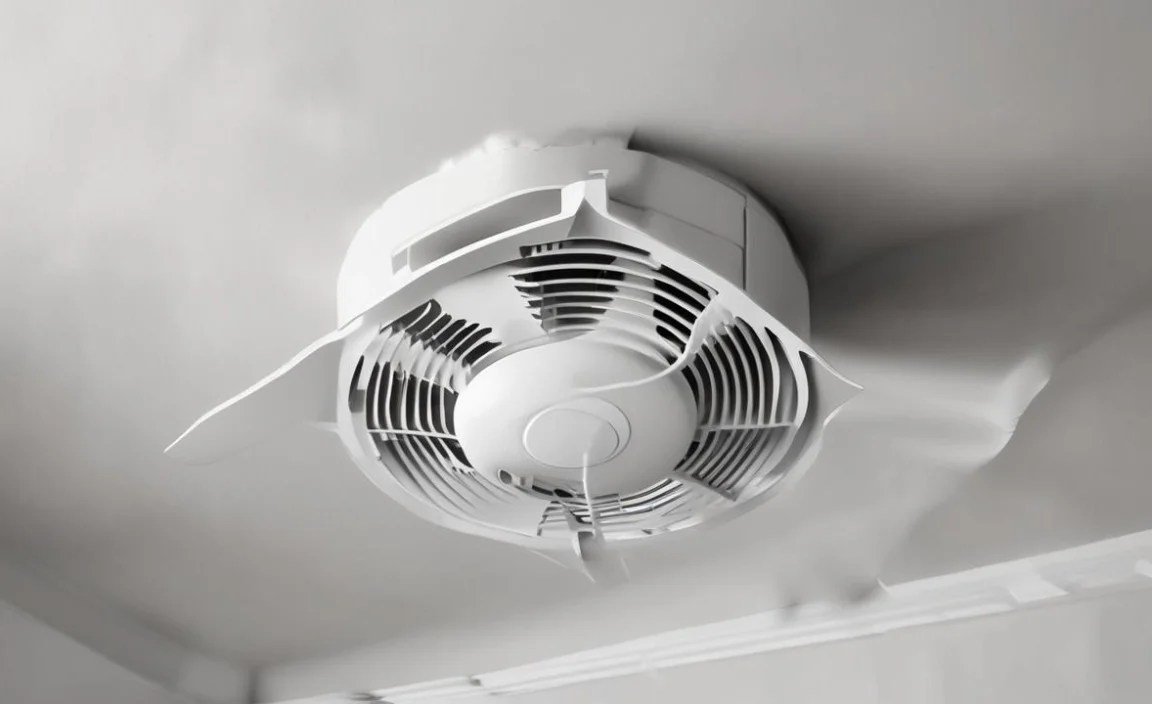
- Remove the Grille: Most exhaust fan grilles are held in place by clips or a few screws. Gently pry them open or unscrew them. Take a picture of how it’s attached if you’re unsure.
- Inspect and Clean the Fan Blades: You’ll likely see a fan blade attached to the motor. Carefully clean the blades with a damp cloth or brush. Dust and grime can unbalance the blades, causing noise.
- Check the Motor Housing: After cleaning the blades, inspect the motor itself. Is there a lot of dust packed around it? Use a vacuum cleaner with a brush attachment or a can of compressed air to carefully clean the motor housing.
- Lubricate (If Applicable): Some older fan motors have an oil port. Check your fan’s manual or look for a tiny hole on the motor housing. If yours has one, apply a drop or two of SAE 20 or 30 weight non-detergent motor oil. Modern fans often have sealed bearings that cannot be lubricated, so don’t force it if you don’t see an oil port or the manual advises against it. You can find more information on lubricating motors here from the US Department of Energy’s Energy Saver program.
- Reassemble: Once clean and potentially lubricated, reattach the grille.
- Restore Power and Test: Turn the power back on at the breaker and test the fan.
If the squealing persists after cleaning and lubrication, the motor bearings might be worn out, and you may need to consider replacing the entire fan unit or just the motor/blower assembly if available.
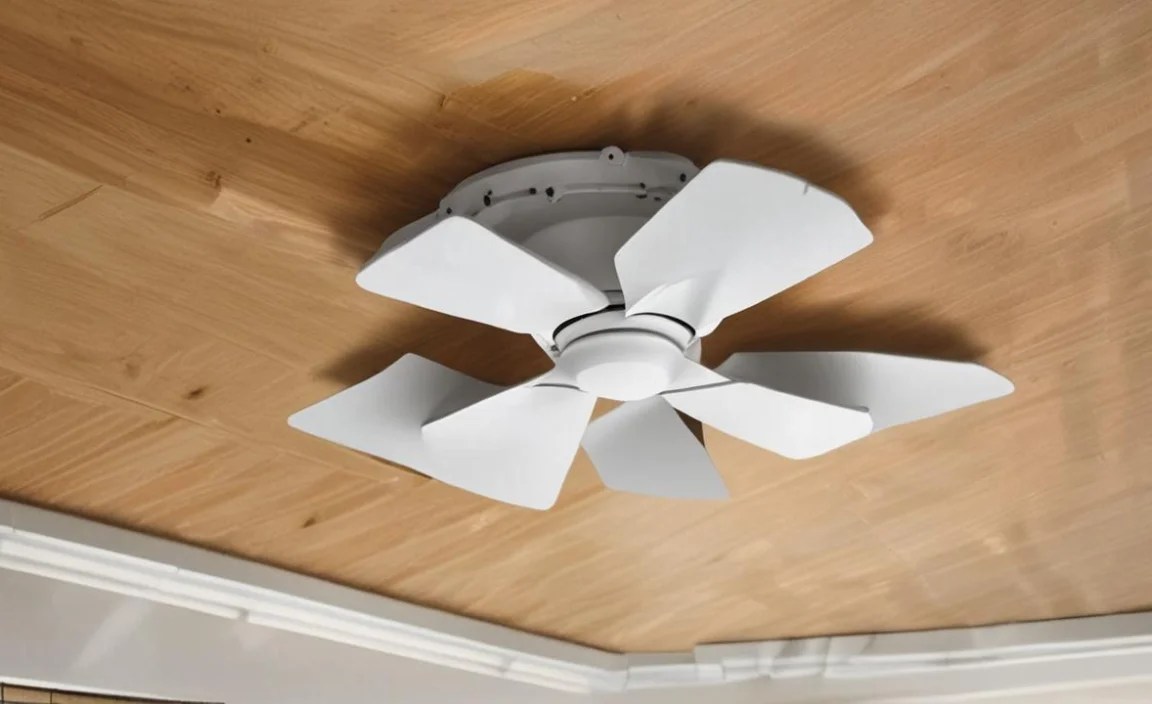
2. Rattling or Vibration Sounds
This usually means something is loose. It could be the fan blades, the motor mount, or even the housing itself.
DIY Fix Steps:
- Power Off: Again, ensure the power is completely OFF at the breaker.
- Access the Fan: Remove the grille.
- Check Fan Blade Security: Gently try to wiggle the fan blade. Is it loose on the motor shaft? Some fan blades have a small set screw that holds them in place. If it’s loose, tighten the set screw or ensure it’s firmly seated on the shaft. If the blade appears damaged or warped, it might need replacement.
- Inspect Motor Mounts: Check that the screws holding the motor to the fan housing are tight. Carefully tighten them if needed, but don’t overtighten and strip the threads.
- Examine Housing: Ensure the fan housing where it mounts to the ceiling joist is secure. Sometimes vibrations loosen mounting screws.
- Check Vent Cover: Make sure the exterior vent cover (outside your house) isn’t loose or damaged, as this can cause rattling.
- Reassemble and Test: Put everything back together, restore power, and test.
3. Humming but No Spinning
This often indicates a problem with the motor starting mechanism (a capacitor) or a jammed fan blade. It can also mean the motor is failing.
DIY Fix Steps:
- Power Off: You know the drill – breaker OFF!
- Remove Grille and Inspect Blades: Clean the blades thoroughly. Try to gently spin the blade by hand (with power OFF). Does it spin freely, or is it stiff and difficult to turn? If it’s stiff, there might be an obstruction or the motor bearings are failing.
- Check for Obstructions: Look carefully around the fan blades and motor for any visible blockages (like a stray wire or debris).
- Examine the Capacitor (Advanced): If the fan spins freely by hand but still hums without starting, the capacitor might be the issue. The capacitor is a small cylindrical component connected to the motor. Replacing a capacitor can be a bit more technical and requires precise matching of specifications. If you’re not comfortable with electrical components, this is where you might want to call a professional or replace the entire fan unit. If comfortable, you’ll need to:
- Carefully disconnect the capacitor (note wire connections – take a photo!).
- Read its specifications (microfarads (µF) and voltage).
- Purchase an identical replacement capacitor from an electronics store or online.
- Reconnect the new capacitor exactly as the old one was wired.
A reliable source for electrical parts and information is Grainger or similar industrial supply stores.
- Motor Failure: If the motor is old and shows signs of overheating or grinding, it might have simply failed. In this case, replacing the entire fan unit is usually the most cost-effective solution.
- Reassemble and Test: Reassemble and test after performing your chosen fix.
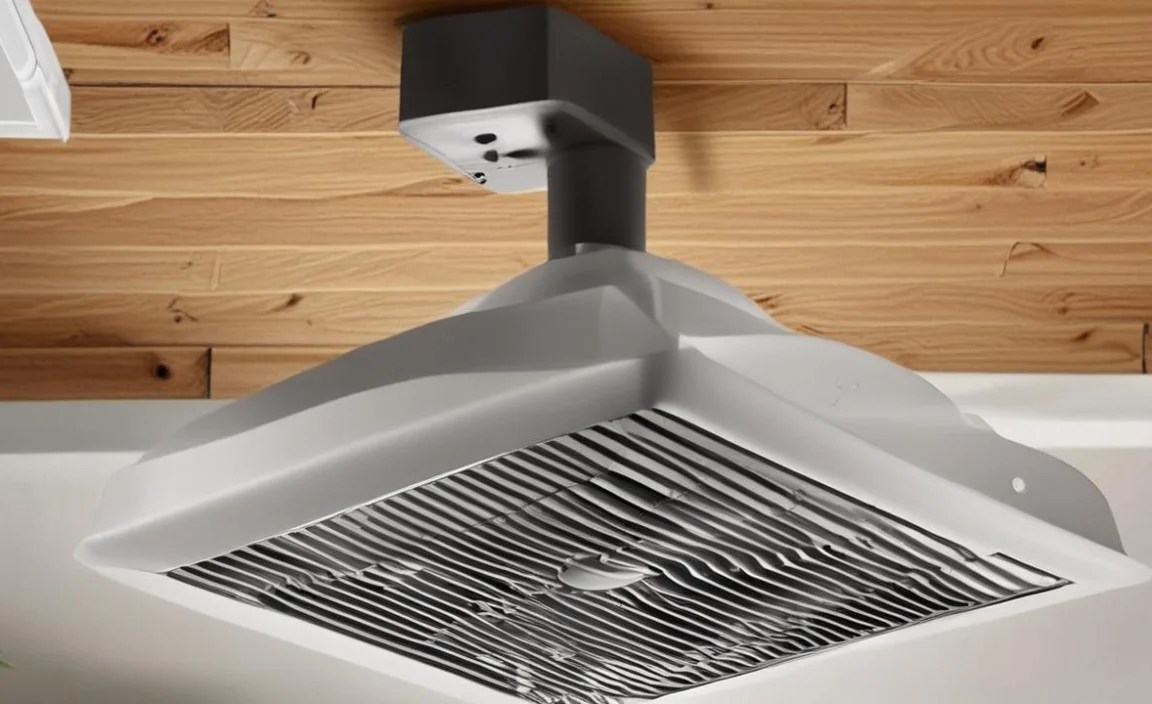
Improving Exhaust Fan Airflow and Performance
Sometimes, your exhaust fan is running without excessive noise, but it just doesn’t seem to be moving enough air. This is a common issue, especially in older homes or after renovations.
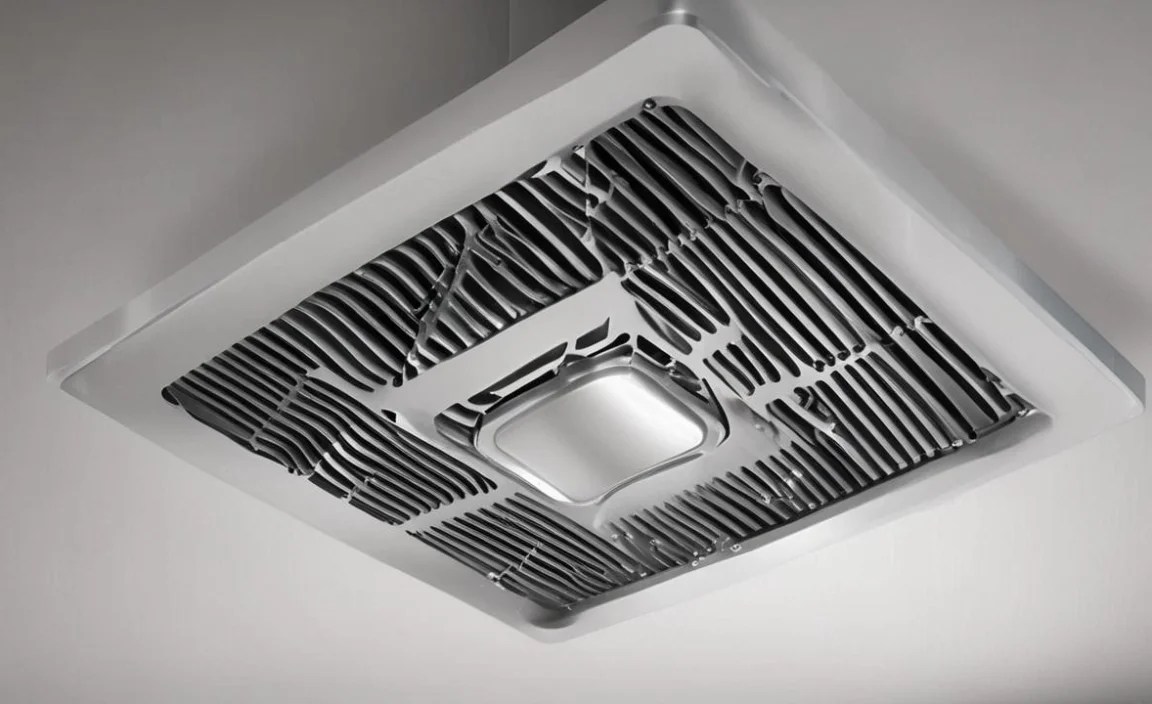
1. Clogged Ductwork
The duct that carries air from your fan to the outside can become clogged with dust, lint, and even animal nests. This is a major airflow killer.
DIY Fix Steps:
- Power Off: Breaker OFF!
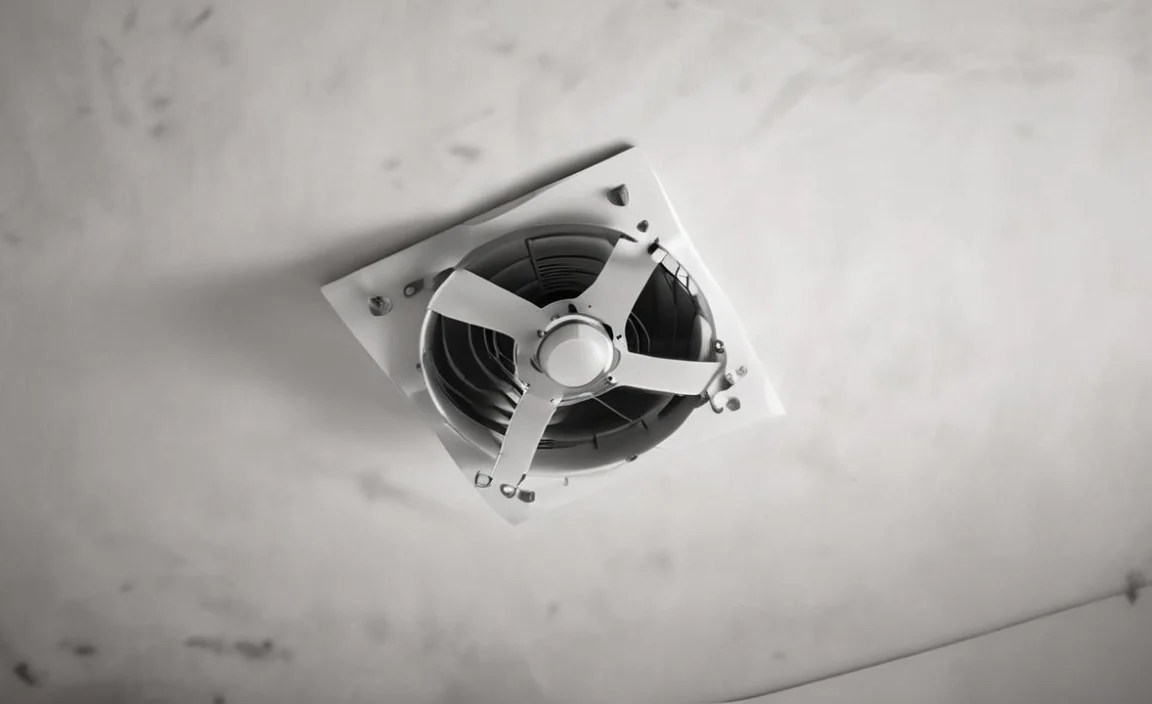
- Remove Grille: Access the fan unit.
- Disconnect Duct (If Possible): If your ductwork is accessible from the fan housing, try to carefully disconnect it. This might involve loosening a clamp or unscrewing a collar.
- Inspect Duct: Shine a flashlight into the duct. Can you see heavy buildup?
- Clean the Duct:
- For light dust, a vacuum cleaner hose can reach a good distance.
- For heavier clogs, you might need a flexible duct brush (available at hardware stores) attached to a rod or drill. Gently push and twist it through the duct.
- Consider using compressed air to blow out loose debris. If you have exterior access (soffit or roof vent), you might be able to push from the outside in.
It’s crucial to ensure the duct leading from the fan to the outside is clear. For professional guidance on duct cleaning, check resources like the EPA’s information on air duct cleaning.
- Check Exterior Vent: Ensure the vent hood on the outside of your house is not blocked by debris, insulation, or animal nests. Many have louvers that can get stuck.
- Reconnect and Test: Reconnect the ductwork securely, reattach the grille, restore power, and test performance.
2. Undersized or Kinked Ductwork
Sometimes, the problem isn’t dirt but the duct itself. If the duct is too small for the fan, or if it has sharp bends or is kinked (flattened), it will restrict airflow significantly.
DIY Fix Steps:
- Power Off.
- Access and Inspect: Remove the grille and observe the duct connection. Is the duct significantly smaller than the fan outlet? Are there obvious kinks or sharp turns that impede airflow?
- Straighten Kinks: If you find kinks, try to gently unbend them. You might need to pull back some insulation.
- Consider Duct Replacement/Upgrade: If the duct is clearly undersized (e.g., a 3-inch duct on a fan designed for 4-inch) or has too many turns, you might need to replace it with a larger, smoother duct run. This is a more involved DIY project but significantly improves performance. Using rigid or semi-rigid aluminum ducting is generally better for airflow than flexible plastic or vinyl ducts. For a guide on flexible ductwork, see This Old House’s guide.
- Reassemble and Test.
Dealing with Exhaust Fan Odors

Lingering smells from your exhaust fan, especially in the bathroom, can be unpleasant. While many might attribute this to moisture and mildew, sometimes the fan unit itself is the source or contributing factor.
1. Mold and Mildew Inside the Fan Housing or Duct

Moisture that isn’t effectively exhausted can settle inside the fan housing or ductwork, leading to mold and mildew growth, which then gets blown back into the room.
DIY Fix Steps:
- Power Off: Breaker OFF!
- Access and Inspect: Remove the grille. Look inside the fan housing and at the fan blades. Do you see any signs of mold or mildew (black spots, fuzzy growth)?
- Clean Thoroughly:
- Mix a solution of 1 part bleach to 10 parts water, or use a household mold and mildew cleaner.
- Dampen a cloth with the solution (wear rubber gloves and eye protection!) and carefully wipe down the fan blades, motor housing, and anything else you can reach inside the fan unit.
- For the ductwork, use a brush or vacuum as described in the airflow section, but ensure it’s disinfected.
- Dry Completely: Allow the fan unit and ductwork to dry thoroughly. You can run the fan for a short period on a warm, humid day (with humidity brought into the room, not from moisture) to help dry it out, or use a hairdryer on a low setting.
- Improve Ventilation: To prevent recurrence, ensure your fan is running long enough after showers/baths (at least 20-30 minutes) and that the ducting effectively vents outside.
- Reassemble and Test.
2. Odors from External Sources
In rare cases, odors can be drawn into your home through the exhaust vent from outside, especially if it’s near a vent for a septic system or compost area, or if air is back-drafting from other home exhaust points.
DIY Fix Steps:
- Inspect External Vent: Go outside and check the fan’s exterior vent. Is it clear? Is it located near a potential odor source?
- Check Backdrafting: Ensure that other exhaust points in your home (like the clothes dryer or kitchen range hood) are venting properly and not causing air to be pulled back into the exhaust fan duct from the attic or outside.
- Install a Damper/Backdraft Shutter: Many newer fans come with a backdraft damper (a flap that opens when the fan runs and closes when it stops) to prevent outside air from entering. If yours doesn’t have one, or if it’s not working effectively, you can purchase and install one. This is typically done at the connection between the fan housing and the ductwork.
When to Call a Professional
While many exhaust fan issues are DIY-friendly, there are times when it’s best to step back and call in an expert. This protects your safety and ensures the job is done correctly.
Consider Professional Help If:
- You are uncomfortable working with electricity.
- You suspect a major electrical fault (e.g.,
