
Repair your exhaust fan with these genius fixes for common issues like noise, poor ventilation, and strange smells. This guide offers simple, step-by-step solutions for beginners, ensuring your bathroom or kitchen stays fresh and clean safely and affordably.
Is your exhaust fan making more noise than a jet engine? Or maybe it’s not moving air like it used to? Don’t worry, a grumpy exhaust fan is a common household hiccup. These hardworking helpers keep your home free from steam, odors, and stale air, but sometimes they need a little TLC. Many problems have surprisingly simple fixes that you can tackle yourself, saving you time and money. Instead of calling a pro for every little squeak or sigh, you can become your own ventilation wizard. Ready to breathe easier? Let’s dive into some genius repairs that will get your exhaust fan running smoothly and quietly again.
This guide will walk you through common exhaust fan problems and provide easy-to-follow, step-by-step instructions. We’ll cover everything from clearing obstructions to troubleshooting electrical quirks, making sure you feel confident and safe every step of the way. Get ready to master your exhaust fan!
Common Exhaust Fan Problems & Their Genius Fixes
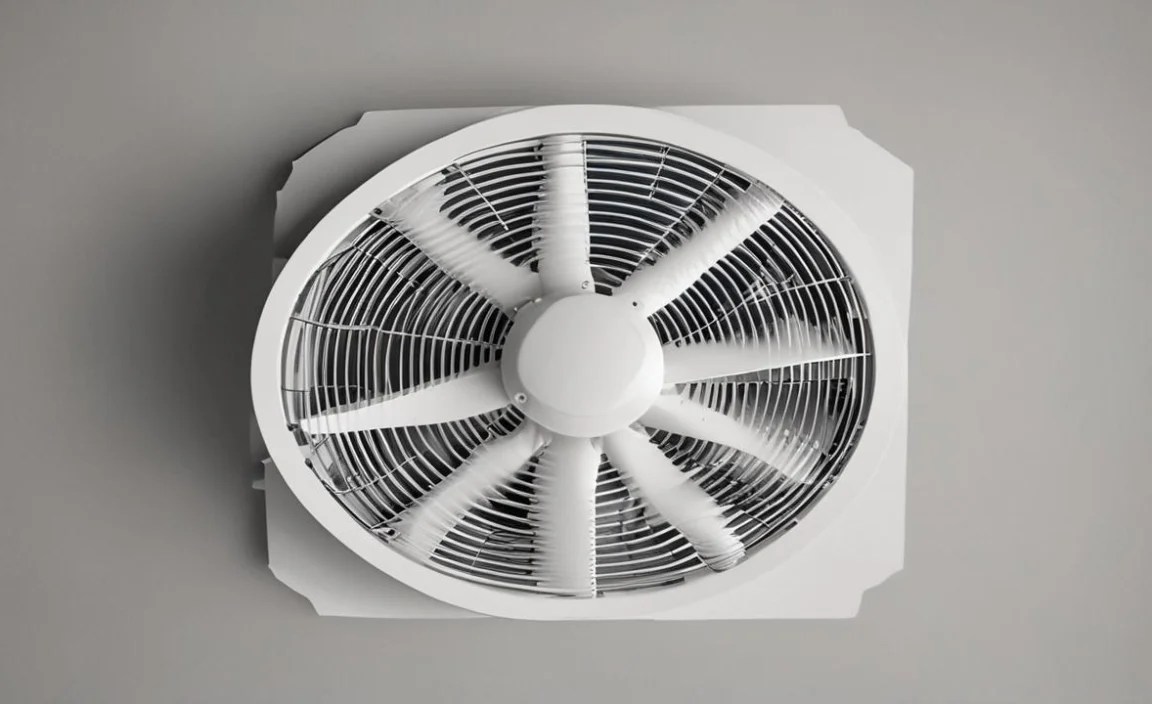
Exhaust fans are workhorses, silently battling moisture and odors in places like your bathroom and kitchen. When they falter, it’s not just annoying – persistent moisture can lead to mold and mildew, and poor ventilation can make your home feel stuffy. But most exhaust fan troubles have straightforward solutions. Let’s break them down.
1. The Noisy Fan: Squeaks, Rattles, and Roars

A noisy exhaust fan is often the first sign that something is amiss. The culprit is frequently wear and tear, a loose part, or a buildup of grime. Here’s how to quiet things down.
Causes of a Noisy Exhaust Fan:

- Dust and Debris: Over time, dust, lint, and even small insects can accumulate on the fan blades and motor. This unbalances the fan and causes friction, leading to noise.
- Loose Components: Screws, brackets, or the fan housing itself can become loose, causing rattling or vibration sounds.
- Worn-Out Motor Bearings: The motor bearings are crucial for smooth operation. When they wear down, they can create a grinding or squealing noise. This is often the most complex (and sometimes irreversible) fix.
Genius Fix Steps:
- Safety First: Turn Off Power! Before you do anything, locate your electrical panel and switch off the breaker that controls your exhaust fan. You can also usually find a light switch connected to the fan; turn that off as well. Double-check that the fan is completely off.
- Access the Fan: Most exhaust fans have a cover or grille. Gently pry it open or unscrew it. You might need a screwdriver for this, depending on the model. Carefully lower the cover.
- Inspect and Clean: See the fan blades? They’re likely covered in dust. Use a damp cloth or an old toothbrush to carefully clean each blade. For stubborn grime, a mild cleaner can help, but ensure it’s safe for plastic or metal fan components. Also, check the housing around the fan motor for debris. You can use a vacuum cleaner with a brush attachment for hard-to-reach dust bunnies.
- Check for Loose Parts: Gently try to wiggle the fan motor and the blades. If they feel loose, check for any visible screws or mounting brackets that might have vibrated loose. Tighten them with a screwdriver. Don’t overtighten, as this can strip screws or crack plastic.
- Lubricate (If Possible): Some older fans have a small oil hole on the motor shaft. If yours does and the noise sounds like a squeak, a drop or two of electric motor oil (available at hardware stores) can work wonders. Check your fan’s manual or the manufacturer’s website to see if this is recommended for your model. Modern fans are often sealed and don’t require lubrication.
- Reassemble and Test: Once clean and tightened, reattach the fan cover. Restore power at the breaker and flip the switch. Listen for changes.
If the noise persists after cleaning and tightening, and if lubrication isn’t an option or doesn’t help, the motor bearings might be the issue. At this point, replacement of the fan unit might be the most practical solution, especially for DIY beginners.
2. The Weak Fan: Low Airflow and Poor Ventilation

An exhaust fan that’s not pulling air effectively is defeating its purpose. This can leave your bathroom foggy after a shower or your kitchen smelling of last night’s dinner. This problem is often easily fixed by a simple obstruction or dirty components.
Causes of Weak Airflow:
- Clogged Vent Hood: The external vent cover, where the air exits your house, can become blocked by leaves, nests, or lint buildup.
- Dirty Fan Blades/Housing: Similar to noisy fans, dust can coat the blades, reducing their ability to push air.
- Obstructed Ductwork: While less common for beginners to fix directly, sometimes the duct leading from the fan to the outside can get partially blocked.
- Undersized Fan: In some rare cases, the original fan might have been too small for the room, meaning it was never truly effective.
Genius Fix Steps:
- Safety First: Turn Off Power! Again, breaker off, switch off. Safety is paramount.
- Inspect the Exterior Vent: Go outside and find where your exhaust fan vents. This is usually a small vent cover on a wall or roof. Check if it’s blocked by anything. Remove any obvious obstructions like lint buildup or debris. Some vent covers have a flap that might be stuck; gently ensure it can move freely. If you can, remove the cover (usually a few screws) for a better look and clean.
- Clean the Fan Blades and Housing: Follow the steps from the “Noisy Fan” section to access, clean, and inspect the fan blades and housing. Accumulated dust significantly hinders airflow.
- Check Accessible Ductwork: If your ductwork is easily accessible (e.g., in an attic or crawl space), take a look. You can often use a flashlight to see if there are any obvious blockages like a bird’s nest or a large clump of insulation. If you find a blockage you can safely reach, try to remove it. For more significant duct issues or clogs deep within, it’s best to consult a professional HVAC technician.
- Ensure Proper Fan Size: For larger rooms or if you’ve recently upgraded a bathroom, you might need a fan with higher air movement capacity, measured in CFM (Cubic Feet per Minute). You can check labels on existing fans or consult Energy.gov for recommendations on ventilation rates for different room sizes. If your fan is consistently undersized, replacement with a more powerful unit will be necessary.
- Reassemble and Test:** Reattach any covers, restore power, and test the airflow. You should feel a noticeable difference.
3. The Smelly Fan: Unpleasant Odors

An exhaust fan should eliminate odors, not create them. If yours is emitting strange smells, it’s usually due to trapped moisture, mold, or even something that’s gotten into the ductwork.
Causes of a Smelly Fan:

- Mold and Mildew: In humid environments like bathrooms, moisture can condense inside the fan housing or ductwork, promoting mold and mildew growth.
- Dead Critters or Debris: Small animals or accumulated debris can get into the ductwork and decompose, creating foul odors.
- Grease Buildup (Kitchen Fans): Kitchen exhaust fans can accumulate grease, which can trap odors and become a fire hazard.
- External Odors: Sometimes, the fan can pull in odors from outside if the ducting isn’t sealed properly or if the external vent is near a source of bad smells.
Genius Fix Steps:
- Safety First: Turn Off Power! Always. Breaker off, switch off.
- Clean Thoroughly: Access the fan as described previously. A thorough cleaning of the fan blades, housing, and grille is essential. Use a disinfectant cleaner that is effective against mold and mildew. A diluted bleach solution (1 part bleach to 10 parts water) can be used for tough mold, but ensure good ventilation and wear gloves and eye protection. Rinse thoroughly and let dry completely before reassembly.
- Inspect Ductwork: If possible, check the ductwork for any signs of mold, mildew, or debris. For kitchen fans, inspect for excessive grease buildup. For mold or significant grease, professional cleaning of the ductwork might be required.
- Exterior Vent Check: Ensure the exterior vent isn’t drawing in unpleasant smells from nearby sources, like garbage cans or sewage vents.
- Consider a Fan with a Timer/Humidistat: To prevent future moisture buildup, consider a fan that runs for a set period after use or one that automatically activates when humidity levels rise. These help ensure moisture is properly vented out.
- Replacing the Fan: If cleaning doesn’t resolve persistent odors, especially if mold is suspected deep within the unit or ducting, replacing the fan and potentially the ducting might be the best long-term solution for a truly fresh environment.
4. The Flickering or Non-Starting Fan: Electrical Issues
If your fan flickers, won’t turn on at all, or stops mid-cycle, it points to an electrical problem. This can be as simple as a loose wire or as complex as a faulty motor or switch.</
Causes of Electrical Issues:
- Loose Wiring: Connections in the fan housing, the switch, or at the electrical box can become loose over time due to vibration.
- Faulty Switch: The wall switch controlling the fan might be worn out or damaged.
- Bad Capacitor (for some motors): Many fan motors use a capacitor to help them start. If this fails, the fan might hum but not spin, or it might struggle to start.
- Motor Failure: The motor itself may have failed. This is usually the most expensive part to replace.
Genius Fix Steps:
- SAFETY FIRST: Turn Off Power! For electrical issues, this is non-negotiable. Confirm the breaker is OFF.
- Check the Switch: Ensure the wall switch is functioning correctly. Does it feel loose or wobbly? If you have a multimeter and are comfortable using it, you can test the switch for continuity when it’s off and when it’s on. For beginners, if the switch seems suspect, replacing it is a good first electrical step. Turn off power to the circuit at the breaker, unscrew the switch plate, carefully disconnect the wires (take a picture first!), and connect the new switch using wire nuts.
- Inspect Wiring: Gently remove the fan cover and examine the wiring leading to the fan motor. Look for any loose wire nuts or connections that have come apart. Make sure black wires are connected to black, white to white, and grounds to grounds (usually a bare copper or green wire). If you find loose connections, re-secure them with fresh wire nuts.
- Test the Capacitor (Advanced): If your fan hums but doesn’t spin, it might be a faulty capacitor. These are typically small, cylindrical components connected to the motor. Testing and replacing a capacitor requires specialized knowledge and tools, and it should only be done by someone comfortable working with electrical components. If you’re unsure, it’s safer to call an electrician.
- Motor Replacement: If the wiring is secure, the switch is good, and the capacitor is fine (or not the issue), the motor itself may have failed. Motors are usually integrated into the fan unit. Replacing the entire fan assembly is often more practical than trying to replace just the motor for most DIYers.
- Restore Power and Test: After any electrical work, always restore power at the breaker and test the fan using its switch.
Always consult a qualified electrician if you are unsure about any electrical troubleshooting. Working with electricity can be dangerous. For more information on electrical safety, resources like NFPA.org (National Fire Protection Association) are invaluable.
Tools You Might Need for Exhaust Fan Repairs

Having the right tools makes any DIY job smoother and safer. For most common exhaust fan repairs, you won’t need a massive toolkit. Here’s a basic rundown:
| Tool | Purpose |
|---|---|
| Screwdrivers (Phillips and Flathead) | Removing fan covers, grilles, and electrical switch plates. |
| Ladder or Step Stool | Safely reaching the exhaust fan, especially if it’s on the ceiling. |
| Damp Cloth and Mild Cleaner | Cleaning fan blades and housing. |
| Old Toothbrush or Small Brush | Getting into nooks and crannies for cleaning. |
| Vacuum Cleaner with Hose Attachment | Removing loose dust and debris from hard-to-reach areas. |
| Wire Nuts | Reconnecting or securing electrical wires. |
| Gloves and Eye Protection | Protecting yourself from dust, debris, and cleaning solutions. |
| Multimeter (Optional, for electrical testing) | Testing switches and electrical components. |
| Electric Motor Oil (Optional) | Lubricating motor bearings if your fan model allows. |
| Screwdriver with Insulated Handle (Optional) | Added safety when working with electrical components. |
When to Call a Professional
While many exhaust fan issues are beginner-friendly fixes, there are times when it’s best to bring in the experts. Knowing your limits is a sign of a smart DIYer.
- Persistent Electrical Problems: If you’ve tried basic checks and the fan still won’t work, or if you’re uncomfortable with any aspect of electrical troubleshooting, call an electrician. Faulty wiring can be a fire hazard.
- Complex Ductwork Issues: If you suspect a major blockage deep within your ductwork, or if the ducting itself is damaged, a professional HVAC technician specializing in ventilation systems can handle it.
- Motor Replacement on Sealed Units: If the motor has clearly failed and the fan unit is not designed for motor replacement by the homeowner, replacing the entire fan with a new unit is usually the most cost-effective and safest option.
- Signs of Extensive Mold or Water Damage: If you discover significant mold growth or water damage within the fan, housing, or ductwork, it may indicate a larger moisture problem in your home, which requires professional assessment.
- Anything That Feels Beyond Your Comfort Level: Your safety and peace of mind are most important. If a task feels too daunting or you’re unsure about any step, don’t hesitate to call a qualified professional.
Frequently Asked Questions (FAQs)
Q1: How often should I clean my exhaust fan?

For most homes, cleaning the fan grilles and blades every 3-6 months is a good practice. If you live in a dusty environment or use your fan very frequently, you might want to clean it more often, perhaps quarterly.
Q2: My exhaust fan makes a humming noise but doesn’t spin. What’s wrong?

This often indicates a problem with the motor’s capacitor, which helps the motor start spinning. It could also mean the motor is seized or there’s a significant imbalance preventing it from turning. Check for obstructions first. If there are none, and you’re comfortable, you might investigate the capacitor (like mentioned in the article). Otherwise, it might be time for a replacement unit.
Q3: Can I use any lubricant on my exhaust fan motor?

No. Only use lubricants specifically designed for electric motors, such as electric motor oil, and only if your fan model has an oiling port. Many modern fans have sealed bearings that do not require lubrication and attempting to add lubricant can damage them.
Q4: My bathroom fan smells musty. How do I fix it?

Musty smells usually come from mold or mildew in the fan housing or ductwork due to trapped moisture. Turn off the power, remove the grille, and thoroughly clean the fan blades and housing with a disinfectant cleaner. Ensure dampness is fully dried before use. If the smell persists, the ductwork may need professional cleaning or the fan unit might need replacing.
Q5: How do I know if I need a new exhaust fan or if mine can be repaired?

If the fan is very old, constantly breaks down, is excessively loud even after cleaning, or has significant motor issues, replacement is often the most practical and cost-effective solution. Simple cleaning, tightening, or switch replacement usually indicates a repairable unit.
Q6: Is it safe to clean the exhaust fan myself?

Yes, for basic cleaning and maintenance, it is generally safe as long as you follow electrical safety precautions. Always turn off power at the breaker before touching any part of the fan near electrical components. If you are uncomfortable with electrical work or working at heights, it’s safer to call a professional
