
Is your exhaust fan making noise or not working right? Don’t worry! You can often fix common exhaust fan problems yourself with basic tools. This guide breaks down the essential tools and simple repairs to get your fan running smoothly again, saving you time and money.
That little whirring sound your exhaust fan makes is usually a sign it’s hard at work, keeping your bathroom, kitchen, or laundry room free of steam and odors. But when that sound turns into a rattle, a squeal, or it stops altogether, it can be a real nuisance. These fans are crucial for a healthy home, preventing mold and keeping the air fresh. The good news is, many common exhaust fan issues aren’t complicated. You don’t need to be a master handyman to tackle them!
With the right knowledge and a few basic tools, you can diagnose and fix most exhaust fan problems yourself. We’ll walk you through exactly what you’ll need and how to use it. Are you ready to silence that squeaky fan or bring a dead one back to life? Let’s get started!
Why Your Exhaust Fan Needs a Little Love

Exhaust fans are unsung heroes in our homes. They’re constantly battling moisture, grease, and airborne particles. Over time, this constant work can lead to wear and tear. Dust and debris build up, motors strain, and components can loosen. Ignoring these signs can’t only lead to an annoying fan but also reduce its effectiveness, impacting your home’s air quality and potentially causing bigger issues like mold growth.
Think of it like any other appliance – regular maintenance and occasional fixes can extend its life and keep it working at its best. Most problems, like a noisy fan, a fan that won’t spin, or a fan that blows air in the wrong direction, are actually quite simple to address once you know what to look for.
Understanding Common Exhaust Fan Problems
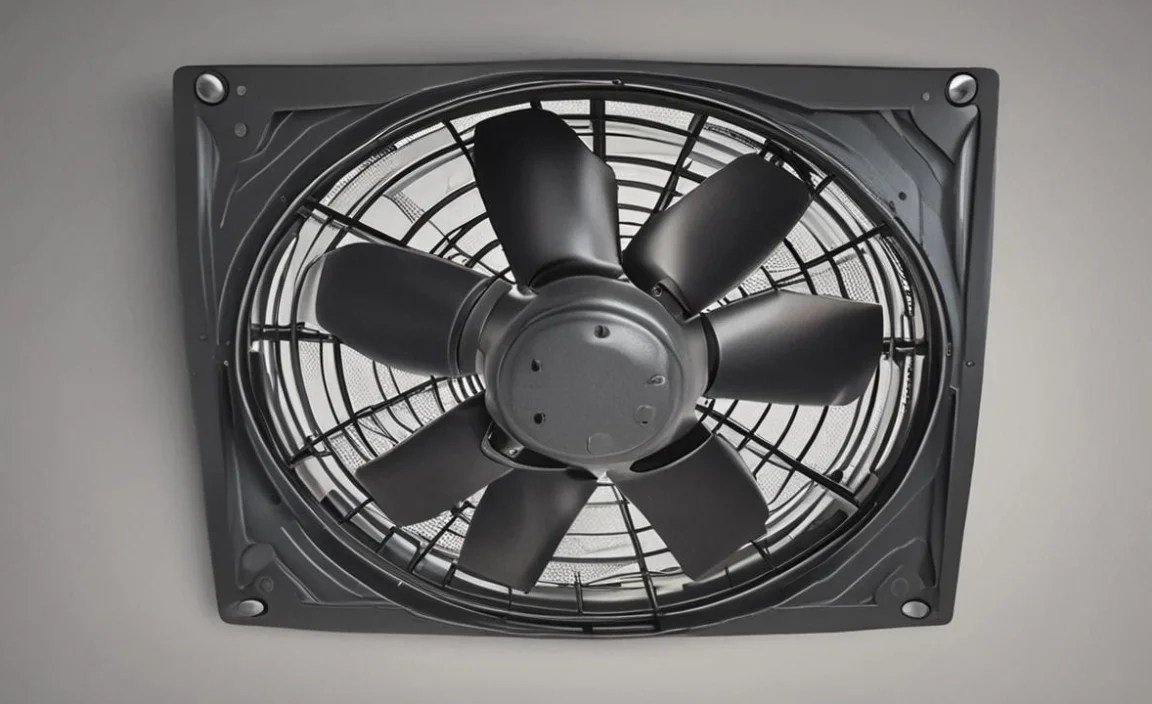
Before we grab our tools, let’s identify what might be wrong. Knowing the symptom helps us choose the right fix and the right tools.
- Noisy Operation: This is the most common complaint. It can range from a gentle hum to a loud rattling or squealing. Usually, this is due to dust and debris, a loose fan blade, or a motor that needs lubrication.
- Fan Not Running: If your fan is completely silent when it should be on, it could be an electrical issue, a tripped breaker, a faulty switch, or a motor that has failed.
- Poor Airflow: The fan runs, but you don’t feel much air moving. This often points to a clogged vent, a dirty fan blade, or a motor that’s losing power.
- Intermittent Operation: The fan works sometimes and not others. This can be tricky but might signal a loose wire connection or a motor that’s overheating.
- Strange Smells: While the fan’s job is to remove odors, sometimes the fan itself or the ductwork can develop musty smells, often from mold or mildew.
Essential Tools for Exhaust Fan Repair

Gathering the right tools before you start is key to a smooth and successful repair. You won’t need a specialized toolbox for most exhaust fan fixes; common household tools will do the trick. Safety first, always! Make sure the power to the fan is turned off at the circuit breaker before you start any work.
Here are the essential tools you’ll likely need:
| Tool | Why You Need It | Beginner Tip |
|---|---|---|
| Screwdriver Set (Phillips and Flathead) | To remove the fan cover, access internal components, and tighten or loosen screws. | Having a set with various sizes ensures you have the right fit for any screw. |
| Ladder or Step Stool | To safely reach the exhaust fan, especially if it’s installed in a ceiling. | Ensure it’s stable and placed on a level surface. Having someone hold it for you is even safer. |
| Vacuum Cleaner with Hose and Brush Attachment | To remove dust, cobwebs, and debris from fan blades, housing, and ductwork. | A brush attachment is great for loosening stubborn dust before vacuuming. |
| All-Purpose Cleaner or Degreaser | To clean fan blades and housing, especially in kitchen fans where grease can accumulate. | Test on an inconspicuous spot first to ensure it doesn’t damage surfaces. |
| Clean Cloths or Paper Towels | For wiping down components after cleaning or applying lubricants. | Microfiber cloths are gentle and effective for cleaning. |
| Lubricating Oil (if applicable) | Some older fan motors have oil ports that require periodic lubrication to reduce noise and wear. | Check your fan’s manual. Many modern fans have sealed motors and don’t need oil. Use oil specifically designed for electric motors. For example, 3-IN-ONE Electric Motor Oil is a common choice. |
| Utility Knife or Putty Knife | To gently pry off stubborn covers or to scrape away dried-on debris. | Use with care to avoid scratching or damaging the fan or surrounding ceiling. |
| Pliers (Needle-nose and Standard) | Useful for gripping small parts, bending or cutting wires if needed (though most beginner repairs avoid this), and accessing tight spots. | Essential if you encounter a loose wire nut or need to manipulate a spring clip. |
| Safety Goggles | To protect your eyes from dust, debris, or any loose parts falling during the repair. | Always wear these when working overhead or dealing with dusty areas. |
| Dust Mask | To prevent inhaling dust, mold spores, or other particulates, especially in older ventilation systems. | Crucial for your respiratory health, particularly if you have allergies or sensitivities. |
Remember, always consult your specific exhaust fan’s model manual if you have it. It can provide model-specific instructions and diagrams that are invaluable. You can often find these manuals online by searching for your fan’s brand and model number.
Step-by-Step: Repairing Your Exhaust Fan

Let’s get to it! We’ll tackle the most common issues with clear, actionable steps. Remember to always turn off the power to the fan at the circuit breaker before starting. This is non-negotiable for your safety.
Step 1: Safety First – Power Off!
Locate your home’s electrical panel (circuit breaker box). Identify the breaker that controls your exhaust fan. If it’s not labeled, you might need to test which breaker it is by flipping them off one by one until the fan stops working. Once identified, flip the breaker to the “OFF” position.
Pro Tip: To be extra sure, you can also flip the main breaker off, though this will cut power to your entire home. For a single fan, just turning off its specific breaker is usually sufficient and much more convenient.
Step 2: Accessing the Fan Unit
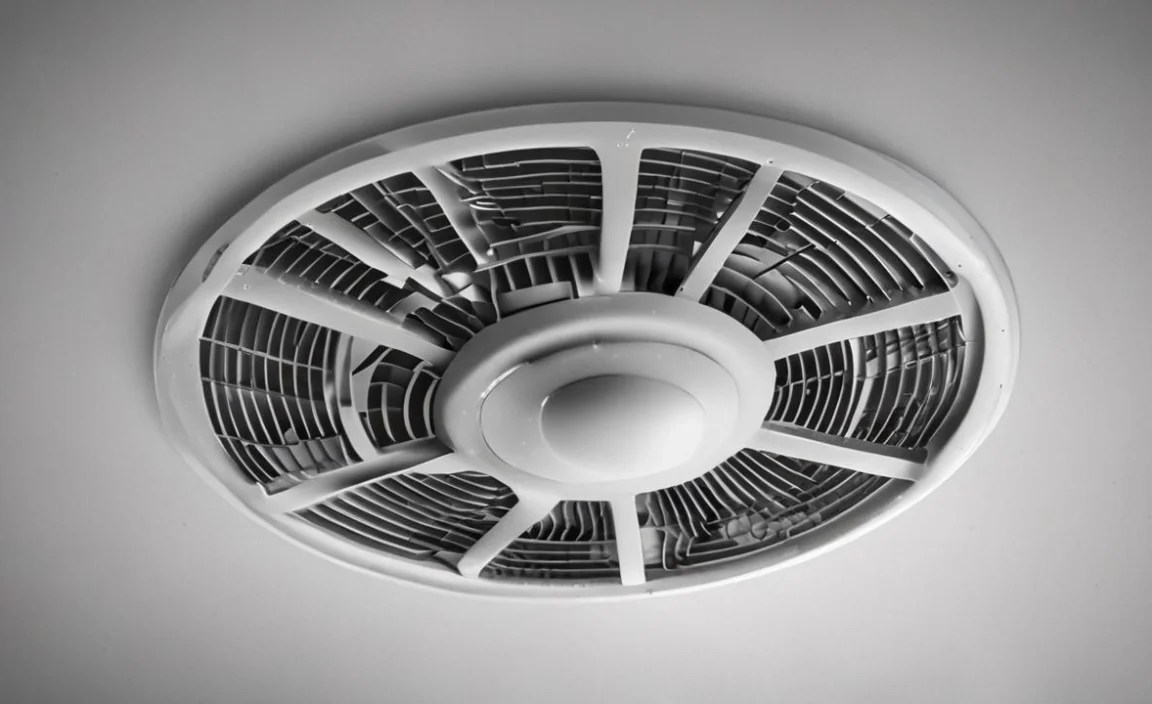
Most exhaust fan covers are attached with small screws or clips. Use your screwdriver to remove any visible screws. Some covers might just snap into place. If it feels stuck, gently use a flathead screwdriver or a putty knife to ease it away from the ceiling. Be patient and don’t force it.
Once the cover is off, you’ll see the fan assembly. This typically includes the fan motor, blades, and housing.
Step 3: Cleaning the Fan and Housing (Fixing Noise & Poor Airflow)

This is often the culprit for noisy fans and poor performance. Dust, lint, and grease can accumulate on the fan blades and inside the housing. This buildup can unbalance the blades, putting strain on the motor and reducing airflow.
- Remove Loose Debris: Use your vacuum cleaner with the brush attachment to gently remove as much loose dust and cobwebs as possible from the fan blades and motor housing.
- Clean Fan Blades: Lightly spray a clean cloth with an all-purpose cleaner or degreaser. Gently wipe down each fan blade. Be careful not to get excess moisture into the motor.
- Clean Housing: Wipe down the inside of the fan housing.
- Dry Thoroughly: Use a dry cloth to ensure all components are completely dry before reassembly.
A clean fan can make a huge difference in noise levels and its ability to move air.
Step 4: Inspecting and Tightening Fan Blades

Loose fan blades are a very common cause of rattling and vibrating noises. Carefully inspect the fan blade assembly.
- Check for Loose Screws: If your fan blades are attached with screws, use your screwdriver to ensure they are snug. Don’t overtighten, as this can strip the screws or damage the plastic blades.
- Check for Secure Fit: Ensure the fan blade hub is securely attached to the motor shaft. It should not wobble or feel loose. If it’s wobbly, there might be a set screw or a clip holding it. Consult your fan’s manual for specific instructions here.
Step 5: Lubricating the Motor (If Necessary)
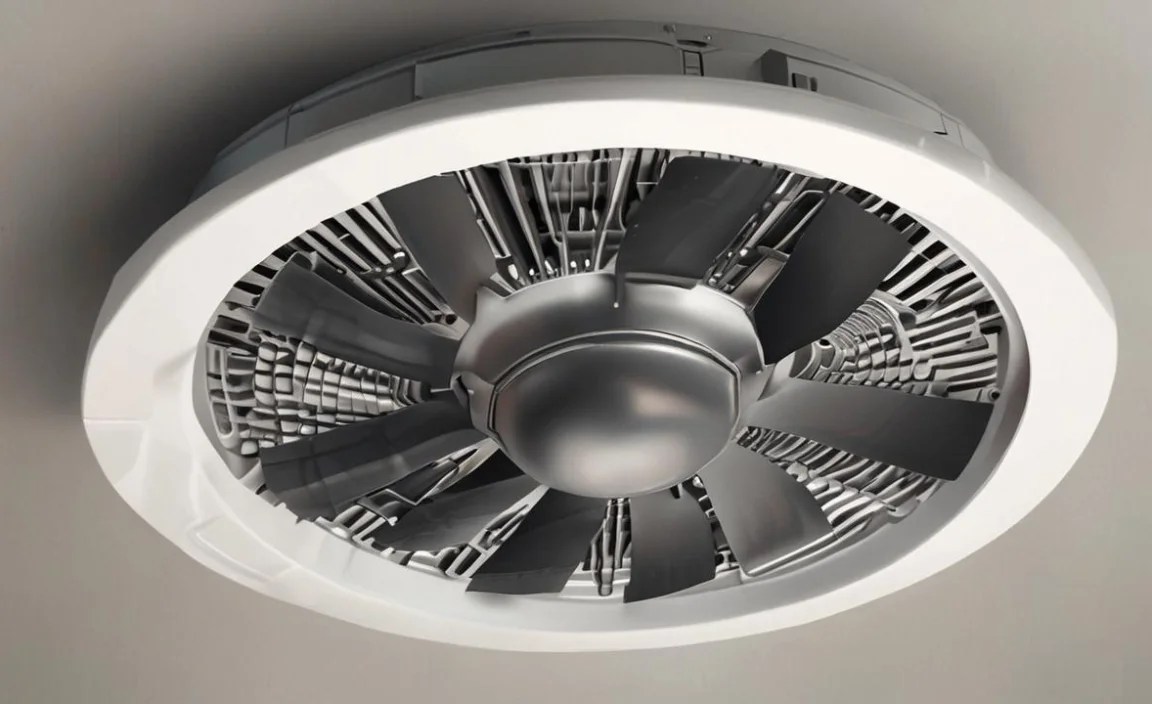
Many modern exhaust fans have sealed motors that do not require lubrication. However, older models may have small oil ports on the motor. If you have such a fan and it’s making squeaking noises, this might be the fix.
- Locate Oil Ports: Check the motor housing for tiny holes labeled “oil” or similar. Refer to your fan’s manual if unsure.
- Apply Lubricant: Use a few drops of an electric motor-specific oil (like those recommended by manufacturers like GE or specific brands such as 3-IN-ONE Electric Motor Oil). Apply the oil directly into the ports.
- Run the Fan Briefly: After lubrication, turn the power back on and let the fan run for a few minutes to distribute the oil. Then turn it off again at the breaker before continuing.
Important Note: Using the wrong type of lubricant can damage the motor. Always use a light, electric-motor-specific oil. Never use WD-40 on motor bearings; while it can temporarily silence a squeak, it’s not a long-term lubricant and can actually gum things up.
Step 6: Inspecting and Securing Wiring (For Advanced Beginners)
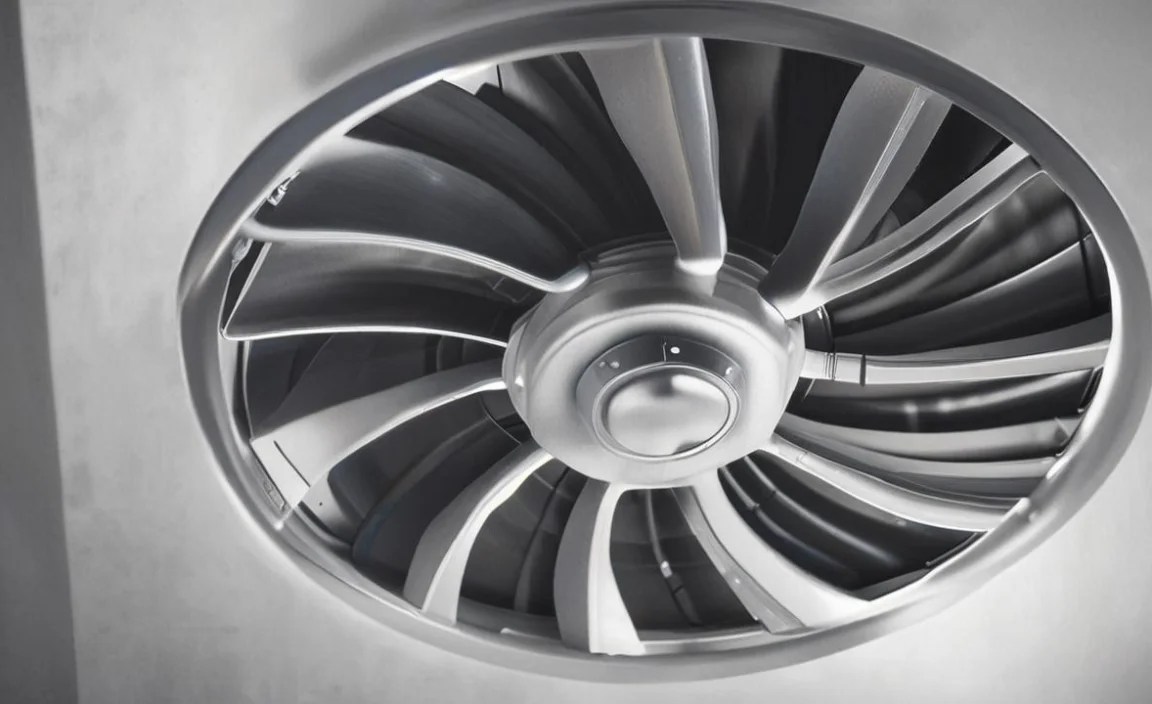
If your fan isn’t running at all, or if it operates intermittently, loose or faulty wiring could be the issue. This is for those comfortable with electrical components. If you are not, it’s best to call a qualified electrician.
- Visual Inspection: With the power OFF, visually inspect all wire connections. Look for any wires that have come loose from wire nuts, terminal blocks, or switches. Check for signs of burnt insulation or damaged wires.
- Tighten Connections: If you find a loose wire nut, carefully twist it back on securely. Ensure all wires are properly seated within the wire nut. If you find loose terminal screws, gently tighten them.
- Check the Switch: If your fan has a separate wall switch, ensure it’s functioning correctly. You may need to test the switch itself or replace it if it appears faulty. Replacing an older wall switch is a manageable DIY task with proper safety precautions (power OFF!). Reputable sources like the U.S. Department of Energy’s Energy Saver offer tips on energy-efficient home upgrades, including smart switches that can improve fan control.
Safety Warning: Working with electrical wiring can be dangerous and can cause serious injury or death if not done correctly. If you are unsure about any aspect of this step, please hire a professional electrician. For more on electrical safety at home, check out resources from the Consumer Product Safety Commission (CPSC).
Step 7: Checking the Fan Motor
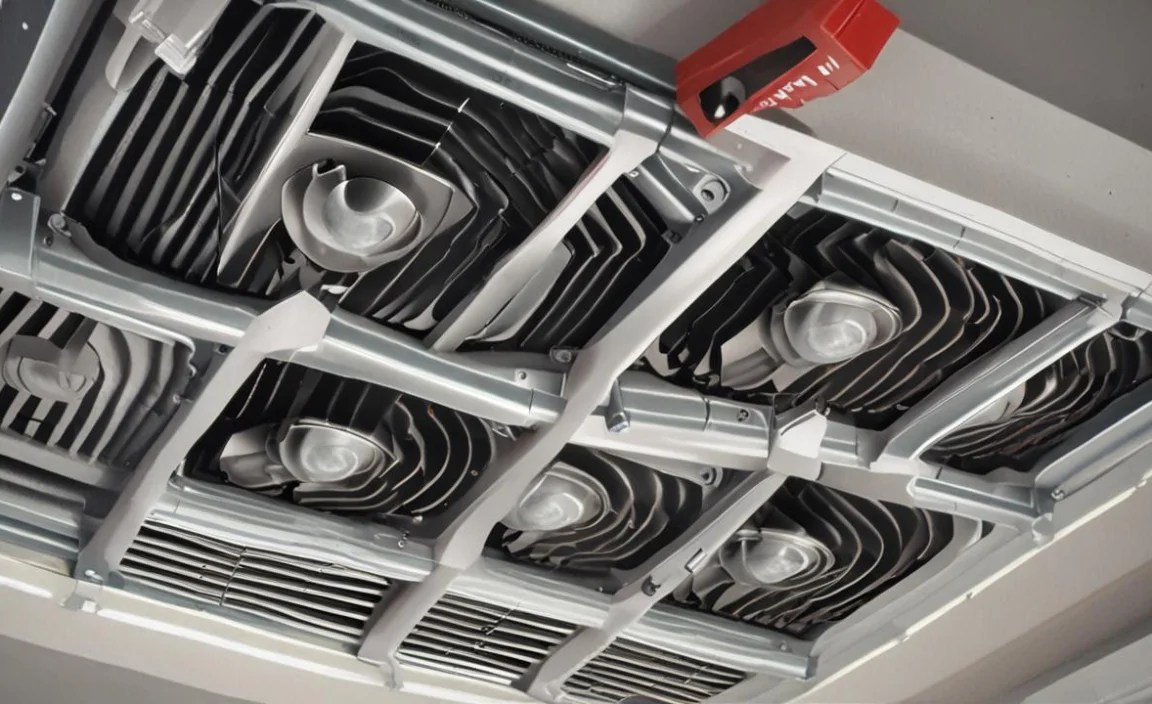
If cleaning, tightening, and lubrication don’t solve the problem, the motor itself might be failing. For beginner DIYers, a failing motor usually means replacement is the most practical solution. This often involves identifying the motor and propeller assembly as a single unit.
- Identify Motor Type: Most exhaust fan motors are integrated with the fan blades.
- Signs of Failure: Besides not running, signs include a humming sound that doesn’t result in spinning, excessive heat, or a burnt smell.
- Replacement: If the motor is indeed the issue, you’ll likely need to replace the entire fan unit or, if available, just the motor and fan assembly. This involves disconnecting wires, removing the old unit, and installing a new one, ensuring all connections are made correctly.
Gathering More Information: Fan Motor Replacement
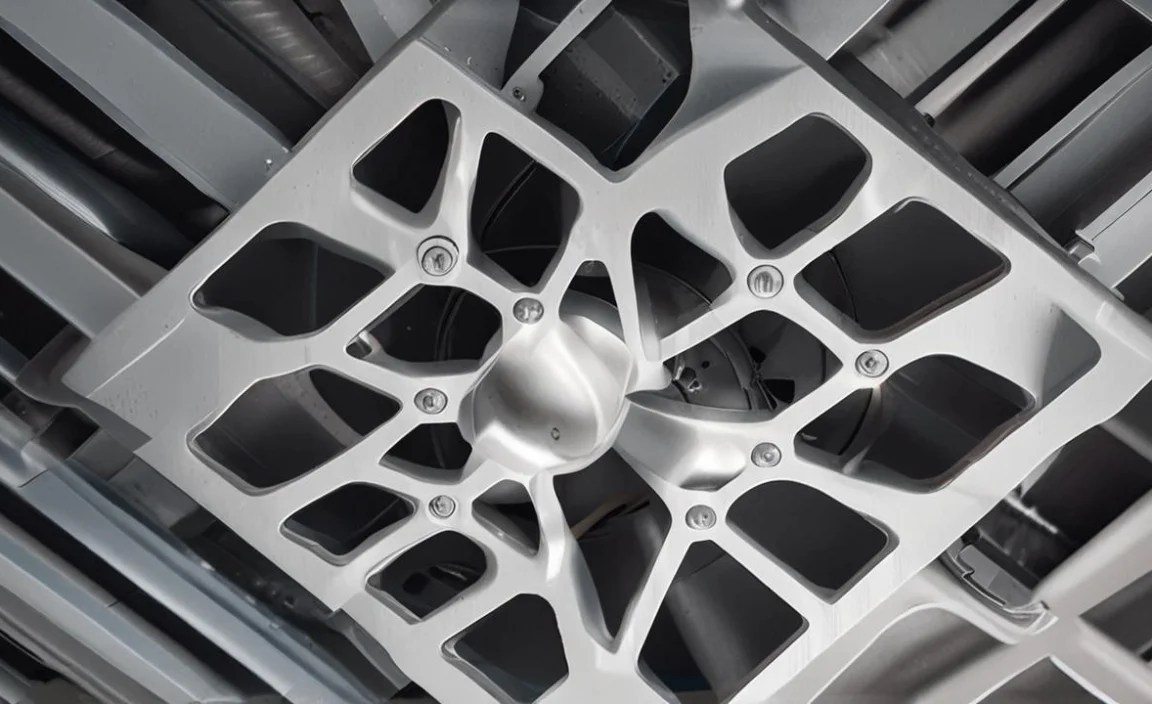
Replacing a fan motor, or more commonly, the entire fan assembly, is a project many DIYers can handle. The complexity depends on the fan’s mounting and your comfort with electrical connections. Here’s a general overview:
When to Consider a Full Fan Replacement
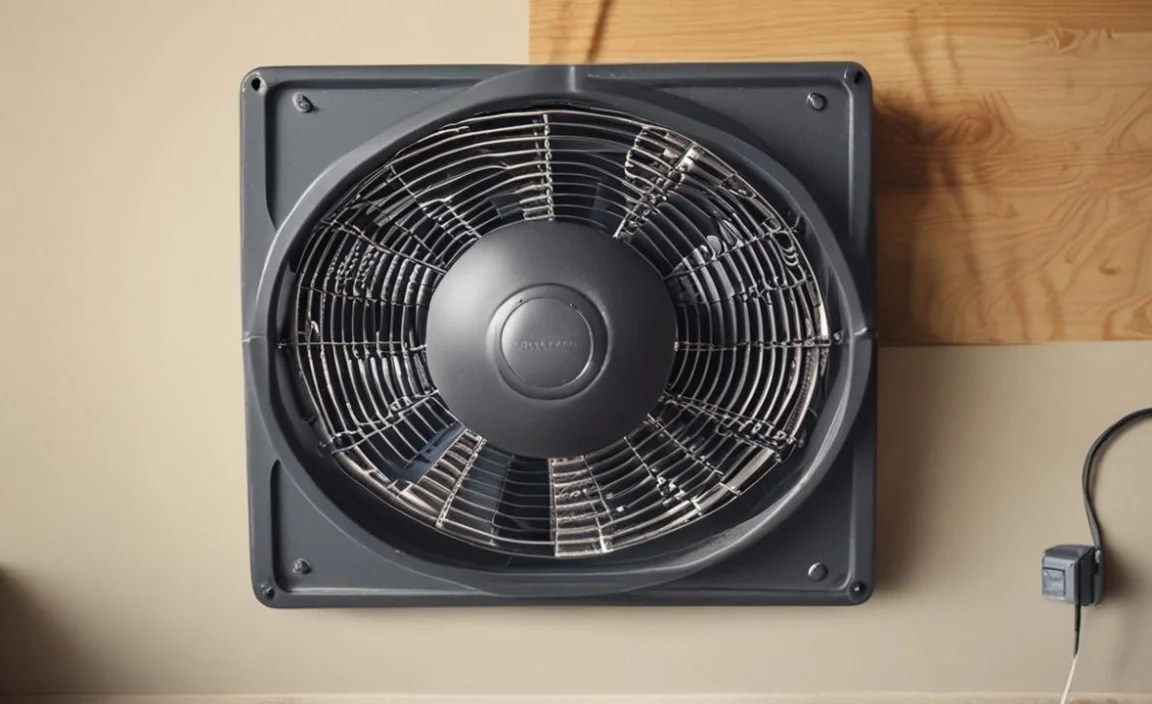
- The motor is clearly burnt out (smell, or visible damage).
- The motor is no longer available as a spare part.
- The fan unit is very old and inefficient.
- Repairs are more costly than a new unit.
Steps for Replacing the Fan (General Guide)
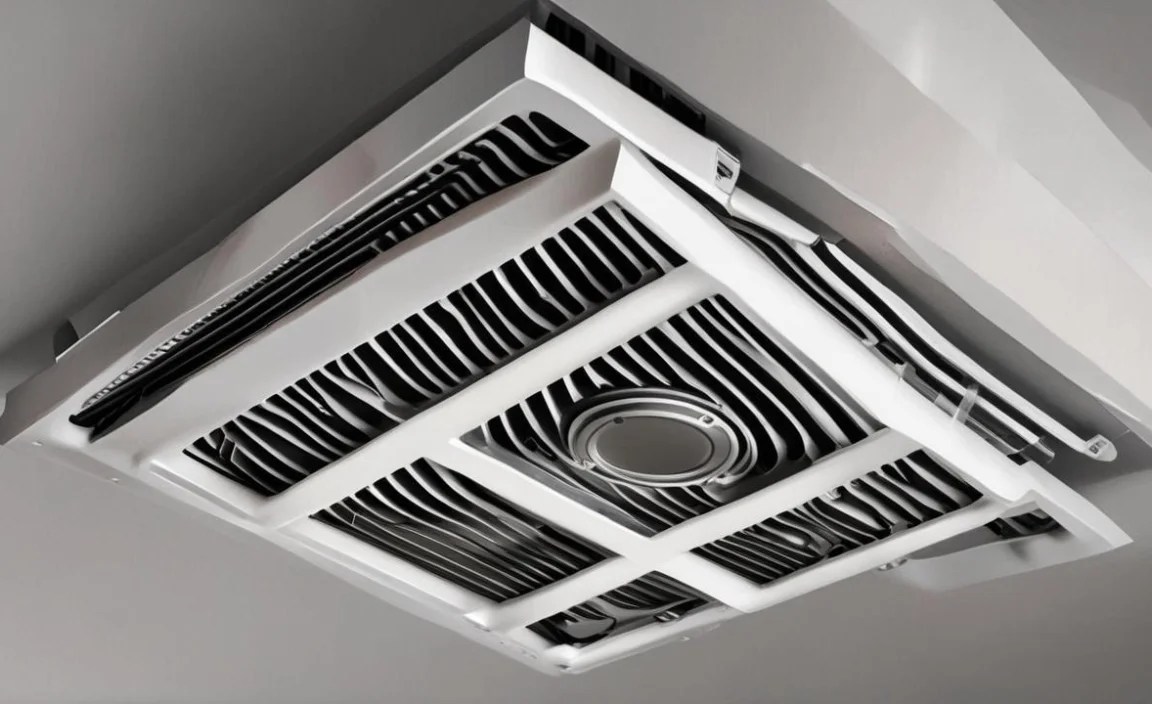
- TURN OFF POWER AT THE BREAKER.
- Remove the fan cover.
- Disconnect electrical wiring. Take a picture before disconnecting to remember how it goes back together.
- Unscrew or unclip the old fan housing from the ceiling or joists.
- Install the new fan unit, securing it in place.
- Reconnect the electrical wiring according to the new unit’s instructions (refer to your photo!).
- Test the fan by turning the power back on briefly. Listen for any unusual sounds.
- Replace the fan cover.
- Turn the power back on permanently.
When buying a replacement fan, consider energy efficiency. Look for ENERGY STAR certified models, which use less electricity and are often quieter. You can find more about ENERGY STAR certified appliances on their official <a href=”https://
