
Quick Summary: You can often repair a leaky or malfunctioning faucet cheaply by replacing inexpensive parts like washers, O-rings, or cartridges. Simple fixes like tightening connections or cleaning aerators are also budget-friendly and effective. Most repairs require basic tools and a little DIY confidence to save money and water.
Dripping faucets are more than just an annoyance; they waste water and money, silently increasing your utility bills. Sometimes, a faucet can feel loose or just not work quite right. The good news is, you don’t always need a plumber or expensive parts to fix these common issues. With a few basic tools and a little guidance, you can tackle most faucet problems yourself, saving a significant amount of cash in the process. We’ll walk you through the most common culprits and their affordable fixes, empowering you to get your faucets back in top shape without breaking the bank.
This guide is designed for beginners, breaking down each step into easy-to-follow instructions. Let’s turn that drip into a distant memory and add a little DIY win to your day!
Why Faucets Leak (And How to Fix Them Cheaply)

Faucets are a workhorse in our homes, and over time, their internal components can wear out. The most common reasons for leaks are:
- Worn-out washers: These are simple rubber seals that prevent water flow when the faucet is off.
- Damaged O-rings: These small rubber rings create a watertight seal around moving parts.
- Corroded or faulty cartridges: In newer faucets, a cartridge controls the water flow and temperature.
- Loose connections: Sometimes, water can escape because a part isn’t tightened properly.
- Mineral buildup: Hard water can lead to deposits that interfere with seals.
The beauty of these common issues is that the parts involved are usually very inexpensive. You can often find replacement washers, O-rings, and even cartridges at any hardware store for just a few dollars. The biggest investment upfront is typically your time and a few basic tools.
Essential Tools for Budget Faucet Repair

Before you start, gather these common household tools. You likely already have most of them:
- Adjustable wrench
- Phillips head screwdriver
- Flathead screwdriver
- Plumber’s grease (a waterproof lubricant)
- Old rags or towels
- A bucket
- Pliers (needle-nose can be helpful)
- Flashlight (optional, for seeing into dark spaces)
Having these ready will make the repair process much smoother and prevent unnecessary trips back to the store.
Troubleshooting Common Faucet Problems: Step-by-Step Budget Fixes
Let’s dive into the most frequent faucet woes and how to fix them without spending a fortune.
1. The Dripping Spout: Washer Replacement is King
This is the most common faucet problem. A persistent drip from the spout usually means the rubber washer at the base of the stem assembly is worn out. For compression faucets (the older style with separate hot and cold handles that you turn multiple times), this is a simple fix.
Steps to Replace a Faucet Washer:
- Turn Off the Water: This is the MOST important step! Look under your sink for the shut-off valves connected to the hot and cold water lines. Turn them clockwise until they stop. If you don’t have individual shut-off valves, you’ll need to turn off the main water supply to your house. Test the faucet to ensure no water is coming out.
- Cover the Drain: Place a rag or stopper in the sink drain to prevent small parts from falling down it.
- Access the Handle: On most faucets, there’s a decorative cap on top of the handle. Gently pry this off with a flathead screwdriver. You’ll then see a screw. Remove this screw with a Phillips head screwdriver.
- Remove the Handle: Pull the handle straight up. It might be stuck due to mineral buildup; a bit of wiggling usually does the trick.
- Remove the Packing Nut/Bonnet Nut: You’ll see a nut holding the stem assembly in place. Use an adjustable wrench to loosen this nut (turn counter-clockwise). Be careful not to scratch the faucet finish; you can wrap the nut with a cloth.
- Pull Out the Stem Assembly: Once the nut is off, you should be able to pull or unscrew the stem assembly out of the faucet body.
- Locate and Replace the Washer: At the bottom of the stem assembly, you’ll find a small rubber washer, usually held in place by a screw. Remove the screw, take off the old washer, and replace it with a new one of the exact same size and shape. If the screw is corroded, you might need to use pliers to help remove it.
- Replace the O-ring (If Applicable): While the stem is out, inspect for a small O-ring around the stem. If it looks cracked or worn, replace it too. A dab of plumber’s grease on the new O-ring and washer can help create a better seal and make future repairs easier.
- Reassemble: Put the stem assembly back into the faucet body, tighten the packing nut (don’t overtighten), reattach the handle, replace the handle screw and cap.
- Turn Water Back On: Slowly turn the water supply valves back on (counter-clockwise). Check for leaks.
Replacement washers and O-rings are incredibly cheap, often costing less than a dollar each, and can be found at any hardware store. Taking the old one with you to the store is the best way to ensure you get an exact match.
2. Leaking Around the Handle: O-Ring Troubles
If water seeps out from around the base of the handle when you turn it on, the culprit is likely a worn-out O-ring inside the handle stem or under the packing nut. This is very common in two-handle faucets.
Steps to Replace an O-Ring:
- Follow Steps 1-5 from the Washer Replacement above. You’ll be accessing the stem assembly again.
- Inspect the O-Ring: Once the stem assembly is removed, you’ll usually find one or more O-rings along its length. If they look dry, cracked, or brittle, they need replacing.
- Remove the Old O-Ring: Carefully use a small screwdriver or an awl to gently pry off the old O-ring.
- Install the New O-Ring: Lubricate the new O-ring with plumber’s grease and carefully slip it into place, ensuring it sits snugly in its groove.
- Reassemble: Reinsert the stem, tighten the packing nut, reattach the handle, and turn the water back on.
O-rings are also very inexpensive, usually costing under a dollar. Getting the correct size is crucial for a proper seal.
3. The Spout Drips (But Worse): Valve Seat Issues

Sometimes, even with a new washer, the spout still drips. This can happen if the valve seat—the part inside the faucet body that the washer presses against—is corroded or damaged. For many common faucets, like the handy Moen types available at most home improvement stores, the valve seat can be inexpensive and easy to replace.
Steps to Replace a Valve Seat (for compatible faucets):
- Turn off water and cover drain (See Step 1 & 2 from Washer Replacement).
- Remove handle and stem assembly (See Steps 3-5 from Washer Replacement).
- Locate the Valve Seat: Inside the faucet body, where the stem assembly sat, you’ll see a brass ring – this is the valve seat. In many Moen faucets, it’s a small, removable component.
- Remove the Valve Seat: Some valve seats unscrew, while others require a special tool called a valve seat wrench. If yours unscrews, use your adjustable wrench. If it needs a special tool, these are often found in faucet repair kits for specific brands (like Moen).
- Clean the Area: Before inserting the new seat, clean any debris or mineral deposits from the faucet body.
- Install the New Valve Seat: Screw in or tap in the new valve seat until it’s snug. If using a special tool, follow its instructions.
- Reassemble: Reinstall the stem assembly, packing nut, handle, and turn water back on.
A new valve seat might cost a few dollars, but it’s significantly cheaper than replacing the entire faucet. You can learn more about identifying faucet parts from resources like HGTV’s guide to faucet parts.
4. Leaky Swivel Spout: More O-Rings!

If your kitchen faucet spout swivels and leaks from the base where it meets the faucet body, it’s likely that the O-rings sealing this connection have worn out. This repair often involves disassembling the spout itself.
Steps to Fix a Leaky Swivel Spout:
- Turn off water supply (Step 1 from Washer Replacement).
- Remove the spout. How this is done varies greatly by faucet design. Some spouts lift straight up after removing a retaining clip or screw. Others might be threaded. Consult your faucet’s manual if you have it, or search online for your faucet model.
- Locate the O-rings. Around the base of the spout, or inside the faucet body where the spout sits, you’ll find one or more O-rings.
- Remove and replace the old O-rings, lubricating the new ones with plumber’s grease before installing them.
- Reassemble the spout and reconnect the water supply.
This is a common repair that again relies on small, inexpensive O-rings.
5. Low Water Pressure: Aerator Cleaning
If the water flow from your faucet is weak or sputtering, the problem is often not with the faucet itself but with the aerator – the small screen at the very tip of the spout. Over time, mineral deposits can clog it.
Steps to Clean a Faucet Aerator:
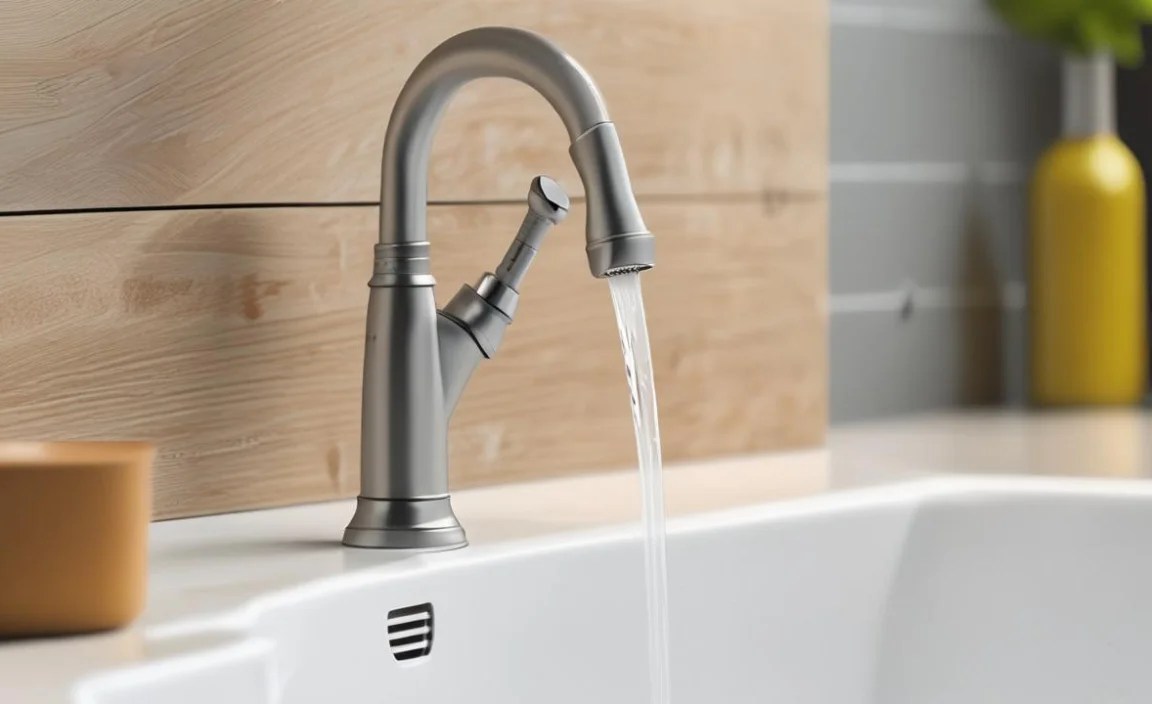
- Unscrew the Aerator: Use your adjustable wrench or, if it’s not too tight, try unscrewing it by hand. Turn it counter-clockwise.
- Disassemble (Carefully!): The aerator is usually made of a few parts: the housing, a washer or screen, and an internal part that controls the flow. Gently take these apart over a sink or rag.
- Clean the Parts: Rinse all parts under running water. For stubborn mineral buildup, soak them in white vinegar for a few hours. You can use an old toothbrush to scrub away debris.
- Reassemble: Put the parts back together in the same order.
- Screw it Back On: Hand-tighten the aerator back onto the faucet spout.
This is a zero-cost fix if you have white vinegar, and it can dramatically improve water flow. Replacement aerators are also very cheap if yours is damaged beyond repair.
6. Cartridge Faucets: The Modern Fix

Many modern faucets, especially single-handle ones, use a cartridge to control water flow and temperature. When these wear out, they can cause leaks or temperature control issues.
Steps to Replace a Faucet Cartridge:
- Turn off water and cover drain.
- Identify your faucet brand and model. This is crucial, as cartridges are specific to brands and even models. Look for a brand name on the faucet.
- Access the Cartridge: Similar to handle removal, you’ll likely need to remove a decorative cap and a handle screw to get to the cartridge. Sometimes, there’s an additional retaining clip or nut holding the cartridge in place.
- Remove the Cartridge: Once accessible, you might be able to pull it straight out. Sometimes, it needs to be twisted or may require a special cartridge puller tool (often available from the faucet manufacturer or in a universal kit).
- Install the New Cartridge: Lubricate the new O-rings on the cartridge with plumber’s grease and insert it, ensuring it’s oriented correctly (there’s usually a specific way it fits).
- Reassemble and test.
Cartridges can range from $10-$30, which is still a budget-friendly option compared to a new faucet. Websites like PlumbingSupply.com offer a vast selection and can help you identify the right one.
Budget Faucet Repair: Pros and Cons

While fixing your faucet affordably is great, it’s good to know the trade-offs.
| Pros of Budget Faucet Repair | Cons of Budget Faucet Repair |
|---|---|
| Significant cost savings over hiring a plumber. | Requires some DIY skill and patience. |
| Extends the life of your existing faucet. | Can sometimes be a temporary fix if the faucet body is badly corroded. |
| Prevents water waste, saving on utility bills. | May require a trip to the hardware store for parts. |
| Boosts confidence and DIY skills. | Identifying the exact replacement part can sometimes be tricky. |
| Environmentally friendly (reduces waste). | Some faucet designs can be more complex to disassemble. |
When to Call a Professional (Even on a Budget)
While most faucet issues are DIY-friendly, there are times when it’s wiser to call a professional, even if you’re watching your budget:
- You’re uncomfortable with the task: If any step makes you feel unsure or unsafe, it’s okay to stop and call for help.
- The problem is not obvious: If you’ve tried the common fixes and the faucet still leaks, there might be a more complex issue.
- You lack the right tools: While we’ve listed common tools, some specialized jobs require specific tools that might be more expensive than a single repair.
- The faucet is very old or corroded: In some cases, the faucet body itself may be so corroded that it’s impossible to get a good seal, and replacement is the only long-term solution.
- You’ve tried and failed: If you’ve attempted a repair and made the problem worse, it’s time to bring in an expert.
A plumber can often diagnose and fix issues more quickly, potentially saving you time and preventing further damage.
FAQ: Your Budget Faucet Repair Questions Answered
Q1: How do I know if my faucet is a compression or cartridge type?
A1: Compression faucets usually have two separate handles (hot and cold) that you turn multiple times to shut off. Cartridge faucets often have a single handle that you lift and twist, or sometimes two handles that only require a quarter or half turn to shut off completely.
Q2: Can I buy faucet repair kits?
A2: Yes! Many hardware stores sell generic or brand-specific faucet repair kits that contain common parts like washers, O-rings, and sometimes even cartridges. These can be a convenient way to get a variety of parts needed for common repairs.
Q3: What is plumber’s grease and why do I need it?
A3: Plumber’s grease is a non-toxic, waterproof lubricant. You use it on rubber parts like O-rings and washers to help them slide into place easily, create a better seal, and prevent them from drying out and cracking prematurely. It’s a small item that can extend the life of your repairs.
Q4: My faucet is leaking from the base of the spout, but it’s a single handle faucet. What could be wrong?
A4: For a single-handle faucet, a leak at the base of the spout typically means the O-rings inside the spout base or the mechanism that holds the spout onto the faucet body have worn out. This repair usually involves removing the spout to access and replace those O-rings.
Q5: How often should I clean my faucet aerator?
A5: If you have hard water or if you notice slow water flow, cleaning your aerator every 3-6 months is a good practice. In areas with very hard water, you might need to clean it more often.
Q6: What if the screws are
