
Repair faucet fast with these simple, step-by-step fixes. Even beginners can tackle common leaks and drips in under an hour, saving money and preventing water damage.
Dripping faucets are more than just annoying; they waste water and can increase your utility bills. A steady drip can add up to gallons of wasted water each day! Don’t let a leaky faucet disrupt your peace or your budget. Many faucet issues are surprisingly easy to fix with a few common tools and a clear guide. This article will walk you through the most common faucet problems and how to repair them quickly and efficiently. Get ready to silence that drip and gain confidence in your DIY skills!
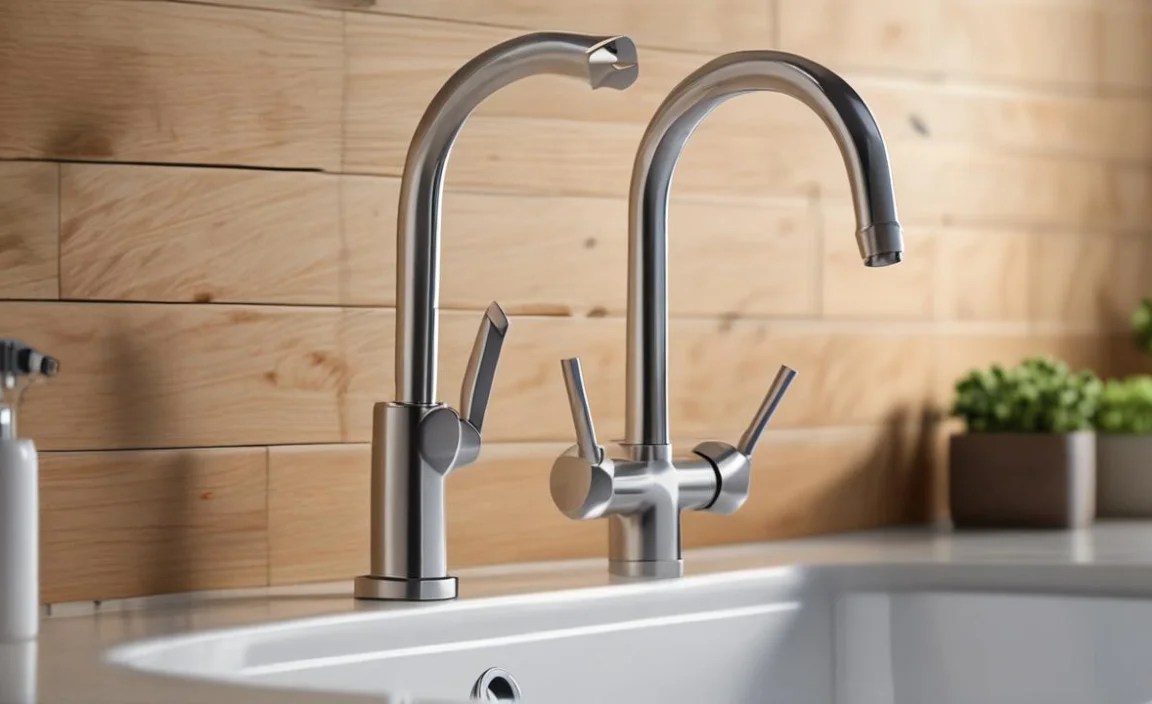
Understanding Your Faucet’s Anatomy
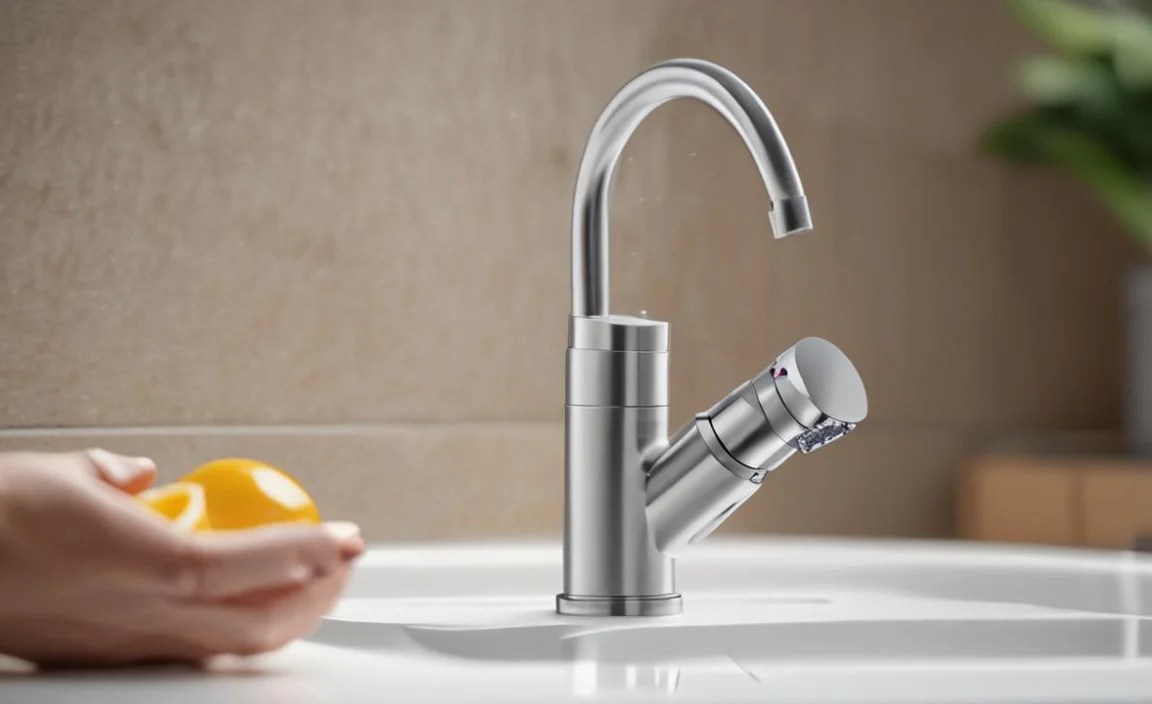
Before we dive into repairs, let’s get familiar with the basic parts of most common faucets. Knowing these components will make the repair process much clearer. While designs vary, most residential faucets share these core elements:
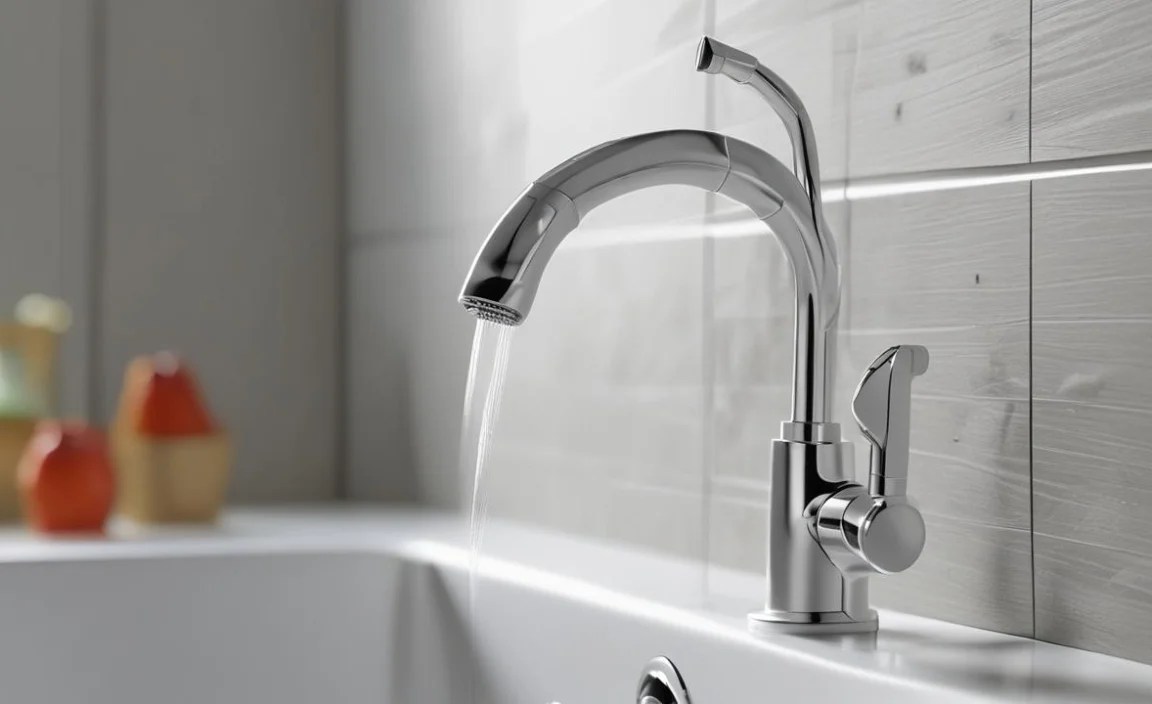
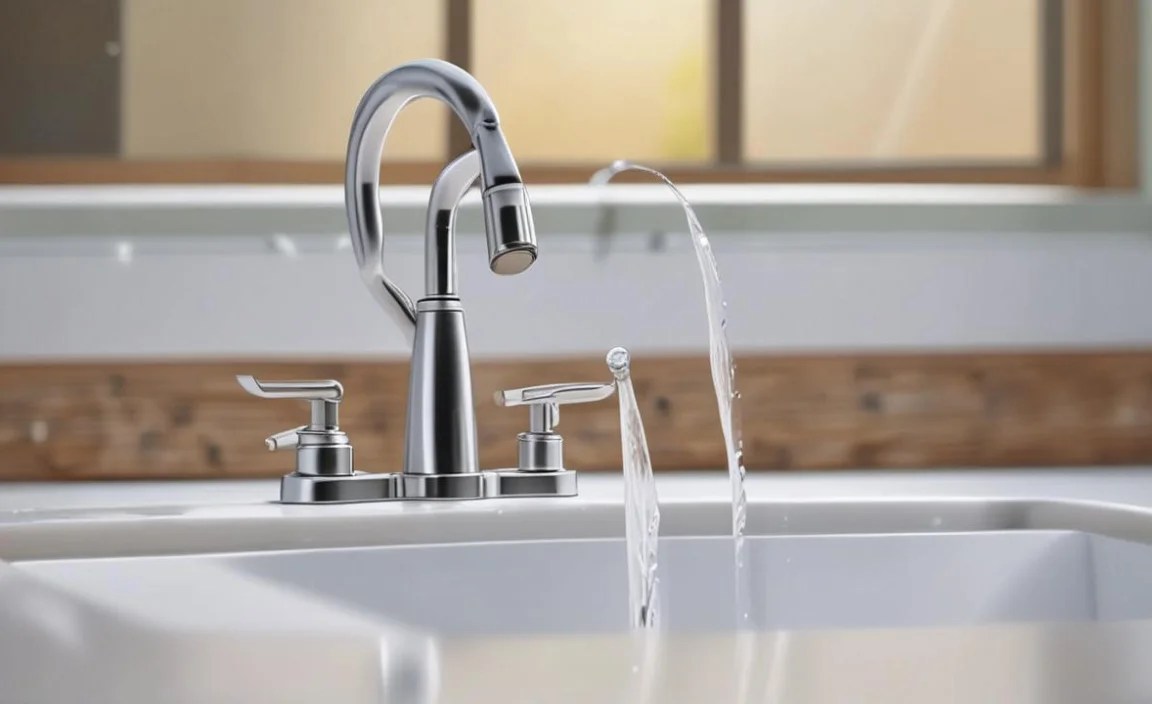
- Spout: This is where the water comes out.
- Handle(s): Used to turn the water on and off, and often to control temperature and flow.
- Aerator: A small screen at the tip of the spout that mixes air with water, creating a smooth, splash-free stream.
- Cartridge/Stem/Disc: This is the internal mechanism that controls water flow. Different faucet types use different mechanisms, such as a cartridge, stem and washer, or ceramic discs.
- Valve Seat: A small opening where the cartridge or stem seals against to stop water flow.
- O-rings: Small rubber rings that create seals to prevent leaks between parts.
- Shank: The threaded portion of the faucet that passes through the sink or countertop.
The most common cause of a dripping faucet is a worn-out washer or O-ring within the faucet’s internal mechanism. Luckily, these are usually inexpensive and easy to replace.
Common Faucet Problems and Their Fixes
Let’s target those pesky drips and leaks. We’ll cover the most frequent offenders, from drips to handle issues.
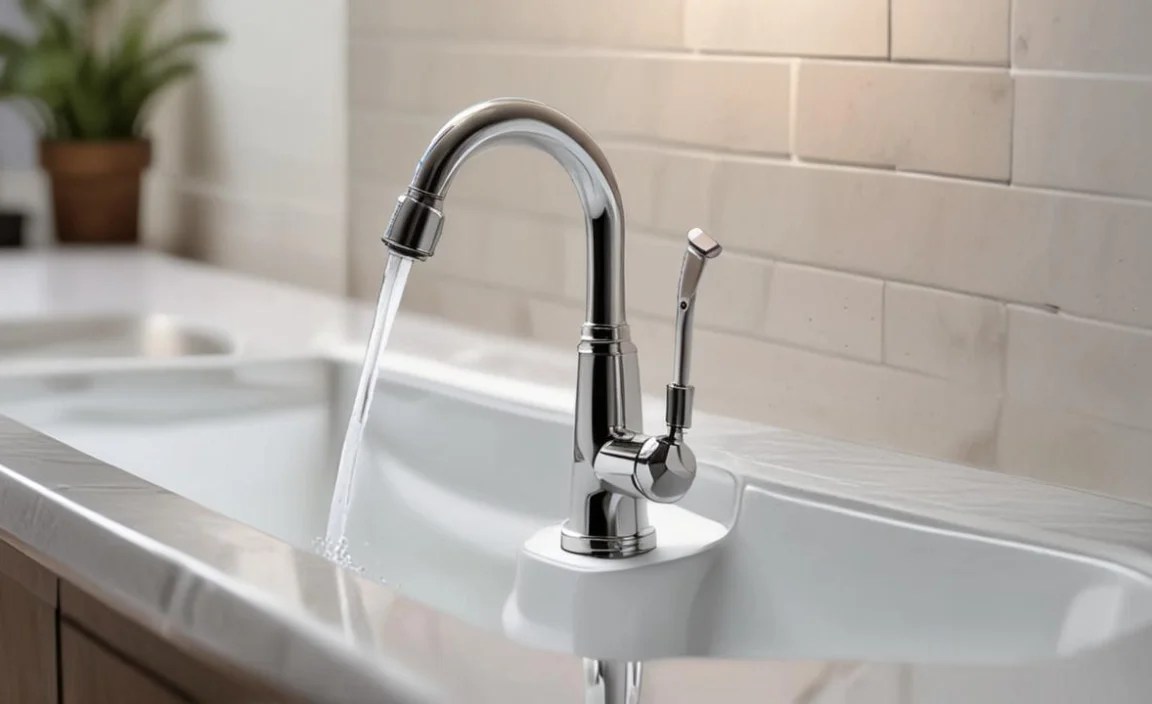
Fixing a Dripping Faucet
A dripping faucet is the most common complaint. Often, this is caused by a worn-out washer inside the faucet’s stem. For single-handle faucets, it’s usually a faulty cartridge or O-ring.
Tools You’ll Likely Need:
- Adjustable wrench
- Phillips head screwdriver
- Flathead screwdriver
- Pliers (needle-nose can be helpful)
- Plumber’s grease
- Replacement washers, O-rings, or cartridge (have these ready – take a picture or the old part to the hardware store if unsure!)
- A rag or old towel
- A bucket or basin
Step-by-Step Guide to Repairing a Dripping Faucet (Two-Handle Design):

- Turn Off the Water Supply: This is the MOST important step for safety. Look for shut-off valves located under the sink, typically attached to the hot and cold water lines. Turn the handles clockwise until they stop. If you don’t have shut-off valves under the sink, you’ll need to turn off the main water supply to your house.
- Relieve Water Pressure: Turn on both the hot and cold handles of the leaky faucet to drain any remaining water in the pipes.
- Cover the Drain: Place a rag or stopper in the sink drain to prevent small parts from falling down.
- Remove the Handle: Look for a decorative cap on top or front of the handle. Gently pry this off with a flathead screwdriver or a butter knife. You’ll find a screw underneath. Unscrew it and lift the handle straight off. Some handles might just pull off without a screw.
- Remove the Packing Nut and Stem Assembly: You’ll see a larger nut (packing nut) holding the stem in place. Use an adjustable wrench to unscrew it counter-clockwise. Once loose, you should be able to pull or unscrew the entire stem assembly out.
- Inspect and Replace the Washer: At the bottom of the stem, you’ll find a rubber washer. This is often held in place by a screw. Remove the screw, take off the old washer, and replace it with a new one of the exact same size. Apply a small amount of plumber’s grease to the new washer.
- Check the Valve Seat: Look inside the faucet body where the stem was. You’ll see the valve seat. If it looks corroded or damaged, it might need a ‘seat dressing’ tool or replacement. For most DIYers, simply ensuring the new washer seals well is sufficient.
- Reassemble the Faucet: Reverse the steps. Screw the stem assembly back in, tighten the packing nut (don’t overtighten), and reattach the handle.
- Turn Water Back On: Slowly turn the shut-off valves back on (counter-clockwise). Check for leaks. If it still drips, you might have a more complex issue or need to replace the cartridge.
Step-by-Step Guide to Repairing a Dripping Faucet (Single-Handle Design – Cartridge Type):

Single-handle faucets often use a cartridge system. When they leak, the cartridge itself usually needs replacing.
- Turn Off Water Supply: As before, locate and turn off the hot and cold shut-off valves under the sink (clockwise).
- Relieve Pressure: Open the faucet handle to drain remaining water.
- Cover the Drain: Prevent small parts from escaping down the drain.
- Remove Handle: Look for a small set screw, often on the side or underside of the handle base. It might be hidden by a decorative cap. Use an Allen wrench (hex key) or a small screwdriver to loosen and remove this screw. Then, pull the handle straight up or off.
- Remove Retaining Clip/Nut: You’ll see a decorative bonnet or cap that you may need to unscrew by hand or with pliers. Beneath that, you might find a retaining clip or a retaining nut holding the cartridge in place. Carefully remove the clip using needle-nose pliers or unscrew the nut with an adjustable wrench.
- Remove the Cartridge: Gently pull the old cartridge straight up and out. Some cartridges require a special puller tool, but many can be coaxed out with pliers. Note its orientation!
- Install the New Cartridge: Lightly coat the new cartridge with plumber’s grease. Insert it into the faucet body, ensuring it’s aligned correctly (refer to how the old one came out).
- Reassemble: Reinstall the retaining clip or nut, the bonnet, and the handle. Secure the set screw.
- Turn Water On: Slowly turn the shut-off valves back on. Test the faucet.
Fixing a Leaky Handle

If water seeps out from around the base of the handle when the faucet is on, it’s often due to worn-out O-rings or a loose packing nut.
- Shut Off Water: Turn off the hot and cold water supply valves under the sink.
- Remove Handle: Follow the handle removal steps described above for your faucet type.
- Tighten Packing Nut (if applicable): On two-handle faucets, you might see a packing nut around the stem. Try tightening it slightly with an adjustable wrench. Be gentle – overtightening can make the handle hard to turn.
- Replace O-rings: If tightening doesn’t work, you’ll likely need to replace the O-rings. Remove the stem or cartridge assembly as described previously. Look for small rubber O-rings on the stem or around the cartridge. Carefully pry off old O-rings and replace them with new, correctly sized ones. Lubricate with plumber’s grease.
- Reassemble and Test: Put everything back together, turn on the water, and check for leaks.
Addressing Low Water Pressure
If your faucet has weak water flow, the culprit is often a clogged aerator.
- Turn Off Water: While not strictly necessary for the aerator, it’s good practice.
- Unscrew the Aerator: Most aerators can be unscrewed by hand. If it’s tight, use pliers with a cloth to protect the finish.
- Clean the Aerator: Disassemble the aerator (note the order of the screen and washer). Rinse all parts under running water. Use an old toothbrush or a small brush to dislodge any mineral deposits or debris. For stubborn buildup, soak the parts in a mixture of equal parts white vinegar and water for a few hours.
- Reassemble and Reinstall: Put the aerator back together and screw it onto the spout.
- Test: Turn on the water to check the flow.
Troubleshooting Tips and Maintenance Advice
Sometimes, even with the best efforts, a repair might not be straightforward. Here are some extra tips to help you:
- Identify Your Faucet Type: Knowing if you have a compression faucet, ball faucet, cartridge faucet, or ceramic disk faucet will help you find the right replacement parts and guides. Faucet manufacturers often have detailed diagrams on their websites.
- Take Pictures: As you disassemble, take photos with your phone at each step. This is a lifesaver when it’s time to put everything back together.
- Keep Parts Organized: Lay out parts in the order you remove them, perhaps on a clean towel.
- Don’t Force It: If a part feels stuck, don’t yank it with excessive force. You could damage more than you repair. Try a penetrating lubricant or consult a professional.
- Consider a Faucet Repair Kit: Many manufacturers offer complete repair kits for their specific faucet models, containing all the necessary washers, O-rings, and sometimes even cartridges.
- When to Call a Pro: If you’ve tried these steps and the leak persists, or if you encounter a part that seems beyond repair (e.g., a cracked valve seat, badly corroded faucet body), it might be time to call a licensed plumber. For instance, if the valve seat itself is damaged, it might require specialized tools beyond a typical DIYer’s kit, as recommended by plumbing resources like the Federal Trade Commission.
Faucet Repair: A Comparison of Common Issues

Understanding the typical causes and solutions for faucet problems can make a big difference. Here’s a quick look:
| Problem | Likely Cause | Easiest Fix | Difficulty (Beginner) |
|---|---|---|---|
| Dripping from Spout | Worn washer or O-ring; damaged valve seat | Replace washer/O-ring; clean/dress valve seat | Easy to Moderate |
| Leaking from Handle | Worn O-ring; loose packing nut | Tighten nut; replace O-ring | Easy |
| Low Water Pressure | Clogged aerator | Clean aerator | Very Easy |
| Squealing or Noisy Faucet | Loose parts; worn cartridge; water pressure issues | Tighten parts; replace cartridge; check supply | Moderate |
| Handle is Stiff or Loose | Corrosion; loose screws; worn cartridge | Lubricate; tighten screws; replace cartridge | Moderate |
FAQs about Faucet Repair
Q1: How much does it cost to fix a leaky faucet?

The cost can range from very little if you do it yourself and only need a washer (often less than $1) to hundreds of dollars if you call a plumber. A DIY repair for a common issue like a worn washer or cartridge typically costs between $5 and $25 for the replacement parts.
Q2: How often should I replace faucet parts?
There’s no set schedule. Faucet parts wear out over time due to mineral buildup and consistent use. You’ll know it’s time when you start noticing drips, leaks, or reduced water flow that can’t be fixed with a simple cleaning.
Q3: What is plumb er’s grease and why do I need it?

Plumber’s grease (also called plumber’s putty or silicone grease) is a non-toxic lubricant used to coat rubber seals and O-rings. It helps them slide into place more easily, prevents them from drying out and cracking, and ensures a better seal, extending their lifespan.
Q4: Can I fix a faucet without shutting off the water?

For minor fixes like cleaning an aerator, you usually don’t need to shut off the water. However, for any repair involving disassembling the faucet’s internal components (like replacing a washer or cartridge), it is absolutely crucial to shut off the water supply first to prevent flooding.
Q5: My faucet is old. Is it worth repairing, or should I replace it?

If the faucet body itself is corroded, damaged, or if it’s a very old and inefficient model, replacement might be a better long-term solution. However, for most modern faucets, replacing worn internal parts like washers, O-rings, or cartridges is far more economical than a full replacement and can make an old faucet work like new.
Q6: What are the different types of faucet mechanisms?

The four main types are:
- Compression: Uses a rubber washer that’s pressed against a valve seat. Very common in older faucets.
- Ball: Features a single handle that moves over a rounded cap and controls a slotted ball inside.
- Cartridge: Uses a movable stem with a replaceable cartridge that controls water flow. Common in modern single-handle faucets.
- Ceramic Disc: The most durable type, using two ceramic discs that scrape against each other to control water.
Each type has slightly different repair procedures.
Conclusion: Your Dripping Faucet Days Are Over!
You’ve now got the knowledge and the steps to tackle most common faucet issues head-on. From identifying the problem to performing the repair, you can save time, money, and the frustration of a persistent drip. Remember to always turn off the water supply before you begin, take care with your tools, and don’t be afraid to consult the manufacturer’s guide or a professional if you feel unsure.
Conquering a leaky faucet is a fantastic entry point into home maintenance. It’s a tangible victory that leaves you with a quieter home and a sense of accomplishment. So, grab your tools, follow these simple instructions, and enjoy the satisfaction of a perfectly sealed faucet. Happy fixing!
