Repair faucet tips are simple DIY fixes most homeowners can handle, like tightening loose parts or replacing worn-out washers and O-rings, saving money and preventing water waste. This guide provides easy-to-follow steps for common faucet problems.
Nobody likes a leaky faucet. That constant drip, drip, drip can be annoying and a real drain on your water bill. The good news is that most faucet repairs are surprisingly straightforward and don’t require a professional plumber. With a few basic tools and this essential guide, you can tackle common faucet issues yourself, gain confidence, and keep your home running smoothly.
We’ll walk you through identifying the problem, gathering your supplies, and performing the repairs step-by-step. You’ll discover how simple it can be to fix a dripping spout, a stiff handle, or a loose faucet. By the end of this guide, you’ll be equipped to handle many common faucet problems, saving you time and money.
Why Most Faucet Leaks Happen
Leaks are the most common faucet problem, and they usually stem from worn-out internal parts. Think of your faucet as having tiny seals and parts that work together to control water flow. Over time, these parts can wear down, crack, or become loose, allowing water to escape when it shouldn’t.
The most frequent culprits are washers, O-rings, and cartridges. Washers are small rubber or plastic discs that create a seal. O-rings are rubber rings that provide a watertight seal around moving parts, like the stem or spout. Cartridges are the heart of many modern faucets, controlling both temperature and flow. When any of these components fail, you’ll likely see drips or leaks.
Understanding these common causes helps demystify the repair process. It’s not about complex machinery; it’s about replacing a small, inexpensive part that has done its job for years.
Essential Tools for Faucet Repair
Before you start any repair, having the right tools makes the job much easier and helps prevent damage to your faucet. You don’t need a professional toolkit, just a few common items that most DIYers already have or can pick up affordably.
Here’s a basic list of what you’ll likely need:
- Adjustable Wrench: This is your go-to for loosening and tightening nuts and bolts of various sizes.
- Pliers (Slip-joint or Channel-lock): Useful for gripping and turning parts that a wrench can’t quite manage.
- Screwdrivers (Phillips and flat-head): Most faucet handles are secured with screws.
- Penetrating Oil (like WD-40): Handy for loosening stubborn or corroded parts.
- Rags or Towels: To protect surfaces from scratches and to mop up any water.
- Bucket: To catch any residual water when you disconnect pipes or remove parts.
- Replacement Parts: Washers, O-rings, or a new cartridge, depending on your faucet type and the problem.
- Plumber’s Grease (Silicone Grease): Used to lubricate O-rings and cartridges, ensuring smooth operation and a good seal.
For specific repairs, you might need a basin wrench (for hard-to-reach nuts under the sink) or a utility knife to gently pry off decorative caps. Always check your faucet’s make and model online if you’re unsure about specific part numbers or specialized tools.
Step-by-Step: Safely Shutting Off the Water
This is the most crucial step for any faucet repair. Working on a pressurized water line is not only messy but can also cause damage. Always shut off the water supply before you begin.
- Locate the Shut-Off Valves: Underneath the sink, you’ll usually find two small valves connected to pipes leading to the faucet. One is for hot water, and the other is for cold. Turn these valves clockwise as far as they will go to shut off the water.
- Test the Shut-Off: Turn on the faucet handle(s) slowly. If you’ve successfully shut off the water, only a small amount of residual water will trickle out, then stop. If water continues to flow, the main shut-off valve might be faulty, or you might need to locate the main water shut-off for your house. The Environmental Protection Agency (EPA) recommends knowing where your main water shut-off is for emergencies.
- If Valves are Stuck or Missing: If you can’t find or turn the under-sink valves, you’ll need to shut off the main water supply to your entire house. This valve is usually located where the water pipe enters your home, often in a basement, crawl space, or utility closet.
- Drain the Lines: After shutting off the water, open the faucet fully to drain any remaining water in the pipes. This relieves pressure and makes disassembly cleaner.
Taking this simple precaution will prevent a flood and make your repair a much more pleasant experience.
Diagnosing Common Faucet Problems
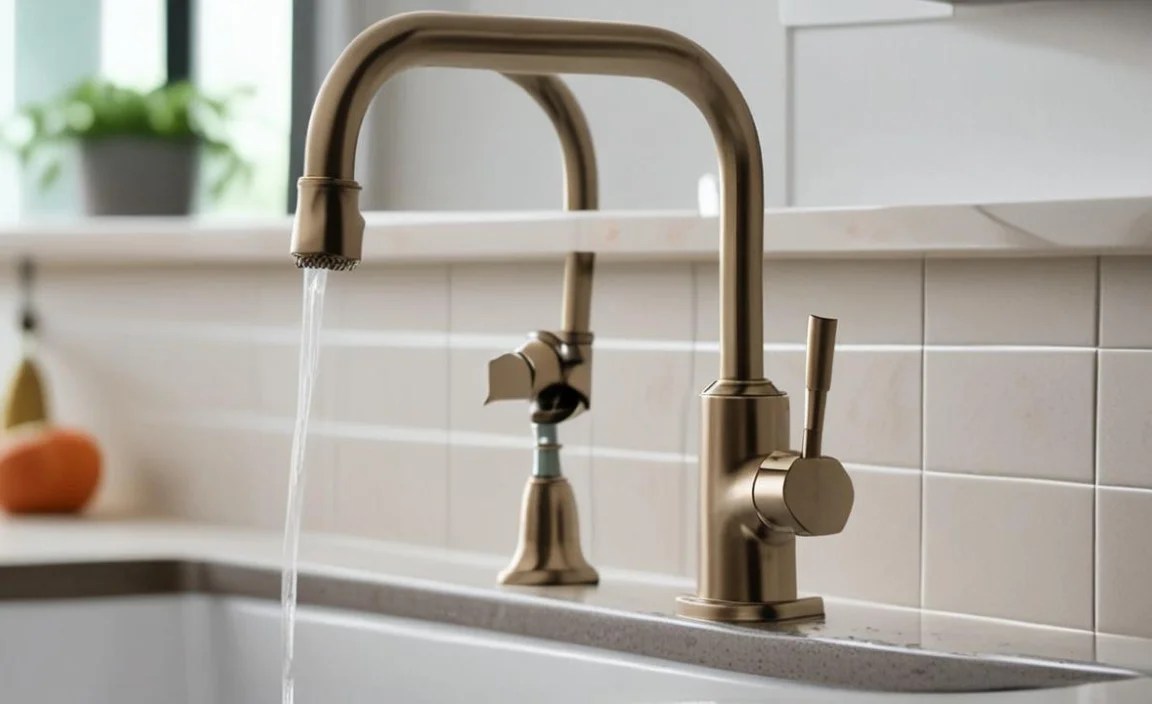
Before you can fix a faucet, you need to know what’s wrong. Leaks and dripping are the most common signs, but other issues can also indicate a problem.
Here’s a quick guide to diagnosing common faucet troubles:
- Drip from the Spout: This almost always means a worn-out washer, O-ring, or cartridge inside the faucet. The seal that stops water flow when the handle is off has failed.
- Leak from the Base of the Handle: This often points to a worn O-ring around the valve stem or a loose packing nut.
- Leak from Undernealth the Sink: This could be a loose connection to the water supply lines, a leaky supply line itself, or a problem with the faucet’s mounting hardware.
- Stiff or Hard-to-Turn Handle: Usually caused by mineral buildup (limescale) or a dry or damaged cartridge. Sometimes, the handle itself can be corroded internally.
- Low Water Pressure: This can be due to a clogged aerator (the screen at the tip of the spout), mineral buildup in the faucet lines, or a problem with the shut-off valves not being fully open.
Once you’ve identified the symptom, you can move on to the specific repair. Knowing what part is likely the cause helps you gather the correct replacement parts.
Types of Faucets and Their Common Issues

Faucets come in various designs, and understanding the type you have can help in diagnosing and fixing problems. Each type uses slightly different mechanisms.
1. Compression Faucets
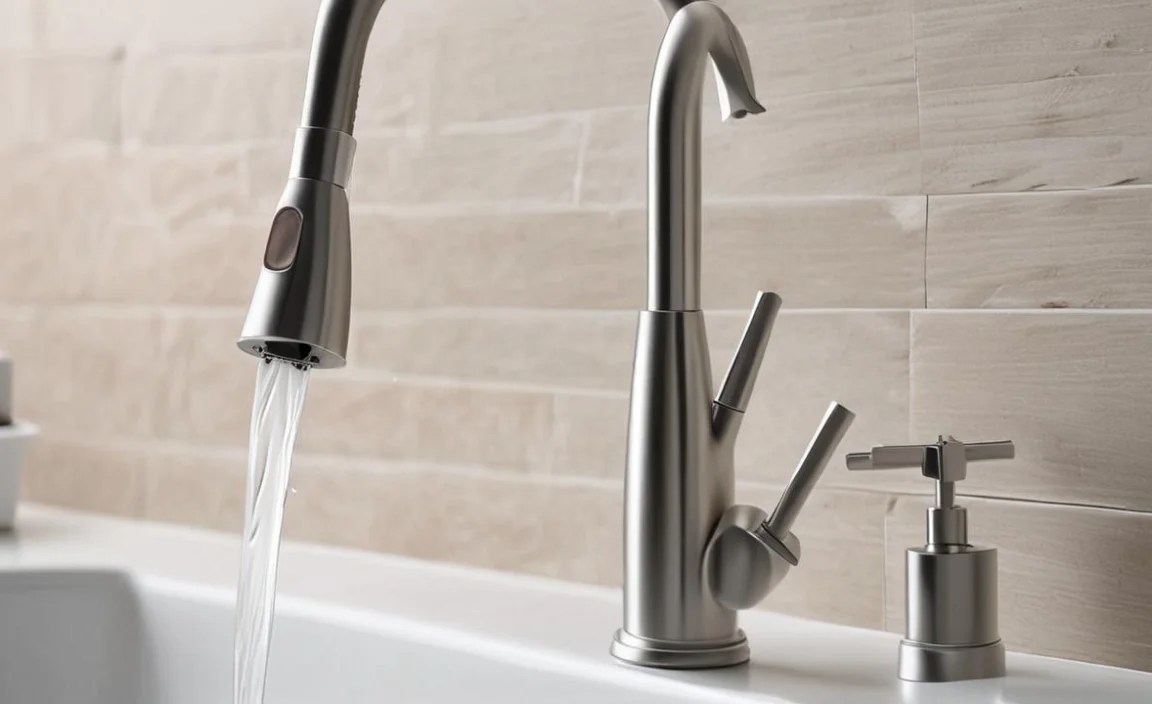
These are the oldest and simplest type, often found in utility sinks or older homes. They have separate hot and cold handles and work by tightening a screw that presses a rubber washer against a valve seat to stop water flow.
Common Issues:
- Dripping: Almost always due to a worn-out rubber washer or a damaged valve seat.
- Hard to Turn: The washer can get hardened with age or mineral deposits can build up.
Repair Tip: Replacing the washer is usually the fix. You’ll need to unscrew the handle, remove the stem assembly, swap out the old washer for a new one, and reassemble. Ensure the new washer is the correct size.
2. Ball Faucets
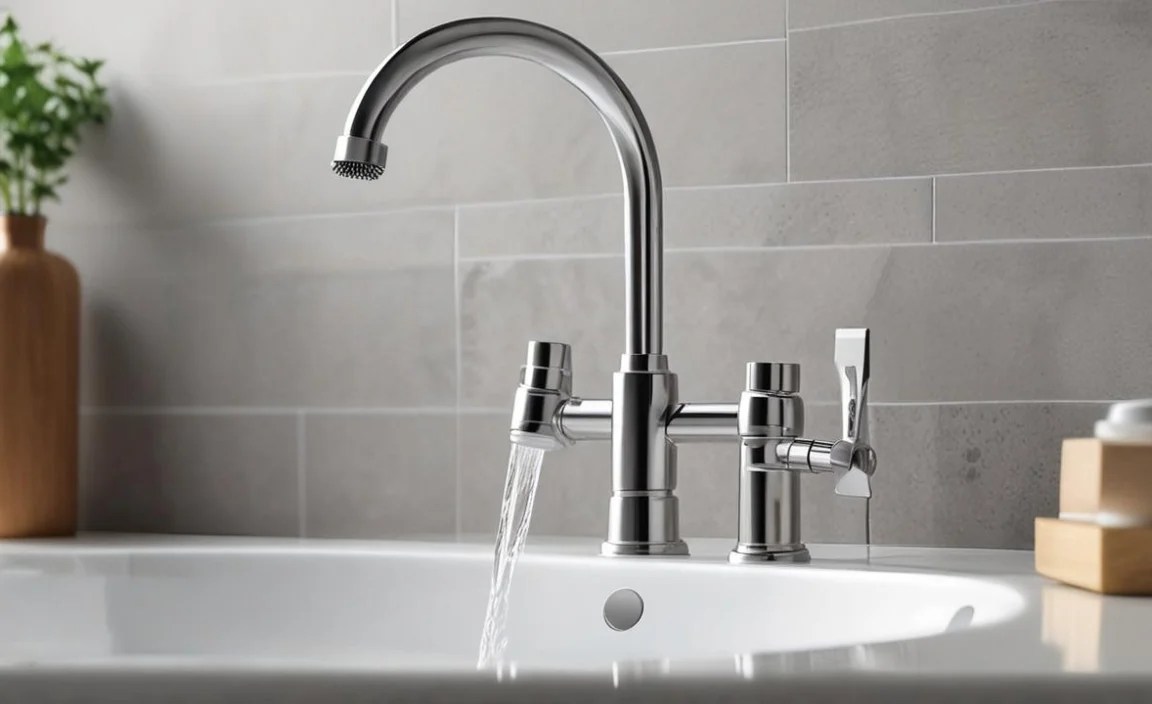
Characterized by a single handle that moves over a rounded cap, ball faucets use a slotted metal or plastic ball to control water flow. They are common in kitchens.
Common Issues:
- Drips and Leaks: Usually caused by worn-out O-rings, seals, or a damaged ball.
- Leaky Handle: The cam and packing assembly might need replacing.
Repair Tip: These can be trickier to repair due to the number of small parts. You might need a special repair kit specific to the faucet brand, which often includes new seals, O-rings, and a cam. Check manufacturer guides for specific instructions.
3. Cartridge Faucets
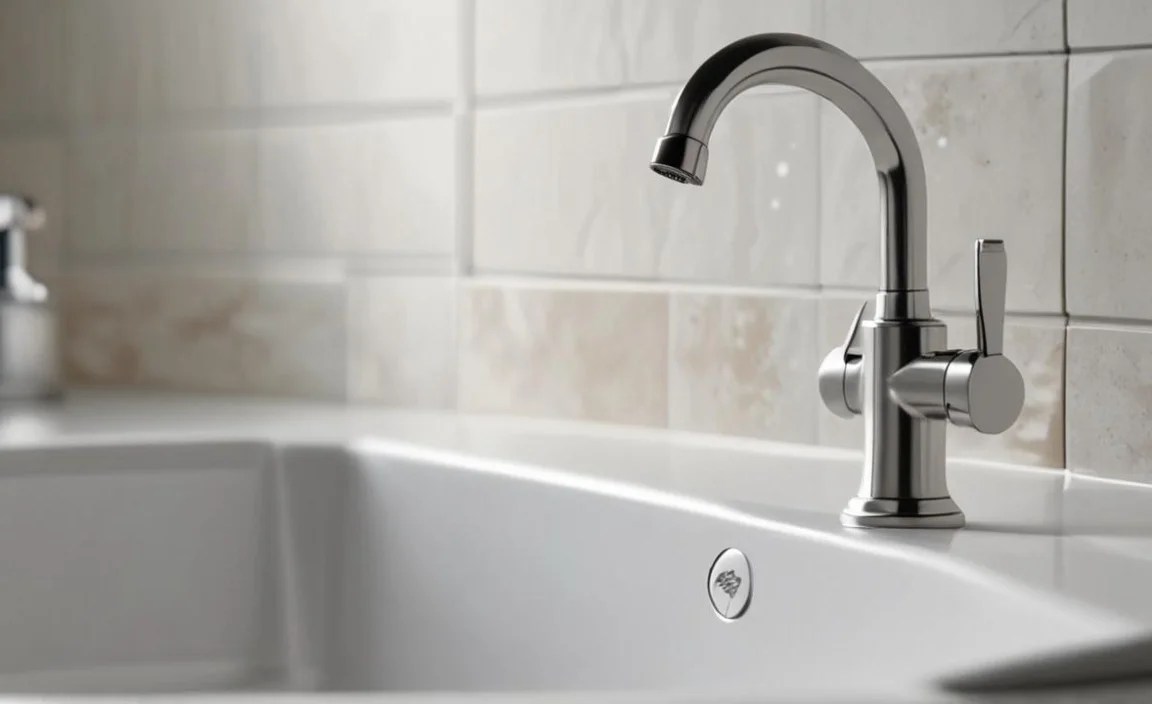
These use a cartridge that slides in and out of the faucet body to control water flow and temperature. They can have single or double handles and are very common in modern homes.
Common Issues:
- Drips: Most often due to a worn or damaged cartridge. Sometimes, the O-rings around the cartridge can also fail.
- Leaking handle: Similar to compression faucets, worn O-rings on the stem or a loose packing can be the cause.
Repair Tip: The primary fix is replacing the entire cartridge. You’ll need to remove the handle, then pull out the old cartridge (sometimes requiring a special tool) and insert a new, identical one, lubricating it with plumber’s grease.
4. Ceramic Disc Faucets
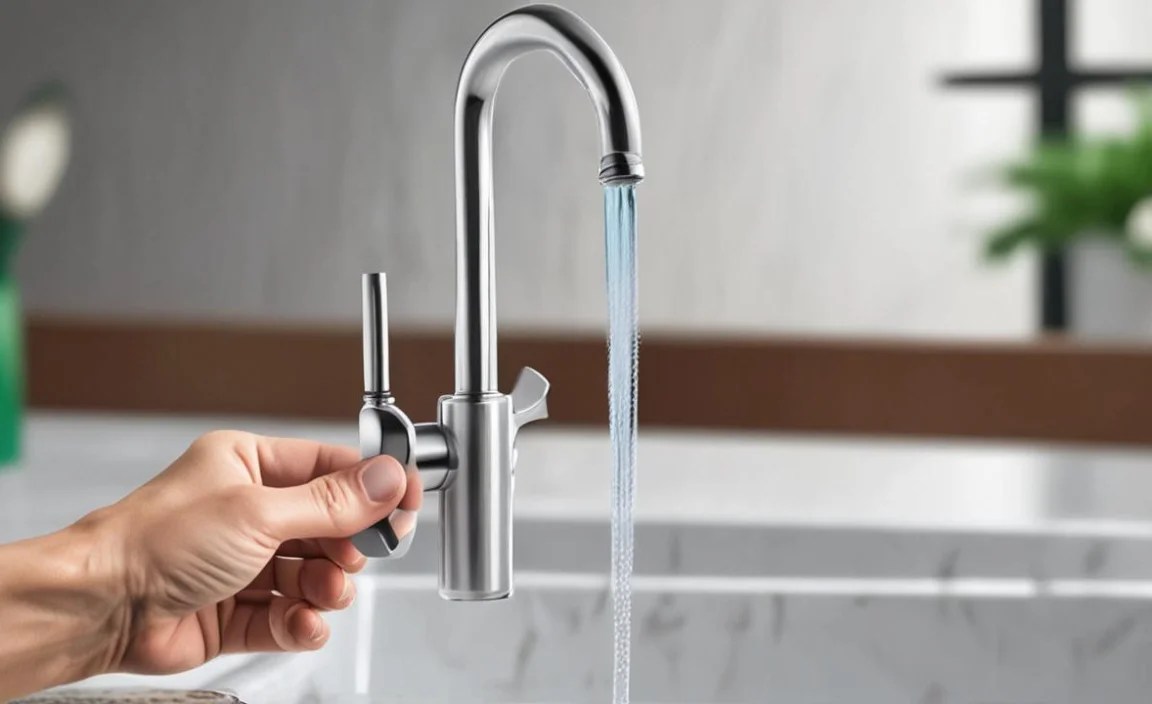
These are the most durable and modern type, using two ceramic discs that slide against each other to control water flow. They are known for their longevity and resistance to drips.
Common Issues:
- Drips: Less common, but can occur if the ceramic discs are cracked or if sediment gets trapped between them.
- Leaking spout base: This can happen due to worn O-rings at the base of the spout.
Repair Tip: If ceramic discs are damaged, the entire cylinder assembly often needs to be replaced. If it’s a spout leak, replacing the O-rings is typically the solution. These faucets are designed for minimal maintenance.
Knowing your faucet type is the first step to a successful repair. Many manufacturers, like Moen and Delta, have excellent online resources for identifying parts and finding repair guides for their specific models.
Repairing a Dripping Faucet: The Most Common Fix

A dripping faucet is the most frequent annoyance, and it’s usually the easiest to fix. The solution typically involves replacing a worn-out washer or O-ring.
What You’ll Need:
- Adjustable wrench
- Screwdriver (flat-head and/or Phillips)
- Pliers
- Replacement washers and/or O-rings (get a general repair kit or specific ones if you know your faucet model)
- Plumber’s grease
- Rags
Steps:
- Shut Off Water Supply: As mentioned earlier, turn off the hot and cold water valves under the sink. Open the faucet to drain residual water.
- Remove the Faucet Handle: Look for a decorative cap on top or front of the handle. Gently pry it off with a flat-head screwdriver or a utility knife. You’ll see a screw underneath. Unscrew it completely.
- Remove the Handle: The handle might lift off directly, or you might need to gently wiggle it or use pliers to pull it upwards. Be patient; sometimes corrosion makes them stick.
- Access the Stem/Cartridge:
- For Compression Faucets: You’ll see a packing nut holding the valve stem in place. Unscrew this nut with an adjustable wrench. Then, you can unscrew the entire valve stem assembly.
- For Cartridge Faucets: You’ll see a retaining clip or nut holding the cartridge. Remove it according to your faucet type. Then, pull the cartridge straight out.
- Inspect and Replace Worn Parts:
- Compression Faucet: At the bottom of the valve stem, you’ll find the rubber washer, usually held in place by a screw. Unscrew it, remove the old washer, and replace it with a new one of the exact same size and type. Also, check the O-ring around the stem and replace it if it looks worn or cracked. Apply a little plumber’s grease to the new O-ring and the threads of the stem.
- Cartridge Faucet: Examine the old cartridge for any cracks or damage. If it looks intact, inspect the O-rings around its base. Replace any worn O-rings. If the cartridge itself seems damaged, replace it with a new, identical one. Apply plumber’s grease to the new cartridge and its O-rings.
- Reassemble the Faucet:
- For compression faucets, screw the valve stem assembly back in, tighten the packing nut, and then re-attach the handle.
- For cartridge faucets, insert the new cartridge (ensure it’s oriented correctly), secure it with the clip or nut, and then re-attach the handle.
- Turn Water Back On: Slowly turn the shut-off valves back on. Check for leaks around the handle and spout.
- Test the Faucet: Turn the faucet on and off a few times to ensure smooth operation and that the drip is gone.
Fixing a Leaky Faucet Handle
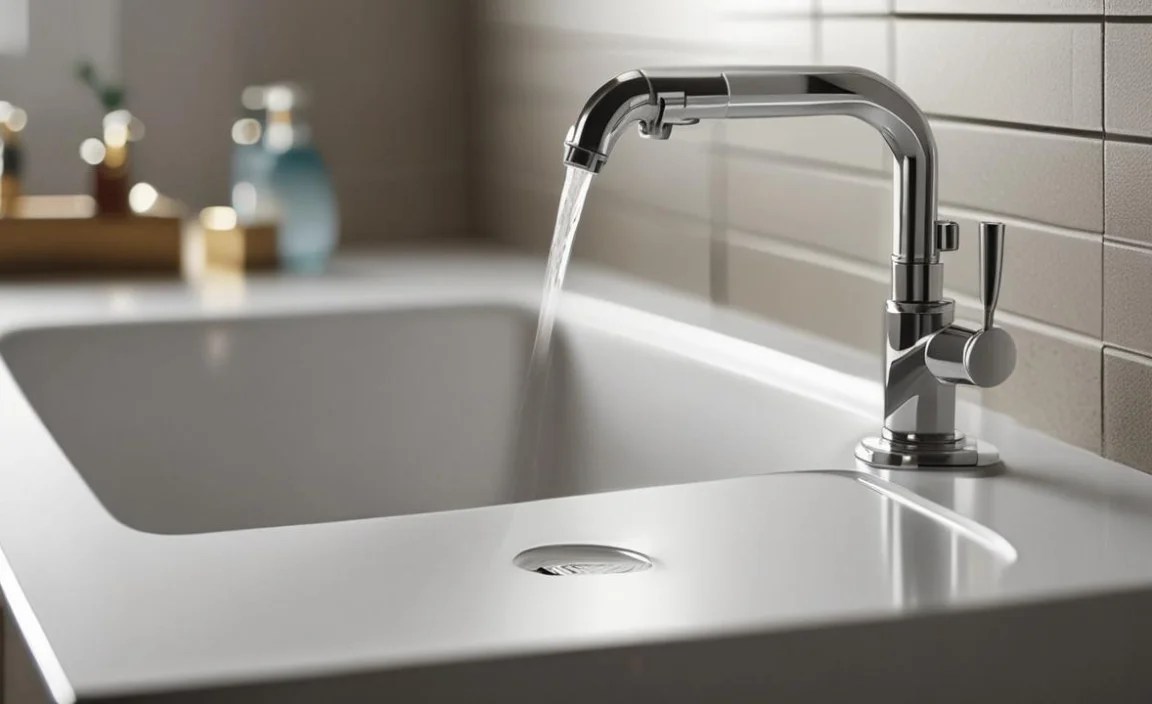
If water is dripping or streaming from around the base of the faucet handle itself, the problem is usually not with the main washer or cartridge, but with the seals surrounding the valve stem or spout.
What You’ll Need:
- Adjustable wrench
- Screwdrivers
- Pliers
- Replacement O-rings (ensure you get the right size for your faucet)
- Plumber’s grease
- Rags
Steps:
- Shut Off Water and Drain: Turn off the hot and cold water supply valves and open the faucet.
- Remove the Handle: You’ll need to remove the handle to access the internal parts. This usually involves prying off a decorative cap and unscrewing a handle screw.
- Access the Stem/Spout O-rings:
- For handle leaks near the stem: After removing the handle, you might be able to see a packing nut. Unscrew this nut. The valve stem will be underneath. The O-ring(s) are usually located on the stem itself or within the faucet body where the stem sits.
- For spout leaks at the base: If your faucet has a separate spout that swivels, you’ll need to remove it. This often involves unscrewing a retaining nut or cap at the base of the spout. Once the spout is lifted off, you’ll see one or more O-rings around the faucet body.
- Replace the O-rings: Carefully remove the old O-ring(s) using a small screwdriver or pick. Clean the area where the O-ring sat. Install new O-ring(s) of the exact same size. Apply a thin layer of plumber’s grease to the new O-rings.
- Reassemble: Reassemble all the parts in reverse order. For a spout, make sure it’s seated correctly, and for a stem, ensure the packing or retaining nuts are snug but not overtightened.
- Turn Water On and Test: Slowly restore water pressure and check for leaks.
Restoring Water Pressure: Clearing a Clogged Aerator
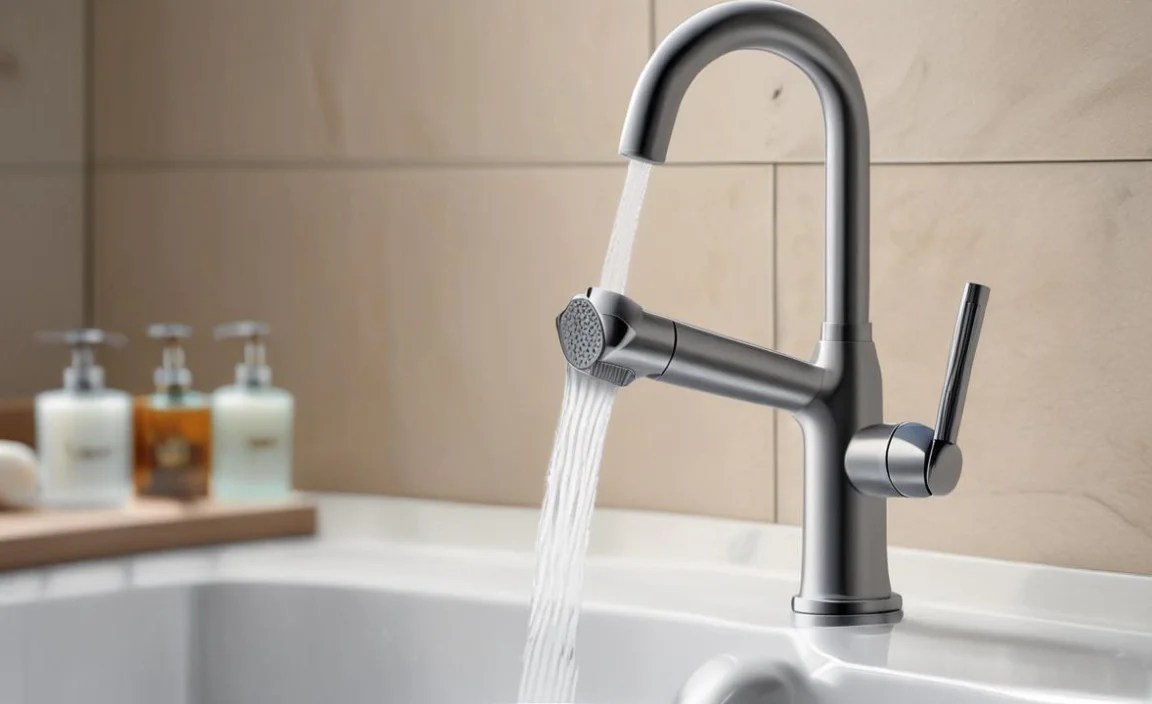
If your faucet’s water flow has dwindled, don’t immediately assume it’s a plumbing issue. Often, the culprit is a simple clog in the aerator, the small screen at the tip of the spout that mixes air with water to create a smooth flow.
What You’ll Need:
- Pliers (preferably with a rubber jaw or wrapped in tape to prevent scratching)
- An old toothbrush or small brush
- Vinegar (white distilled vinegar works well)
- A small bowl or cup
- Rags
Steps:
- Find the Aerator: It’s the small, screw-on piece at the very end of the faucet spout.
- Unscrew the Aerator: Most aerators can be unscrewed by hand, turning counter-clockwise. If it’s tight, use pliers (protecting the finish with a rag or rubber jaw). Some aerators might have a hidden set screw or be integrated, requiring a specific tool.
- Disassemble and Clean: Once removed, carefully take apart the aerator. You’ll likely find a screen, a housing, and possibly a small washer or flow restrictor. Rinse all parts under running water. Use an old toothbrush to scrub away any mineral deposits or debris.
- Soak in Vinegar (if needed): For stubborn mineral buildup, soak the aerator parts in a small bowl of white vinegar for a few hours or overnight. This helps dissolve limescale.
- Rinse and Reassemble: Rinse all parts thoroughly. Reassemble the aerator in the correct order.
- Reattach and Test: Screw the clean aerator back onto the faucet spout hand-tight. Turn on the water slowly and check for leaks. The water flow should now be restored.
Where to Find Aerator Details: For more in-depth information on aerators and flow rates, the EPA’s WaterSense program offers insights into water-saving technologies including aerators.
How to Replace a Faucet Cart