
Quick Summary: Fixing a leaky faucet is achievable with the right repair faucet tools. This guide covers essential tools like adjustable wrenches, screwdrivers, and pliers, and explains how they help you tackle common issues like worn-out washers or O-rings, saving you money and preventing water waste.
Does that dripping faucet keep you up at night? Or maybe it’s the constant annoyance of a wobbly handle? You’re not alone! Faucet leaks and issues are incredibly common and can waste a surprising amount of water and money. But the good news is that most faucet repairs are well within the reach of any beginner DIYer with a few basic tools. You don’t need to be a master plumber to stop that drip. This guide will walk you through the essential repair faucet tools and how to use them to confidently tackle common faucet problems. Get ready to become your own home repair hero!
Your Faucet Repair Toolkit: The Essentials
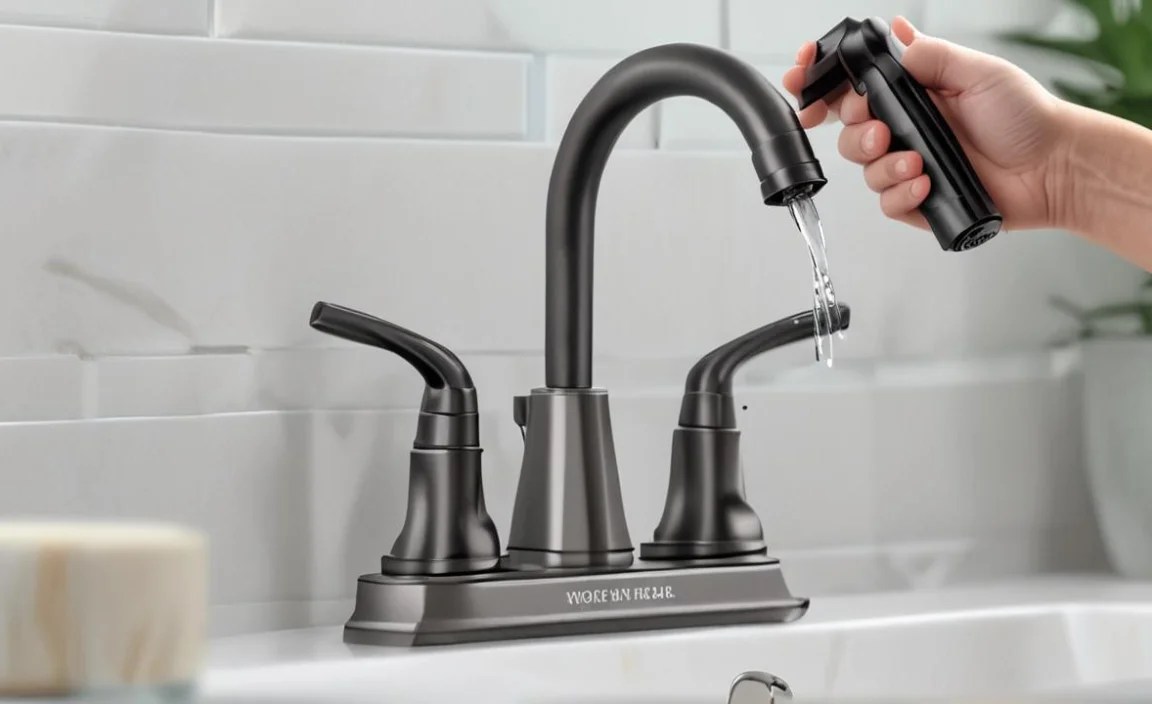
Before we dive into fixing things, let’s gather your essential repair faucet tools. Think of these as your trusty companions for any faucet-related mission. Having the right tools makes the job not just easier, but also safer and more effective. Trying to fix a faucet with the wrong tools can sometimes make the problem worse or even damage your fixture. So, let’s ensure you’re prepared!
The Must-Have Tools for Faucet Repair

- Adjustable Wrench: This is your Swiss Army knife of wrenches. It can adjust to fit various nut and bolt sizes, making it incredibly versatile. Look for one with a smooth adjustment mechanism and comfortable grip. A size around 8 or 10 inches is usually perfect for most home plumbing tasks.
- Phillips and Flathead Screwdrivers: Faucets often have screws holding handles or decorative caps in place. You’ll need both Phillips (cross-shaped head) and flathead (straight slot head) screwdrivers in a few different sizes. Having a set with magnetic tips can be a lifesaver when working with small screws that love to disappear down the drain.
- Pliers (Slip-Joint and Needle-Nose): Slip-joint pliers are great for gripping and turning larger nuts or parts. Needle-nose pliers are invaluable for reaching into tight spaces and grasping small items like retaining clips or fallen screws.
- Basin Wrench: This specialized tool is a lifesaver for reaching those awkward nuts that hold the faucet to the sink or countertop from underneath. It has a long shaft and a swiveling jaw that can grab nuts in difficult-to-access spots.
- Plumber’s Tape (PTFE Tape): Also known as Teflon tape, this white, flexible tape is crucial for creating watertight seals on threaded pipe connections. It’s inexpensive and found at any hardware store.
- Penetrating Oil: Sometimes, parts can get stuck due to mineral buildup or corrosion. A good penetrating oil can help loosen stubborn nuts and bolts without damaging the surrounding materials.
- Bucket and Rags: Essential for catching any residual water when you disconnect parts and for cleaning up messes. Old towels or shop rags work perfectly.
- Utility Knife or Small Pry Bar: Useful for gently prying off decorative caps or breaking old caulk seals without scratching the faucet or sink.
- Flashlight or Headlamp: You’ll be working in dark spaces under the sink, so good lighting is a must to see what you’re doing.
Optional but Helpful Tools
- Faucet-Specific Repair Kits: Many faucet manufacturers sell kits with all the necessary O-rings, washers, and cartridges for specific models. This can save you the guesswork of finding the right replacement parts.
- Allen Wrenches (Hex Keys): Some faucet handles are secured with small hex screws. If your faucet has these, you’ll need a set of Allen wrenches.
- Plunger: While not directly a faucet repair tool, a good plunger can be helpful if you encounter a clog that’s affecting your faucet’s performance.
- Safety Glasses: Always a good idea when working with tools and plumbing, just in case debris flies off or water splashes.
Common Faucet Problems and How to Fix Them
Now that you have your arsenal of repair faucet tools ready, let’s tackle some of the most common faucet woes. We’ll break down the fixes into simple steps, so you can approach them with confidence.
1. The Dripping Faucet: The Most Annoying Leak

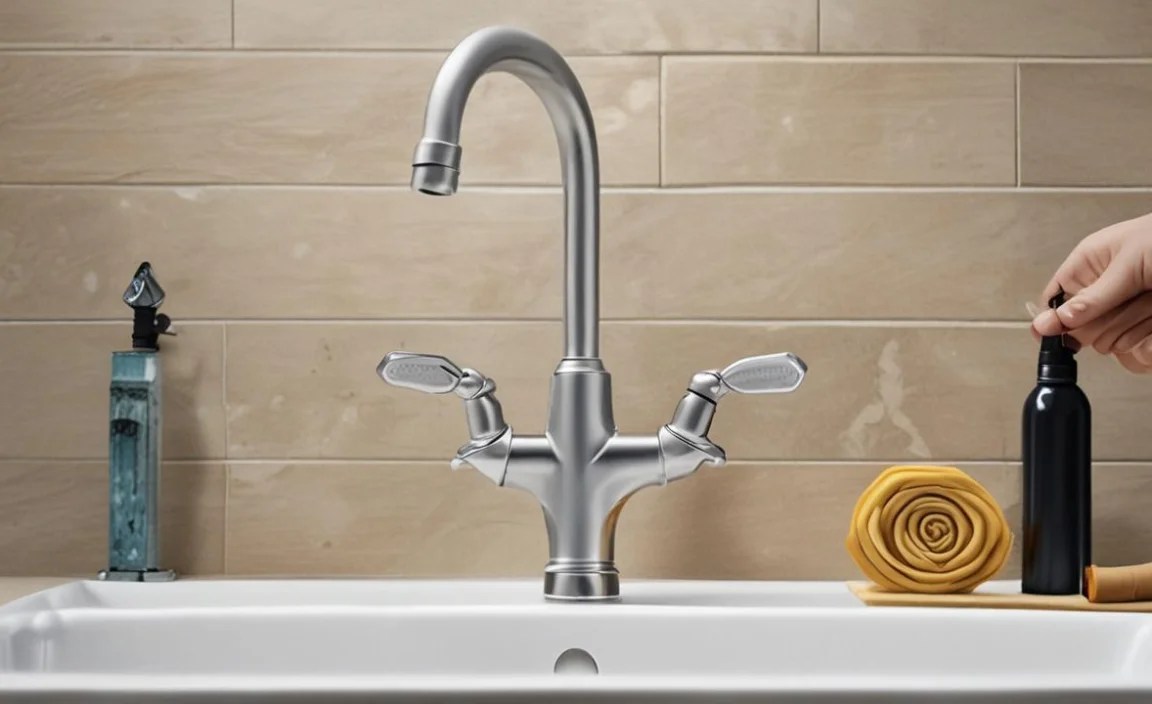
A faucet that drips incessantly is more than just a sound annoyance; it’s a colossal waste of water. The culprit is often a worn-out washer or O-ring inside the faucet. Over time, these rubber or silicone parts can degrade, crack, or become stiff, preventing a proper seal. This is a classic case where your basic toolkit will shine.
Tools Needed:
- Adjustable Wrench
- Screwdrivers (Phillips and Flathead)
- Pliers
- Penetrating Oil (if needed)
- Replacement Washers/O-rings (know your faucet type!)
- Rags and Bucket
- Plumber’s Tape
Step-by-Step Fix:
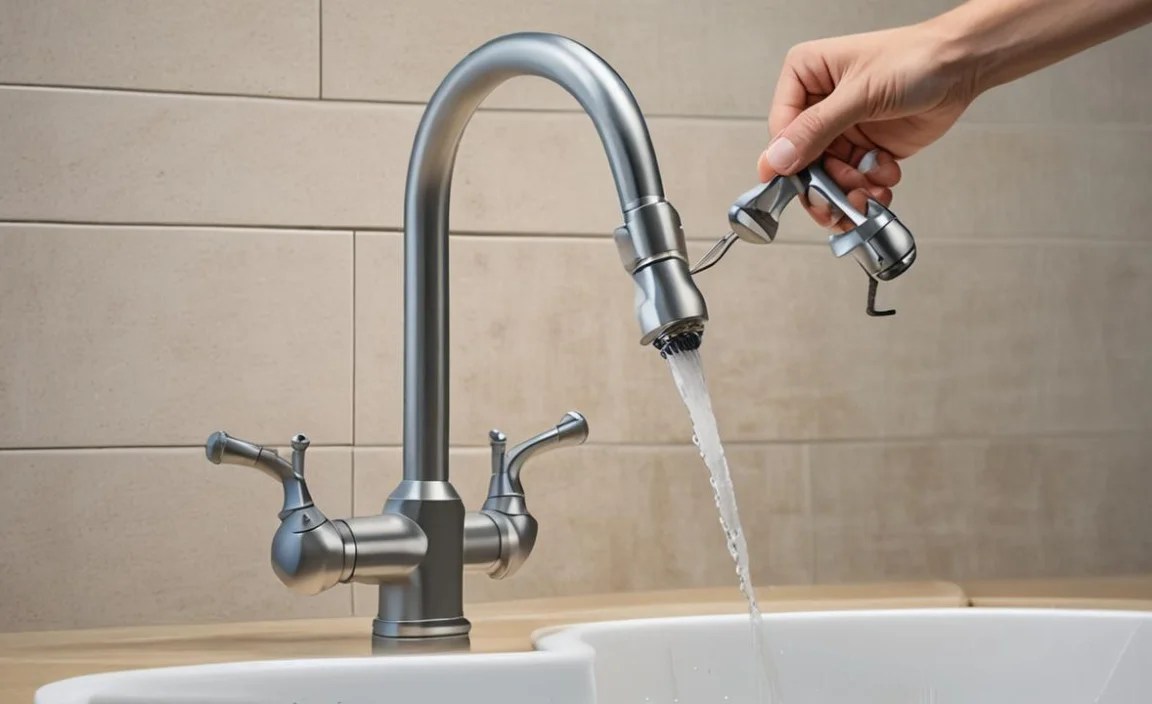
- Turn Off the Water Supply: This is the most critical first step. Look for the shut-off valves located beneath the sink, usually on the hot and cold water lines. Turn them clockwise until they stop. If you don’t have these valves or they don’t work, you’ll need to turn off the main water supply to your house.
- Drain Residual Water: Turn on the faucet to drain any water left in the pipes.
- Remove the Handle: Most faucet handles are held on by a decorative cap or a screw. Pry off the cap gently with a utility knife or small screwdriver, or unscrew the visible screw. Then, lift or pull the handle off. If it’s stuck, a little penetrating oil might help, or you can sometimes find a “handle puller” tool at hardware stores.
- Access the Stem or Cartridge: Depending on your faucet type (compression, cartridge, ball, or ceramic disc), you’ll now see the internal mechanism. For compression faucets, you’ll likely see a packing nut and then the stem. For cartridge, ball, or disc faucets, you’ll see a cartridge that might be held in place by a clip or nut.
- Remove the Stem or Cartridge: Use your adjustable wrench to carefully unscrew the packing nut or retaining nut. You might need pliers to gently wiggle and pull out the stem or cartridge. Take note of how everything comes apart – perhaps snap a quick photo with your phone!
- Replace the Washer and/or O-ring:
- For Compression Faucets: At the bottom of the stem, you’ll find a rubber washer held in place by a brass screw. Unscrew it, replace the washer with an identical one. Also, check the O-ring around the stem and replace it if it looks worn.
- For Cartridge, Ball, or Disc Faucets: These use a sealed cartridge. If this is the problem, you’ll need to replace the entire cartridge. Be sure to get the exact replacement part for your faucet model. Manufacturers often have identification guides on their websites.
If you’re unsure about your faucet type, a quick search on the manufacturer’s website with your faucet model number can provide diagrams and part numbers. For general guidance on identifying faucet types, resources like the Federal Trade Commission’s advice on faucet leaks can be helpful.
- Reassemble: Put everything back in reverse order. When reassembling threaded parts, wrap a few layers of plumber’s tape clockwise around the threads to ensure a good seal. Don’t overtighten nuts, as this can strip threads or damage parts.
- Turn Water Back On Slowly: Open the shut-off valves slowly and check for leaks. If everything is dry, turn the faucet on and off a few times to ensure it’s working correctly.
2. Low Water Pressure or Weak Flow
This frustrating issue can have a few causes, but one of the most common and easiest to fix yourself is a clogged aerator. The aerator is the small screen at the tip of your faucet spout. It mixes air with water to reduce splash and conserve water, but it can easily get clogged with mineral deposits.
Tools Needed:
- Adjustable Wrench or Pliers
- Rag
- Vinegar (for cleaning)
- Old Toothbrush (optional)
Step-by-Step Fix:
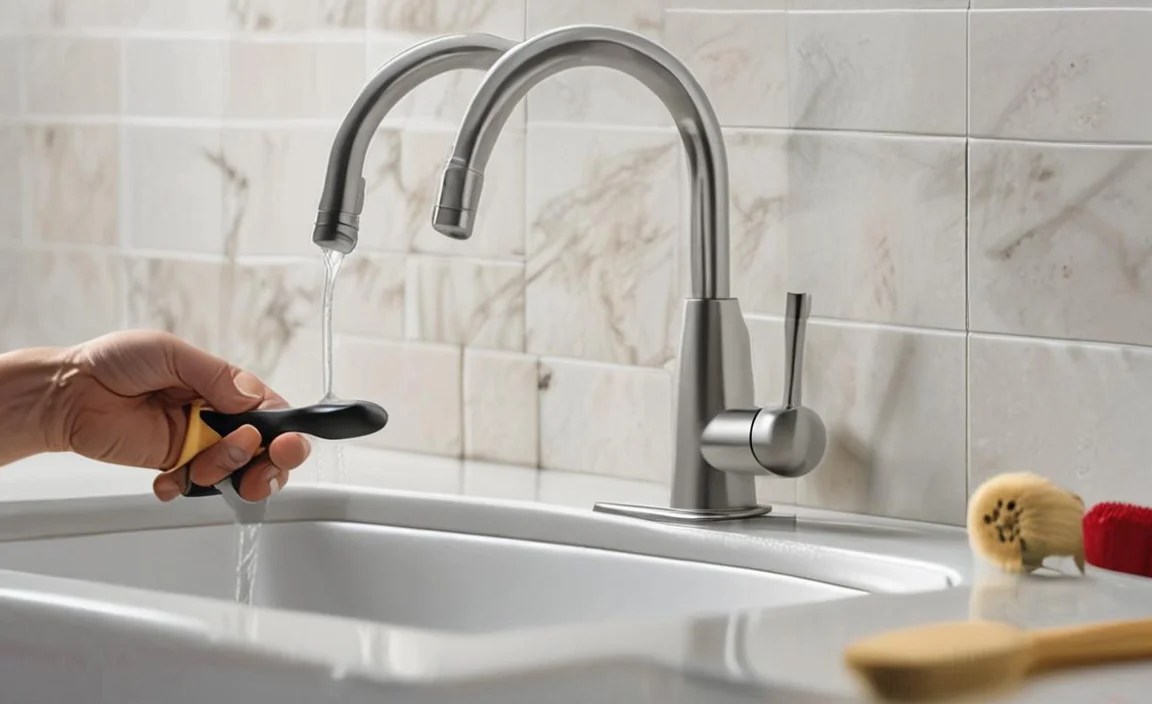
- Remove the Aerator: Most aerators can be unscrewed by hand. If it’s stuck, use a rag and pliers or an adjustable wrench to protect the finish and gently twist it counterclockwise.
- Disassemble and Clean: Once removed, carefully take apart the aerator. You’ll likely find a screen and a couple of small plastic or rubber pieces. Rinse them under running water to remove loose debris.
- Soak in Vinegar: If mineral deposits are visible, soak the aerator parts in a small bowl of white vinegar for a few hours or overnight. This helps dissolve hard water buildup.
- Scrub and Rinse: After soaking, use an old toothbrush to gently scrub away any remaining residue. Rinse all parts thoroughly with clean water.
- Reassemble and Reinstall: Put the aerator back together and screw it onto the faucet spout clockwise. Hand-tight is usually sufficient, but give it a gentle snug with pliers if needed.
- Test: Turn on the faucet to see if the water flow has improved.
Another cause of low pressure could be blocked pipes or issues with the water heater. If cleaning the aerator doesn’t help, you might need to investigate further or call a plumber.
3. Leaky Handle or Spout Base
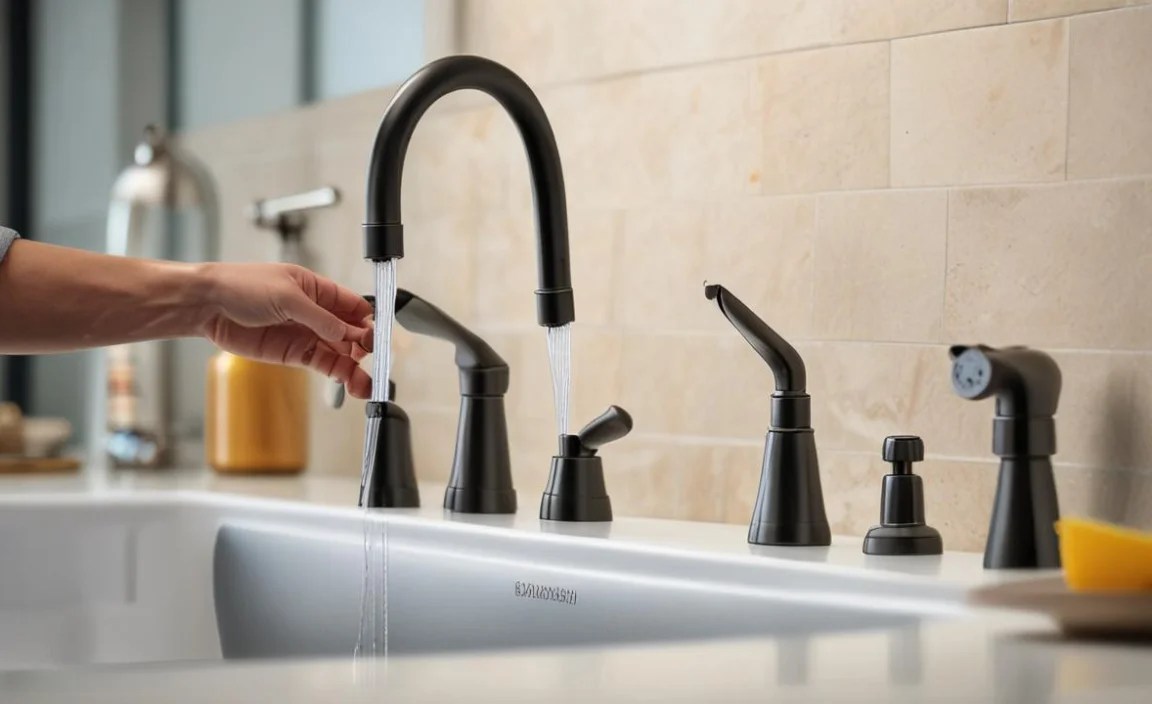
A leak around the handle or at the base of the spout often points to worn-out O-rings. These small rubber rings create seals between different parts of the faucet, and when they degrade, water can escape.
Tools Needed:
- Adjustable Wrench
- Screwdrivers (Phillips and Flathead)
- Pliers
- Replacement O-rings (specific to your faucet model)
- Plumber’s Tape
- Rags and Bucket
Step-by-Step Fix:
- Turn Off Water Supply: As always, shut off the hot and cold water valves beneath the sink.
- Drain Faucet: Open the faucet to release remaining water.
- Disassemble Faucet Handle/Spout: This process varies greatly by faucet design. You’ll typically need to remove the handle (see Step 3 in “The Dripping Faucet” section). For spout leaks, you might need to unscrew a retaining nut at the base of the spout or lift the spout off after removing the handle assembly. Consult your faucet’s manual if available, or look for online diagrams using your model number.
- Locate and Replace O-rings: Once you have access to the internal parts, look for the O-rings. They are usually found around the valve stem or the base of the spout. Carefully remove the old O-rings (you might need needle-nose pliers) and install new ones of the exact same size. Lubricating the new O-rings with a bit of plumber’s grease can help them seat properly and last longer.
- Reassemble: Put the faucet back together, using plumber’s tape on any threaded connections.
- Test: Turn the water supply back on slowly and check for leaks around the handle and spout.
Understanding Different Faucet Types
Knowing what kind of faucet you have can make repairs much smoother. The internal mechanisms differ, meaning the repair faucet tools and parts you need will also vary. Here’s a quick rundown of the most common types:
| Faucet Type | Description | Common Repair Part | Ease of Repair (Beginner) |
|---|---|---|---|
| Compression Faucet | Two handles (hot/cold) that you tighten down to stop water flow. Uses rubber washers. | Washer, O-ring, Seat | Moderate (Requires careful disassembly, washer must be exact size) |
| Cartridge Faucet | Can have one or two handles. Uses a movable stem or cartridge that controls water flow. | Cartridge | Easy to Moderate (Replacing the cartridge is usually straightforward if you have the correct part) |
| Ball Faucet | Single handle that moves over a rounded cap. Has a specific ball mechanism inside with springs and rubber seats. | Ball assembly, springs, seats, O-rings | Moderate (More parts to manage, requires a specific repair kit) |
| Ceramic Disc Faucet | Single lever that controls hot/cold and flow with two ceramic discs. Very durable. | Ceramic disc cartridge | Easy (Usually just requires replacing the entire cartridge) |
Identifying your faucet type is crucial. Check for a brand name or model number on the faucet itself, usually on the back of the spout or under the handle. If you can’t find it, take clear photos to a hardware store or search online for faucet identification guides. The This Old House website often has excellent visual guides.
When to Call a Professional
While many faucet repairs are DIY-friendly, there are times when it’s best to call in a professional plumber. Don’t feel defeated if you encounter one of these situations; it’s about knowing your limits and ensuring the job is done right.
- Persistent Leaks: If you’ve tried the common fixes and the leak persists, there might be a more complex issue like a crack in the faucet body or problem within the water supply lines.
- Corroded or Damaged Parts: If you find that vital parts of your faucet are heavily corroded, cracked, or seem impossible to remove without causing damage, it’s safer to let a pro handle it. They have specialized tools and expertise to deal with stubborn situations.
- Lack of Confidence or Time: If you’re feeling overwhelmed, unsure about the steps, or simply don’t have the time, a plumber can save you stress and ensure a quick, correct repair.
- Main Plumbing Issues: If the problem seems to extend beyond just the faucet – for instance, if you have low pressure in multiple fixtures or suspected pipe damage – it indicates a larger plumbing issue that requires professional attention.
- Water Heater Problems: If only your hot water is problematic (either no hot water or very low hot water pressure), this might indicate a water heater issue beyond simple faucet repair.
Remember, the goal of DIY is to save money and gain satisfaction, not to create bigger, more expensive problems. A qualified plumber can provide their expertise, ensuring safety and efficiency.
FAQs About Faucet Repair Tools and Fixes
Q1: What are the most basic tools I need to start fixing my faucet?

For basic fixes like a dripping faucet, you’ll absolutely need an adjustable wrench, a set of Phillips and flathead screwdrivers, and some pliers. A bucket and rags are also essential for cleanup.
Q2: How do I know what replacement parts I need?
Try to identify the brand and model number of your faucet. This information is often on the faucet itself or in your home’s original documentation. You can then look up parts on the manufacturer’s website or take photos of your faucet and the internal parts to a hardware store for help.
Q3: My faucet is old and parts are really stuck. What can I do?

A penetrating oil (like WD-40 or a similar product) can help loosen rusted or corroded parts. Apply it and let it sit for a while before trying to turn the nut or bolt again. Using a rag with pliers can also help grip without damaging the finish.
Q4: Is plumber’s tape really necessary?
Yes, plumber’s tape (PTFE tape) is crucial for creating a watertight seal on threaded pipe connections. It fills in small gaps between the threads. Always wrap it clockwise around the threads before screwing parts together.
Q5: How can I avoid damaging my faucet’s finish when using tools?
Always use a rag or cloth between your tools (like wrenches or pliers) and the faucet’s finish. For delicate parts, consider getting specialized “faucet setters” or tools designed to protect finishes. For handles or caps, gentle prying with a plastic tool or a thin cloth wrapped around a flathead screwdriver is best.
Q6: What does it mean if my faucet has “low pressure” on only one handle?

If only the hot water
