Quick Summary:
You can repair most leaky faucets yourself with basic tools and this guide. Common fixes involve replacing worn-out washers, O-rings, or cartridges. This step-by-step approach will save you money and empower you to tackle simple plumbing jobs confidently.
A dripping faucet can be more than just an annoying sound; it’s a silent drain on your water bill and a sign something needs attention. Many homeowners assume calling a plumber is the only solution. But what if we told you that with a few common tools and this handy guide, you can fix that leaky faucet yourself? It’s simpler than you think! We’ll walk you through the process, demystifying faucet parts and repair steps so you can get your fixtures working perfectly again. Get ready to save money and gain confidence as we tackle this common household issue together.
Why Your Faucet is Dripping (And How to Stop It)

That persistent drip, drip, drip from your faucet isn’t just background noise; it’s a clear signal that a part inside is worn out or damaged. Over time, the rubber washers, O-rings, or even the entire cartridge within your faucet can degrade. This wear and tear allows water to seep through when the faucet is turned off, leading to that frustrating leak. The good news is that most faucet issues are caused by these simple mechanical failures, which are entirely fixable without needing to call in a professional plumber for a significant cost.
Understanding the common culprits is the first step to becoming your own faucet repair expert. Think of it like knowing your car needs an oil change – recognizing the symptom leads you to the solution. We’ll break down the types of faucets and the parts most likely to cause trouble, equipping you with the knowledge to identify the problem and the plan to fix it.
Gathering Your Essential Faucet Repair Toolkit

Before you start tinkering, let’s make sure you have the right tools. Having everything ready will make the repair process smooth and efficient. You don’t need a massive toolbox for most faucet repairs. Here’s what you’ll likely need:
- Adjustable Wrench: This is your go-to for loosening and tightening nuts and bolts of various sizes.
- Screwdriver Set (Phillips and Flathead): Faucets use different types of screws, so a set will ensure you have the right fit.
- Pliers: Especially slip-joint pliers, which are great for gripping and turning parts.
- Allen Wrench Set (Hex Keys): Some faucet handles are secured with small set screws that require these.
- Plumber’s Grease: A silicone-based lubricant that helps seal parts and makes reassembly easier.
- Replacement Parts: This is crucial! We’ll discuss how to identify and find these later. It could be washers, O-rings, or a cartridge.
- Rag or Towel: To protect surfaces and clean up any drips.
- Bucket: To catch any residual water when you disconnect parts.
- Penetrating Oil (Optional): For stubborn parts that are difficult to remove.
Remember, using the right tool for the job protects both the faucet and your hands. If a part feels stuck, don’t force it too hard, as you might strip a screw or break a component.
Understanding Your Faucet Type
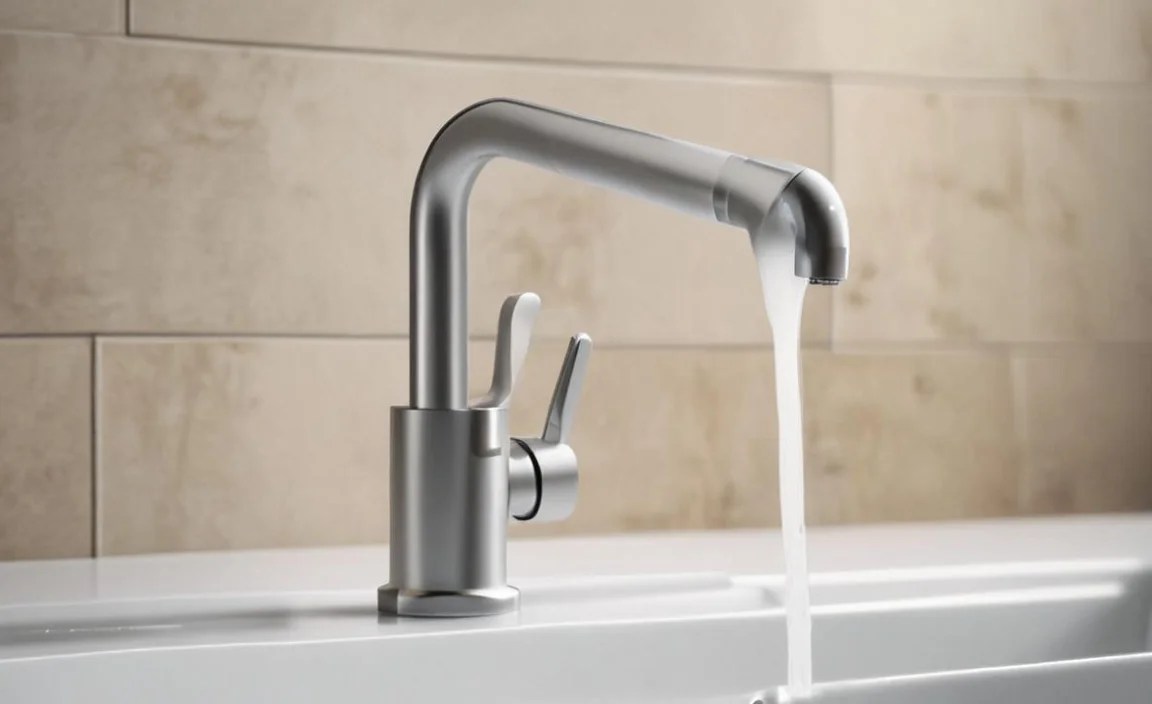
One of the biggest keys to successful faucet repair is knowing what type of faucet you have. Different designs have different internal mechanisms. The most common types in homes today are:
1. Compression Faucets
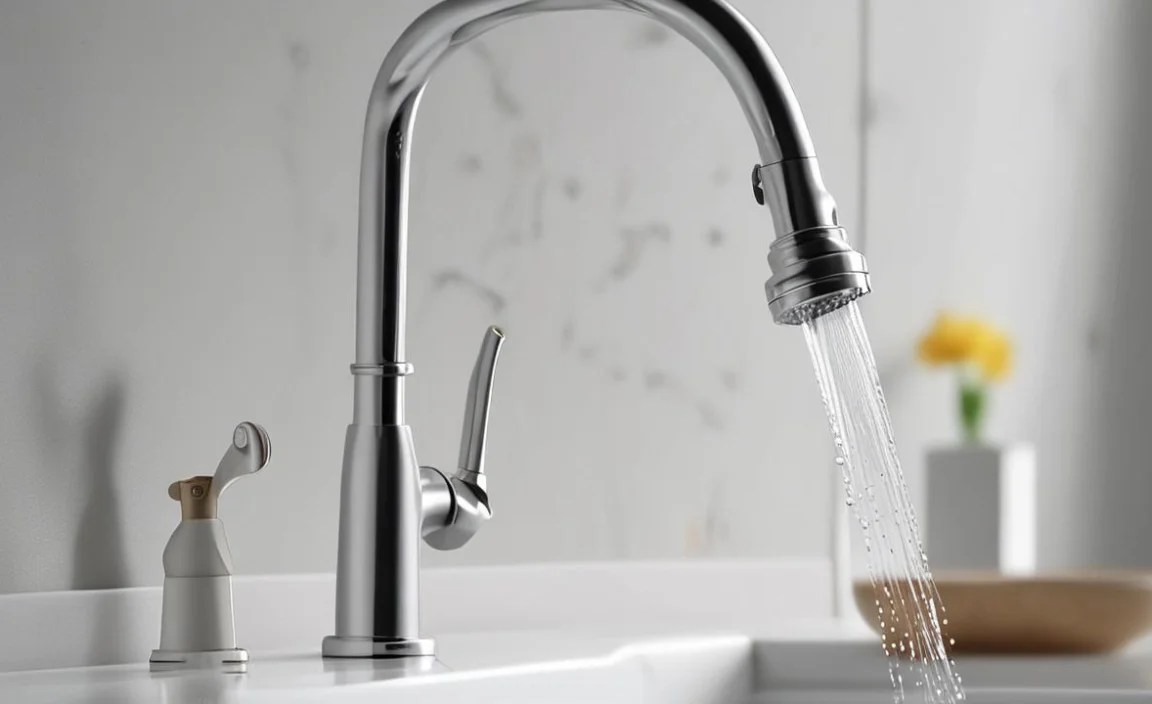
These are the oldest and arguably simplest type. They have separate hot and cold handles that you turn to tighten a stem against a rubber washer. Tightening the handle compresses the washer against a valve seat, stopping the water flow. When these leak, it’s almost always the rubber washer that needs replacing.
2. Cartridge Faucets
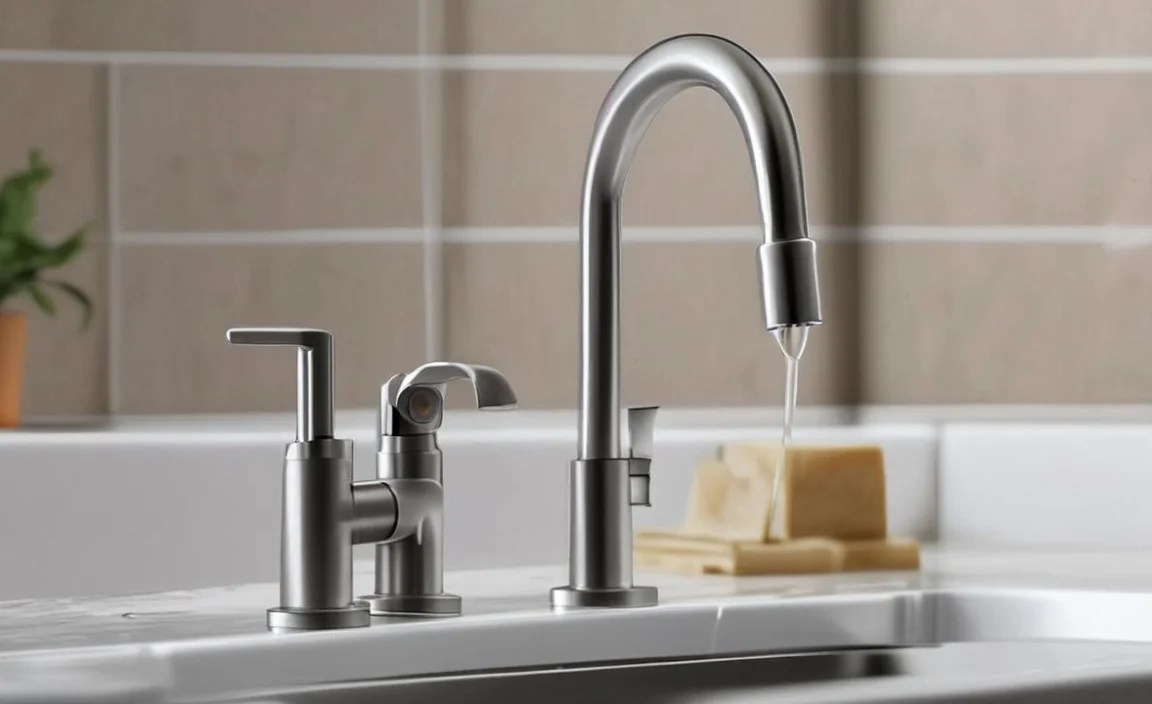
These faucets use a movable stem cartridge that controls the water flow. You’ll typically find these with single handles that move up/down for volume and side-to-side for temperature. The entire cartridge assembly is usually replaced when there’s a leak or operational issue.
3. Ball Faucets
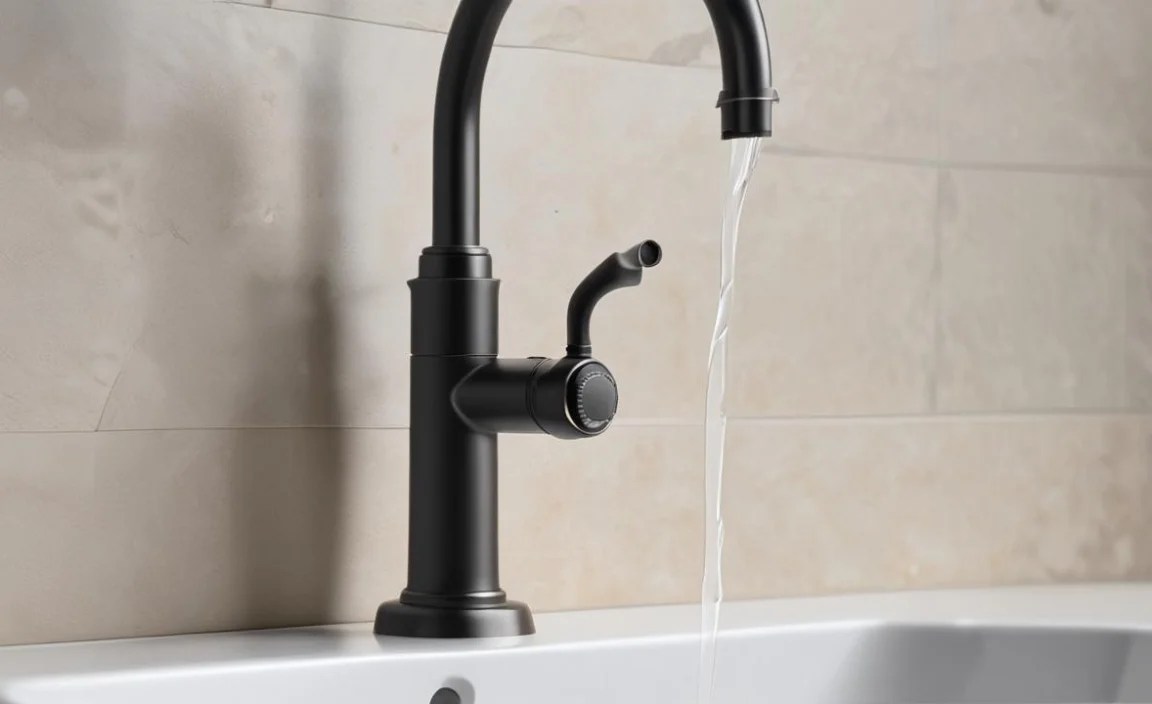
Common in kitchens, these single-handle faucets use a slotted metal or plastic ball inside to regulate water flow and temperature. They have a unique design with several O-rings and springs that can wear out.
4. Ceramic Disc Faucets
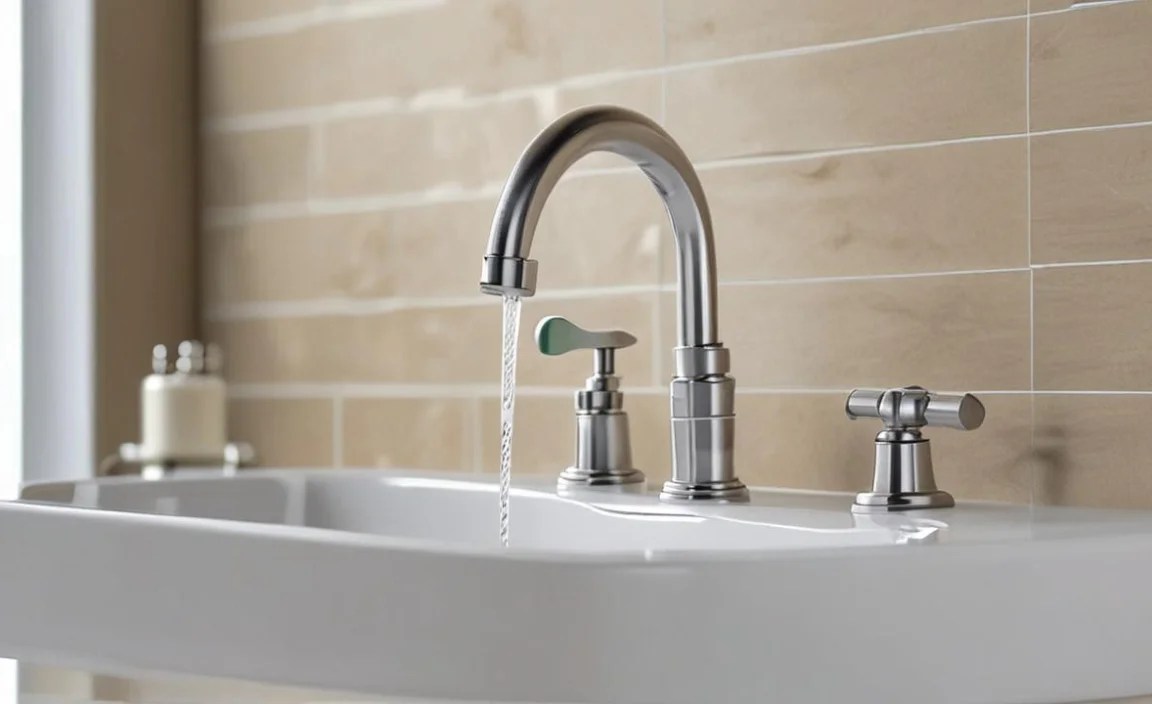
These are considered very durable and are often found in newer homes. They use two ceramic discs that slide against each other to control water flow. Leaks are less common, but when they happen, it usually means the entire disc assembly needs replacement.
Knowing your faucet type will help you determine which parts to order or look for at the hardware store. If you’re unsure, take a picture of your faucet and its handle to your local hardware store, or consult the manufacturer’s website if you know the brand.
Step-by-Step Guide to Fixing a Dripping Faucet

Let’s get to the heart of the matter: fixing that leak! This guide focuses on the most common faucet types and issues, aiming to give you a solid foundation for most repairs. We’ll cover the general process, which can be applied with minor adjustments across faucet types.
Step 1: Turn Off the Water Supply
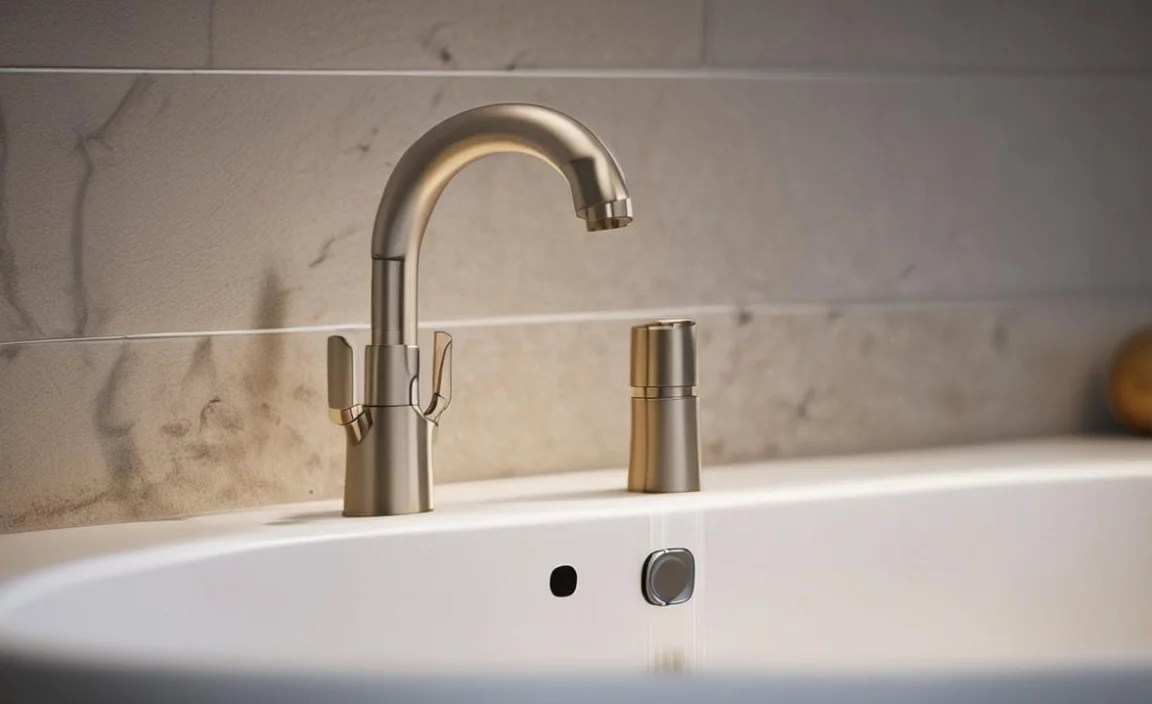
This is the most important step. Never attempt to repair a faucet with the water still running. Look for the shut-off valves located directly beneath the sink. They are usually small, oval-shaped knobs. Turn them clockwise until they are snug. If you can’t find or operate these valves, you’ll need to shut off the main water supply to your house. This valve is typically located in a basement, crawl space, utility closet, or sometimes outside near your water meter.
Pro Tip:
After turning off the valves, turn the faucet on to drain any remaining water and to confirm the supply is indeed off.
Step 2: Disassemble the Faucet Handle
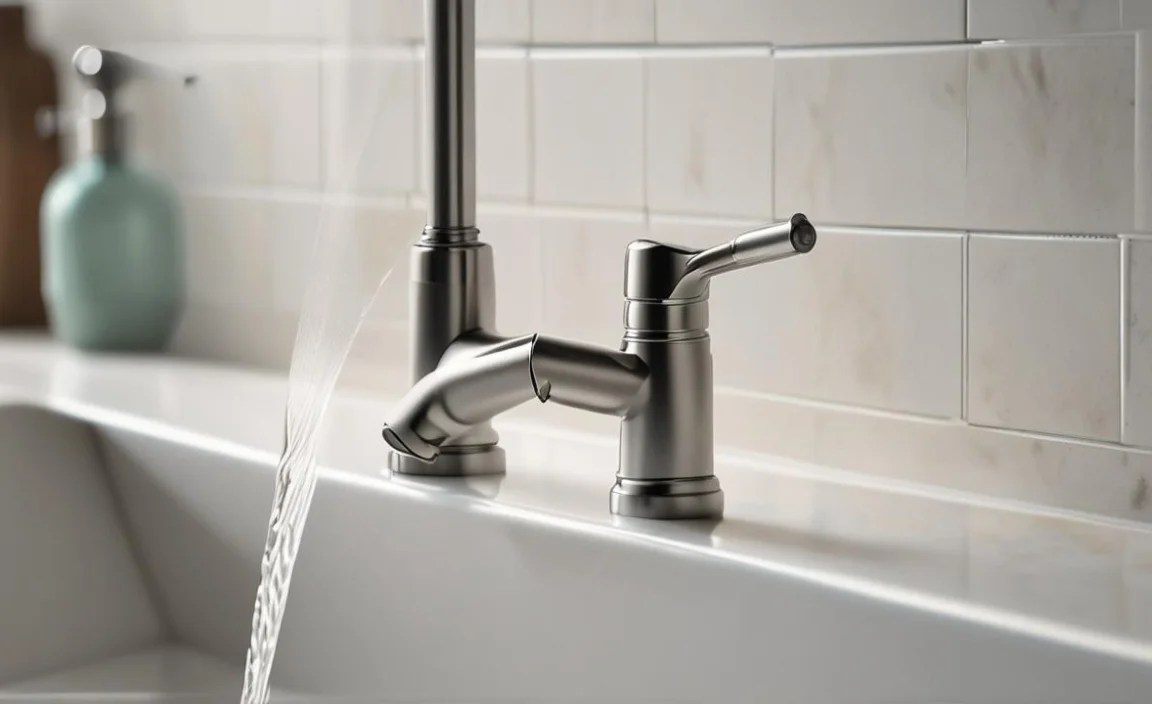
This is where faucet designs start to vary. Most handles are held in place by a decorative cap or a small set screw.
- Decorative Cap: Gently pry off the cap with a flathead screwdriver or a utility knife. This will reveal a screw underneath that holds the handle in place.
- Set Screw: Look for a small screw, often on the side or back of the handle, sometimes hidden under a small plastic cover. You’ll need an Allen wrench or a small Phillips screwdriver to remove it.
Once the screw is removed, you should be able to lift the handle straight up and off the faucet stem or cartridge.
Step 3: Access the Internal Parts
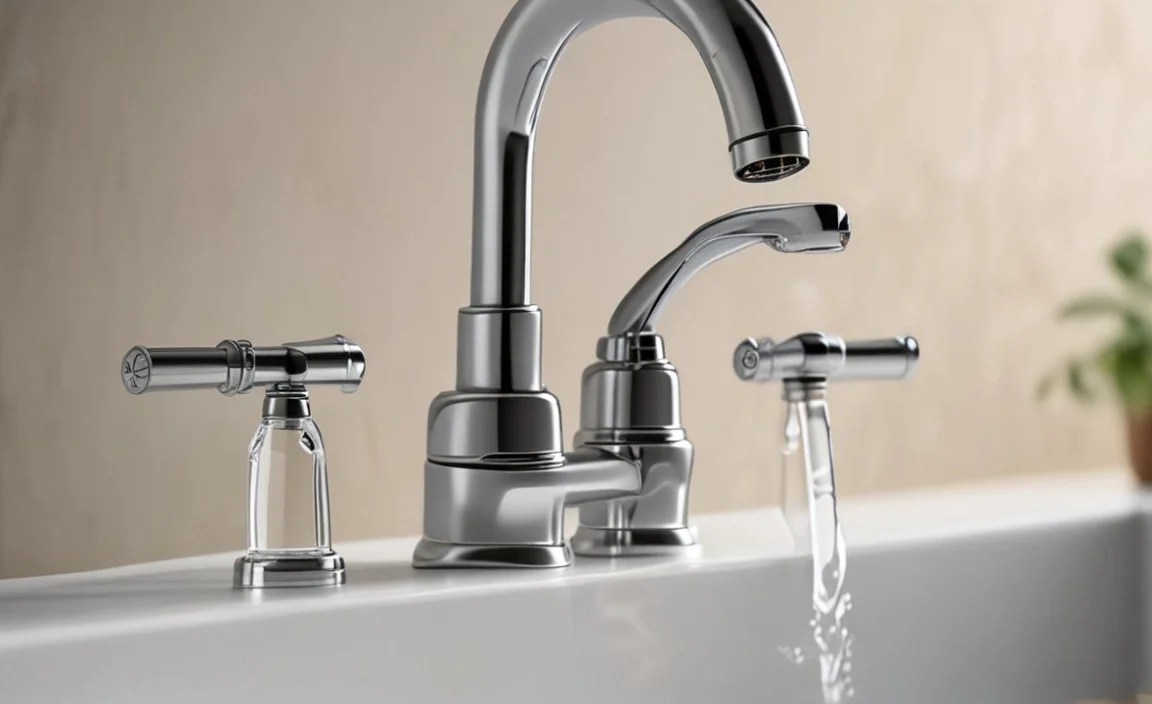
With the handle removed, you’ll see more of the faucet’s internal mechanism. The next part to remove will depend on your faucet type:
- Compression Faucet: You’ll see a packing nut. Loosen this with an adjustable wrench. Then, unscrew the stem using the wrench or by hand. At the bottom of the stem, you’ll find a rubber washer held in place by a screw. This is often the part that needs replacing.
- Cartridge Faucet: You might see a retaining clip holding the cartridge in place. Pull this out with pliers or a screwdriver. Then, use pliers or a wrench to grip the top of the cartridge and pull it straight up and out. Some cartridges may have a retaining nut that needs to be unscrewed first.
- Ball Faucet: After removing the handle, you’ll often see a cap or collar. Unscrew this to expose the ball, springs, and O-rings. You may need a special tool to remove the adjusting ring.
- Ceramic Disc Faucet: Unscrew any cap or retaining nut, and you should be able to lift out the ceramic disc cartridge assembly.
Step 4: Identify and Replace Worn Parts
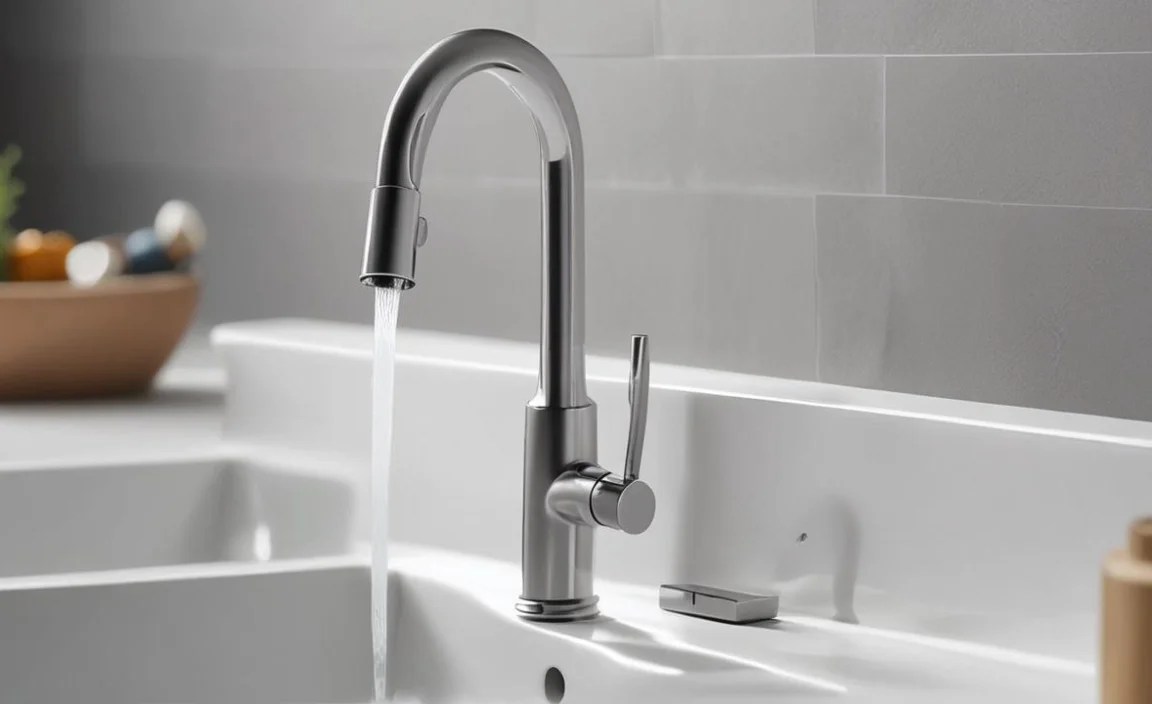
This is where you’ll see the problem firsthand. Look for:
- Washers (Compression Faucets): Check the rubber washer at the base of the stem. If it’s cracked, stiff, or deformed, it needs replacing. Also, inspect the O-ring around the stem.
- O-rings (All Faucet Types): These small rubber rings create seals. If they look flattened, torn, or brittle, they are likely the cause of leaks, especially around the handle or spout.
- Cartridges (Cartridge, Ball, Ceramic Disc Faucets): If you’re dealing with these faucet types, the entire cartridge is often the culprit. Inspect it for cracks or mineral buildup. For ball faucets, replace the springs and rubber seats as well.
Take the old parts with you to the hardware store to ensure you buy exact matches. It’s also wise to purchase a replacement kit if available for your faucet model, as these often contain all the necessary washers, O-rings, and even a new cartridge.
Step 5: Reassemble the Faucet
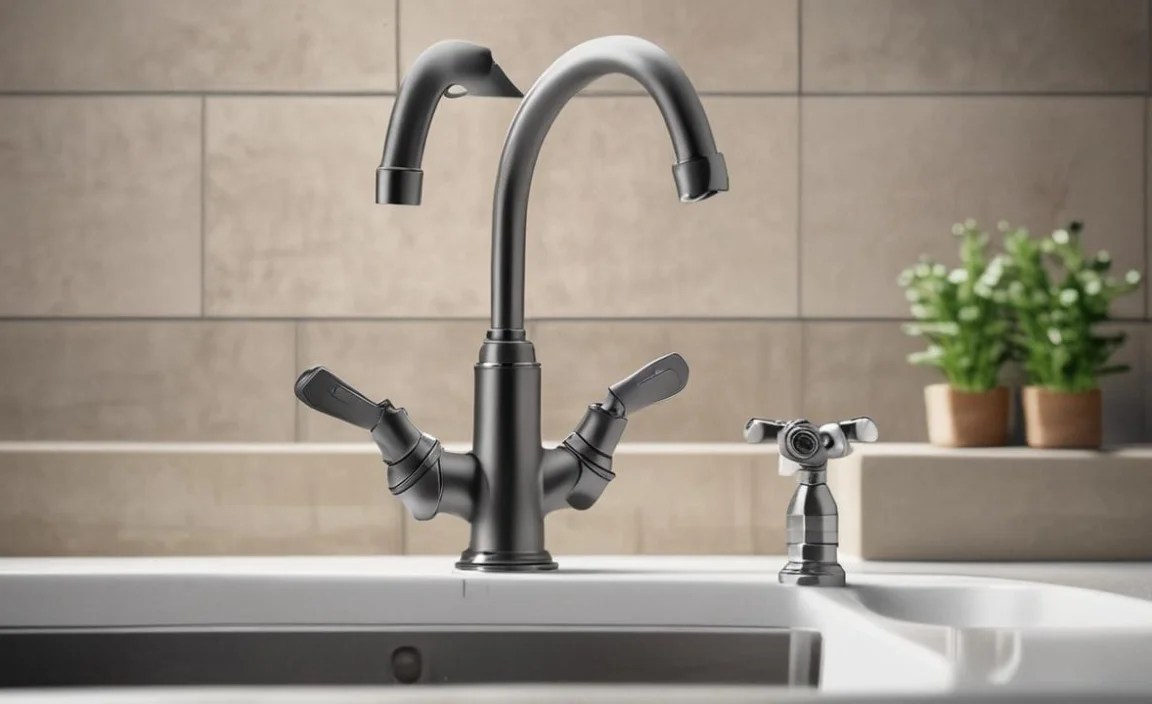
Reassembly is essentially the reverse of disassembly. Work carefully and deliberately:
- Install new washers and O-rings. Apply a bit of plumber’s grease to O-rings and new washers to help them seat properly and extend their life.
- If replacing a cartridge, ensure it’s oriented correctly before pushing it into place.
- Screw components back in hand-tight first, then use your wrench for a snug fit. Do not overtighten, as this can damage threads or new parts.
- Reattach the handle and secure it with its screw and cap.
Step 6: Turn the Water Supply Back On
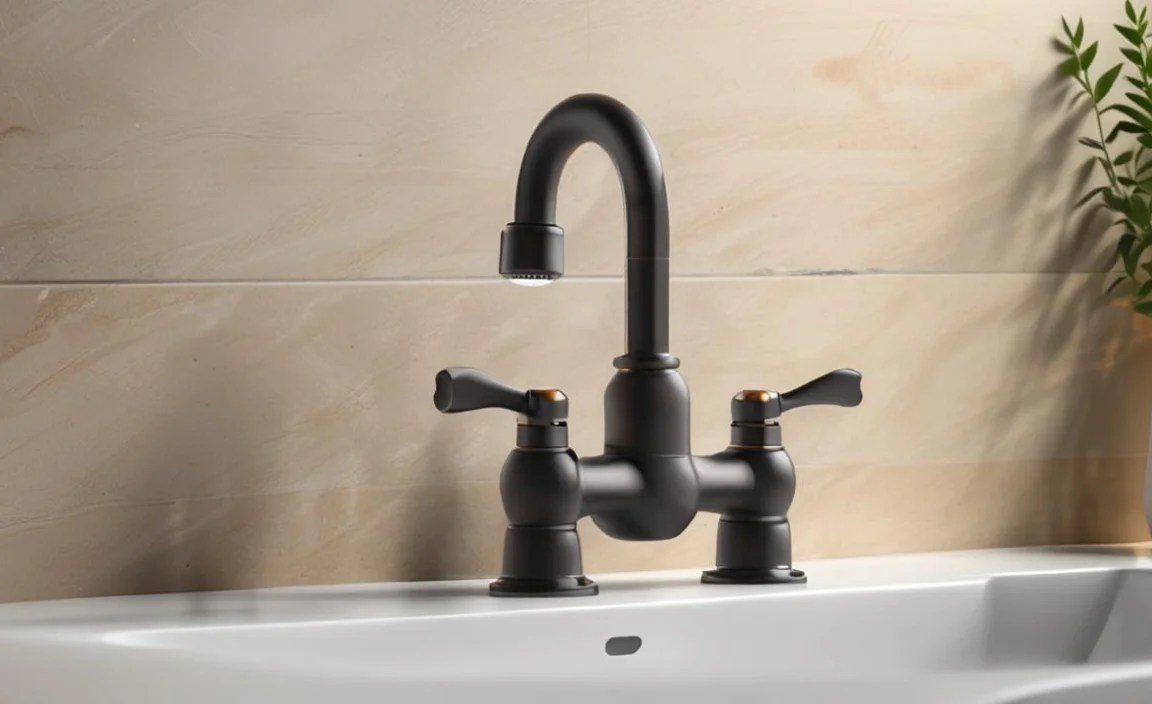
Slowly turn the shut-off valves back on (counter-clockwise). Open them fully. Then, turn the faucet on and off a few times, checking for leaks. Also, check around the base of the handle and stem for any drips.
Step 7: Test for Leaks
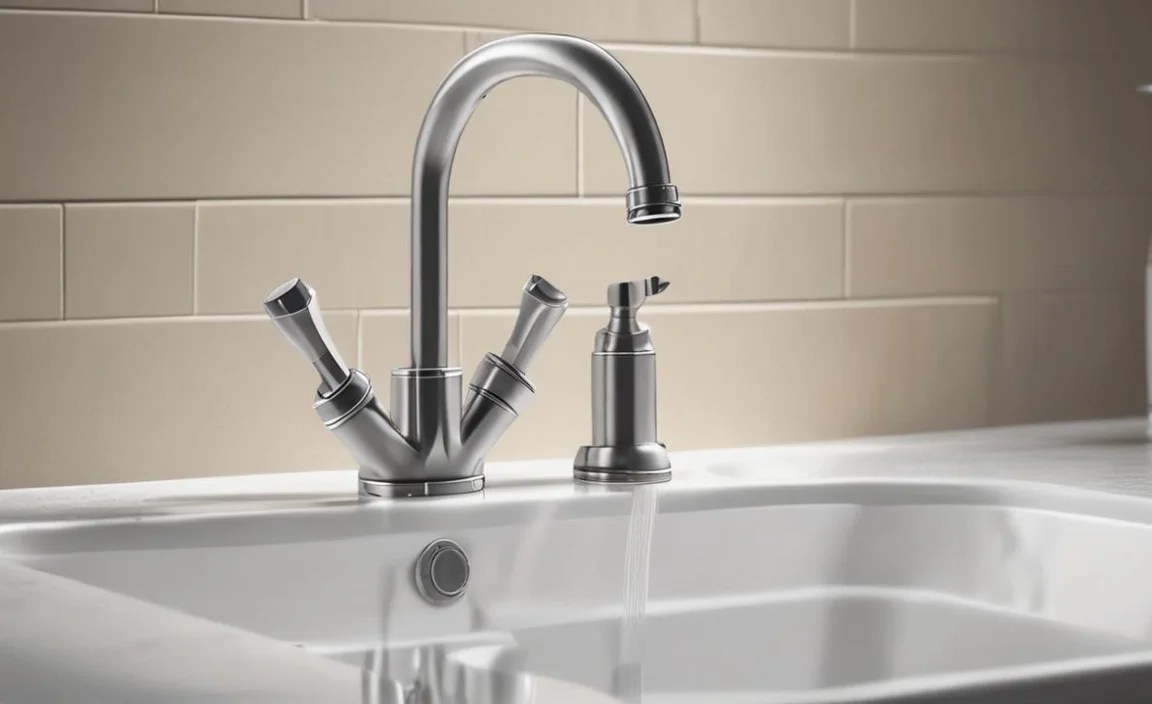
Let the faucet sit for a while and keep a close eye on the spout and the base. If the drip has stopped and there are no leaks from the handle or stem, congratulations! You’ve successfully repaired your faucet.
Troubleshooting Common Faucet Problems
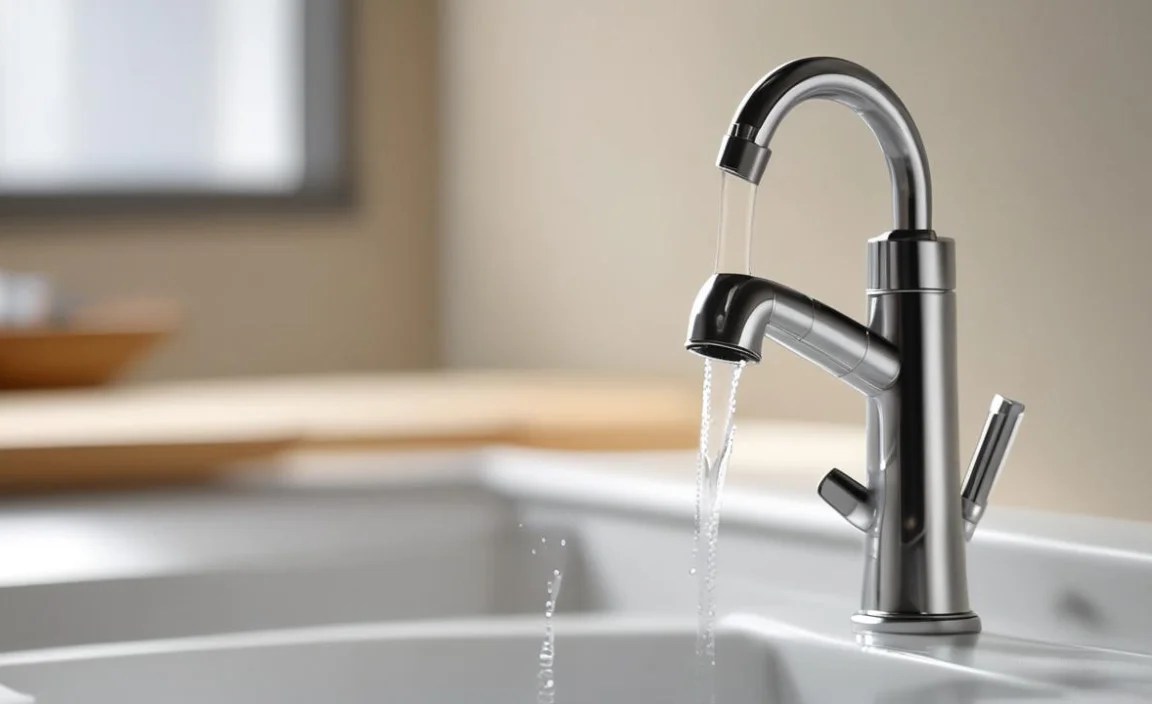
Even with the best intentions, you might run into a few snags. Here are some common issues and how to address them:
The Faucet Still Drips After Repair

- Bad Washer/O-ring: The replacement part might have been faulty or the wrong size.
- Damaged Valve Seat: The metal or brass surface where the washer seals can become corroded or pitted. You might need a “valve seat dresser” tool to smooth it out, or in some cases, the valve seat itself can be replaced. Check resources like The Spruce for detailed guides on addressing valve seats.
- Incorrect Reassembly: Parts might not be aligned perfectly, or a component might be slightly loose.
Leaking Around the Handle or Base
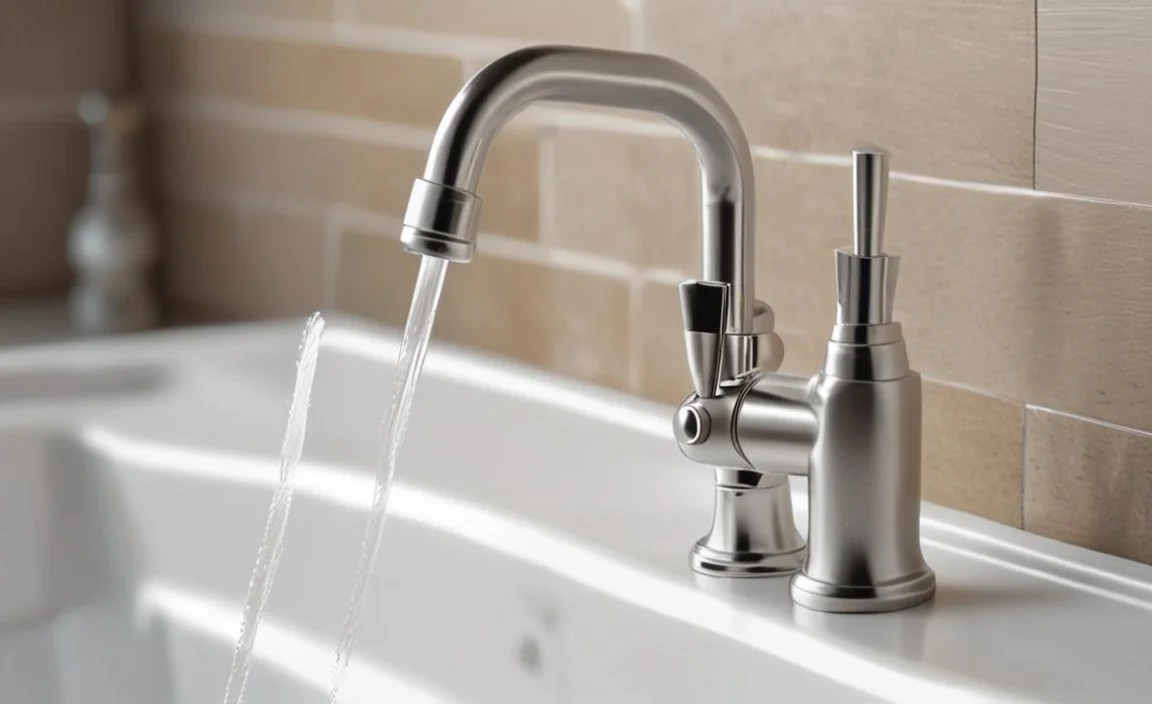
- This typically indicates a worn or improperly seated O-ring on the stem or cartridge. Ensure the specific O-ring for that area is replaced and lubricated.
- For cartridge faucets, the cartridge itself might be faulty, or the seals within the faucet body aren’t making good contact with the cartridge.
Difficulty Removing Parts
- Mineral Buildup: Hard water deposits can seize parts. Try applying a penetrating oil and letting it sit for a while before attempting removal again.
- Corrosion: Similar to mineral buildup, metal parts can corrode and become stuck. Gentle tapping with a rubber mallet can sometimes help break the bond.
- Don’t Force It: If a part is severely stuck, you risk breaking it. Sometimes, it’s better to cut your losses and call a plumber, as replacing the entire faucet might be more cost-effective than trying to force a stubborn part and causing more damage.
Low Water Pressure
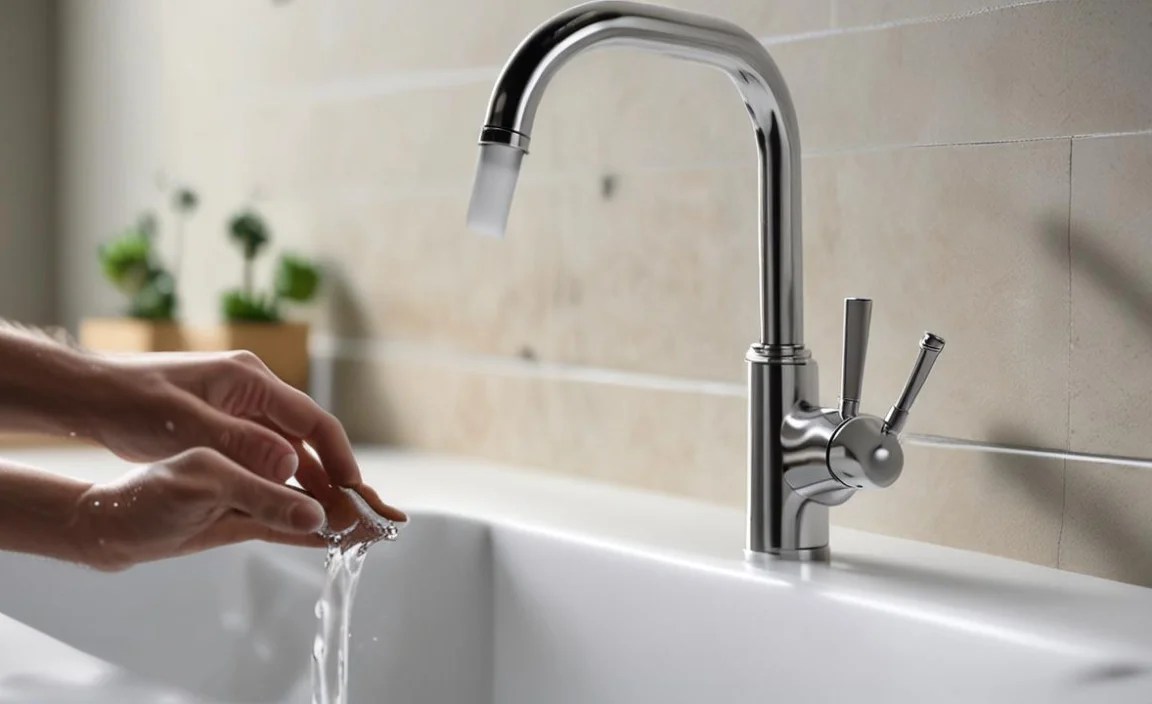
While not always a drip issue, low pressure can sometimes occur after a repair. Check the aerator at the tip of the spout. Unscrew it (usually by hand) and check for mineral deposits or debris. Clean it out with a small brush and vinegar if needed. Also, ensure the internal components were reinstalled correctly and aren’t obstructing flow.
When to Call a Professional Plumber
While this guide empowers you to tackle many common faucet repairs, there are times when professional help is the best course of action. Consider calling a plumber if:
- You’ve followed the steps, replaced parts, and the leak persists.
- You encounter severely corroded or stuck parts that you cannot remove without the risk of breaking them.
- The faucet body itself is cracked or heavily damaged.
- You’re uncomfortable with any part of the process or lack the right tools for a specific repair.
- The issue involves more than just the faucet itself, like significant water damage or problems with pipe connections.
- You have very old or complex, high-end fixtures and are concerned about causing irreparable damage.
Remember, a plumber has specialized tools and extensive experience to diagnose and fix even the most stubborn problems quickly and efficiently. Sometimes, the cost of a plumber is justified to avoid causing more damage or a bigger headache.
Maintaining Your Faucets: Prevention is Key
Keeping your faucets in good working order doesn’t just happen; it requires a little proactive care. By implementing these simple maintenance tips, you can reduce the likelihood of future leaks and extend the lifespan of your fixtures:
- Understand Your Water: If you have hard water, consider installing a water softener. Mineral buildup is a major contributor to faucet wear and tear. Regular cleaning with a gentle vinegar solution can also help.
- Operate Gently: Avoid excessive force when turning handles on or off. This puts less stress on washers and internal mechanisms.
- Regular Visual Checks: Periodically inspect your faucets for any signs of condensation, moisture, or the beginnings of a drip. Catching a small issue early can prevent a larger problem.
- Clean Aerators: Unscrew and clean faucet aerators every 6-12 months to prevent sediment buildup and maintain water pressure.
- Know Your Model: If possible, keep track of the brand and model of your faucets. This information is invaluable when you need to buy replacement parts. You can often register your fixtures online or keep original purchase documents.
For more in-depth information on plumbing maintenance and common issues, resources like the Environmental Protection Agency’s WaterSense program offer excellent tips and guidance on water conservation and fixture care.
Common Faucet Parts and Their Functions

Understanding the names of faucet parts can make shopping for replacements and following repair guides much easier. Here’s a quick rundown of the most common components:
| Part Name | Function | Common Faucet Types |
|---|---|---|
| Washer | A rubber seal that presses against the valve seat to stop water flow. Replaced frequently in compression faucets. | Compression Faucets |
| O-ring | A small circular rubber seal that prevents leaks around moving parts like the stem or cartridge. | All types |
| Cartridge | A self-contained unit that controls water flow and temperature. Replaced as a whole when faulty. | Cartridge, Ceramic Disc, some Ball Faucets |
| Stem | The part that moves up and down (or rotates) to operate the faucet, often connected to the handle. | Compression Faucets |
| Valve Seat | The metal or brass surface inside the faucet body where the washer or cartridge seals against to stop water. | Compression Faucets |
| Ball Assembly | A rotating ball with openings that aligns with other ports to control water flow and temperature. Found in ball faucets. | Ball Faucets |
| Aerator | A small screen assembly at the tip of the spout that mixes air with water, creating a smooth, splash-free stream and conserving water. | All types |
Having this basic understanding will make you feel much more confident when you’re at the hardware store or looking at diagrams online. Remember, hardware store staff are usually very helpful if you can describe the part you need or show them a photo.
Frequently Asked Questions About Faucet Repair
Q1: Do I really need to turn off the water supply?

A: Absolutely, yes! This is the most critical safety step. If you don’t turn off the water, you’ll have a geyser of water erupting from your faucet, creating a mess and potentially causing water damage. Always ensure the water is shut off at the valves under the sink or the main water supply to your house before you begin any repair.
Q2: How do I know which size washer or O-ring