
Quick Summary: Don’t let cracked or crumbling grout get you down! This guide shows you how to easily repair grout, giving your tiled surfaces a fresh, clean look. Learn to identify common grout issues, gather essential tools, and follow simple, step-by-step instructions for a durable and beautiful fix.
Tiled surfaces are a beautiful and practical addition to any home, from kitchen backsplashes to bathroom floors. But over time, the grout that holds those tiles together can start to look a bit rough. You might notice cracks, crumbling bits, or areas where the grout has simply worn away. This is super common and can make your lovely tiles look neglected, which nobody wants!
The good news is that fixing grout is a totally doable DIY project, even if you’re new to home repairs. You don’t need to be a master craftsman to get professional-looking results. We’ll walk through everything you need to know, from spotting the problem to making it disappear. Get ready to refresh your tiles and boost your home’s appeal with these essential grout repair tips.
Understanding Grout Issues: What to Look For
Before we grab our tools, it’s important to know what we’re dealing with. Grout, that cement-like material between your tiles, plays a vital role in stability and water resistance. When it starts to fail, it’s usually due to a few common culprits. Identifying the problem correctly is the first step to fixing it effectively.
Cracked Grout
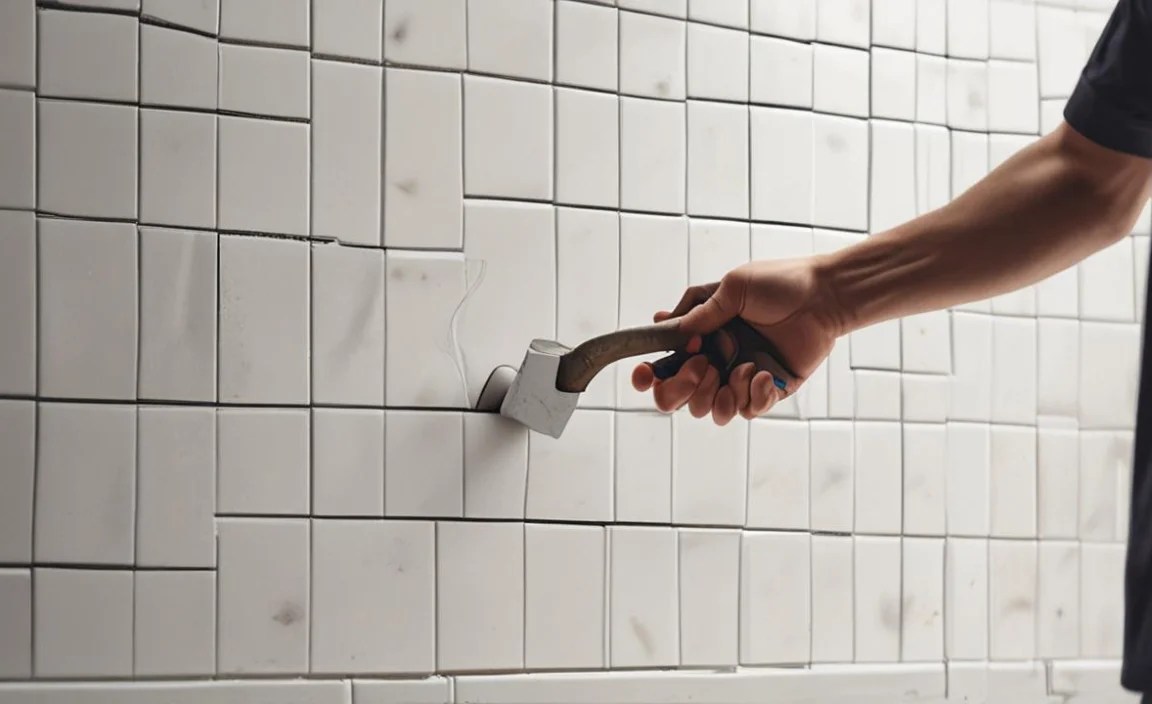
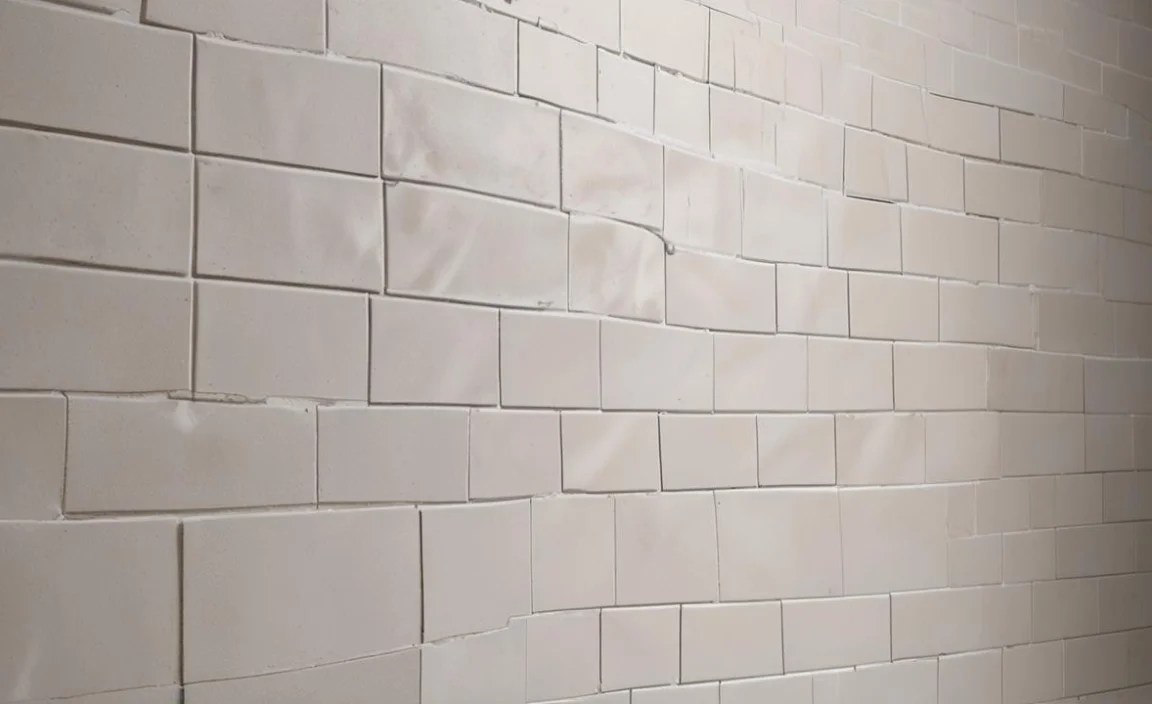
This is perhaps the most common issue. Cracks can appear small and hairline at first, but they can widen over time. They often happen due to the natural settling of a house, temperature fluctuations causing tile expansion and contraction, or impact from heavy objects.
Crumbling or Deteriorated Grout
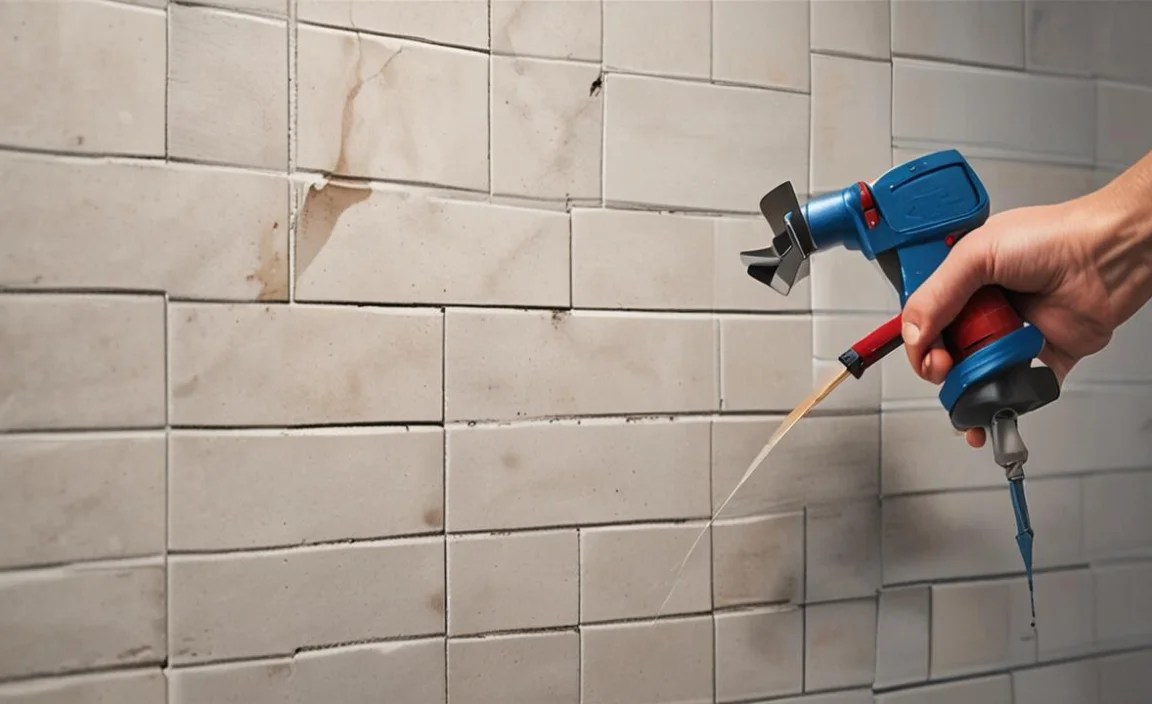
If your grout feels soft, powdery, or starts to break away easily, it’s deteriorated. This can be caused by age, exposure to harsh cleaning chemicals, or constant moisture without proper sealing. Crumbling grout can lead to loose tiles if not addressed.
Discolored or Stained Grout
While not strictly a “repair” issue in terms of stability, stained grout can significantly affect your tile’s appearance. Mold, mildew, soap scum, and general grime can turn white or light-colored grout into an eyesore. Addressing discoloration often involves deep cleaning, but sometimes replacement is the best option for uniformity.
Hollow Spots Under Grout
Sometimes, particularly in shower areas, you might notice hollowness beneath the grout. This often indicates a loss of adhesion between the tile and the substrate, or water seeping behind the tiles. While not a direct grout failure, it can lead to grout cracking and should be investigated.
Essential Tools and Materials for Grout Repair
Gathering the right tools before you start will make the job much smoother and more successful. Don’t worry if you don’t have everything listed; many of these are basic DIY essentials that can be found at any hardware store.
For Removing Old Grout:
- Utility Knife or Grout Saw: For scoring and scraping away loose grout. A dedicated grout saw is best for precision.
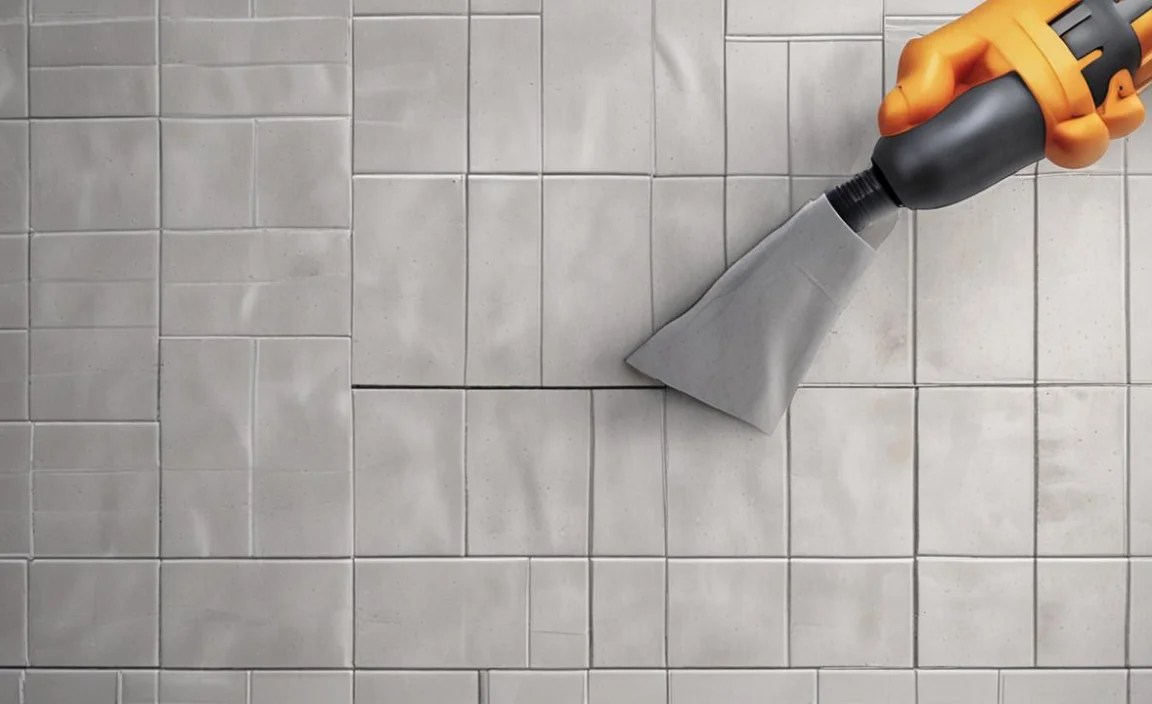
- Oscillating Multi-Tool with Grout Blade (Optional but Recommended): This power tool makes grout removal significantly faster and easier, especially for larger areas. Always follow manufacturer safety guidelines.
- Putty Knife or Scraper: Useful for prying out larger chunks of grout.
- Wire Brush: To clean out remaining grout dust and debris from the joint.
- Vacuum Cleaner with Crevice Tool: To thoroughly remove dust and debris from the grout lines.
- Safety Glasses: Crucial to protect your eyes from flying debris and dust.
- Dust Mask: Essential for preventing inhalation of grout dust, which can be harmful.
For Applying New Grout:
- New Grout: Choose a grout color that matches your existing grout or a contrasting color for a design effect. Pre-mixed grout is convenient for small repairs, while powdered grout offers better longevity and can be mixed to your exact needs. Ensure you select sanded grout for joints wider than 1/8 inch and unsanded grout for narrower joints. For bathrooms and kitchens, consider epoxy grout for superior stain and water resistance.
- Grout Float or Flexible Spatula/Scraper: To press the new grout into the joints. A grout float is ideal for larger areas.
- Grout Bag (Optional): Similar to a pastry bag, this helps in precisely applying grout into narrow joints.
- Sponge: For wiping away excess grout and cleaning the tile surface. A dense grout sponge is best.
- Bucket(s): For clean water to rinse your sponge.
- Clean Cloths or Microfiber Towels: For final cleanup and polishing.
- Proportioning Container (if using powdered grout): For accurately measuring water.
- Mixing Stick or Trowel: For mixing powdered grout.
- Painter’s Tape (Optional): To protect tile edges and prevent accidental grout application on the tile face.
For Sealing (After Repair):
- Grout Sealer: A necessary step to protect your new grout from stains and moisture.
- Small Brush or Applicator: To apply the sealer evenly.
Step-by-Step Guide to Repairing Grout
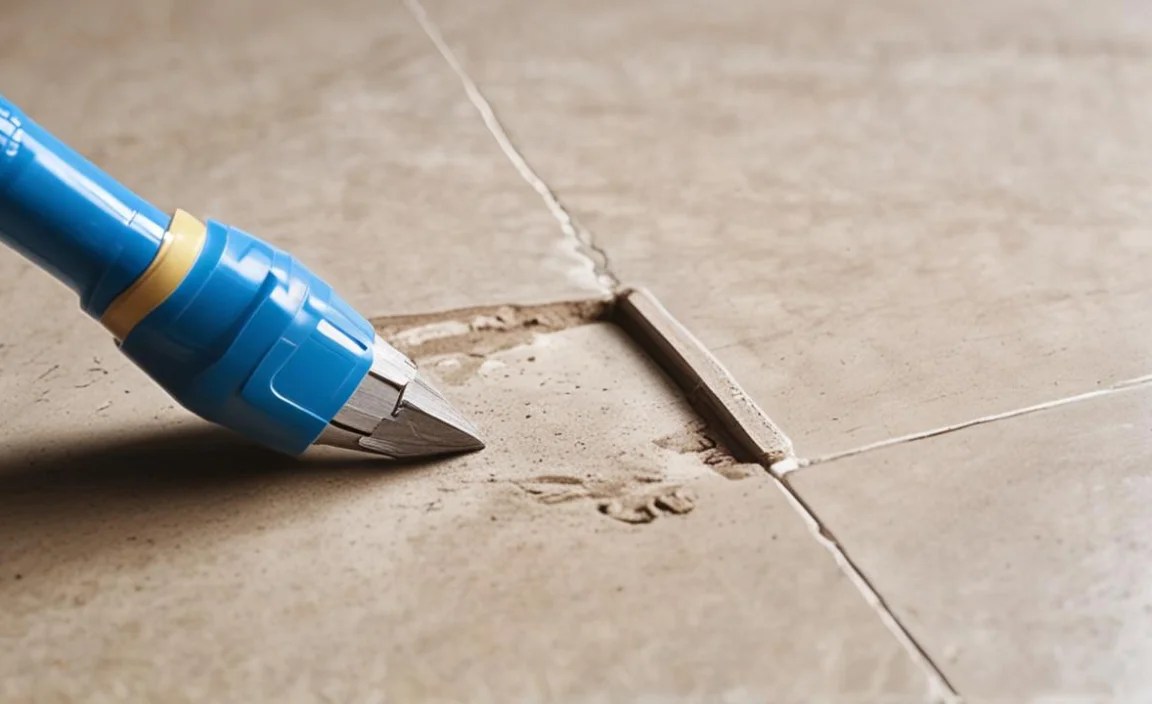
Repairing grout is a straightforward process. Here’s how to tackle it, ensuring a clean and durable fix.
Step 1: Prepare Your Workspace
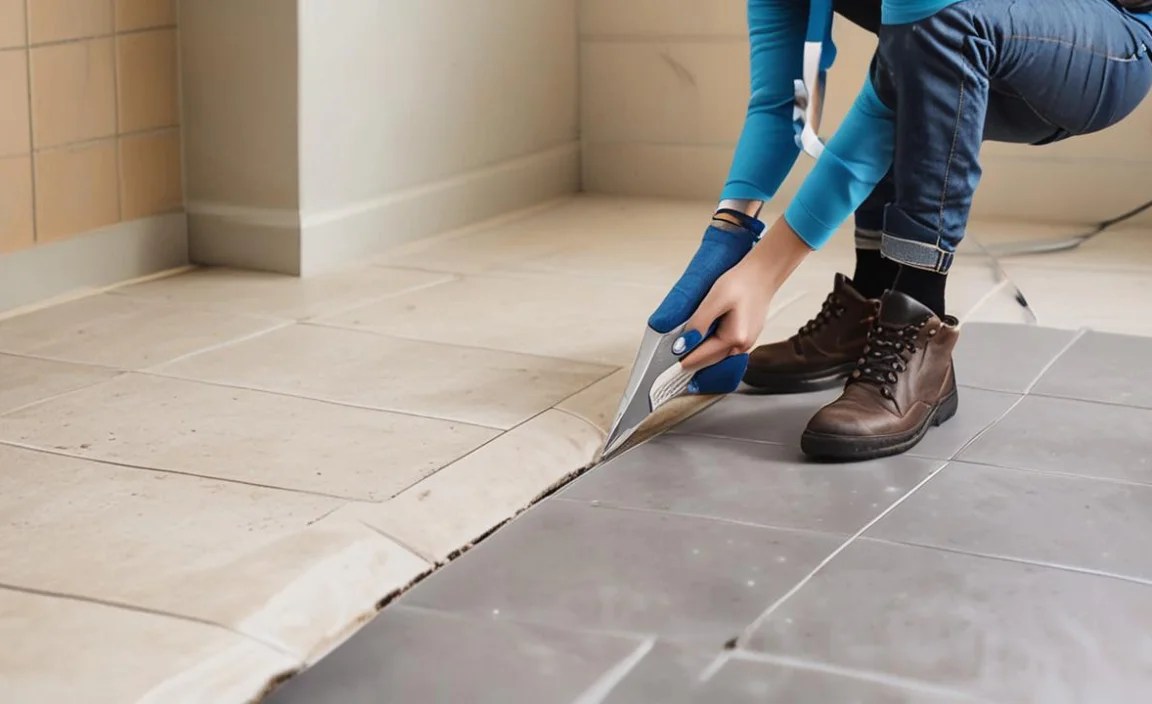
Clear the area around the tiles you’ll be working on. Lay down drop cloths or old newspapers to catch any dust or debris. If you’re working in a bathroom, ensure good ventilation.
Step 2: Remove the Old Grout
This is the most physically demanding step. Put on your safety glasses and dust mask.
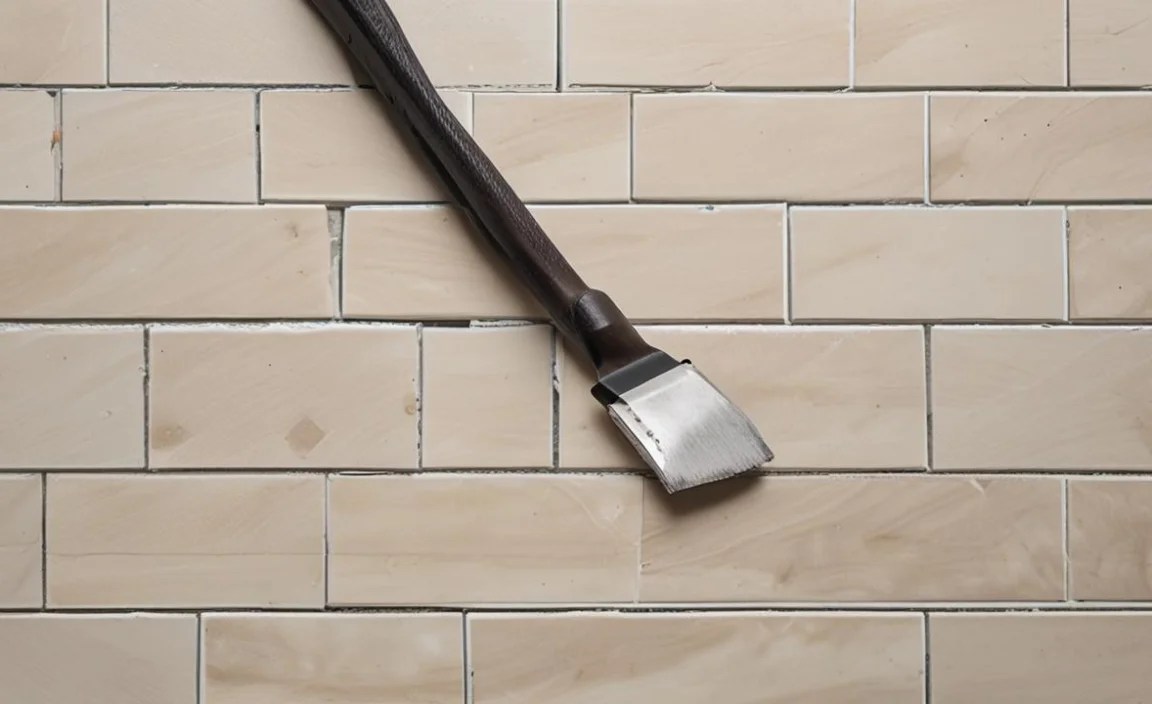
Using a Utility Knife or Grout Saw: Carefully insert the blade into the grout line. Work slowly and deliberately, scraping away the old grout. Try to remove about half to two-thirds of the grout depth. Avoid cutting into the sides of the tiles.
Using an Oscillating Multi-Tool: Fit the tool with a grout removal blade. Hold the tool at a slight angle and let the vibration do the work. Move along the grout line, letting the blade cut through the grout. Be careful not to let the blade slip and damage the tile edges. More information on safe tool usage can be found on resources like OSHA’s safety guidelines for power tool operation.
For Crumbling Grout: You might be able to use a putty knife or even a stiff brush to dislodge weakened grout.
Once you’ve removed the bulk of the grout, use the wire brush to clean out any remaining loose bits from the channel. Finally, use your vacuum cleaner to suck up all the dust and debris. A clean joint is crucial for the new grout to adhere properly.
Step 3: Clean the Grout Lines
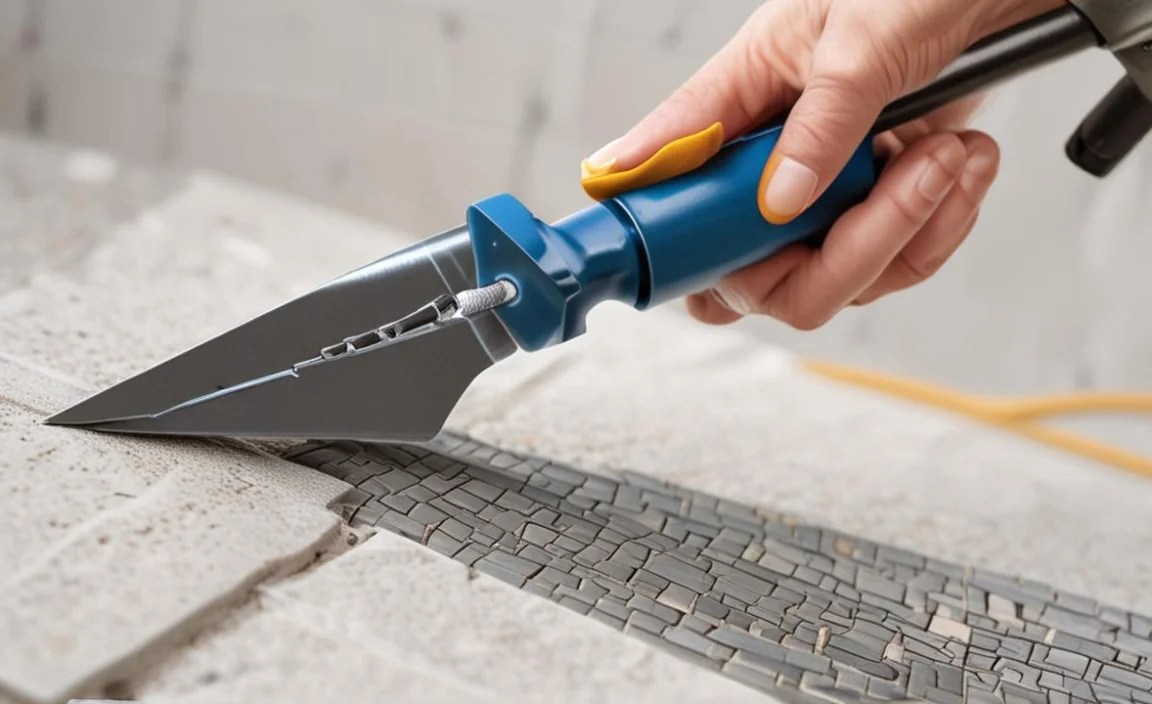
After vacuuming, it’s a good idea to wipe down the exposed tile edges and the remaining grout with a damp cloth to remove any fine dust. Ensure the grout lines are completely dry before proceeding to the next step.
Step 4: Mix the New Grout (if using powdered grout)
Follow the manufacturer’s instructions precisely. Grout consistency is key to its performance.
Sanded vs. Unsanded Grout: For grout lines wider than 1/8 inch (about 3mm), you’ll need sanded grout, which contains fine sand for strength and to prevent shrinkage. For narrower lines, unsanded grout is used. Check your tile manufacturer’s recommendation if unsure.
Mixing: Pour the powder into your container. Gradually add water while mixing with a stick or trowel. Aim for a smooth, peanut butter-like consistency. It should be thick enough to hold its shape but spreadable. Avoid making it too watery. Let the mixed grout “slake” (rest) for 5-10 minutes as per package directions, then stir it again. Only mix what you can use within its working time, typically 30-60 minutes.
Pre-mixed grout requires no mixing, just stirring if it has separated.
Step 5: Apply the New Grout
This is where your tile begins to look new again!
Using a Grout Float: Load a small amount of grout onto the float. Hold the float at a 45-degree angle to the tiles. Press the grout firmly into the clean grout lines, working in a diagonal motion across the tiles. This ensures the grout fills the joints completely.
Using a Flexible Spatula or Grout Bag: For smaller repairs or very tight joints, a flexible spatula can be used to push grout into the lines. A grout bag offers more control for precision application.
Work in small sections. It’s better to apply grout to a few square feet at a time and then clean up before it starts to dry.
Step 6: Clean Off Excess Grout
This step is critical for a clean finish. You want to remove the bulk of the excess grout from the tile surface before it hardens.
Initial Wipe-Down: Dampen your sponge in a bucket of clean water. Wring it out thoroughly so it’s barely wet. Using light, sweeping motions, wipe diagonally across the tiles, removing the excess grout. Rinse your sponge frequently in the clean water, wringing it out each time. Change the water in your bucket as it becomes cloudy.
Second Pass: After the initial pass, you’ll likely see some grout haze remaining or slight ridges. With a clean, slightly damp sponge (again, wrung out well), go over the tiles again, still moving diagonally. The goal is to smooth the grout lines and remove any remaining excess without pulling grout out of the joints.
Step 7: Buff the Tiles
Once the grout has set for about 15-30 minutes, you’ll notice a haze beginning to form on the tiles. This is normal.
Use a clean, dry microfiber cloth or a soft towel to buff the tile surface. This removes the grout haze and brings out the shine of your tiles. Be gentle, as the grout is still curing.
Step 8: Allow Grout to Cure
Grout needs time to harden and reach its full strength. The curing time can vary depending on the type of grout and humidity levels, but it’s typically 24-72 hours before it’s safe to expose to regular use or moisture. Check the grout manufacturer’s recommendations. Avoid getting the newly repaired grout wet during this period.
Step 9: Seal the Grout
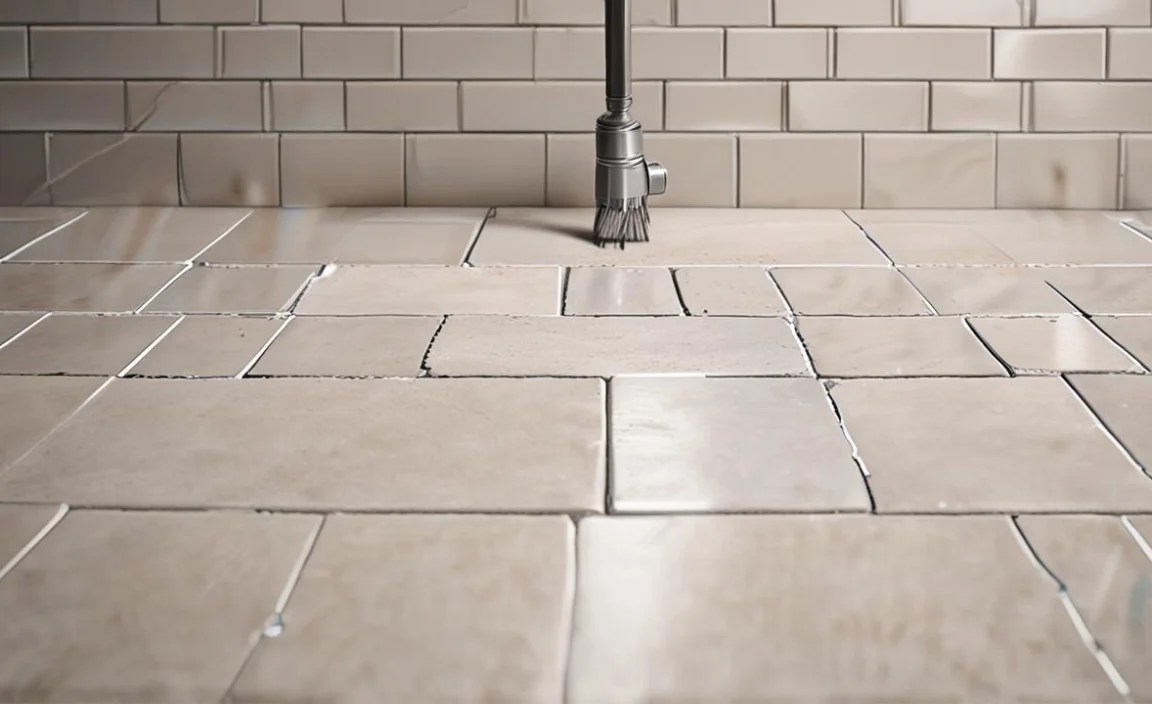
Once the grout has fully cured (usually after 72 hours, but check packaging), it’s time to seal it. This is a vital step to protect your new grout from stains, mold, and mildew. High-humidity areas like bathrooms and kitchens benefit the most from sealing. For example, the EPA recommends measures to prevent mold, and sealing grout is one such preventative step.
Apply a thin, even coat of grout sealer using a small brush or applicator as per the product instructions. Wipe away any excess sealer that gets on the tiles before it dries. Allow the sealer to cure completely before exposing the area to heavy use or moisture.
When to Call a Professional
While most grout repairs are simple DIY tasks, there are times when you might want to bring in the experts:
- Extensive Damage: If a large percentage of your grout is damaged or loose, it might indicate a more significant underlying issue like subfloor problems or water intrusion behind the tiles.
- Water Intrusion: If you suspect water is getting behind your tiles and grout, indicating a potential structural or plumbing issue, a professional should assess it.
- Epoxy Grout Disasters: Epoxy grout is incredibly durable but also very difficult to remove and reapply correctly. If you have damaged epoxy grout, it’s often best left to professionals.
- Lack of Confidence: If you’re feeling unsure or overwhelmed by the process, a professional can ensure the job is done right the first time.
Grout Repair vs. Grout Replacement: What’s the Difference?
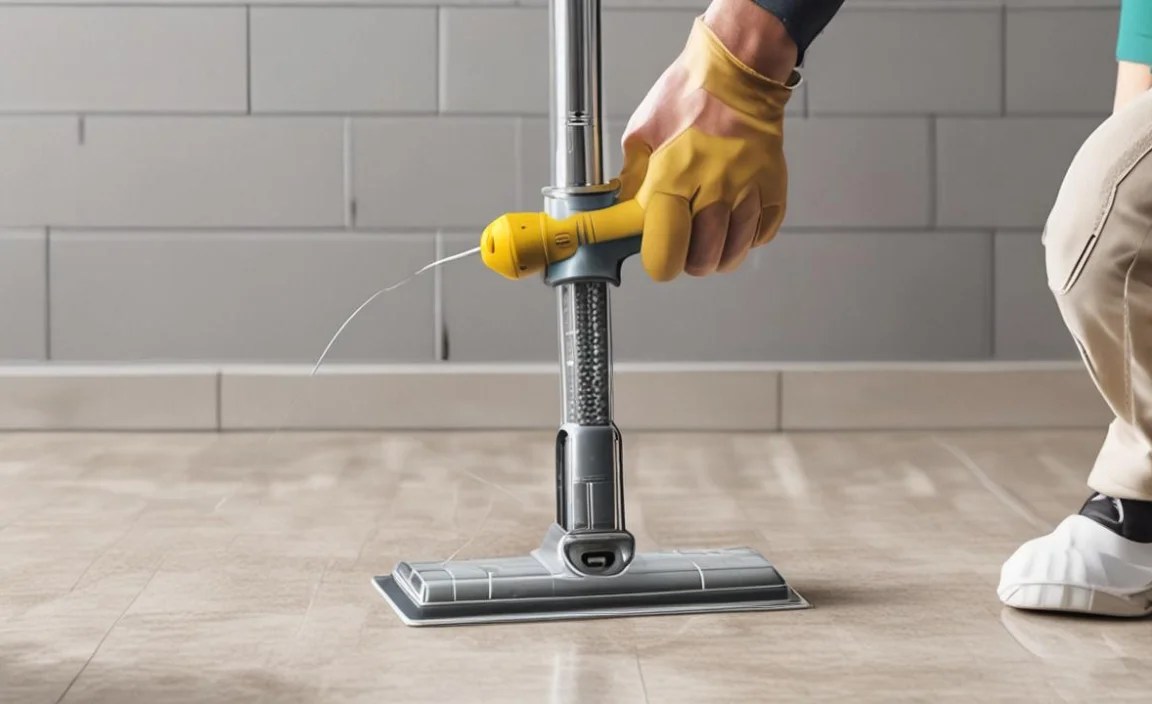
It’s helpful to understand when a repair is sufficient versus when you might need to replace all the grout.
| Feature | Grout Repair | Grout Replacement |
|---|---|---|
| Scope | Fixing small sections of cracked, chipped, or missing grout. | Removing all grout between tiles and applying new grout throughout an area. |
| Time Commitment | Hours for a specific area. | Often a full day or more, depending on the size of the tiled area. |
| Skill Level | Beginner to Intermediate. | Intermediate to Advanced. |
| Cost | Lower (cost of materials for small patches). | Higher (more grout, tools, and labor if hiring a pro). |
| When to Choose | When only a few grout lines are damaged, or specific spots need attention. | When grout is discolored throughout, severely deteriorated, or loose in many areas. |
Maintaining Your Repaired Grout
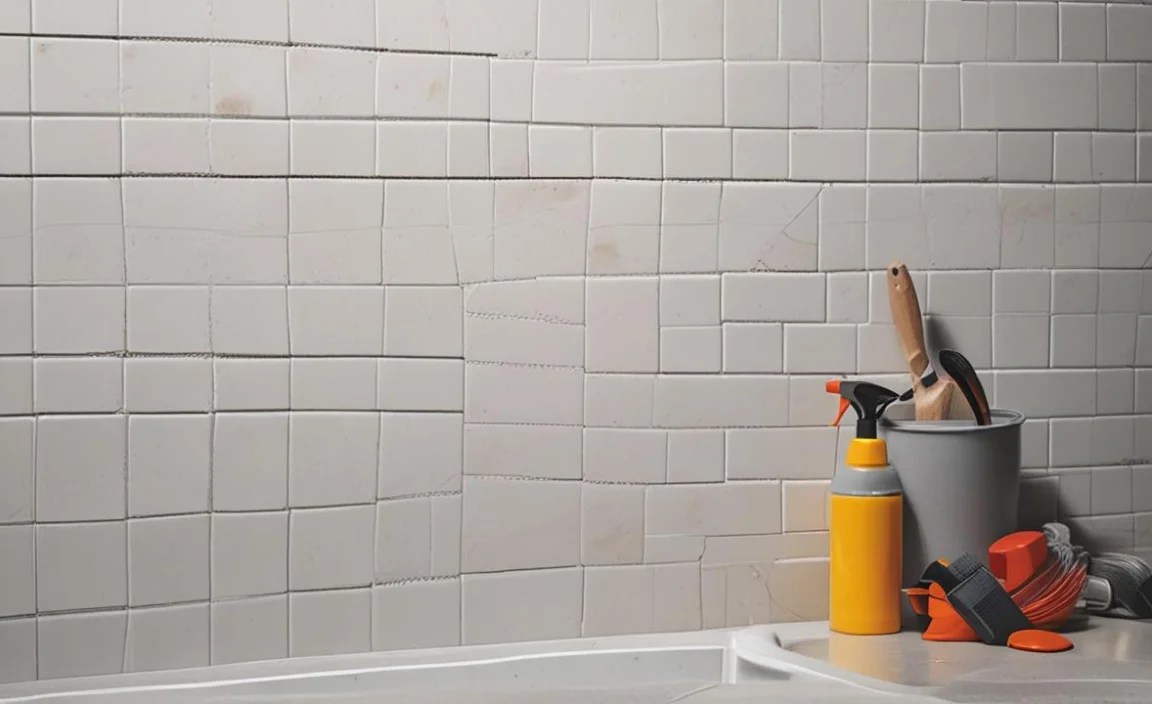
Once you’ve successfully repaired and sealed your grout, keeping it looking its best is important. Regular maintenance will extend the life of your repair and the overall appearance of your tiled surfaces.
- Gentle Cleaning: Use pH-neutral cleaners specifically designed for tile and grout. Avoid harsh chemicals like bleach or ammonia, which can break down grout over time, especially in porous grout.
- Wipe Spills Quickly: Address spills, especially colored ones like wine or coffee, immediately to prevent staining.
- Regular Sealing: Reapply grout sealer every 6-12 months, or as recommended by the sealer manufacturer, particularly in high-traffic or wet areas.
- Use a Grout Brush: Periodically scrub stubborn grime from grout lines with a stiff-bristled grout brush and a mild cleaner.
- Ensure Ventilation: In bathrooms, always use exhaust fans after showering and keep the area well-ventilated to reduce moisture, which can lead to mold and mildew growth.
Frequently Asked Questions (FAQ)
Q1: How long does it take to repair grout?

For small repairs, removing old grout and applying new can take anywhere from 30 minutes to a few hours, depending on the extent of the damage and your experience. The curing process for new grout typically takes 24-72 hours, and sealing happens after that.
Q2: Can I grout over old grout?
No, you should never grout over old grout. The new grout won’t adhere properly, and the repair will be temporary at best, likely failing quickly. You must remove the old grout first.
Q3: What kind of grout should I use for my repair?

For most repairs, you’ll use either sanded or unsanded grout. Sanded grout is for joints wider than 1/8 inch, providing strength. Unsanded grout is for narrower joints. Consider epoxy grout for areas needing extreme durability and stain resistance, but know it’s harder to work with. Always match the type of grout you’re replacing for consistency.
Q4: How do I prevent grout from cracking in the future?
Proper installation is key. Ensure the substrate is stable and there’s no excessive movement. For existing tiles, seal the grout regularly, clean with appropriate cleaners, and promptly address any moisture issues. Using flexible grout or siliconized grout can also help accommodate minor movement.
Q5: What if I accidentally get new grout on my tiles?

If it’s still wet, wipe it away immediately with a damp sponge. If it has started to dry, use a clean, slightly damp cloth or a grout haze remover product once the grout has cured. For stubborn dry spots, you might need a plastic scraper, being careful not to scratch the tile glaze.
Q6: My grout is discolored. Can I just clean it?

For light discoloration, a good deep clean with a dedicated grout cleaner or a paste of baking soda and water can often restore its appearance. However, if the grout is deeply stained or has mold and mildew that won’t come out, removing and replacing it may be the best solution for a uniform look.
Conclusion
Repairing grout might seem daunting at first, but by following these steps, you can confidently tackle common grout issues. From identifying cracks and crumbling to safely removing old material and applying the new, these techniques will restore the look and integrity of your tiled surfaces. Remember to gather your tools, prioritize safety, and be patient with the process.
A little effort in grout repair not only enhances the beauty of your home but also protects your tiles from further damage. With a bit of practice, you’ll be a
