
Repairing grout step by step is a simple DIY project that brightens any tiled surface, from kitchen backsplashes to bathroom floors. Follow this effortless guide to restore worn or cracked grout, boosting your home’s appeal and protecting your tiles.
Is your once-beautiful tiled surface looking a bit tired? Cracked, crumbling, or discolored grout can really bring down the look of your kitchen or bathroom. It’s a common issue that many homeowners face. But don’t worry! Repairing grout is actually a straightforward task that you can tackle yourself without needing a whole toolkit of specialty equipment. With a little patience and the right approach, you can bring back that fresh, clean look to your tiles. This guide will walk you through each step, making the process easy and rewarding.
Why Repair Grout? More Than Just Looks!

You might be thinking, “It’s just grout, does it really need fixing?” The answer is a resounding yes! While damaged grout certainly detracts from the aesthetic appeal of your tiles, its function goes far beyond just filling the gaps. Grout acts as a crucial sealant, preventing water, dirt, and grime from seeping into the porous material beneath your tiles.
When grout cracks, crumbles, or wears away, it leaves your tile installation vulnerable. This can lead to:
- Water Damage: Water can seep behind tiles, potentially causing mold, mildew, and even structural damage to your walls or floors.
- Pest Infestations: Small gaps can become entry points for insects and other tiny pests.
- Tile Instability: Without proper grout support, tiles can loosen and become uneven, leading to breakage.
- Unhygienic Surfaces: Cracks and pores in grout can harbor bacteria and become difficult to clean thoroughly.
Repairing your grout isn’t just about making things look pretty; it’s about preserving the integrity of your tiled surfaces and maintaining a healthy home environment. It’s a relatively inexpensive way to prevent much larger, more costly repairs down the line. Think of it as proactive home maintenance that pays off!
Essential Tools and Materials for Grout Repair
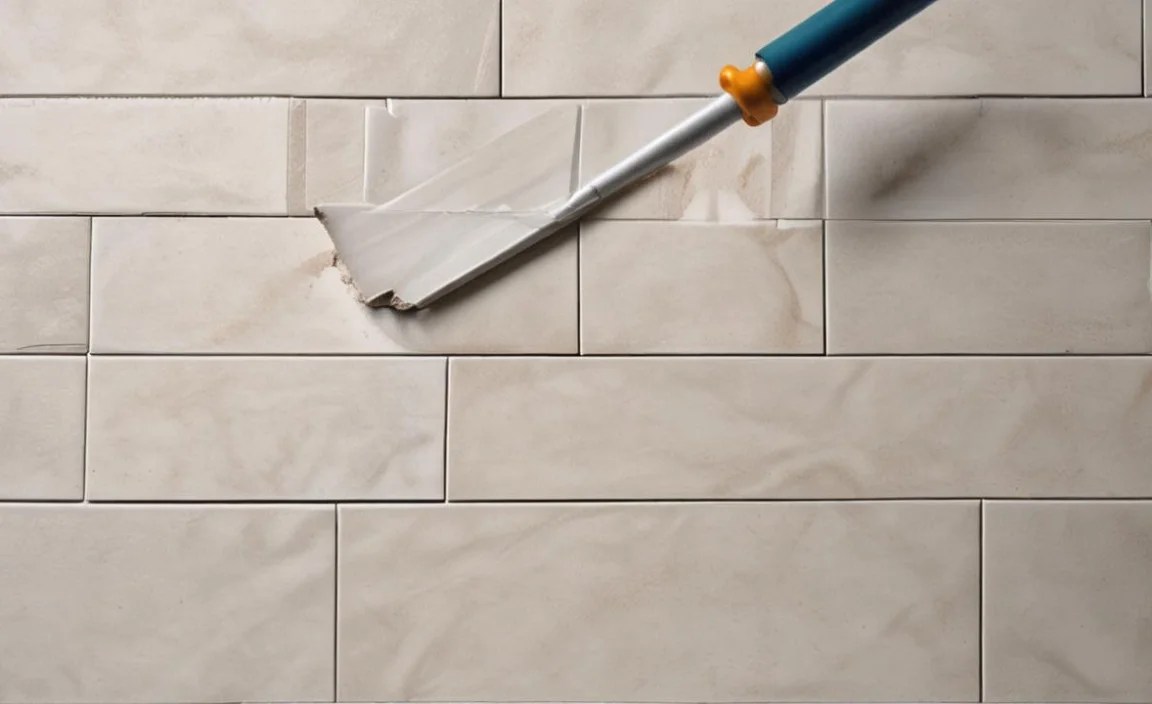
Before you dive into repairing your grout, let’s gather everything you’ll need. Having all your supplies ready will make the process much smoother and more efficient. Don’t worry if some of these sound unfamiliar; they’re all readily available at your local hardware store.
What You’ll Need:
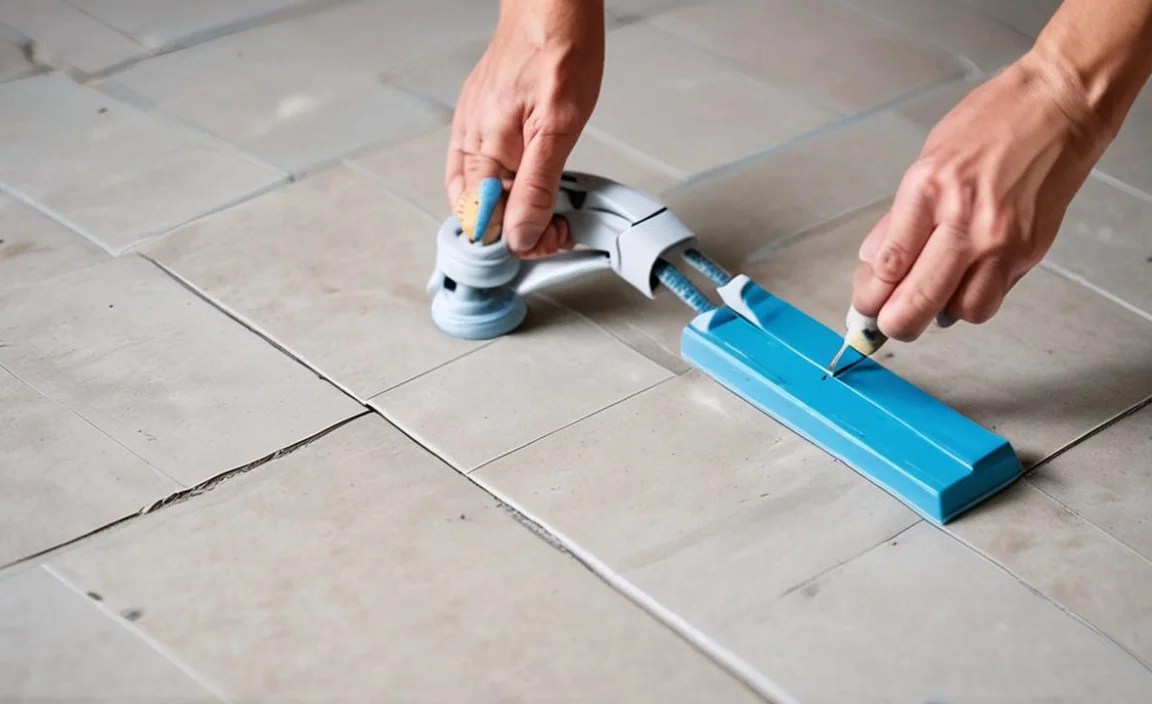
Here’s a checklist to ensure you’re well-prepared:
- Safety Gear: Gloves (rubber or nitrile), safety glasses, and a dust mask are essential. Working with grout can create dust, and old grout might contain irritating substances.
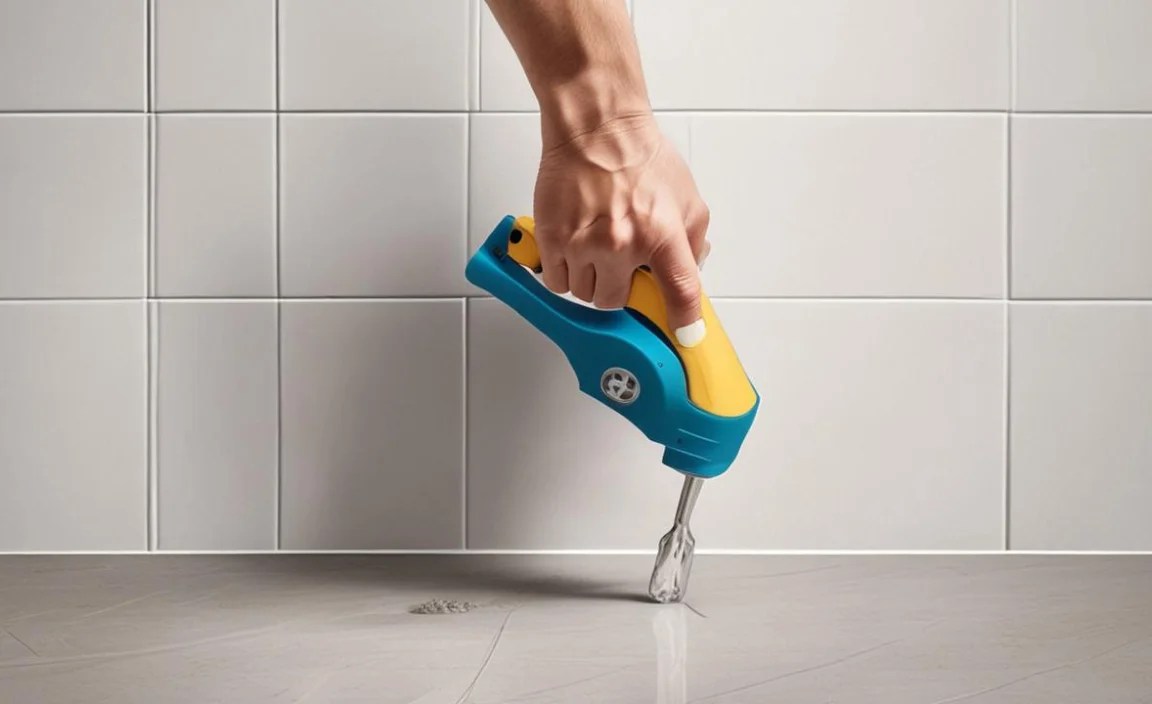
- Grout Removal Tool: This could be a specialized grout rake (oscillating or manual), a utility knife with a sturdy blade, or even an old screwdriver for small areas. For larger jobs, a powered oscillating multi-tool with a grout removal blade can be a significant time-saver.
- Stiff Bristle Brush: For cleaning out dust and debris from the grout lines. An old toothbrush can work in tight spots.
- Vacuum Cleaner (with hose attachment): Crucial for removing loose debris after scraping.
- Bucket: For mixing grout and for water to rinse your tools.
- New Grout: Choose a grout that matches your existing grout color and type (sanded for wider joints, unsanded for narrower joints – typically less than 1/8 inch). Check the tile and grout manufacturer’s recommendations for the best product for your specific tiles.
- Grout Float or Squeegee: A specialized tool for pressing new grout into the joints.
- Sponge: A grout sponge is ideal, as it’s dense enough to spread and firm enough to clean without removing too much grout.
- Clean Cloths or Rags: For wiping away excess grout and polishing.
- Water: For mixing grout and cleaning as you go.
- Painter’s Tape (Optional): Can be used to protect surrounding tiles, especially if you’re concerned about making a mess.
It’s always a good idea to buy a little more grout than you think you’ll need. Running out mid-job can lead to color inconsistencies if you have to buy another batch.
Step-by-Step: How to Repair Grout Like a Pro

Now, let’s get down to business! Follow these steps carefully to achieve a professional-looking grout repair.
Step 1: Prepare Your Workspace
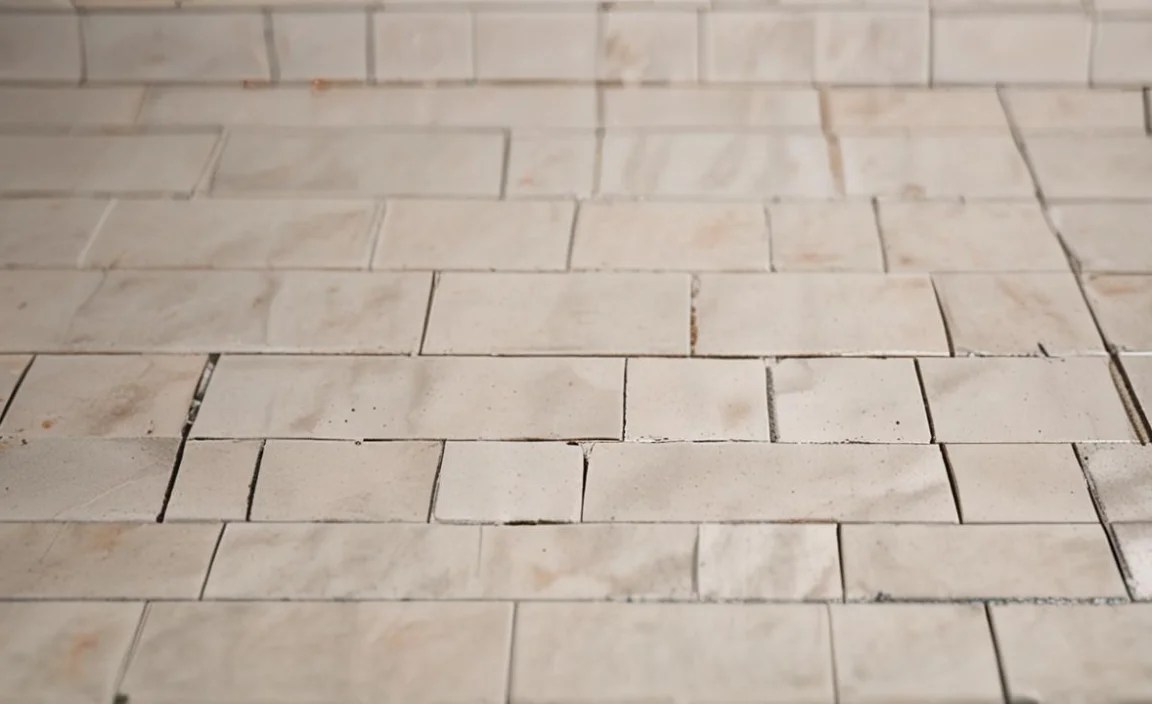
First things first, protect yourself and your surroundings. Put on your safety glasses, gloves, and dust mask. If you’re working on a floor, consider laying down a drop cloth to catch any dust or stray grout. If you’re particularly worried about scratching your tiles, you can carefully apply painter’s tape along the edges of the tiles adjacent to the grout lines you’ll be working on.
Step 2: Remove the Old Grout
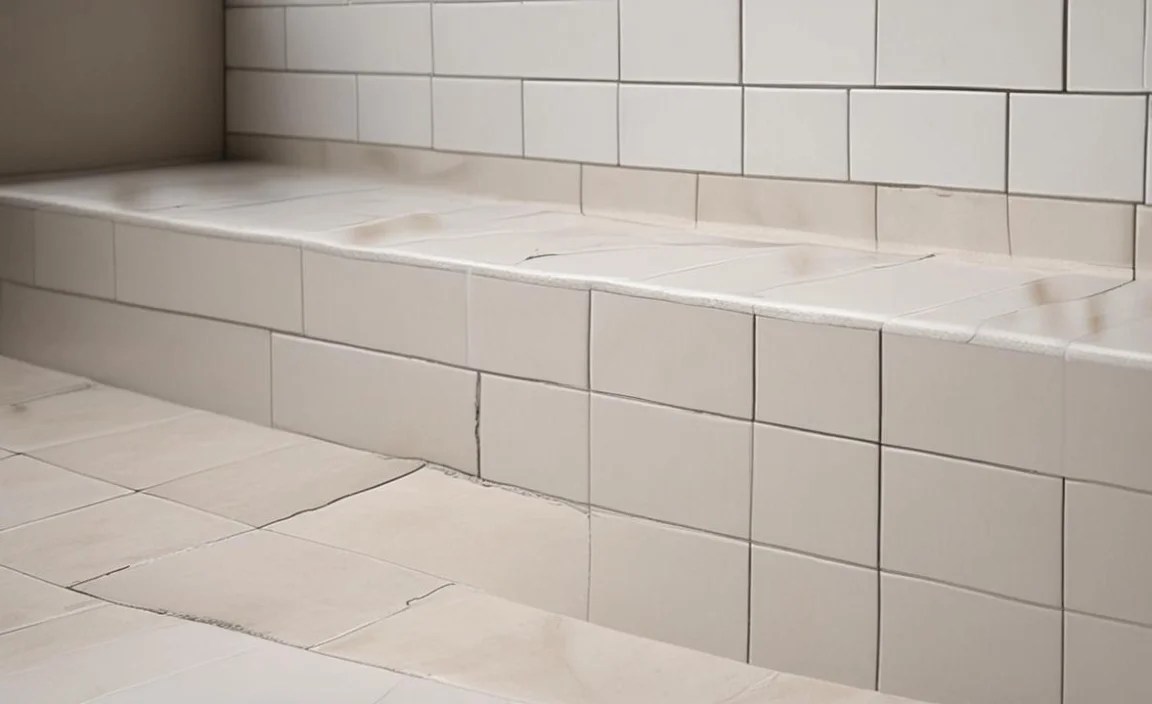
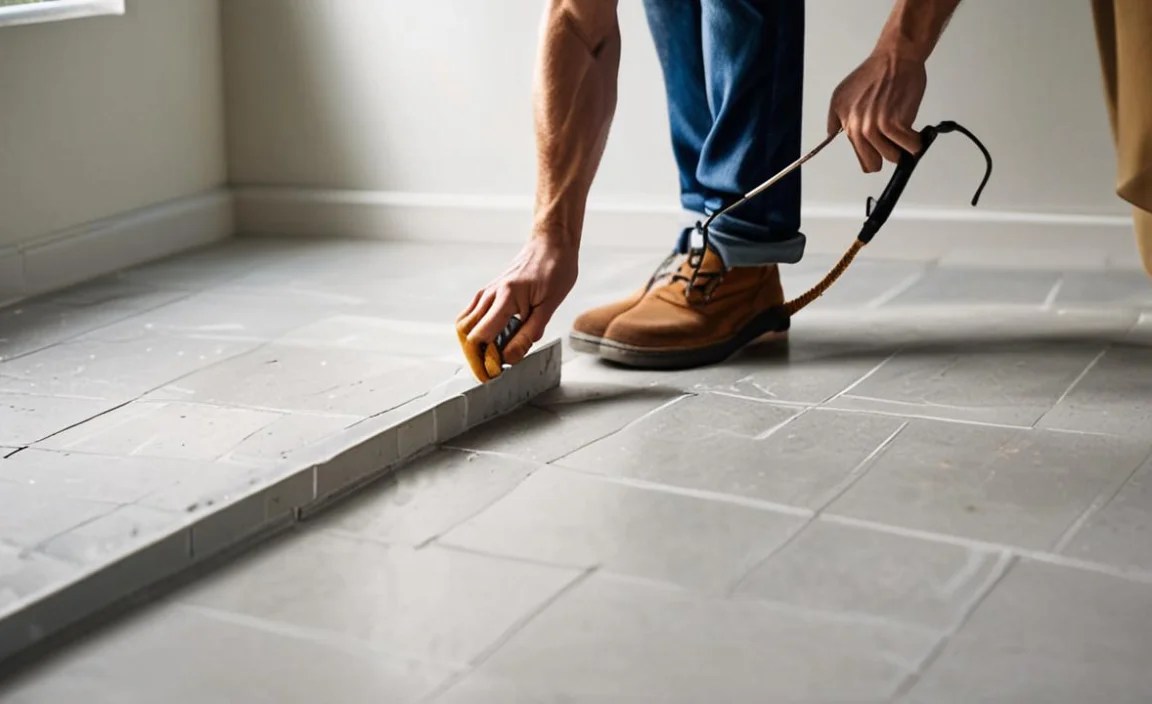
This is often the most labor-intensive part. The goal is to carefully scrape out the old, damaged grout without chipping or damaging the edges of your tiles. Start by using your grout removal tool or utility knife to carefully dig out the old grout. Work slowly and deliberately. If using a utility knife, you might need to break the blade periodically to maintain a sharp edge.
- For Rakes/Knives: Dig into the grout line and pull the tool towards you. Repeat until most of the old grout is removed. Aim to get about 1/8 inch to 1/4 inch deep, depending on how much was there originally.
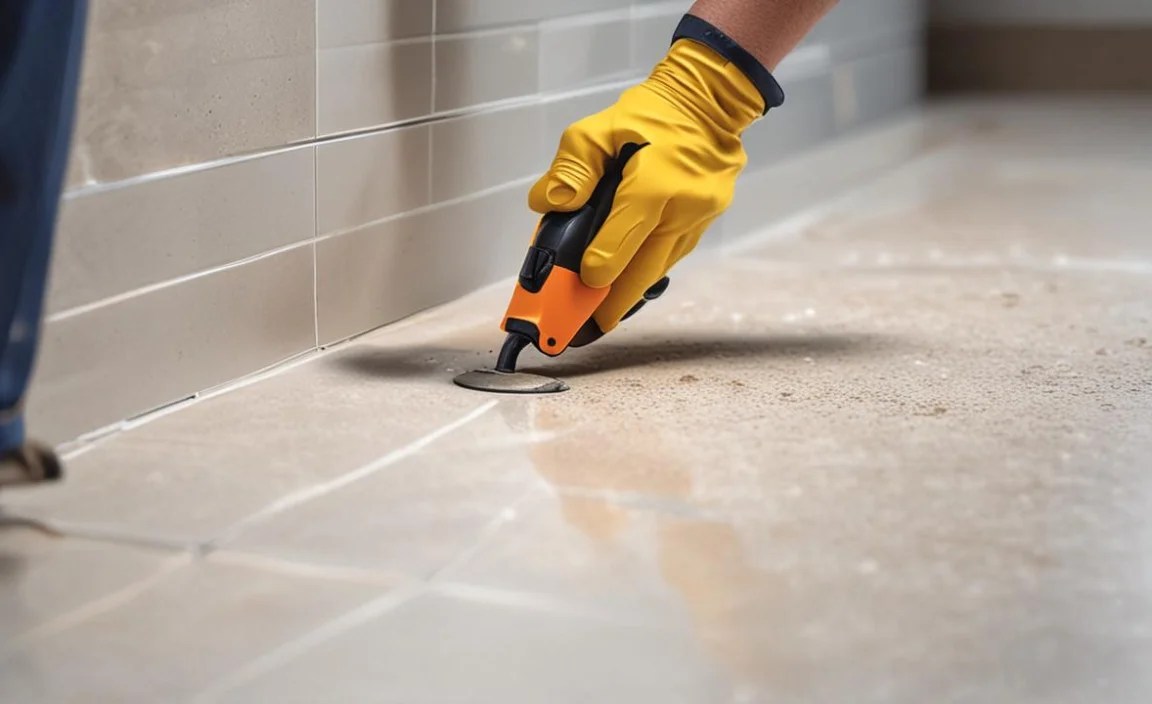
- For Oscillating Tools: Use a gentle touch and let the tool do the work. Guide it along the grout line. Be careful not to let the blade dig too deep or slip onto the tile face.
It’s crucial to remove enough of the old grout to allow for a decent amount of new grout to fill the space. Shallow repairs won’t last as long. If you’re unsure, consult resurfacing guides online, like those from the This Old House resource for tool recommendations.
Step 3: Clean the Grout Lines
Once you’ve scraped out the bulk of the old grout, you’ll have a lot of dust and debris in the lines. Use your stiff bristle brush to sweep out as much of this as possible. Then, get your vacuum cleaner and thoroughly vacuum all the grout lines. You want them to be as clean and free of dust as possible for the new grout to adhere properly. A small brush or shop vac attachment might help get into corners.
After vacuuming, you might want to wipe down the lines with a slightly damp cloth. Just damp, not wet! You don’t want to saturate the area, but removing the fine dust is important. Let it dry completely before moving on.
Step 4: Mix the New Grout
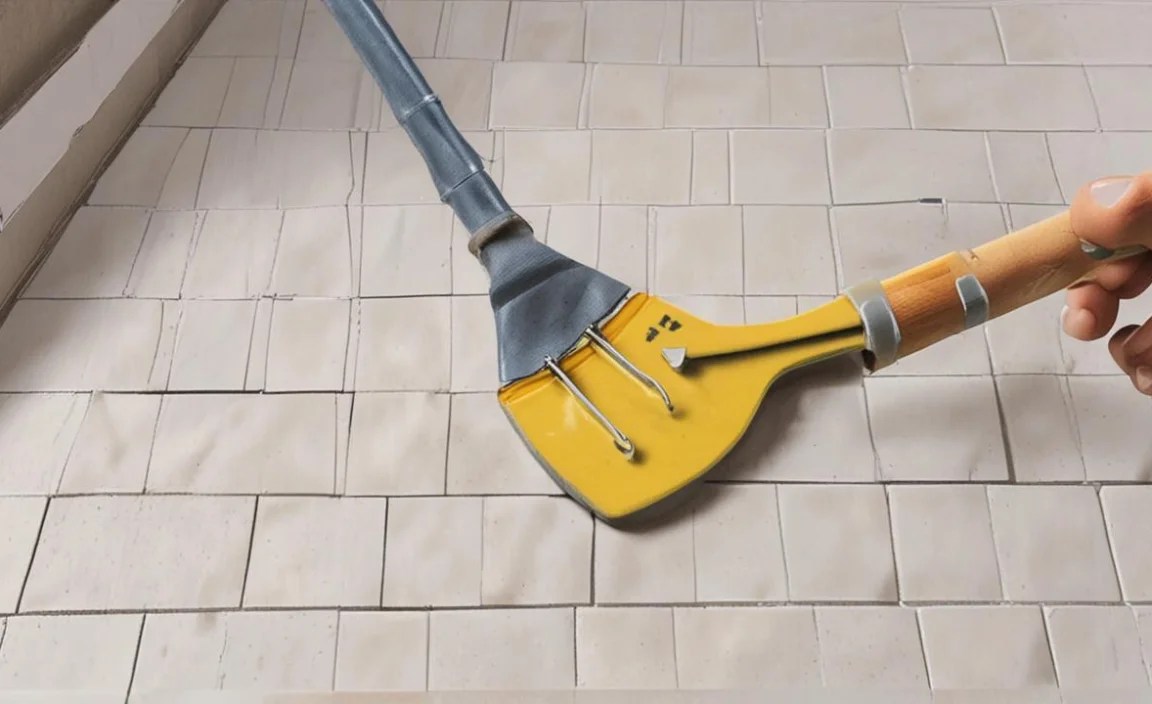
Follow the manufacturer’s instructions on your grout packaging very carefully. Grout consistency is key for a good repair.
Generally, you’ll mix the powder with water in your bucket. Add the water gradually, mixing as you go. You’re aiming for a consistency similar to smooth peanut butter or thick toothpaste – something that holds its shape but is spreadable.
- Too Thick: It will be hard to work with and won’t spread properly.
- Too Thin: It will run out of the joints and will be weak once dried.
Let the mixed grout ‘slake’ – this is a resting period typically of 5-10 minutes. This allows the chemicals in the grout to fully hydrate. After slaking, stir it gently again. Only mix what you can use within about 30-60 minutes, as grout begins to harden.
Step 5: Apply the New Grout
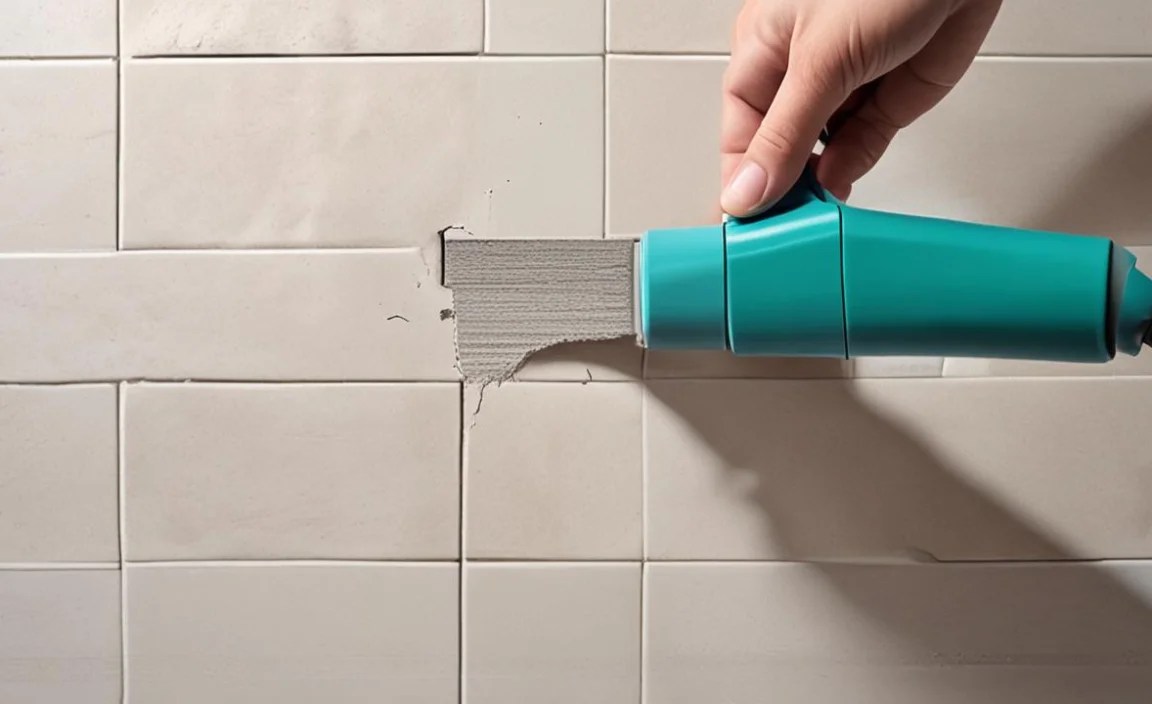
Now for the fun part! Scoop a small amount of mixed grout onto your grout float or squeegee. Hold the float at about a 45-degree angle to the tile surface. Press the grout firmly into the cleaned-out grout lines. Work in small sections, moving the float diagonally across the tiles to push the grout into the joints.
The goal here is to completely fill the void. Don’t worry too much about smearing grout onto the tile faces at this stage; we’ll clean that up soon. Make sure to get the grout deep into the lines.
Step 6: Remove Excess Grout
Once you’ve filled a section of grout lines, use the edge of your grout float (held at a steeper angle, almost 90 degrees) to scrape off as much of the excess grout from the tile surface as possible. Move diagonally again to avoid pulling grout back out of the lines. You want the tile faces to be as clean as you can get them before you start washing.
Step 7: Initial Cleaning (The First Wipe)
This is where your sponge comes in. Dampen your grout sponge (wring it out very well – it should be barely damp). Gently wipe the tile surface in a sweeping, circular motion to remove the remaining grout residue. Rinse your sponge frequently in your clean water bucket and wring it out thoroughly each time. Avoid pressing down too hard, as you don’t want to dig the grout out of the lines.
The goal of this first pass is to remove the bulk of the excess grout without disturbing the fresh grout in the joints. You’re essentially cleaning up the smudges and smears.
Step 8: Final Cleaning and Haze Removal
After your initial cleaning, you’ll likely notice a faint haze on the tiles as the grout starts to set. Wait about 15-30 minutes (check grout instructions, as drying times vary). Then, take a clean, dry cloth or a slightly damp sponge (again, wrung out very well) and polish the tile surface. This will remove the haze and reveal your clean, freshly grouted lines.
You might need to do a second pass with a clean, dry cloth to buff the tiles to a shine. For stubborn haze, a slightly more damp (but well-wrung) sponge can be used, followed by immediate buffing.
Step 9: Curing and Sealing
Your grout repair is almost complete! Now, it needs to cure. This is the process where the grout hardens completely. This can take anywhere from 24 to 72 hours, depending on the product and humidity levels. During this time, avoid getting the grout wet and try not to walk on it if it’s a floor.
Once the grout has fully cured (check the package for specifics), it’s highly recommended to seal it. Grout sealer penetrates the pores of the grout and creates a barrier against stains and moisture. This is especially important in wet areas like bathrooms and kitchens.
Apply a grout sealer according to the product’s instructions, usually with a small brush or applicator. Wipe away any excess that gets on the tile. Sealer typically needs to dry for a few hours before the area can be used normally. The HGTV guide to sealing grout offers useful tips on maintaining your work.
Troubleshooting Common Grout Repair Issues
Even with the best intentions, DIY projects can sometimes present little hiccups. Here are a few common issues you might encounter and how to fix them:
Problem: Grout is too hard to remove.
Solution: If you’re struggling with very hard old grout, try applying a little water to soften it for a few minutes before scraping again. For extremely stubborn areas, an oscillating tool might be necessary, but use extreme caution not to damage the tiles.
Problem: Tiles are chipped or damaged.
Solution: Minor chips might be less noticeable once new grout is in place. If a tile is severely cracked or broken, it’s best to replace it before doing the grout repair. This involves removing the old tile completely and installing a new one, then grouting.
Problem: New grout doesn’t match the old grout.
Solution: This is why it’s important to try and match the color and type of grout. If you can’t find an exact match, or if only a small section was repaired, consider a color-enhancing grout sealer once the new grout has cured. Alternatively, if the color difference is very noticeable, you might need to regrout an entire section or wall to ensure a uniform look.
Problem: Grout is shrinking or cracking as it dries.
Solution: This often happens if the grout was mixed too thin, the joint wasn’t packed tightly enough, or if the area was disturbed during curing. For minor shrinkage, you might be able to do a small touch-up. For significant cracking, you may need to remove the faulty grout and reapply it, ensuring a proper mix and packing technique.
Problem: Haze is difficult to remove.
Solution: If the haze is persistent after drying, try using a commercial grout haze remover. Follow the product instructions carefully and ensure good ventilation. A clean, dry microfiber cloth is often your best friend for buffing away a light haze.
Sanded vs. Unsanded Grout: What’s the Difference?
Choosing the right type of grout is essential for a successful repair. The main distinction is between sanded and unsanded grout, and it’s all about the tiny particles of sand or aggregate mixed into the grout powder.
Here’s a quick breakdown:
| Grout Type | Key Features | Best For | Not Ideal For |
|---|---|---|---|
| Sanded Grout | Contains fine sand particles. Sand adds strength and reduces shrinkage. | Grout lines wider than 1/8 inch. The sand fills the larger space without significant cracking. | Very narrow grout lines (less than 1/8 inch). The sand particles can be too large and may scratch delicate tiles. |
| Unsanded Grout | Smooth texture, no sand particles. More flexible than sanded grout. | Grout lines narrower than 1/8 inch. Common for glass tiles, metal tiles, or when the grout is a contrasting color to the tile. Prevents scratching delicate surfaces. | Grout lines wider than 1/8 inch. It is more prone to shrinking and cracking in larger gaps. |
Tip: Always check the spacing recommendations for your specific tiles. If you’re unsure, it’s often safer to use unsanded grout for very narrow joints and sanded for wider ones. Some manufacturers also offer “all-purpose” grouts that can be used for a wider range of joint sizes.
Maintaining Your Newly Repaired Grout
You’ve put in the effort to repair your grout, and now you want it to last! Proper maintenance is key to keeping your tiled surfaces looking great for years to come.
Regular Cleaning
Clean up spills and messes as soon as they happen, especially in the kitchen and bathroom where grease and soap scum can be an issue. Use a pH-neutral cleaner specifically designed for tile and grout. Avoid harsh or acidic cleaners, as they can degrade the grout and sealer over time.
For daily or weekly cleaning, a soft brush and a mild soap solution usually suffice. Rinse thoroughly with clean water and dry with a soft cloth to prevent water spots.
Re-sealing
The grout sealer won’t last forever. Depending on the traffic and cleaning frequency, you’ll need to reapply it periodically. A good rule of thumb is to re-seal every 6 to 12 months, or sooner if you notice water starting to soak into the grout lines.
Test: To check if your grout needs sealing, sprinkle a little water on it. If the water beads up, the sealer is still effective. If it soaks in and darkens the grout, it’s time to re-seal.
Following these maintenance tips will help protect your repair and keep your tiles looking their best, preventing the need for future repairs for as long as possible.
Frequently Asked Questions About Grout Repair
Q1: How long does it take to repair grout?
A1: The actual repair process – removing old grout, cleaning, applying new grout, and initial cleanup – can take a few hours, depending on the size of the area and your speed. The full curing process takes 24-72 hours, and then you need to wait for the sealer to dry.
Q2: Can I repair a small chip in grout or do I have to remove it all?
A2: For small chips or cracks, you might be able to carefully fill them with a small amount of new grout without removing all the old grout. However, for best results
