
Need to fix your grout tools? Hassle-free solutions are within reach! This guide will walk you through common tool issues and how to easily repair them, ensuring your grouting projects go smoothly. Get your tools back in working order and tackle those repairs with confidence!
Tiling a backsplash or regrouting a shower? You’ve probably got a set of grout tools ready. But what happens when a tool breaks or stops working right? It’s frustrating when a simple job gets complicated. Don’t worry, most “broken” grout tools have simple fixes. You don’t need special skills or expensive replacements. This guide will show you how to fix common grout tool problems. We’ll cover everything from fixing a bent grout saw blade to cleaning a clogged grout float. Let’s get your tools ready for action!
Why Grout Tool Maintenance Matters
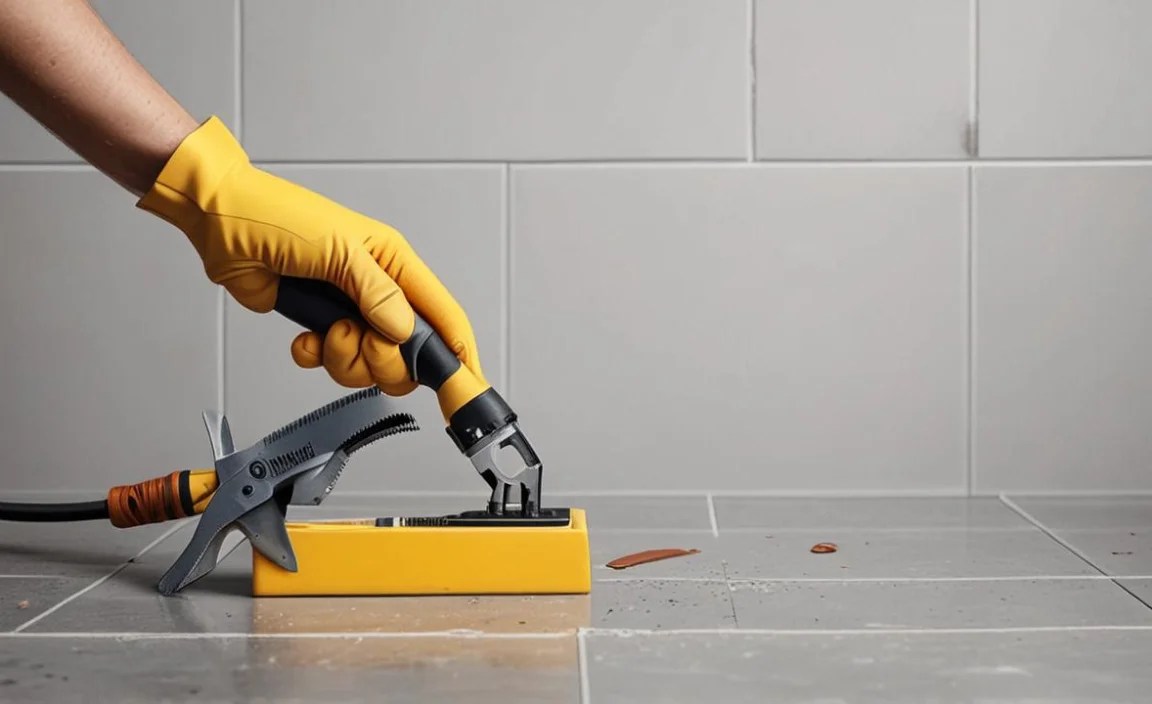
Keeping your grout tools in good shape isn’t just about saving money. Well-maintained tools are safer and more effective. A dull grout scraper can slip, causing injury or damaging tiles. A clogged grout bag can lead to uneven application, ruining the look of your project. Regular check-ups and simple repairs ensure your tools perform their best. This means better results for your DIY projects and less future frustration. Think of it as giving your trusty assistants a little TLC so they can help you achieve a professional finish.
Many DIYers encounter issues with their grout tools. The most common problems often stem from wear and tear, improper storage, or simply not cleaning them after use. For instance, grout residue can harden on tools, rendering them stiff and ineffective. Small parts can become loose, or blades can get bent or dulled. Fortunately, these are typically minor issues that can be resolved with some basic maintenance and a few simple repair steps. We’ll delve into these common issues and their solutions.
Common Grout Tool Problems and Effortless Fixes
Let’s break down some of the most frequent hiccups you might experience with your grout repair tools and how to fix them. We’ll cover a range of popular tools to ensure you’re covered.
The Stubborn Grout Saw
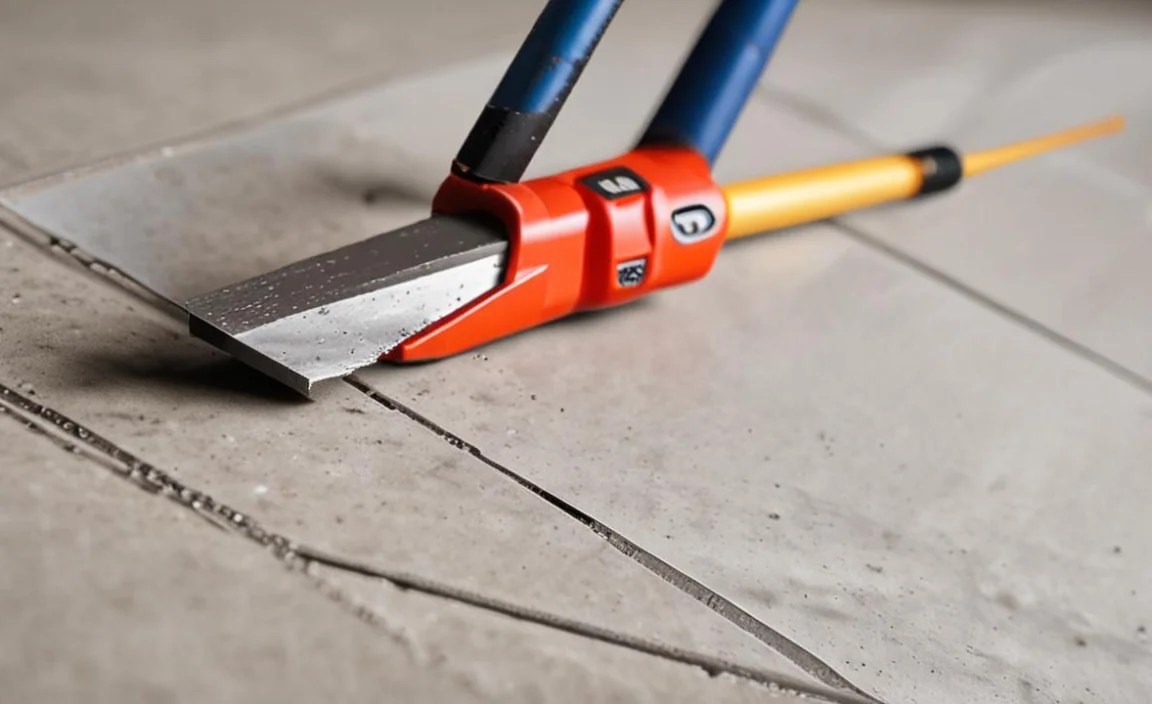
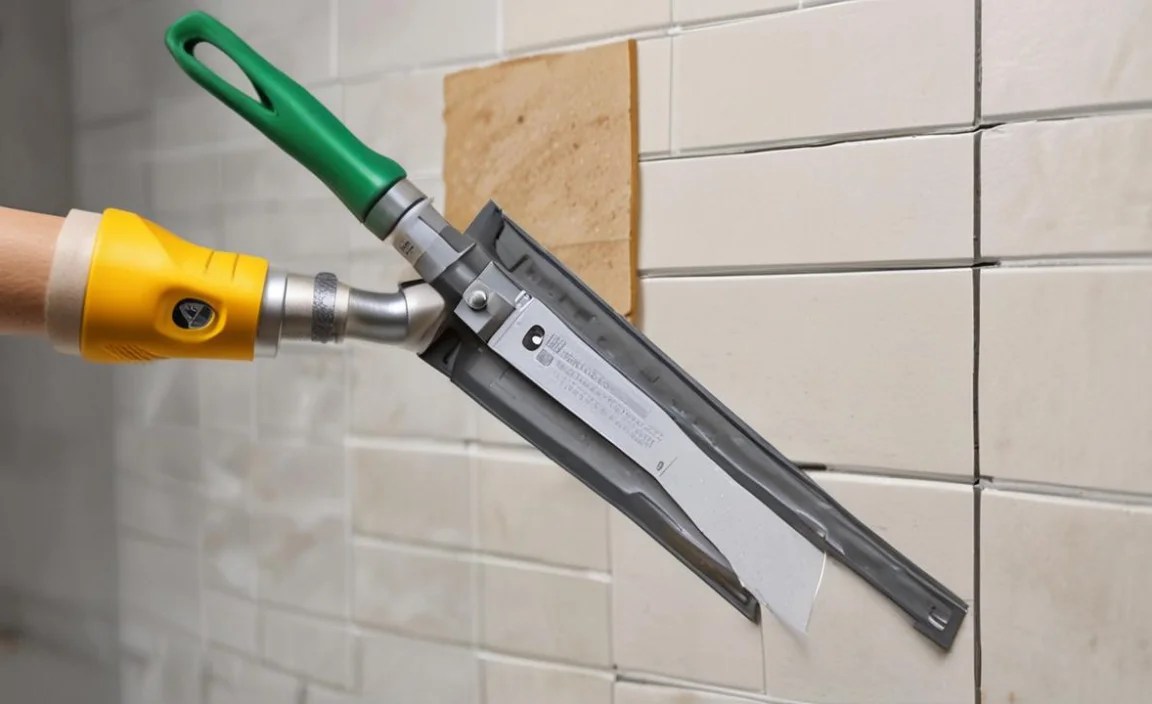
The grout saw is a workhorse for removing old grout. But what if the blade gets bent or dull from tough work?
Problem 1: Bent Blade
A bent grout saw blade can make it hard to get into tight corners and can even chip your tiles. Don’t toss it yet!
- Safety First: Always wear sturdy gloves when working with sharp tools.
- Gentle Straightening: Lay the saw on a flat, hard surface. Use a small amount of gentle, even pressure to try and bend the blade back into its original shape. Avoid using excessive force, as this can break the blade.
- Using Pliers: For slightly more stubborn bends, you can use a pair of pliers. Grip the blade firmly but carefully, and gently coax it back into alignment. Again, go slow and steady.
- Check Alignment: Once you think it’s straight, hold the saw up and look down the length of the blade to ensure it’s parallel to the handle and not twisted.
Problem 2: Dull Blade
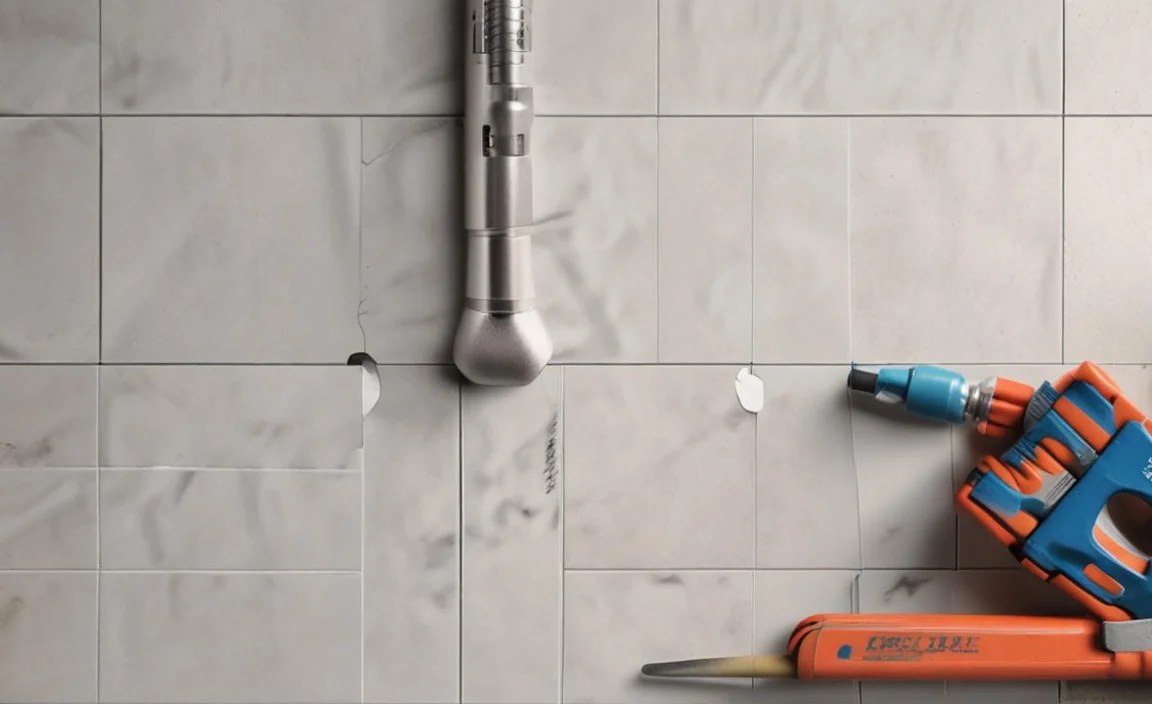
A dull grout saw blade won’t cut through old grout effectively, making the job tedious. While not all grout saw blades are designed to be sharpened at home, some can be improved.
- Sharpening Stones: If your grout saw blade has a more defined edge, you might be able to use a fine-grit sharpening stone or a diamond file. Work at the same angle as the original bevel. Consult your tool’s manual if you’re unsure about sharpening. Many disposable grout saw blades are simply meant to be replaced when dull.
- Replacement Blades: For many grout saws, particularly the more affordable, manual types, replacing the blade is the most straightforward and effective solution. Check if your saw model has a replaceable cartridge. Purchasing a new blade cartridge can bring your grout saw back to its cutting best instantly. For examples of replacement parts, you can often find them at major hardware retailers or online tool suppliers.
The Clogged Grout Float
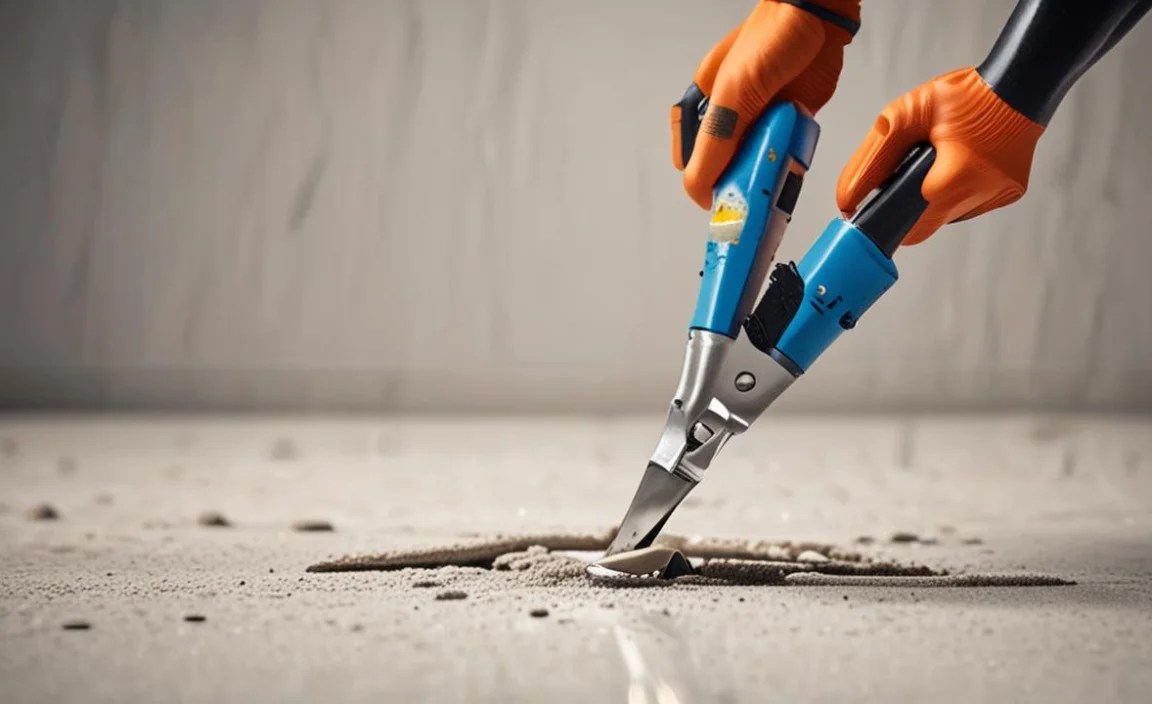
A grout float is used to spread grout. If it’s sticky or hardened with old grout, it won’t apply grout evenly.
Problem: Hardened Grout Residue
Dried-on grout is a common issue, especially if the float was stored without a proper clean.
- Soak and Scrape: The first step is to soak the grout float in warm water. For stubborn residue, a diluted solution of white vinegar can help break it down. Let it soak for 30 minutes to an hour.
- Use a Stiff Brush: After soaking, use a stiff-bristled brush (a wire brush can be effective but use with caution on softer materials) to scrub away the loosened grout.
- Plastic Scraper: A plastic putty knife or a dedicated grout scraping tool can help dislodge thicker bits of hardened grout without damaging the float’s rubber or foam surface.
- Rinse Thoroughly: Once most of the residue is gone, rinse the float completely under running water. Squeeze it out to remove any trapped debris.
- Store Properly: To prevent future clogs, always rinse your grout float immediately after use and allow it to dry completely before storing it.
The Frayed Grout Brush
Grout brushes are great for cleaning grout lines. But over time, the bristles can bend, fray, or fall out.
Problem: Frayed or Bent Bristles
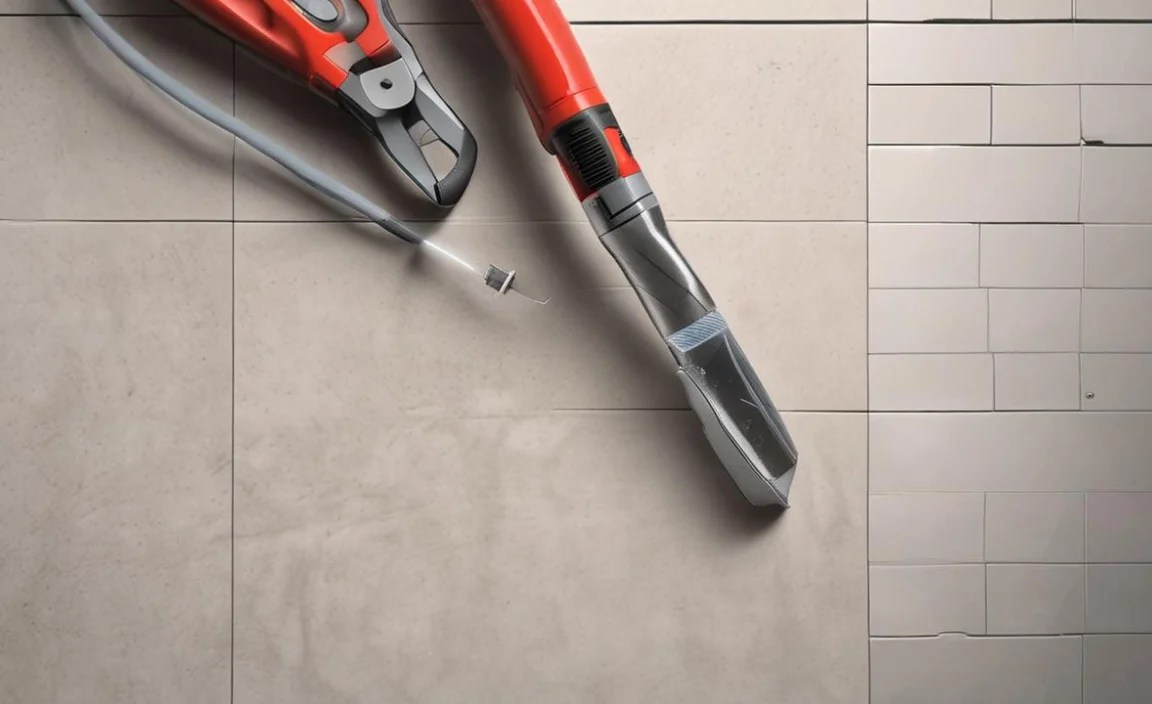
Bent bristles don’t clean effectively, and lost bristles mean less cleaning power.
- Soaking and Reshaping: For brushes with synthetic bristles, soaking them in hot (not boiling) water can make them pliable. Once soft, you can try to gently reshape the bristles with your fingers or a comb.
- Drying in Shape: Hold the brush upright and allow the bristles to air dry in their desired shape. You can even use a rubber band to keep them together while drying if needed.
- Trim Damaged Bristles: If some bristles are permanently bent or damaged, you can carefully trim them with sharp scissors. This will help improve the overall performance, though it might slightly reduce the brush’s coverage.
- Consider Replacement: For significant damage, or if you notice bristles falling out excessively, it might be time to invest in a new grout brush. High-quality grout brushes are relatively inexpensive and can make a big difference in cleaning efficiency.
The Stiff Grout Sponge
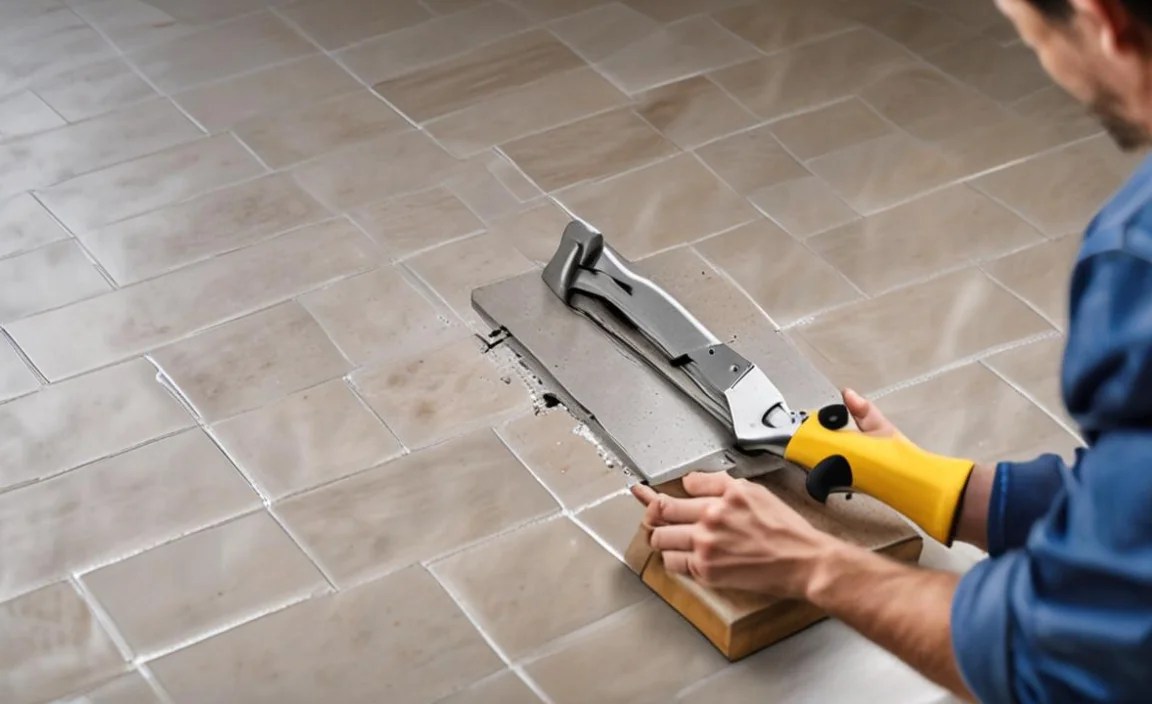
A grout sponge needs to be soft and porous to effectively wipe away excess grout haze. A stiff, hardened sponge is useless.
Problem: Hardened or Stiff Sponge
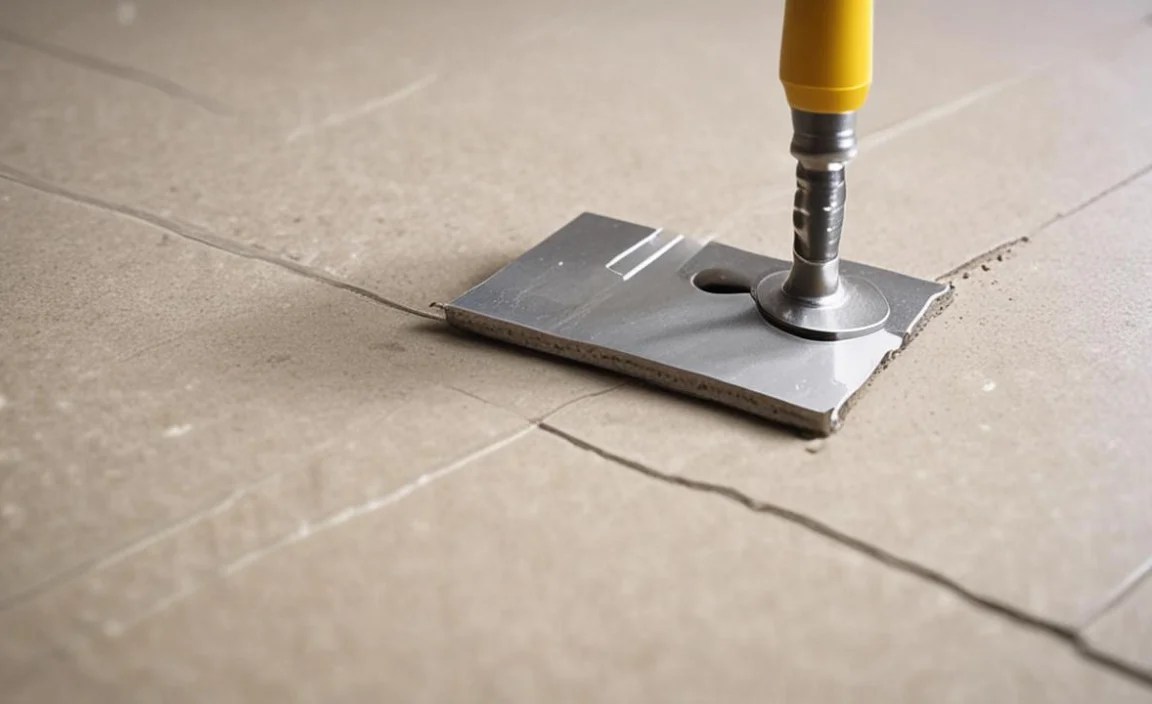
If your grout sponge feels like a brick, it needs some attention.
- Soak in Warm Water: Submerge the sponge in a basin of warm water. Squeeze and reshape it repeatedly to help it reabsorb water and soften.
- Mild Soap: If water alone doesn’t do the trick, add a tiny amount of mild dish soap to the water. This can help break down any dried-on grout particles.
- Gentle Squeeze: Gently squeeze the sponge to work the water and soap into its pores. Avoid wringing it aggressively, as this can damage the sponge’s structure.
- Rinse and Repeat: Rinse the sponge thoroughly under running water until all soap is gone. You may need to repeat the soaking and squeezing process a few times to fully restore its softness.
- Air Dry: After it’s soft and clean, squeeze out excess water and let it air dry completely. Proper drying prevents stiffness and mold growth.
The Jammed Grout Bag or Applicator
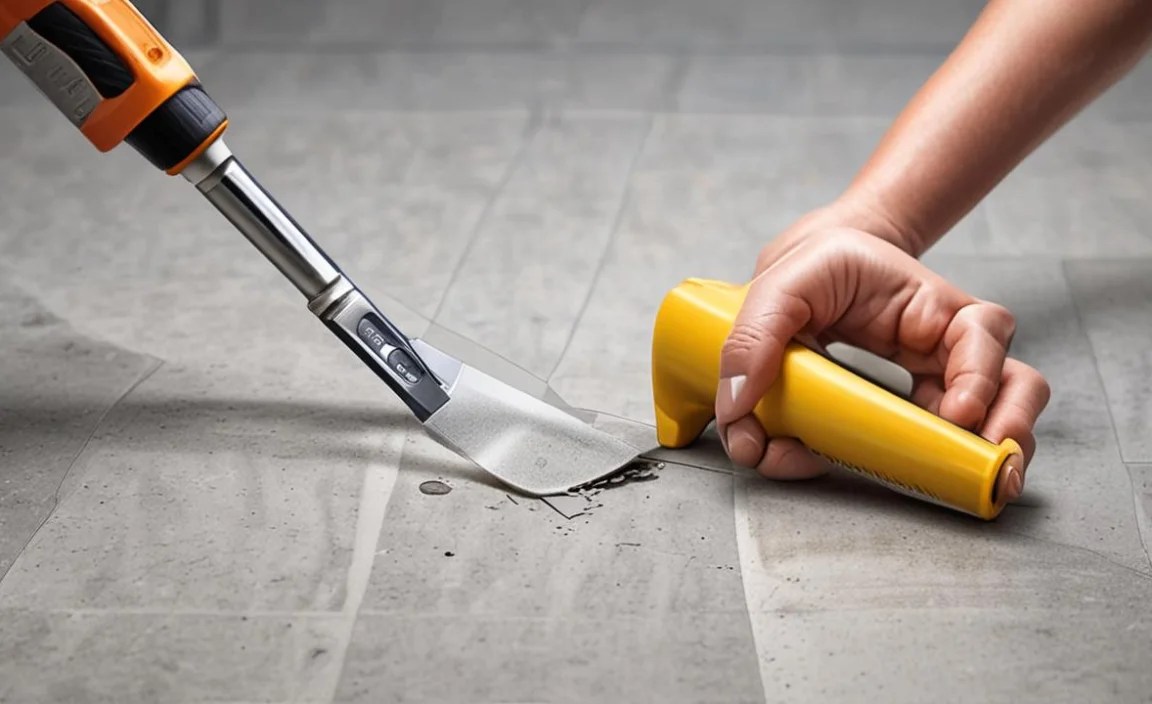
Grout bags or caulking guns for grout can get clogged with dried grout, making them impossible to use.
Problem: Clogged Nozzle or Bag Opening
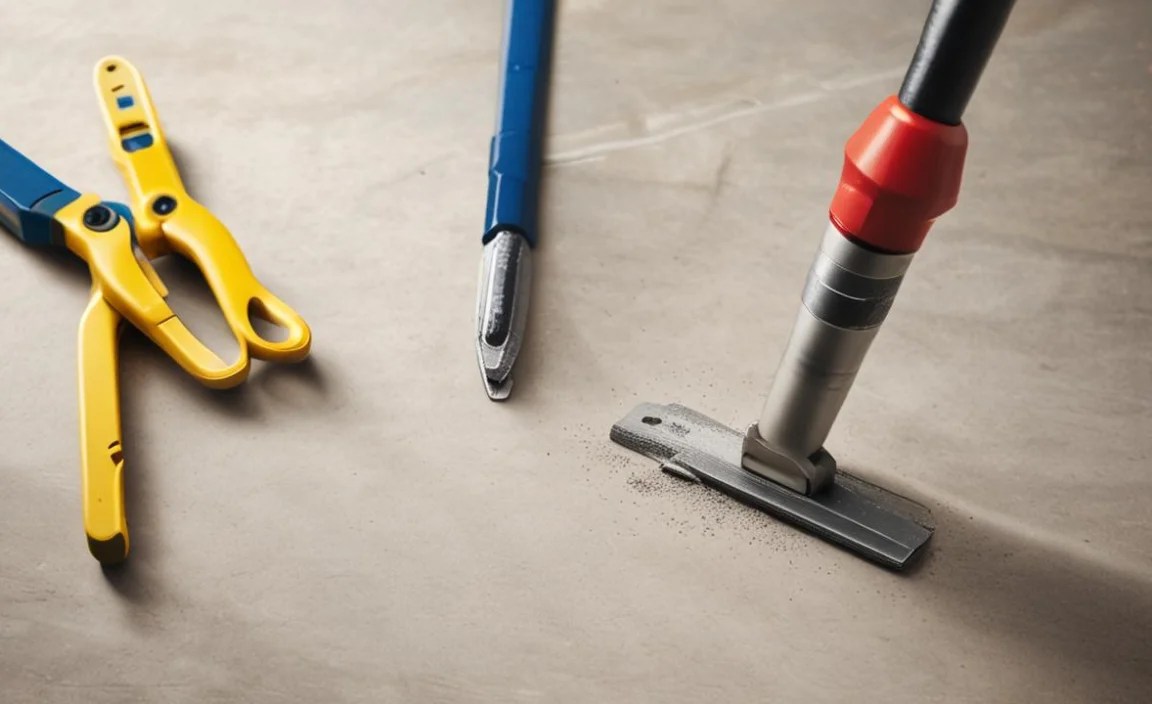
A blocked nozzle means no grout comes out when you need it.
- Soaking the Nozzle: If you have a reusable nozzle, detach it from the bag or gun. Soak it in warm water. For stubborn clogs, a bit of white vinegar can help.
- Wire or Pin: Use a thin piece of wire, a straightened paperclip, or a dedicated nozzle-cleaning tool to carefully push through the clog. Work from both ends if possible. Be gentle to avoid widening the nozzle unnecessarily.
- Bag Replacement: For disposable grout bags, if the opening is severely clogged and the grout is fully hardened, it’s often more practical to cut open the old bag and transfer the remaining usable grout to a new bag.
- Caulking Gun Triggers: If using a caulk gun for grout, ensure the release lever is fully engaged when you stop squeezing to prevent continuous flow and potential clogging.
Table: Grout Tool Maintenance Checklist
Regular maintenance can prevent many common issues. Here’s a quick checklist to keep your tools in top condition.
| Tool Type | After Each Use | Monthly Check | Storage Tip |
|---|---|---|---|
| Grout Saw | Brush off debris, rinse with water. | Inspect blade for bends or damage. Ensure handle is secure. | Store in a dry place, keeping the blade protected. |
| Grout Float | Rinse thoroughly with water, squeeze out excess. | Check the edge for wear or damage. Ensure the handle is firmly attached. | Store in an area with good air circulation to prevent stiffness. |
| Grout Brush | Rinse bristles under water, shake off excess. | Check for bent or missing bristles. Gently reshape if needed. | Store bristles facing upwards or on their side to maintain shape. |
| Grout Sponge | Rinse, squeeze out water, and allow to air dry completely. | Inspect for tears or excessive wear. Ensure it’s fully clean of grout. | Store in a dry, open area. Avoid packing it tightly. |
| Grout Bag/Applicator | Clean nozzle thoroughly. Seal opening tightly if reusable. | Check for cracks or leaks in the bag or applicator body. | Store upright or in a manner that prevents drying or clogging. |
Tools You Might Need for Repairs
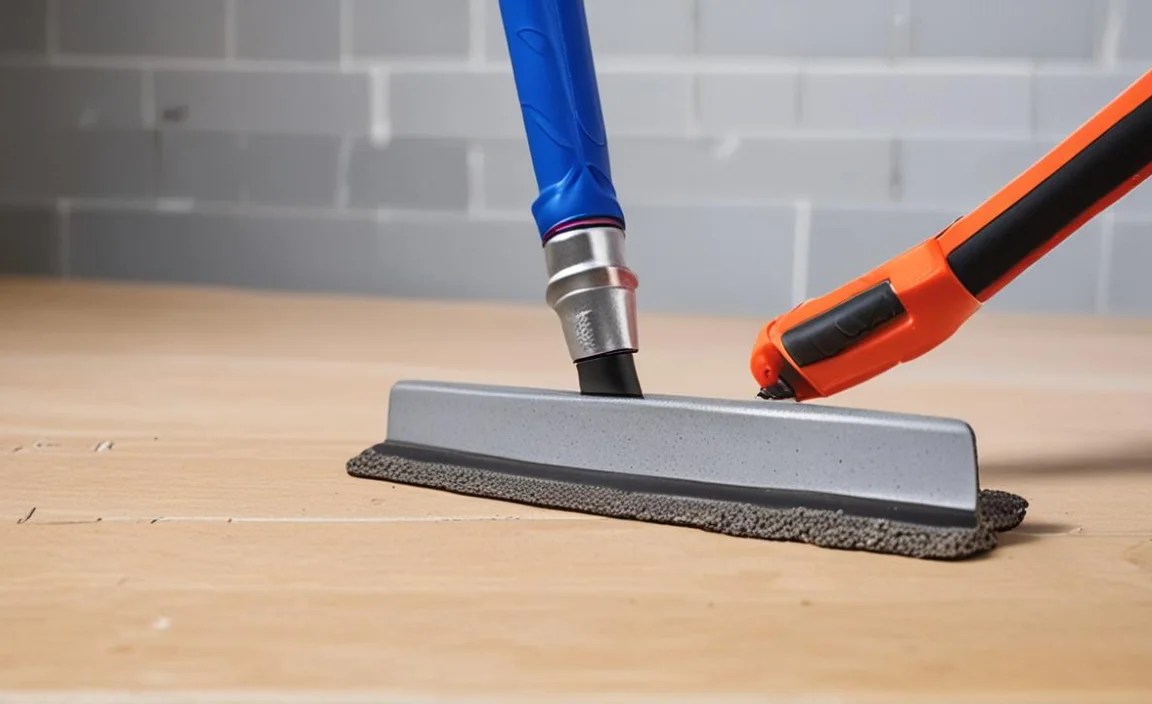
You don’t need a full workshop for these basic repairs. Here are some common tools and supplies that will help you fix most grout tool issues:
- Warm Water: For soaking and rinsing.
- Mild Dish Soap: Helps break down dried grout and grease.
- White Vinegar: A natural acid that helps dissolve hardened grout. (Dilute with water for most tasks).
- Stiff-Bristled Brush: For scrubbing away residue. A toothbrush can work for small areas.
- Plastic Putty Knife or Scraper: To gently lift hardened grout without scratching tool surfaces.
- Pliers: For gently straightening bent metal components.
- Fine-Grit Sharpening Stone or Diamond File: For sharpening certain types of blades (use with caution).
- Sharp Scissors: For trimming frayed bristles.
- Gloves: Always protect your hands, especially when dealing with sharp edges or cleaning agents.
- Protective Eyewear: Especially important if you’re doing any scraping or cutting.
When It’s Time to Replace a Tool
While most grout tools can be repaired or maintained, there comes a point when replacement is the best option. Here are some signs:
- Irreparable Damage: If a critical part of the tool is broken, rusted through, or cracked beyond repair (e.g., a cracked grout float handle, a snapped grout saw blade that cannot be straightened).
- Excessive Wear: When a tool has simply worn out. For example, a grout sponge that is falling apart, a grout brush that has lost most of its bristles, or a grout float with a severely degraded edge.
- Safety Concerns: If a tool has loose parts that cannot be secured, sharp edges that have become hazardous, or if it feels unstable and could cause injury.
- Ineffectiveness Despite Efforts: If you’ve tried all the repair methods and the tool still doesn’t perform its function adequately. For instance, a grout saw blade that’s too dull to cut, even after attempting to sharpen it.
Choosing to replace a tool is not a failure; it’s smart maintenance. Investing in new, quality tools ensures your projects are completed efficiently and safely. Sometimes, a new tool can make the job so much easier, it’s worth the upgrade. For insights on tool longevity and care, resources like the This Old House guide on tool care offer excellent, practical advice that applies broadly to DIY equipment.
Frequently Asked Questions About Repairing Grout Tools
Q1: How do I prevent my grout tools from getting damaged in the first place?

The best defense is consistent cleaning and proper storage. Always rinse tools immediately after use to prevent grout from drying on them. Store them in a dry place, away from moisture, and protect any sharp edges. For sponges and floats, allow them to air dry completely before putting them away.
Q2: Can I sharpen a grout saw blade myself?

It depends on the type of grout saw. Some manual grout saws with metal blades might be sharpenable with a fine-grit sharpening stone or diamond file, but it’s tricky to get the angle right. Many modern grout saw blades are made of hardened steel alloys or carbide and are not designed for sharpening at home. In most cases, replacing the blade cartridge is the most effective solution when it becomes dull.
Q3: My grout float is really stiff. Can I make it soft again?
Yes, you can! Soaking a stiff grout float in warm water, and for tougher cases, a little mild dish soap or diluted white vinegar, will help rehydrate and soften the material. Gently squeeze and work the water into it, then rinse thoroughly and let it air dry. Repeat if necessary.
Q4: What’s the best way to clean hardened grout from my tools?

Start with soaking in warm water. If that doesn’t work, try a solution of equal parts white vinegar and water. Let the tool soak for about 30 minutes to an hour. Then, use a stiff brush or a plastic scraper to gently remove the softened grout. Finish with a thorough rinse.
Q5: How often should I replace my grout sponge?
A grout sponge typically needs replacing when the material becomes overly compacted, tears easily, or can no longer hold water effectively. With proper cleaning and drying after each use, a good quality grout sponge can last for many projects, often several years. However, watch for signs of degradation rather than a fixed timeline.
Q6: My grout bag won’t dispense grout. What should I do?

Check the nozzle first. If it’s clogged, try soaking it in warm water or a vinegar solution and then using a thin wire or paperclip to clear the blockage. If it’s a disposable bag and the grout inside has hardened, it might be best to cut open the bag and transfer the usable grout to a new bag.
Conclusion: Master Your Grout Tools for Flawless Finishes
Dealing with a broken or underperforming grout tool can feel like a project stopper, but as you’ve seen, many common issues have simple, accessible fixes. By understanding your tools and performing regular maintenance, you can extend their lifespan, save money, and ensure your tiling and grouting projects turn out just the way you envisioned. From the basic grout saw to the essential grout float, a few minutes of care can make all the difference.
Remember the key principles: immediate cleaning after use, proper drying, and careful storage. When problems arise, don’t hesitate to try the gentle repair methods we’ve outlined. A bit of warm water, some common household cleaners, and a touch of patience can bring most tools back to their prime. And when a tool is truly beyond repair, knowing when to replace it ensures you’re always working with the best equipment for the job. So, go ahead, tackle that grout repair with renewed confidence, armed with tools that are as ready as you are!
