
Quick Summary: Yes, you can effectively repair grout without a plumber! This DIY guide provides simple, step-by-step instructions and lists the essential tools you’ll need to tackle common grout issues, saving you time and money while restoring the look of your tiled surfaces.
Cracked, crumbling, or missing grout can make even the most beautiful tile work look tired and neglected. It’s a common problem in kitchens, bathrooms, and even on floors, and you might think it requires a professional. But here’s some good news: fixing grout is a very achievable DIY project for almost anyone. You don’t need to be a master craftsman or hire an expensive plumber to bring that crisp, clean look back to your tiles. We’ll walk you through everything you need to know, from identifying grout problems to making lasting repairs. Get ready to feel confident and save money as we transform your tired grout into something you’ll be proud of!
Why DIY Grout Repair? Saving Money & Gaining Confidence

Before we dive into the “how-to,” let’s quickly chat about why tackling grout repair yourself is a smart move. For starters, hiring a professional for small tile and grout jobs can add up, especially if it’s just a few small areas needing attention. Doing it yourself is a fantastic way to keep your hard-earned cash in your wallet. Beyond the savings, there’s a real sense of accomplishment that comes with mastering a home maintenance task. It’s incredibly satisfying to look at a repaired grout line and know you did that! Plus, it’s a skill that will serve you well for years to come, letting you keep your home looking its best.
This guide is designed for beginners. We’ll break down the process into easy-to-follow steps, explain the tools you’ll use in plain language, and ensure you have all the information you need to succeed. No confusing jargon, just clear instructions to help you get the job done right.
Common Grout Problems and What Causes Them
Understanding why grout fails can help you prevent future issues and choose the right repair method. Here are the most frequent culprits:
- Cracking and Crumbling: This often happens due to age, normal house settling, or impact. Moisture can also weaken grout over time, making it more brittle.
- Erosion and Wear: In high-traffic areas or areas frequently exposed to water and cleaning chemicals (like shower stalls), grout can slowly wear away.
- Mold and Mildew Stains: While not structural damage, deep-set stains can make grout look unsightly and may require removal and replacement for a fresh start.
- Loose Tiles: Sometimes, the grout failure is a symptom of a tile that has become loose. This means the tile itself needs to be re-adhered before the grout can be properly fixed.
Don’t worry if you spot any of these – they are all fixable with the right approach!
Essential Tools and Materials for Grout Repair
Gathering your supplies before you start is key to a smooth repair. Here’s what you’ll typically need. Think of this as your DIY grout repair toolbox!
Tools You’ll Need:
- Safety Glasses: Protect your eyes from dust and debris. This is non-negotiable!
- Gloves: Keep your hands clean and protected from grout compounds and cleaning solutions.
- Utility Knife or Grout Saw/Scraper: For removing old, damaged grout. A dedicated grout saw makes this much easier and cleaner.
- Small Hammer and Chisel (Optional): For stubborn old grout. Use with care!
- Stiff Brush or Old Toothbrush: For cleaning out grout lines.
- Bucket: For mixing grout and holding water.
- Sponge: For cleaning excess grout and smoothing.
- Putty Knife or Trowel (Small): For applying new grout.
- Dust Mask: To avoid inhaling grout dust.
Materials You’ll Need:
- Grout Repair Compound: This comes in various forms – pre-mixed tubes, powder you mix with water, or epoxy-based for heavy-duty jobs. For beginners, a pre-mixed or easy-to-mix powder is often easiest. You can find this at any hardware or home improvement store.
- Painter’s Tape (Optional): To protect tile edges and create clean lines.
- Colorant (Optional): If you’re trying to match existing grout color precisely.
- Grout Sealer: Crucial for protecting your new grout from stains and moisture.
When choosing grout, make sure it’s the right type for your tile and location (e.g., sanded vs. unsanded, interior vs. exterior, interior/exterior). Your local hardware store experts can be a great resource here!
Step-by-Step Guide to Repairing Grout

Alright, let’s get our hands dirty (but not too dirty, thanks to the gloves!). Follow these steps carefully for a successful grout repair.
Step 1: Assess and Prepare the Area
First, take a good look at the grout you need to repair. Is it just a small crack, or is a whole section missing? Determine the extent of the damage. Clear the area around the tiles. Remove any items from countertops, shower caddies, or floor decorations that might be in your way. If there’s a lot of loose debris or old grout, a quick sweep or vacuuming will help.
Step 2: Remove Old, Damaged Grout
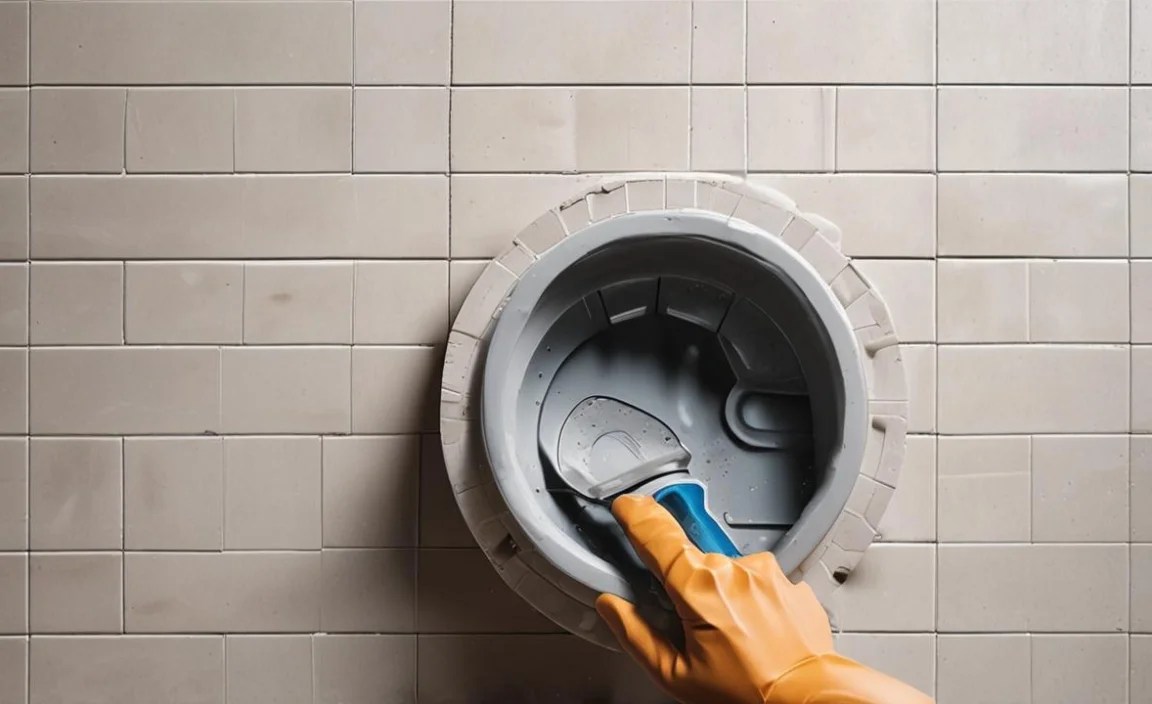
This is the most labor-intensive part, but crucial for a good repair. You need to get rid of all the loose, damaged, or stained grout. Don’t try to grout over old grout; it won’t adhere properly and will likely fail again.
- Using a Grout Saw or Utility Knife: Carefully run the tool along the grout lines, cutting away the old material. Aim to remove about half to two-thirds of the grout’s depth. Be gentle to avoid scratching or chipping the tiles. Work in small sections.
- Using a Hammer and Chisel (Use Sparingly): For very stubborn old grout, you can carefully tap a small chisel with a hammer to chip away the material. This requires a steady hand and is best reserved for thicker grout lines where damage is significant.
- Clean the Grout Lines: Once the old grout is mostly removed, use a stiff brush or an old toothbrush to sweep out any remaining dust and debris from the lines. A vacuum cleaner with a brush attachment can also work. The grout lines should be clean and dry before proceeding.
Pro Tip: If you’re unsure about using a grout saw, a utility knife with a fresh blade can also be effective, though it may take a bit longer. For helpful demonstrations on grout removal, you can often find great video resources from manufacturers like Schluter Systems (a leading provider of tiling solutions).
Step 3: Mix Your New Grout

If you’re using powdered grout, follow the manufacturer’s instructions precisely for mixing. Usually, you’ll add the powder to a measured amount of water in a bucket. Mix it thoroughly until it reaches a consistency like peanut butter or thick toothpaste. It should be workable but not runny. If you’re using a pre-mixed grout, you may need to stir it a bit before application. Work in small batches if mixing from powder, as grout can start to set.
Important: Always check the grout packaging for specific mixing ratios and drying times. Different types of grout (cementitious, epoxy) have different mixing requirements.
Step 4: Apply the New Grout

Now for the satisfying part – filling in those gaps!
- Load Your Tool: If using a small trowel or putty knife, scoop a generous amount of grout onto it. If using a grout float (a specialized tool for spreading grout, though a small trowel is fine for repairs), load it similarly.
- Apply and Force Grout In: Hold your tool at about a 45-degree angle to the tile. Spread the grout over the damaged area, pressing firmly to push it deep into the grout lines you just cleaned. Work diagonally across the tiles to ensure the grout fills the entire joint.
- Scrape Off Excess: Once the joint is filled, use the edge of your trowel or float to scrape off any excess grout from the tile surface. Again, work diagonally. The goal is to leave the grout in the joints and clean tiles.
- Using a Grout Bag (Optional): For more precise application, you can use a grout bag, similar to a cake decorating bag, to pipe the grout directly into the lines.
If you’re concerned about making a mess or want super clean lines, apply painter’s tape along the edges of the tiles adjacent to the grout lines before you start applying. This acts as a stencil and makes cleanup much easier.
Step 5: Smooth and Clean the Grout
Timing is key here. You want to let the grout set slightly before cleaning. Check the grout manufacturer’s instructions; usually, you’ll wait 15-30 minutes.
- Initial Cleaning: Dampen your sponge (wring it out so it’s not dripping wet) and gently wipe away the excess grout from the tile surface. Use light, sweeping motions and rinse your sponge frequently in a separate bucket of clean water to avoid spreading grout residue.
- Shaping the Grout Line: As you clean, you can gently round the grout lines with your damp sponge to create a smooth, consistent finish. Be careful not to dig into the new grout or pull it out of the joint.
- Final Wipe-Down: After the initial round of cleaning, let the grout haze over slightly. Then, use a clean, damp cloth (or a slightly damp sponge) for a final wipe to remove any remaining haze, leaving the tiles sparkling.
Step 6: Allow Grout to Cure
This is the “patience” step! Grout needs time to harden and cure properly. The curing time can vary significantly based on the type of grout, humidity, and temperature. Most cement-based grouts will be walkable in about 24 hours but take several days to fully cure.
- Follow Manufacturer’s Instructions: Always refer to the grout packaging for specific curing times.
- Avoid Heavy Traffic: Keep foot traffic off repaired areas for at least the recommended time.
- Limit Moisture: Try to keep the area as dry as possible during the initial curing period, especially in showers or kitchens. Don’t mop or shower directly on the new grout for at least 48-72 hours, or as per the grout instructions.
You can find very helpful visual guides on grout application and cleaning from reputable home renovation resources like Family Handyman.
Step 7: Seal the Grout
Once the grout is fully cured (this could be anywhere from 3 to 7 days, check your product), it’s time to seal it. Sealing is a vital step in protecting your new grout from stains, moisture, and mildew. Unsealed grout is porous and will absorb spills and dirt easily.
- Choose a Sealer: There are spray-on and brush-on sealers available. For small repairs, a brush-on or even a wipe-on applicator can be precise.
- Apply Evenly: Apply the sealer evenly to the grout lines, following the product’s instructions. You can use a small brush or applicator.
- Wipe Away Excess: Immediately wipe any excess sealer off the tile faces with a clean, dry cloth before it dries.
- Allow to Dry: Let the sealer dry completely according to the product directions before exposing the area to water or heavy use.
Regularly resealing (usually every 1-2 years, depending on traffic and cleaning) is a good practice to keep your grout looking fresh and protected.
Comparing Grout Types for Repairs
Choosing the right grout can make your repair job easier and more durable. Here’s a simple breakdown of common types:
| Grout Type | Typical Use | Pros | Cons | DIY Friendliness |
|---|---|---|---|---|
| Unsanded Grout | Narrow grout lines (1/8 inch or less), delicate tiles (e.g., glass, polished stone) | Smooth finish, less prone to scratching delicate tiles, good for tight spaces. | Can shrink or crack in wider joints, harder to mix smoothly, needs more frequent sealing. | Moderate |
| Sanded Grout | Wider grout lines (1/8 inch or more), standard ceramic and porcelain tiles. | More durable, less prone to cracking in wider joints, provides a stronger bond. | Can scratch delicate tiles, not ideal for very small grout lines. | Easy to Moderate |
| Pre-Mixed Grout | General repairs, various joint sizes (check product), indoor use. | Convenient, no mixing required, consistent color, good for touch-ups. | Can be more expensive, limited shelf life once opened, may not be suitable for high-moisture areas without specific formulation. | Very Easy |
| Epoxy Grout | High-traffic areas, kitchens, bathrooms, areas needing superior stain and water resistance. | Extremely durable, non-porous, highly resistant to stains and chemicals, no sealing required. | More expensive, harder to work with (sets quickly), requires specific tools and techniques. | Challenging (Not recommended for absolute beginners for large areas) |
For most common DIY grout repairs on standard tiles, sanded or unsanded grout (depending on joint width) mixed from powder or a pre-mixed option are excellent choices. If you’re unsure, always consult the product descriptions or ask for help at the store.
Troubleshooting Common Grout Repair Issues
Even with the best intentions, you might run into a snag. Here are some common issues and quick fixes:
- Grout is too sticky/hard to work with: If using powder, it might be too dry. Add a tiny bit more water (a teaspoon at a time) and mix well. If it’s too wet, add a little more grout powder. For pre-mixed, you might be out of luck unless the manufacturer offers a thinner.
- Tiles are getting scratched: Be gentler with your tools. Use a grout saw instead of a utility knife if possible, and always work carefully along the tile edges.
- Grout is crumbling right after drying: This often means the grout wasn’t mixed correctly (e.g., too much water) or it dried too fast without being kept damp during the initial curing. You might need to scrape this out and try again.
- Color doesn’t match: Grout color can be tricky. Lighting, the surrounding tiles, and the age of the existing grout all affect perception. If the mismatch is slight, sealing can sometimes help unify the appearance. For a significant difference, you might have to re-grout a larger, contiguous area. You can also sometimes tint grout, but this is an advanced technique.
- New grout is cracking: This usually happens in wider joints if unsanded grout was used, or if the grout dried too quickly. Ensure you’re using the right type of grout for your joint width and keep it damp as it cures if needed.
Don’t get discouraged if your first attempt isn’t perfect. Grout repair is a skill that improves with practice!
Frequently Asked Questions About DIY Grout Repair
Here are some questions that often come up when people are new to grout repair:
How long does grout repair take?
A small repair, like a few inches of cracked grout, can take as little as 30 minutes to an hour for removal and application. However, you must factor in drying and curing time, which can range from 24 hours to a week before the area can be fully used and sealed.
Can I repair grout in my shower?

Yes, you absolutely can! For showers, it’s crucial to use a grout specifically designed for wet areas and to ensure proper ventilation. After repair and full curing, strong sealing is also very important to prevent water damage and mold growth.
What’s the difference between sanded and unsanded grout?
Sanded grout contains fine sand particles, which add strength and prevent shrinkage in wider grout lines (1/8 inch or more). Unsanded grout is finer and used for narrower joints (1/8 inch or less) and delicate tiles that could be scratched by sand.
Do I need to seal grout after repairing it?

Yes, sealing
