
Quick Summary:
Ditch expensive plumber bills! Learn proven, budget-friendly methods to repair leaky pipes yourself. From quick fixes to more involved DIY, this guide offers simple, step-by-step instructions to save money and stop leaks fast, ensuring peace of mind for any homeowner.
Leaky pipes are a homeowner’s nightmare. They can waste water, damage your home, and lead to costly repairs if not addressed quickly. The good news? You don’t always need to call a professional to fix a leaky pipe. With a little know-how and the right approach, you can tackle many common pipe issues yourself, saving a significant amount of money.
This guide is designed to empower you with simple, effective, and budget-friendly techniques to repair pipes cheaply. We’ll walk you through identifying the problem, gathering your supplies, and executing the repairs with confidence. By the end, you’ll be ready to handle minor pipe emergencies and keep your home dry and damage-free.
Understanding Pipe Leaks: What You Need to Know
Before you can fix a leaky pipe, it’s helpful to understand why it’s happening and what types of pipes you might be dealing with. Most household plumbing systems use either copper, PVC, PEX, or galvanized steel pipes. Each has its own characteristics and common failure points. For example, older galvanized steel pipes are prone to corrosion, while copper can sometimes develop pinhole leaks due to water chemistry or age. Plastic pipes like PVC and PEX can crack or develop leaks at joints.
The location and severity of the leak are also key. Is it a slow drip from a joint, a steady stream from a crack, or a burst pipe? Knowing this will help you choose the most appropriate and cost-effective repair method. Safety is always paramount, so never attempt repairs if you’re unsure or if the leak is severe. In such cases, shutting off your main water supply and calling a professional is the wisest move.
Essential Tools and Materials for Cheap Pipe Repairs
The beauty of DIY pipe repair is that many of the necessary tools and materials are readily available and surprisingly inexpensive. Having a basic toolkit on hand can mean the difference between a minor inconvenience and a major disaster averted. Here’s a list of common items that will serve you well:
- Adjustable Wrenches: Essential for tightening fittings and working with various nut and bolt sizes.
- Pipe Wrench: Specifically designed for gripping pipes, especially useful for stubborn connections.
- Pliers: Including slip-joint and channel-lock pliers for gripping and tightening.
- Screwdrivers: For various disassembly or reassembly tasks if needed.
- Hacksaw or Pipe Cutter: For cutting damaged sections of pipe if a replacement is necessary.
- Measuring Tape: To ensure you get the correct length for replacement pipe sections.
- Sandpaper or Emery Cloth: For cleaning pipe surfaces before applying adhesives or repair wraps.
- Bucket and Rags: To catch dripping water and clean up the work area.
- Safety Glasses: Always protect your eyes during any DIY project.
- Gloves: To protect your hands.
In addition to tools, you’ll need specific repair materials depending on the method you choose. We’ll explore these in detail in the following sections.
Proven Methods to Repair Pipes Cheaply
When faced with a leaky pipe, the goal is to stop the leak quickly and affordably. Here are several proven DIY methods that can help you achieve just that:
1. The Temporary Fix: Pipe Clamps and Repair Tape

For minor leaks, especially pinhole leaks or small cracks, pipe clamps and repair tape offer a quick, temporary solution. These are excellent for giving you immediate relief while you plan for a more permanent fix or wait for parts.
Using a Pipe Clamp
Pipe clamps are essentially metal sleeves lined with rubber that you wrap around the leaking section of pipe and then tighten with screws or bolts. They work by compressing the rubber against the pipe, sealing the leak.
- Turn off the Water: This is the most critical step. Locate your main water shut-off valve and turn it off completely.
- Drain the Pipe: Open a faucet at a lower level in your house to drain any residual water from the affected pipe.
- Clean the Area: Wipe the pipe dry around the leak. Ensure the surface is clean and free of debris.
- Position the Clamp: Place the rubber gasket within the pipe clamp directly over the leak.
- Secure the Clamp: Wrap the clamp around the pipe and tighten the screws or bolts evenly and firmly. Do not overtighten, as this can damage the pipe further.
- Turn Water Back On: Slowly turn the main water supply back on and check for leaks.
Using Pipe Repair Tape (Silicone Tape)
Self-fusing silicone repair tape is another excellent temporary fix. It stretches and bonds to itself, creating a watertight seal. It’s particularly good for oddly shaped leaks or joints.
- Turn off Water and Drain Pipe: Same as with the clamp method.
- Clean and Dry: Thoroughly clean and dry the area around the leak.
- Apply the Tape: Start wrapping the tape several inches before the leak, stretching it firmly as you go. Overlap each layer by at least half of the tape’s width.
- Extend Past the Leak: Continue wrapping several inches past the leak on the other side.
- Secure (Optional): For added security, you can follow up with pipe repair epoxy or another clamp over the tape, but the tape itself fuses to create a seal.
- Turn Water Back On: Slowly restore water pressure and check for leaks.
2. Epoxy Putty: A More Durable Temporary Fix
For slightly larger leaks or cracks, epoxy putty can provide a more robust temporary repair. These two-part putties are mixed by kneading them together, activating a chemical reaction that causes them to harden like steel, forming a solid patch over the leak.
- Materials Needed: Epoxy putty stick (designed for plumbing), sandpaper, rags, gloves.
- Preparation: Turn off water and drain the pipe. Clean and dry the affected area very well. Lightly sand the surface to give the epoxy something to grip.
- Mixing the Putty: Cut off the required amount of putty. Knead it thoroughly until it’s a uniform color, indicating it’s fully mixed. Work quickly, as it starts to cure once mixed.
- Applying the Putty: Press the putty firmly into and around the leak. Mold it to cover the damaged area completely, ensuring a good seal.
- Curing: Allow the putty to cure for the time specified on the packaging. This can range from a few minutes to an hour.
- Restoring Water: Once cured, you can slowly turn the water back on and check the seal.
Pro Tip: Epoxy putty is best suited for pipes that aren’t experiencing high pressure or significant structural damage. For more serious issues, it’s a temporary patch at best.
3. Repair Couplings and Sleeves: For More Serious Leaks

If you have a crack or hole that’s too large for tape or putty, or if a pipe section is significantly damaged, using a mechanical repair coupling or sleeve might be necessary. These are designed for more substantial repairs and can often provide a long-lasting, or even permanent, fix without needing to cut and replace the entire pipe length.
Repair Couplings
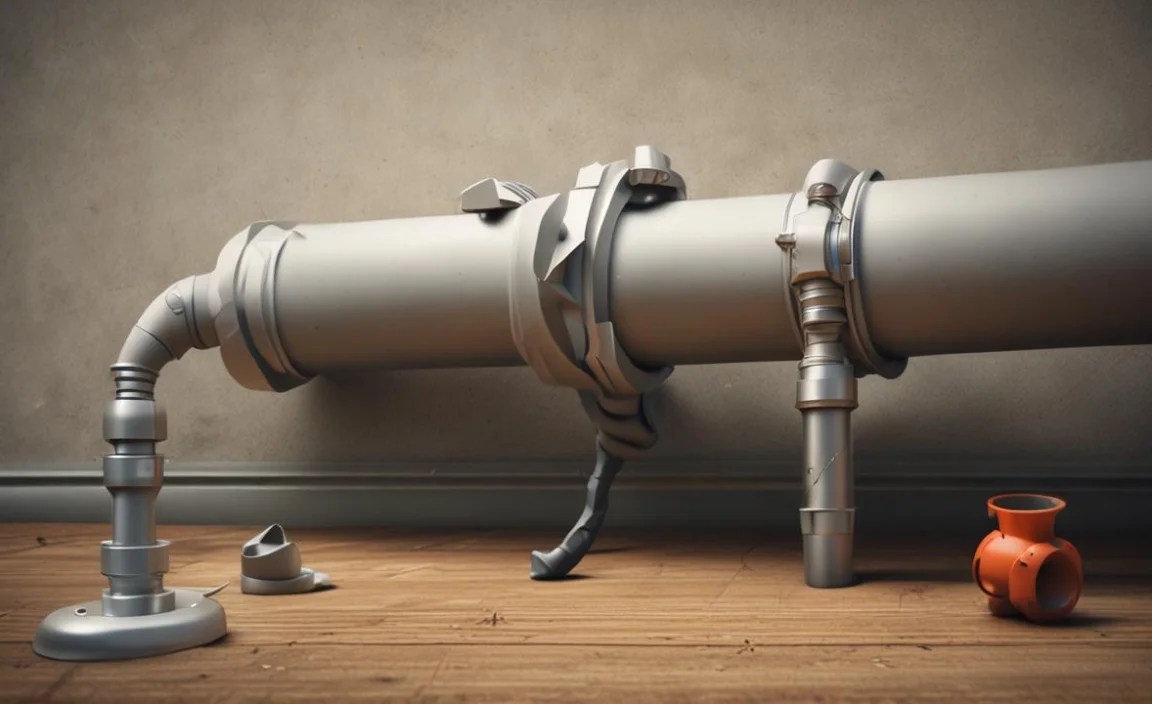
These are typically two-piece metal sleeves that clamp around the damaged pipe. They often have a rubber liner to create a seal. They’re generally used for straight sections of pipe and can bridge small gaps where a pipe has broken.
- Water Off and Drain: Ensure the water is off and the pipe is drained.
- Clean the Pipe: Wipe the pipe clean and dry. The coupling needs to seat firmly against the pipe.
- Position the Coupling: Place the two halves of the coupling around the damaged section. Ensure both halves are aligned correctly.
- Tighten Securely: Fasten the bolts or screws that hold the coupling together. Follow the manufacturer’s instructions for torque, if provided.
- Test: Slowly turn the water back on and inspect the repair.
Repair Sleeves
Similar to couplings, repair sleeves fully encase the pipe. They are often used for larger damages or where a pipe has corroded significantly. Some varieties require sealant or can be bolted shut, while others are designed to be slid over the damaged area and then tightened.
- Turn Off Water and Drain: This is non-negotiable.
- Prepare the Pipe: Clean the pipe surface thoroughly where the sleeve will make contact.
- Install the Sleeve: Follow the specific instructions for your repair sleeve. This might involve heating, sliding, or bolting the sleeve into place.
- Seal and Secure: Ensure all seals are tight and all fasteners are secured according to the product’s guide.
- Final Check: Turn the water back on gradually and check for any signs of leakage along the repair.
4. Replacing a Damaged Section: The DIY Plumber Approach
For situations where the pipe is corroded, cracked, or severely damaged, the most reliable long-term solution is to replace the affected section. This might seem daunting, but with the right approach and tools, it’s a very achievable DIY project.
Types of Pipe and Replacement Methods
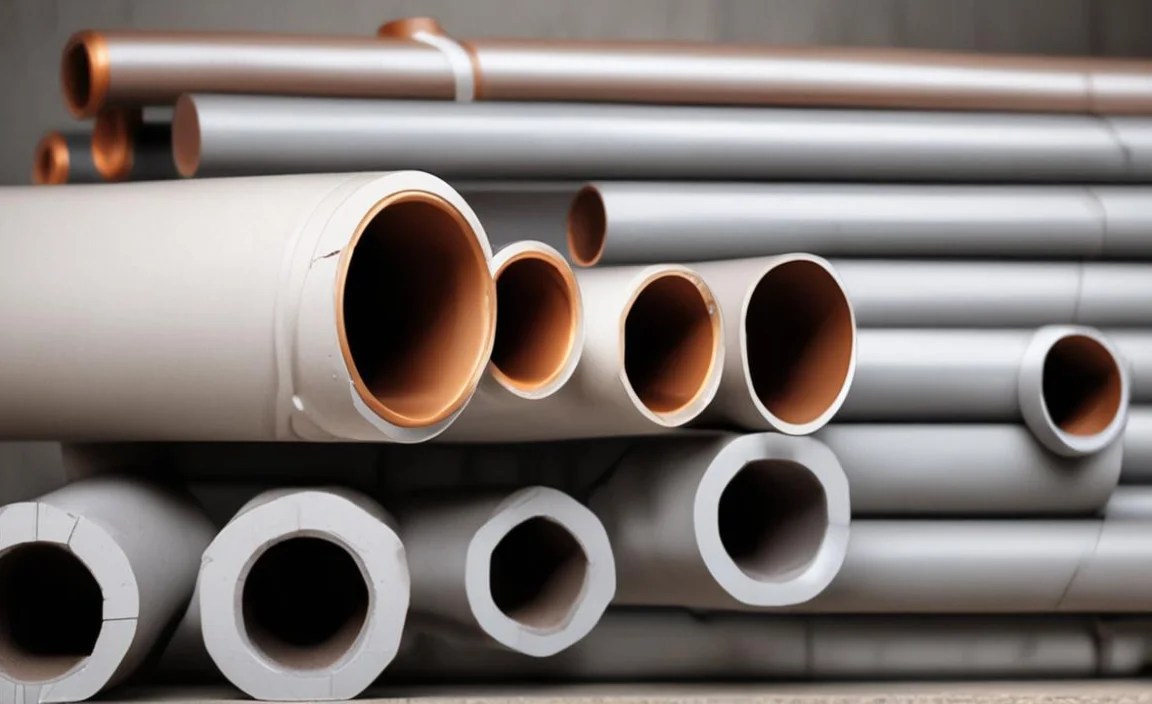
The method for replacing a section depends on the pipe material:
| Pipe Material | Replacement Method | Ease of Repair (Beginner) | Cost of Materials |
|---|---|---|---|
| Copper | Soldering (sweating), Compression Fittings, Press Fittings | Moderate (Soldering needs practice) | Moderate |
| PVC/CPVC | Solvent Cement (Gluing) | Easy | Low |
| PEX | Crimp Fittings, Clamp Fittings, Push-to-Connect Fittings | Easy to Moderate (Tools needed for crimp/clamp) | Low to Moderate |
| Galvanized Steel | Threaded Fittings (Pipe dope/tape required) | Moderate (Requires pipe wrench and working with threads) | Moderate to High |
Step-by-Step: Replacing a PVC Pipe Section (Beginner-Friendly)
PVC is a common choice for many plumbing applications due to its affordability and ease of use. Replacing a section is a great beginner project.
- Shut Off Water & Drain: Locate and turn off the main water supply valve. Open the lowest faucet in your house to drain the system.
- Measure and Cut: Measure the length of the damaged pipe section. Using a hacksaw or PVC pipe cutter, carefully cut out the damaged section. Make clean, straight cuts. Allow a little extra space for insertion into the new coupling.
- Deburr and Clean: Remove any rough edges from the cut ends using sandpaper or a deburring tool. Clean the outside of the pipe ends and the inside of the new coupling with a primer and cleaner (follow product instructions). This is crucial for a strong bond.
- Dry Fit: Connect the new pipe section and couplings without glue to ensure everything fits properly. Mark the pipe and coupling to help align them correctly after gluing.
- Apply Primer and Cement: Apply a thin, even coat of primer to the outside of the pipe ends and the inside of the coupling sockets. Immediately after, apply a thin, even coat of PVC cement to the same areas.
- Join the Pipes: Swiftly insert the pipe ends into the coupling sockets until they bottom out. Give a quarter-turn twist as you insert to spread the cement evenly. Hold the joint firmly for about 30 seconds to prevent the pipe from pushing out.
- Cure Time: Allow the cement to cure according to the manufacturer’s instructions before turning the water back on. Full cure can take 24 hours, but often you can reintroduce water pressure much sooner.
- Test: Once cured, slowly turn the water back on and check the joints for leaks.
Tips for Copper Pipe Repairs
Copper pipes can be repaired using compression fittings (easy, no soldering required), or by soldering (more skill needed). For DIYers, compression fittings are highly recommended for their ease of use. These fittings create a seal as you tighten a nut onto a ferrule, compressing it around the pipe.
For soldering, practice is key. Ensure you have the right flux, solder, and torch, and always work in a well-ventilated area. You can find excellent resources on soldering copper pipes from reputable sources like Family Handyman.
5. Using Push-to-Connect Fittings (SharkBite, etc.)
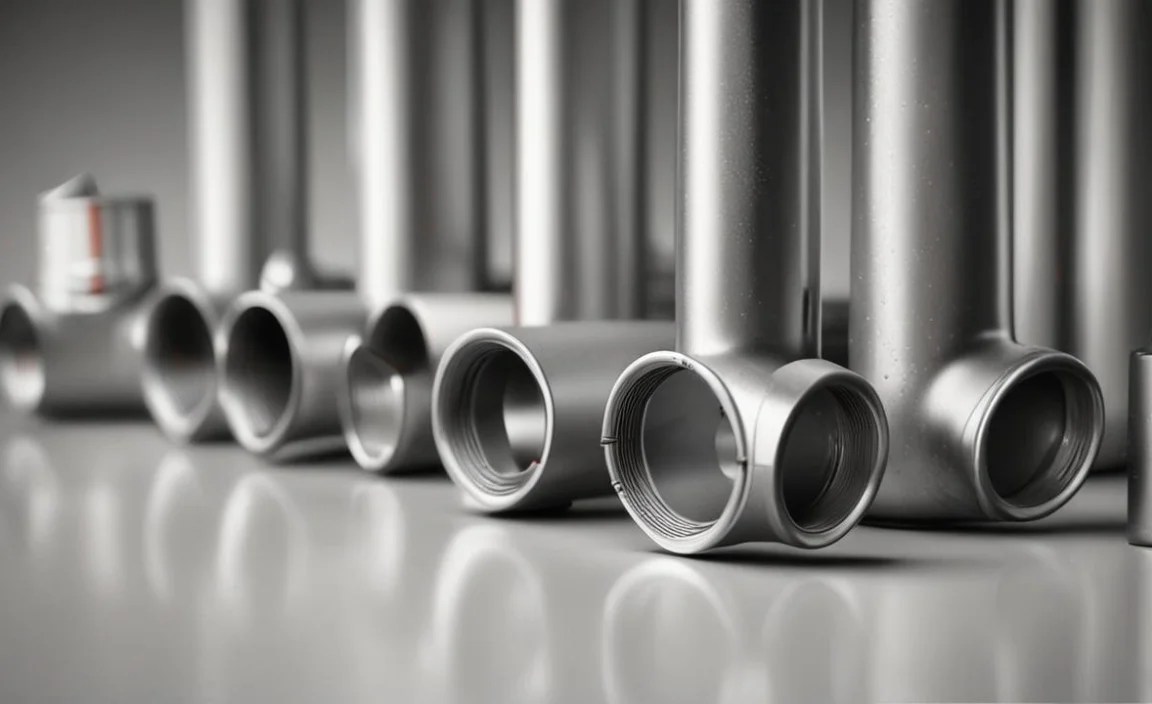
These innovative fittings have revolutionized DIY plumbing. They allow you to connect pipes (like PEX, copper, or CPVC) without special tools, soldering, or glue. You simply push the pipe into the fitting, and internal O-rings and teeth create a watertight seal.
- Water Off and Pipe Prep: Turn off water, drain the pipe. Cut out the damaged section cleanly.
- Deburr and Mark: Ensure the pipe end is clean, smooth, and free of burrs. Use the insertion depth gauge that comes with the fitting (or measure) to mark how far the pipe needs to be inserted.
- Push to Connect: Simply push the pipe straight into the fitting until it reaches the depth mark. You should feel and sometimes hear a solid connection.
- Test: Slowly turn the water back on and check for leaks.
Important Note: While incredibly convenient, push-to-connect fittings are often more expensive than traditional methods. However, their speed and ease of use can make them a cost-effective choice when factoring in time and potential for error with other methods.
When to Call a Professional
While this guide focuses on cheap repairs, it’s crucial to know your limits. Some situations require professional expertise and tools:
- Major Burst Pipes: If a pipe has burst extensively, especially a main water line, shut off your water immediately and call a plumber.
- Underground or Behind Walls: Leaks in inaccessible areas are best left to the pros.
- Gas Lines: Never attempt to repair gas lines yourself. This is extremely dangerous.
- Lack of Confidence: If you’re uncomfortable or unsure about any step, it’s better to invest in professional help to avoid further damage or injury.
- Persistent Leaks: If a DIY repair doesn’t hold or you have recurring issues, a plumber can diagnose the root cause.
For serious plumbing concerns, the U.S. Environmental Protection Agency (EPA) provides resources on water leaks and conservation that highlight the importance of addressing issues promptly, which may sometimes mean calling a professional when DIY isn’t sufficient: EPA WaterSense on Fixing Leaks.
FAQ About Cheap Pipe Repairs
Q1: How do I know if I have a leak?
Signs include visible drips, water stains on walls or ceilings, an unexplained increase in your water bill, mold or mildew growth, or the sound of running water when no fixtures are in use. You can also check your water meter; if it’s running when all water is off, you likely have a leak.
Q2: What is the cheapest way to fix a leaky pipe?

For minor leaks, using repair tape or epoxy putty is generally the cheapest DIY method. If you need to replace a section, PVC pipes with solvent cement are very affordable. Push-to-connect fittings are convenient but typically more expensive upfront.
Q3: Can I fix a leaking pipe with duct tape?

While duct tape might temporarily stop a very small, low-pressure drip, it’s not a reliable or long-term solution for plumbing leaks. The water pressure and temperature will quickly degrade the adhesive, and it will fail. It’s best to use specialized pipe repair products.
Q4: How long do DIY pipe repairs last?
The lifespan of a DIY repair varies greatly depending on the method, the type of pipe, the severity of the damage, and the pressure of the water system. Temporary fixes like tape or clamps might last days, weeks, or months. Properly installed replacement sections or robust rubber-gasketed couplings can last for many years.
Q5: Do I need to turn off the main water supply before making a repair?

Yes, absolutely. For almost all pipe repairs, you must turn
