
Repair pipes easy with simple, proven fixes for common leaks. This guide provides straightforward, beginner-friendly steps to tackle dripping faucets, minor pipe cracks, and loose connections, saving you time and money.
A leaky pipe can be a homeowner’s nightmare, causing water damage and skyrocketing utility bills. But don’t worry! You don’t need to be a master plumber to handle many common pipe issues. With a few basic tools and straightforward instructions, you can confidently tackle those annoying drips and small leaks. We’ll walk you through easy, effective fixes that will give you peace of mind and keep your home dry. Get ready to become your own home repair hero!
Understanding Common Pipe Problems
Before we dive into fixes, let’s quickly identify what we’re dealing with. Most beginner-friendly pipe repairs involve:
- Dripping faucets: Often caused by worn-out washers or O-rings.
- Leaking pipe joints: These are where two pipes or a pipe and a fitting connect. A loose fitting or a damaged seal can be the culprit.
- Small cracks or pinholes in pipes: These are usually found in older metal or plastic pipes.
- Corroded pipes: Over time, pipes can corrode, leading to weak spots and leaks.
The good news is that most of these issues can be addressed with readily available materials and simple techniques. We’ll focus on solutions that are truly easy and effective for anyone to try.
Essential Tools for Easy Pipe Repair
You don’t need a professional toolkit to get started. Here are the essential items you’ll likely need for most easy pipe repairs. Having these on hand will make your repair job much smoother.
- Adjustable Wrench: Perfect for gripping and turning nuts and bolt-like fittings.
- Pipe Wrench: Designed specifically for gripping round pipes. Get one that’s appropriately sized for your pipes.
- Pliers: Especially slip-joint or channel-lock pliers, for various gripping tasks.
- Screwdriver Set: For any screws found on fixtures attached to pipes.
- Bucket or Towels: To catch any residual water and protect your floor.
- Safety Glasses: Always protect your eyes, especially when working with water systems.
- Gloves: To keep your hands clean and offer a better grip.
- Pipe Repair Tape or Wrap: Specialized products designed to seal leaks temporarily or even semi-permanently.
- Epoxy Putty for Pipes: A moldable putty that hardens to create a strong seal.
For most repairs, especially those involving minor leaks or loose fittings, an adjustable wrench and some sturdy towels will be your best friends. If you’re dealing with older systems or more stubborn connections, investing in a good pipe wrench can save you a lot of hassle.
Step-by-Step Easy Pipe Repair Methods
Let’s get to the fixes! We’ll break down the most common scenarios into simple, actionable steps. Remember safety first: if you’re unsure about any step, or if the leak is significant, it’s always best to turn off the main water supply to your home and call a professional plumber.
Fix 1: Repairing a Dripping Faucet

A constant drip from your faucet is not only annoying but wastes a lot of water. The most common cause is a worn-out washer or O-ring inside the faucet handle. Here’s how to fix it:
- Turn Off the Water: Locate the shut-off valves underneath the sink (usually small knobs or levers on the hot and cold water lines). Turn them clockwise until they stop. If you don’t have shut-off valves under the sink, you’ll need to turn off the main water supply to your house.
- Drain the Faucet: Turn on the faucet to release any remaining water in the pipes.
- Disassemble the Faucet Handle: You’ll typically find a decorative cap on the handle. Pry this off carefully with a flathead screwdriver. Underneath, you’ll see a screw. Unscrew this and lift the handle off.
- Access the Stem/Cartridge: Depending on your faucet type, you’ll see either a stem with a washer or a cartridge. Use your wrench to unscrew any retaining nuts or collars.
- Replace the Washer or O-ring: For older faucets, there will be a rubber washer held in place by a screw at the bottom of the stem. Unscrew it, replace the washer with an identical new one. For cartridge faucets, the whole cartridge usually needs replacement. Note the make and model of your faucet to buy the correct replacement part at the hardware store.
- Reassemble the Faucet: Put everything back in reverse order. Tighten screws and nuts securely, but don’t overtighten, as this can damage the new parts.
- Turn Water Back On: Slowly open the shut-off valves under the sink or the main water supply. Check for leaks.
This fix is incredibly satisfying and can often be done with just a screwdriver and a new washer or O-ring. Taking apart your faucet might seem daunting, but it’s usually just a few simple components.
Fix 2: Sealing Leaky Pipe Joints
Pipe joints are areas where pipes connect, often with fittings or couplings. Leaks here can sometimes be due to a loose connection or a compromised seal.
Method A: Tightening a Loose Fitting
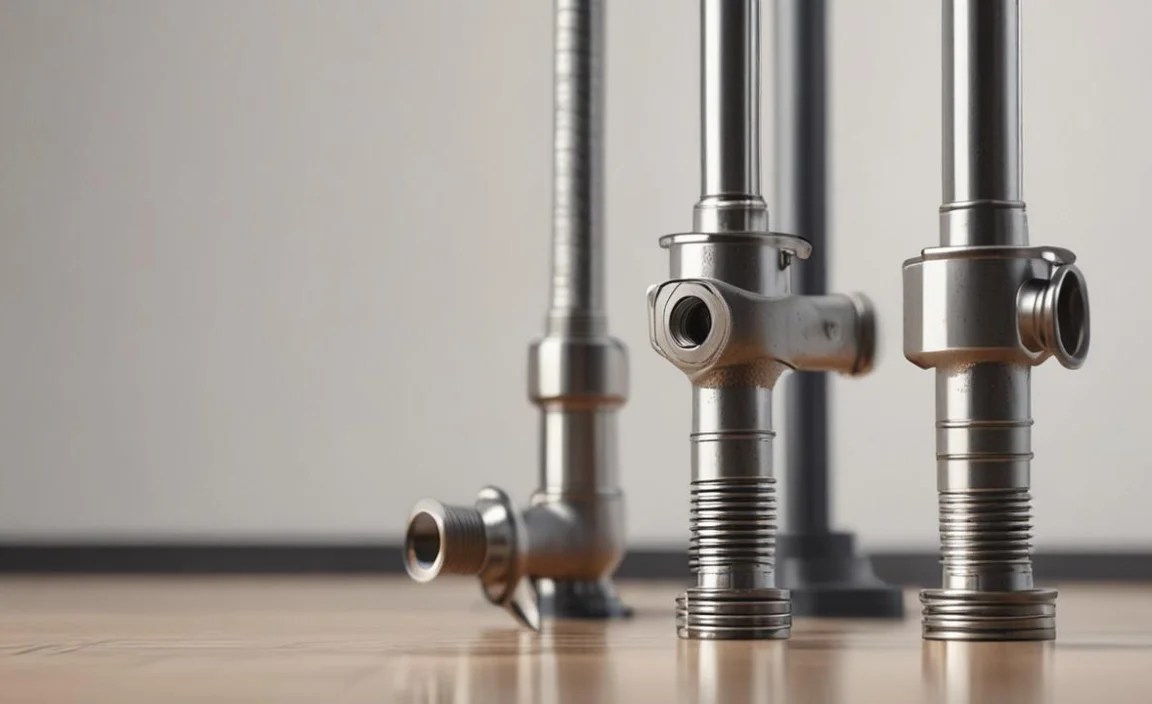
- Turn Off Water: As always, shut off water to the affected area or the main supply.
- Identify the Leak: Check if the leak is coming from a threaded connection.
- Tighten Gently: Use an adjustable wrench or pipe wrench to gently tighten the fitting. Turn it clockwise. Be careful not to force it too much, especially if the pipes are old or made of plastic, as you could crack them.
- Turn Water Back On: Gradually turn the water back on and check if the leak has stopped.
Sometimes, the simplest solution is the best. Many pipe leaks occur simply because a joint has worked itself loose over time due to vibrations or temperature changes.
Method B: Using Pipe Repair Tape (Temporary Fix)
This is a fantastic emergency solution for small leaks or cracks, giving you an immediate way to stop water damage while you plan a more permanent fix or wait for a plumber.
- Turn Off Water & Dry the Area: Shut off the water completely. Thoroughly dry the pipe around the leak with a clean cloth. The tape won’t adhere properly to wet or dirty surfaces.
- Prepare the Tape: Follow the manufacturer’s instructions. Some pipe repair tapes need to be soaked in water before application.
- Apply the Tape Tightly: Starting several inches before the leak and extending several inches past it, wrap the tape around the pipe. Each wrap should overlap the previous one by at least half the tape’s width. Apply good, even tension as you wrap. For extra strength, you can wrap in opposite directions for subsequent layers.
- Allow to Cure: Let the tape set according to the product’s instructions. This can range from a few minutes to several hours.
- Turn Water Back On: Slowly restore water pressure and check your repair.
Pipe repair tape is an incredible tool for DIYers. It’s designed to conform to pipe shapes and harden into a rigid shell that can hold back significant water pressure. Brands like Everbuild Pipe Repair Tape offer user-friendly options.
Method C: Using Epoxy Putty for Pipes
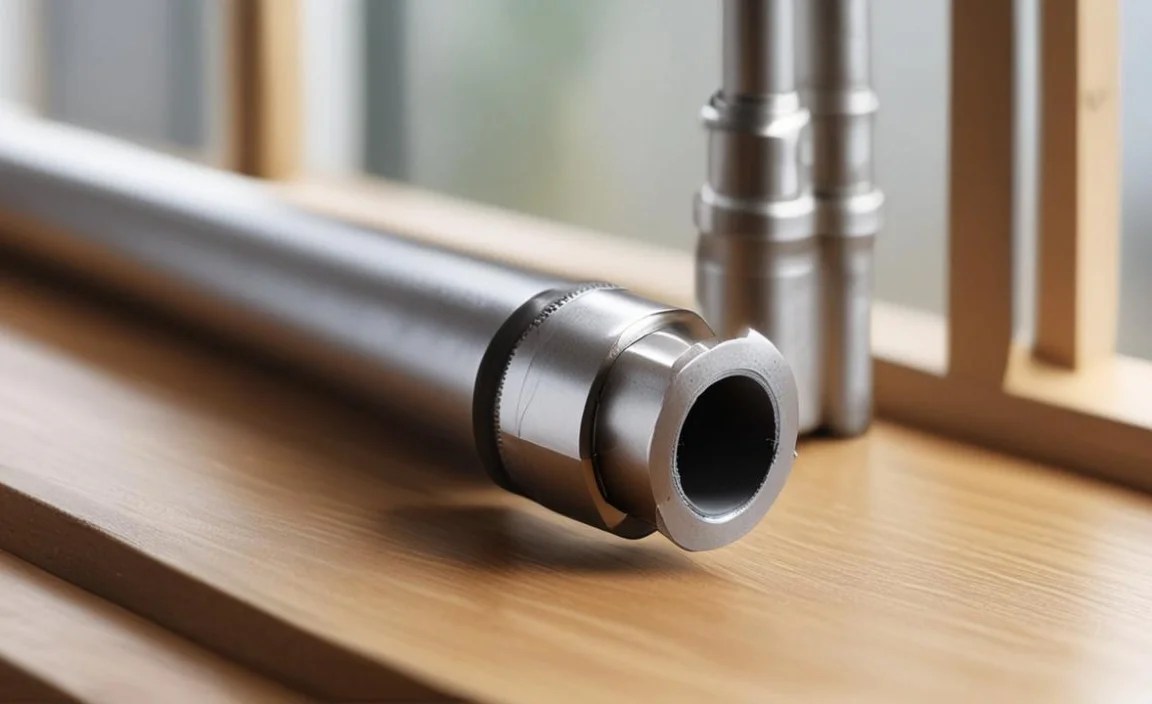
Epoxy putty is another excellent temporary to semi-permanent fix, especially for small holes or cracks. It’s like a molding clay that hardens into a very strong patch.
- Turn Off Water & Prepare Surface: Shut off the water. Clean and dry the area around the leak thoroughly. For best adhesion, lightly sand the pipe surface around the leak to create a rougher texture for the epoxy to grip.
- Prepare the Putty: Cut off the required amount of putty. Knead it thoroughly until it becomes a uniform color. This activates the hardening agents. Work quickly, as you’ll have a limited working time (usually 3-5 minutes).
- Apply the Putty: Press the kneaded putty firmly into and around the leak. Mold it to cover the damaged area completely, extending beyond the leak. Ensure good contact with the pipe surface.
- Allow to Cure: Let the putty cure for the time specified by the manufacturer. This can vary from 15 minutes to several hours, depending on the product and temperature.
- Turn Water Back On: Once the putty is fully cured and hardened, you can slowly turn the water back on and check for leaks.
Epoxy putties are remarkably effective. They create a strong, waterproof seal. Make sure to choose an epoxy specifically formulated for plumbing applications, as these are designed to withstand water pressure and different pipe materials. For more detailed guidance on plumbing epoxies, resources like This Old House often have great visual tutorials.
Fix 3: Repairing Small Cracks or Pinhole Leaks

These small, often insidious leaks can occur in metal or plastic pipes. The methods above, particularly pipe repair tape and epoxy putty, are excellent for addressing these.
Steps using Repair Tape for Cracks/Pinhole Leaks:
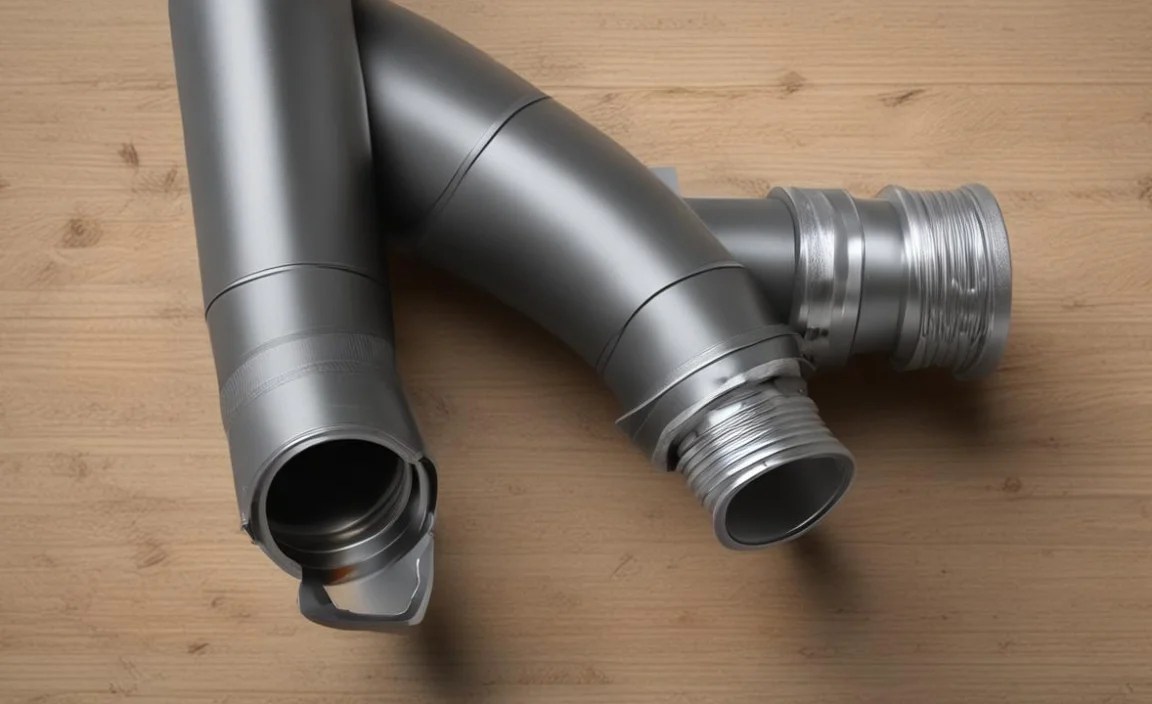
- Turn Off Water & Dry: Essential first step. Ensure the pipe is completely dry.
- Prep the Pipe: Lightly sand the area around the crack or pinhole to ensure good adhesion.
- Apply Tape: Wrap the pipe repair tape tightly around the affected area, overlapping generously. Ensure the tape covers well beyond the crack or pinhole on all sides.
- Cure and Test: Allow the tape to cure completely before turning the water back on.
Steps using Epoxy Putty for Cracks/Pinhole Leaks:
- Turn Off Water & Prep: Shut off water, dry the pipe, and lightly sand around the pinhole or crack.
- Mix and Apply: Knead the epoxy putty until uniform. Press it firmly into and over the pinhole or crack, ensuring complete coverage and a good seal to the pipe.
- Cure and Test: Let the epoxy cure fully according to product directions before reintroducing water pressure.
For pinhole leaks, a tiny patch of epoxy putty is often all you need. The key is to apply it when the pipe is clean, dry, and roughened slightly for optimal bonding. These fixes are usually robust enough for minor issues but remember they are often considered temporary solutions by professionals when dealing with significantly aged or corroded piping.
When to Call a Professional Plumber
While these DIY fixes can be incredibly helpful, it’s crucial to know your limits. Some situations require the expertise of a licensed plumber. You should call one if:
- The leak is large or spraying: This indicates a significant problem that could cause severe water damage quickly.
- You can’t find the shut-off valve: If you can’t isolate the water supply, it’s safer to let a pro handle it.
- The pipe material is unfamiliar or looks very corroded: Old galvanized steel or heavily corroded copper pipes can be fragile.
- The leak is in a main water line or sewer line: These are complex systems that a DIYer shouldn’t tackle.
- You’ve tried a DIY fix and it’s still leaking: Some problems require specialized tools or knowledge.
- Your DIY attempts are making the problem worse: Don’t hesitate to ask for help if you’re struggling.
Plumbers have specialized tools and extensive experience to diagnose and fix complex issues safely and effectively. They can also advise on preventative measures and more permanent solutions.
Preventative Maintenance Tips to Avoid Future Leaks
An ounce of prevention is worth a pound of cure, as they say! Here are some easy tips to help prevent future pipe problems:
- Insulate Pipes: Especially in unheated areas like basements or crawl spaces, insulating pipes can prevent them from freezing and bursting.
- Know Where Your Main Shut-Off is: Familiarize yourself with the location of your home’s main water shut-off valve. Knowing this can save you from disaster in an emergency. The U.S. Environmental Protection Agency (EPA) provides excellent general home maintenance advice on their website, which often includes water conservation and leak prevention tips.
- Address Small Drips Promptly: Don’t ignore small leaks. They can worsen over time and cause more significant damage.
- Be Careful with Drain Cleaners: Harsh chemical drain cleaners can sometimes damage pipes. Opt for gentler methods like a plunger or a snake when possible.
- Watch for Corrosion: Periodically inspect visible pipes for signs of rust or corrosion. This is more common in older homes.
- Maintain Water Pressure: Extremely high water pressure can stress your plumbing system. A plumber can install a pressure-reducing valve if needed.
Consistent, simple maintenance can go a long way in keeping your plumbing system in good working order. Small checks and proactive steps can prevent costly repairs down the line.
Comparing Temporary Fixes
We’ve discussed a couple of excellent temporary fixes. Here’s a quick comparison:
| Feature | Pipe Repair Tape | Epoxy Putty |
|---|---|---|
| Best For | Longer cracks, more irregular pipe shapes, emergency repairs. Can provide a very rigid seal. | Small pinholes, cracks, leaks requiring a moldable, strong patch. Ideal for detailed areas. |
| Application Ease | Requires firm, consistent tension during wrapping. | Requires thorough kneading and quick application. |
| Cure Time | Varies (minutes to hours), often needs water presence to activate fully. | Varies (minutes to hours), typically air-cured. |
| Strength | Can be very strong, forms a hard shell. | Forms a very hard, durable, and strong patch. |
| Workability | Less forgiving if not applied perfectly in one go. | Moldable and forgiving during the working window. |
Both pipe repair tape and epoxy putty are invaluable tools in your DIY arsenal for dealing with leaks. For longer splits or areas where you need a robust, rigid wrap, tape is excellent. For precise sealing of a small hole or a tight corner, epoxy putty often excels.
Frequently Asked Questions (FAQ)
Q1: How much water can a small leak waste?

Even a small leak, such as one drip per second, can waste over 3,000 gallons of water per year! Fixing leaks is great for your wallet and the environment.
Q2: Can I use duct tape to fix a pipe leak?

While duct tape might seem like a universal fix, it’s generally not effective for plumbing leaks. It’s not waterproof and won’t hold under water pressure. Specialized pipe repair tapes are designed for this purpose.
Q3: How long do temporary pipe repairs typically last?
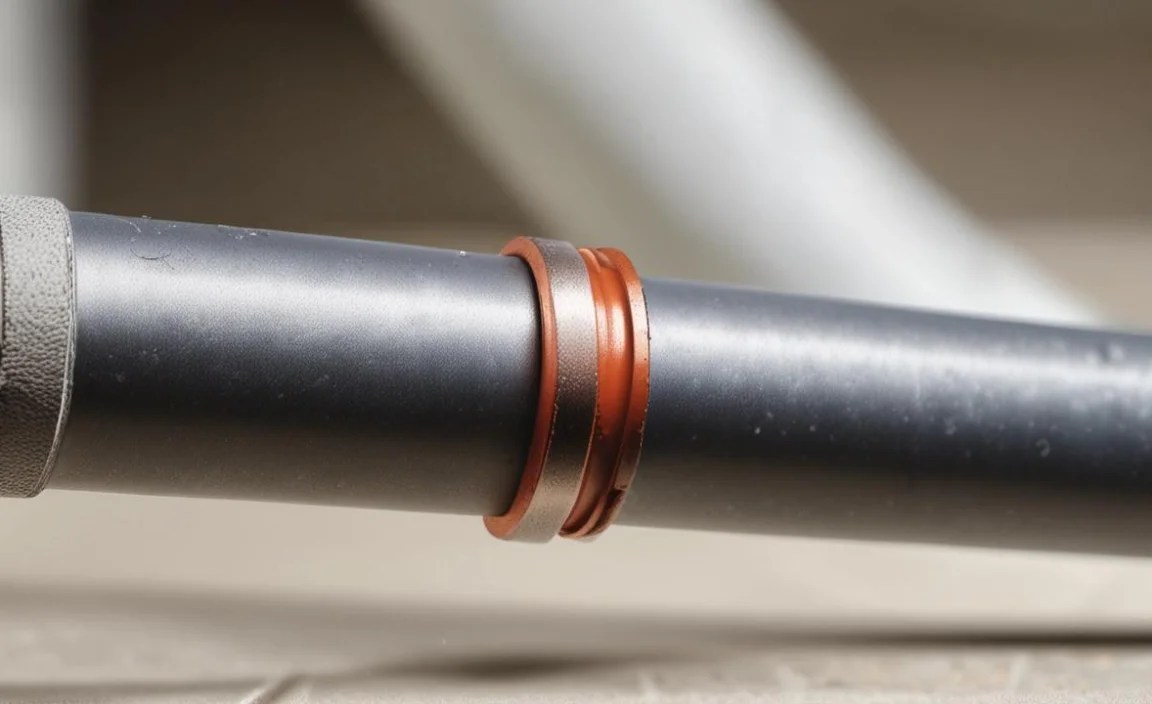
Temporary fixes like repair tape and epoxy putty can last for months, or even years, for minor leaks under low pressure. However, they are not usually considered permanent solutions, especially if the pipe is significantly degraded.
Q4: What is the difference between copper and PVC pipes, and do they require different repairs?

Copper pipes are metal and can corrode or develop pinholes. PVC (plastic) pipes are more common in modern homes and can crack or develop leaks at joints. While the repair methods (tape, putty) are similar, always ensure your repair materials are compatible with the pipe material. Most repair tapes and epoxies are designed for multiple materials.
Q5: Do I need to turn off the water to my whole house for a faucet repair?

Not always. Most sinks have individual shut-off valves located directly beneath them. Turning these valves clockwise will stop water flow to just that faucet, making repairs much more convenient. If you don’t have these valves, you will need to turn off the main water supply to your home.
Q6: What causes pipes to freeze and burst?

Pipes freeze when the water inside them gets cold enough to turn into ice. This often happens in uninsulated pipes located in unheated areas like attics, crawl spaces, or exterior walls during very cold weather. As water freezes, it expands, which can put extreme pressure on the pipe, causing it to burst.
