
Repair pipes fast with our quick fix guide! Learn easy DIY methods using readily available materials like epoxy putty, repair tape, and clamps to temporarily seal leaks and prevent further damage until a permanent fix can be made. Essential for any homeowner facing an emergency.
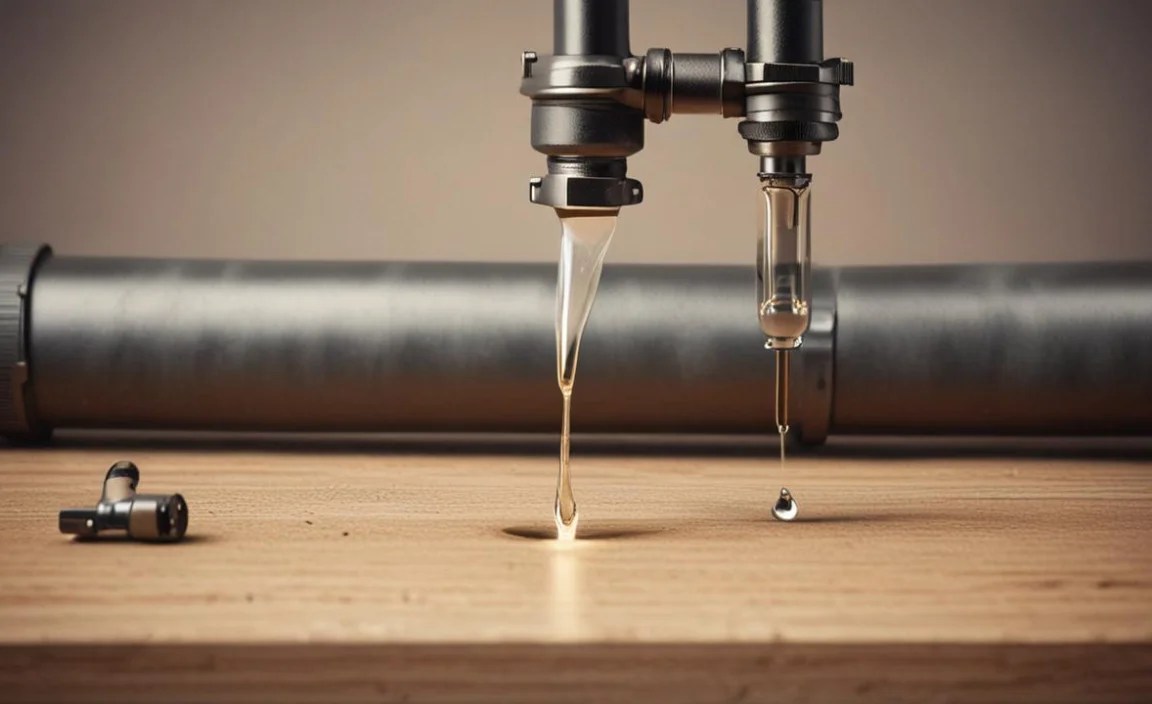
A leaky pipe can be a homeowner’s nightmare. That persistent drip, drip, drip isn’t just annoying; it can lead to water damage, mold growth, and skyrocketing water bills. When a leak springs up unexpectedly, you need a solution – and fast! Don’t panic. Many common pipe leaks can be temporarily repaired with materials you likely have on hand or can get from your local hardware store. This guide will walk you through simple, effective quick fixes that can buy you time until you can schedule a more permanent repair. We’ll empower you with the knowledge to tackle those sudden pipe problems confidently.
Common Pipe Problems You Can Fix Fast
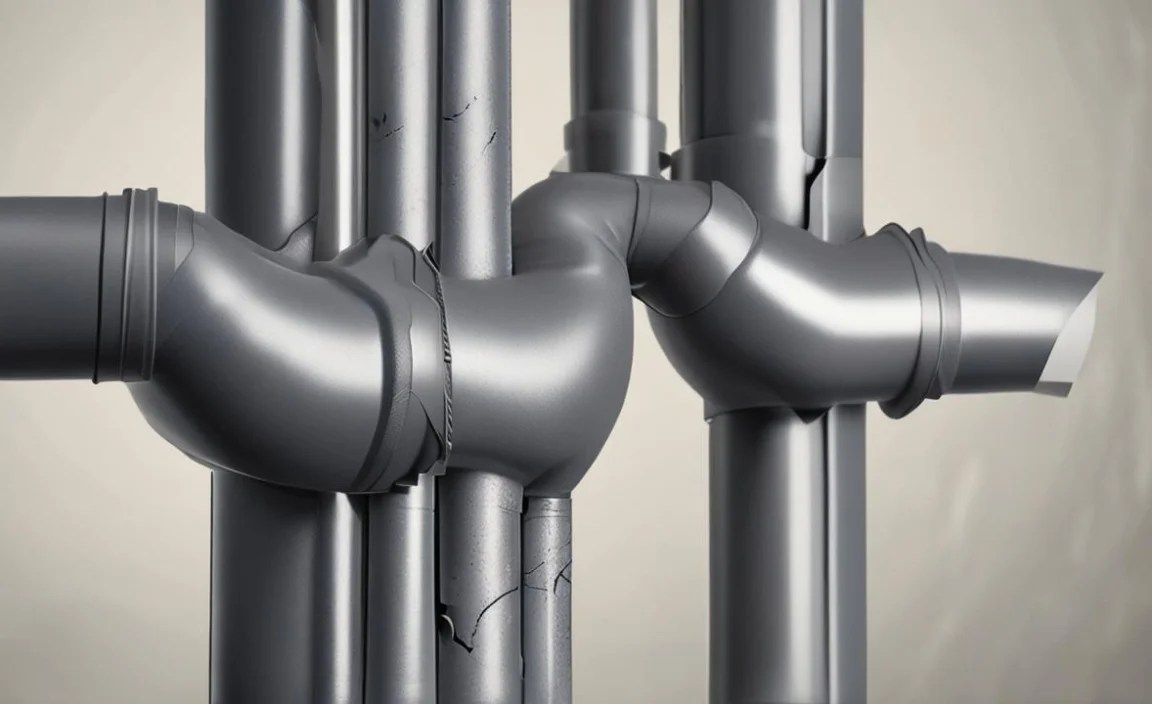
Not all pipe leaks are created equal. Some are minor pinholes, while others might be larger cracks. For quick fixes, we’re generally looking at:
- Pinholes: Tiny holes that appear as small, direct leaks or even a spray of water.
- Small Cracks: Typically less than an inch long, these can weep or spray water more significantly than pinholes.
- Corrosion Spots: Areas where the pipe has weakened due to rust or chemical reactions, often appearing as small leaks or damp spots.
It’s crucial to understand that these are temporary solutions. They are designed to stop the leak and prevent immediate damage. A plumber should always be consulted for a permanent repair to ensure the integrity of your plumbing system.
Safety First: Essential Prep Work
Before you grab any tools or materials, a few steps are essential for both safety and effectiveness:
- Turn Off the Water: This is the absolute first step. Locate your main water shut-off valve, usually found where the water line enters your home (basement, garage, or utility closet). Turn the valve clockwise until it’s fully closed. If you’re dealing with a leak in a specific fixture (like a sink or toilet), you might find a smaller shut-off valve directly connected to that fixture.
- Drain the Pipe: Open the faucet closest to the leak (and at a lower elevation if possible) to drain any remaining water from the affected pipe section. Place a bucket underneath the leak to catch drips.
- Dry the Area: Thoroughly dry the outside of the pipe around the leak. Any moisture will prevent your repair materials from adhering properly. Use a clean rag or towel.
- Clean the Surface: For a good seal, the pipe surface needs to be clean. If there’s any rust, dirt, or debris, gently sand the area with fine-grit sandpaper or steel wool. Wipe away dust after sanding.
Quick Fix Method 1: Epoxy Putty for Pinhole Leaks and Small Cracks
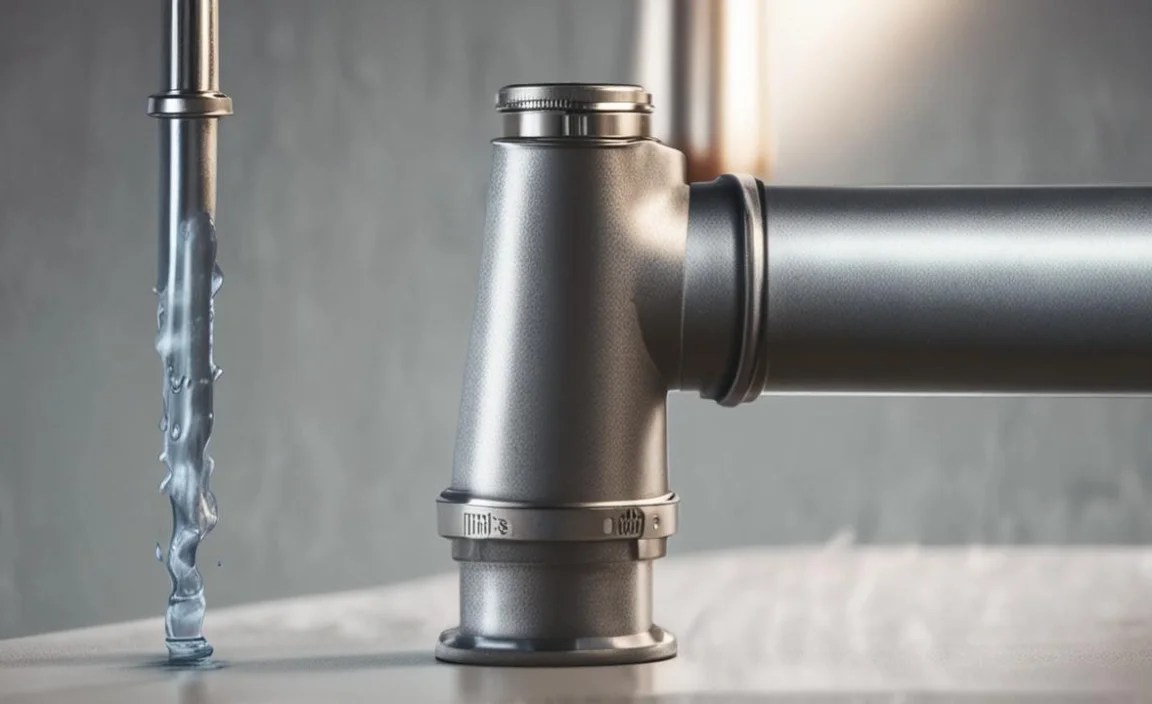
This is one of the most versatile and effective quick fixes for smaller pipe issues. Epoxy putty is a two-part material that you mix together, and it hardens like steel, creating a strong, watertight bond.
What You’ll Need:
- Waterproof epoxy putty specifically designed for plumbing
- Gloves (to keep your hands clean and protect them)
- Fine-grit sandpaper or steel wool
- Clean rags
- Bucket
Step-by-Step Guide:
-
Prepare the Pipe: Follow the safety steps above: turn off water, drain pipe, dry and clean the area thoroughly. Sanding the area lightly helps the epoxy adhere better.
-
Mix the Epoxy: Cut off a small portion of the epoxy putty. Knead it with your gloved fingers until the two parts are thoroughly mixed and the putty is a uniform color. This usually takes a few minutes. Be sure to follow the manufacturer’s instructions for mixing times.
-
Apply the Putty: Once mixed, the putty will start to harden, so work quickly. Press the putty firmly into and around the leak. For pinholes, push a small amount directly into the hole. For small cracks, build up the putty over the crack, extending it slightly beyond the damaged area.
-
Shape and Smooth: Shape the putty so it creates a smooth, flush patch over the leak. Ensure it’s pressed firmly against the pipe surface.
-
Cure Time: Allow the epoxy to cure completely according to the manufacturer’s instructions. This can range from 30 minutes to a few hours. Avoid disturbing the patch during this time. For a stronger bond, some epoxies benefit from a light application of gentle heat (like a hairdryer on a low setting) after initial application, but always check product instructions.
-
Test the Repair: Once fully cured, slowly turn the main water supply back on and check for leaks. If the leak has stopped, you’ve successfully applied a temporary fix!
Pros and Cons of Epoxy Putty

| Pros | Cons |
|---|---|
| Very strong and durable when cured | Requires quick work before it hardens |
| Can fill irregular shapes and holes effectively | Not ideal for very large or structural pipe damage |
| Creates a solid, permanent-feeling patch | Cure time can vary, requiring patience |
| Relatively inexpensive and widely available | Surface must be completely dry and clean for best adhesion |
Quick Fix Method 2: Pipe Repair Tape for Wider Cracks and Leaks

Reinforced pipe repair tape, often fiberglass-based and activated by water, is another excellent option, especially for slightly larger leaks or when you need to cover a more extended damaged area.
What You’ll Need:
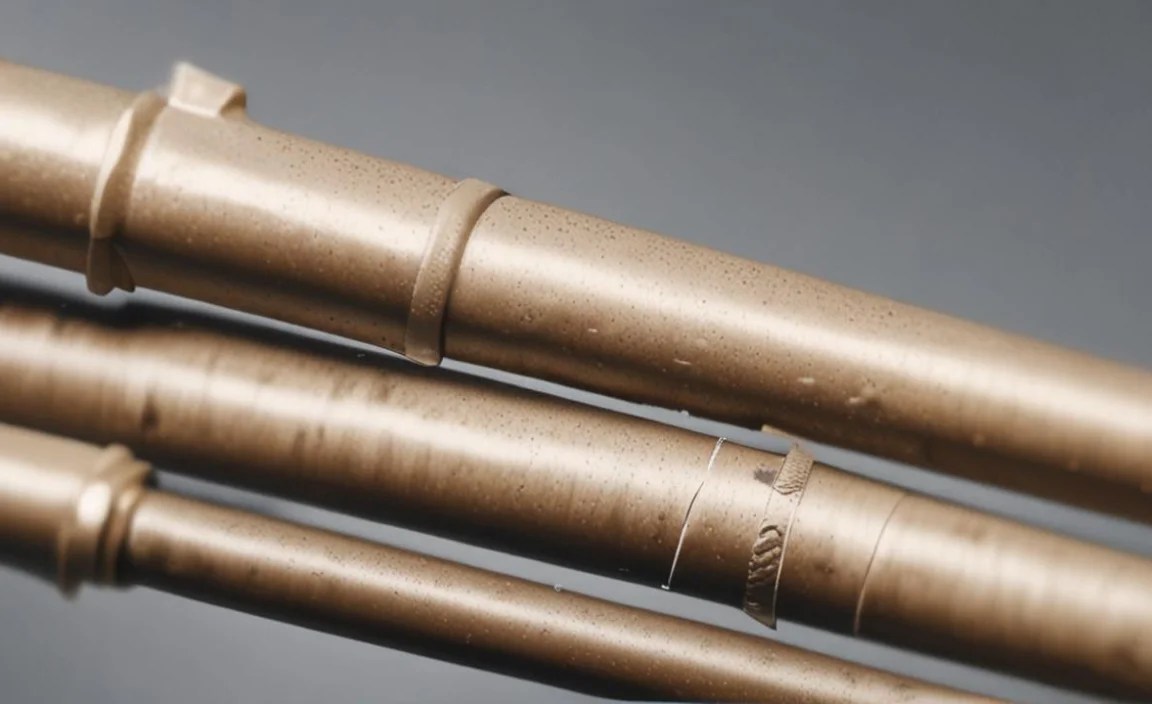
- Water-activated fiberglass pipe repair tape (ensure it’s suitable for pressurized pipes)
- Gloves
- Fine-grit sandpaper or steel wool
- Clean rags
- Bucket
- Scissors or a utility knife to cut the tape
Step-by-Step Guide:
-
Prepare the Area: Follow the initial safety preparation steps: shut off water, drain the pipe, and dry the area. This tape often requires a slightly damp, but not actively leaking, surface for activation, but always check the package instructions. Light sanding can improve adhesion.
-
Activate the Tape: Read the product instructions carefully. Most tapes require soaking in water for a specific amount of Rtime (usually 30-60 seconds) to activate the resin. Wear gloves, as the resin can be sticky.
-
Wrap the Pipe: Once activated, tightly wrap the tape around the pipe, starting a few inches before the leak and ending a few inches past it. Overlap each layer by about half the tape’s width. For a stronger repair, wrap in multiple directions (e.g., horizontally, then at a 45-degree angle).
-
Smooth and Shape: As you wrap, smooth out the tape to ensure there are no air bubbles and that it adheres firmly to the pipe and itself. The resin will start to harden as you work.
-
Curing: The repair tape will harden significantly within 15-30 minutes, but it may take up to 24 hours for a full, hard cure depending on humidity and temperature. Avoid putting the pipe back under full pressure until it’s hardened substantially.
-
Test: After the recommended curing period, slowly turn the water back on and check for leaks. The tape should create a rigid, leak-proof seal.
Pros and Cons of Pipe Repair Tape

| Pros | Cons |
|---|---|
| Excellent for sealing longer cracks or multiple small leaks | Can be messy to work with due to the resin |
| Haces a very strong, rigid repair once cured | Surface preparation is still critical (dry and clean) |
| Conforms well to pipe shapes | Less forgiving for very irregular damage compared to putty |
| Fast setting time (hardens within minutes) | Requires specific activation in water; can be sensitive to temperature/humidity |
Quick Fix Method 3: Pipe Repair Clamp for Larger Damage
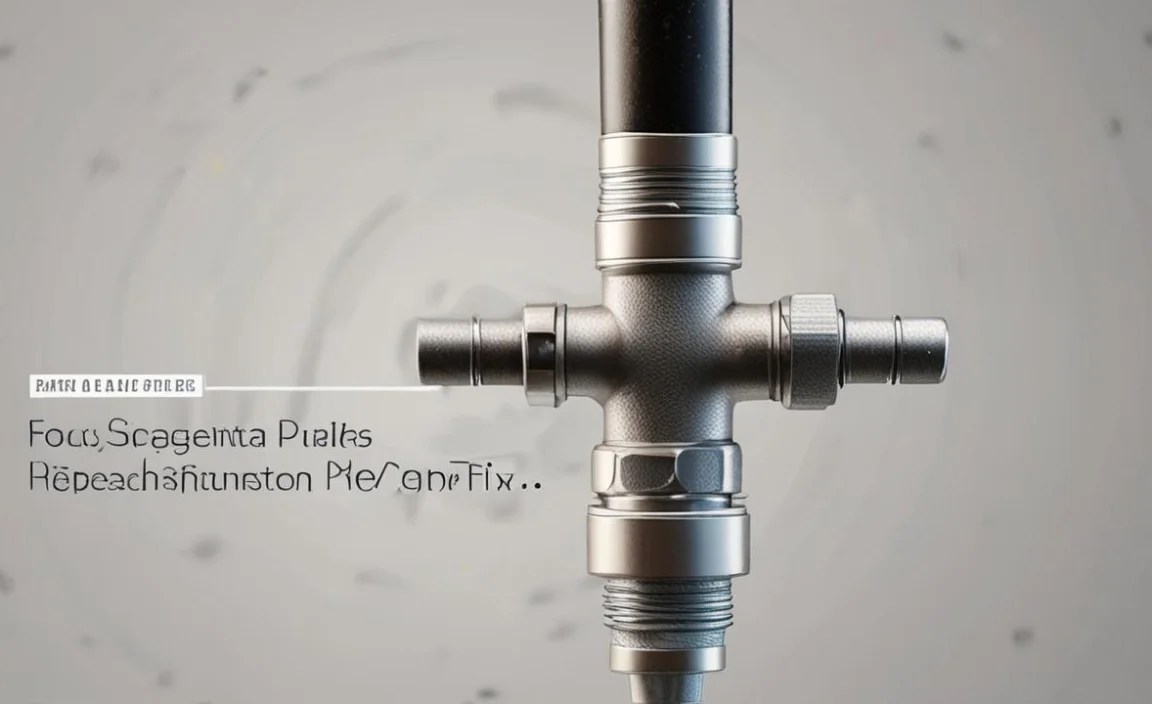
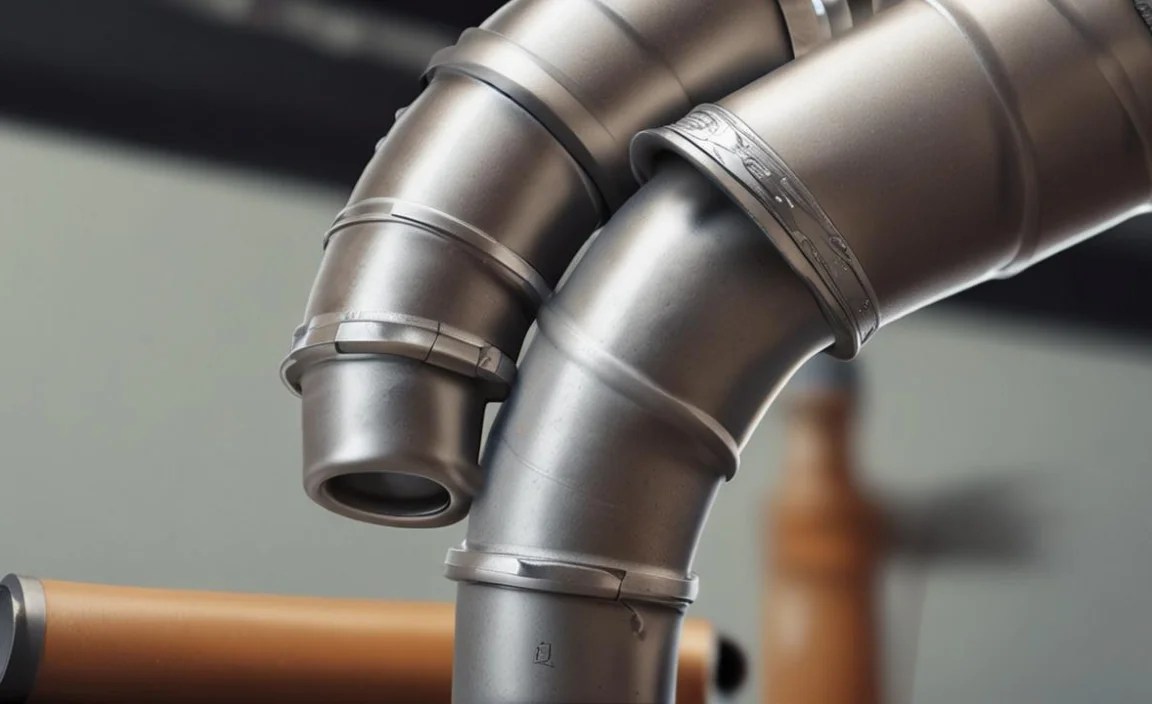
For more significant cracks or holes where putty or tape might not provide enough support, a pipe repair clamp is a fantastic mechanical solution. These often consist of a metal sleeve with a rubber liner.
What You’ll Need:
- Universal pipe repair clamp (sized correctly for your pipe diameter)
- Screwdriver or wrench (depending on clamp type)
- Fine-grit sandpaper or steel wool
- Clean rags
- Bucket
Step-by-Step Guide:
-
Prepare the Pipe: Follow the initial safety steps. Ensure the water is off, the pipe is drained, and the area is completely dry and clean. Sanding the damaged area lightly can help the rubber gasket seal better.
-
Position the Clamp: Unfasten the clamp and open it up. Place the rubber gasket directly over the damaged area on the pipe. Ensure the gasket fully covers the leak.
-
Close and Secure the Clamp: Position the metal part of the clamp over the rubber gasket, enclosing the pipe. Fasten the screws or bolts tightly. If your clamp has multiple bolts, tighten them evenly in an alternating pattern (like tightening lug nuts on a car wheel) to ensure even pressure.
-
Check for Tightness: Ensure the clamp is snug and secure. The rubber gasket inside should be compressed, creating a seal against the pipe.
-
Test the Repair: Slowly turn the main water supply back on. Check carefully around the clamp for any signs of leaks. The clamp should effectively stop water from escaping.
Pros and Cons of Pipe Repair Clamps

| Pros | Cons |
|---|---|
| Excellent for larger cracks or holes | Requires the correct size clamp for the pipe diameter |
| Provides a strong mechanical hold | Can be bulkier than other repair methods |
| Easy to install for beginners | May require specific tools like a wrench or screwdriver |
| Quick installation with immediate results | Aesthetically less appealing than a flush patch |
Choosing the Right Quick Fix for Your Leak
Selecting the best temporary repair depends on a few factors:
- Size and Type of Leak: Pinhole vs. crack vs. corrosion.
- Pipe Material: While most of these methods work on common materials like copper, PVC, and galvanized steel, always check product compatibility.
- Accessibility: How easy is it to reach the damaged area?
- Tools and Materials Available: What do you have on hand or can acquire quickly?
Here’s a simple chart to help you decide:
| Leak Type | Best Quick Fix Method | Why |
|---|---|---|
| Small Pinhole Leak | Epoxy Putty | Fills the small hole directly, creating a strong patch. |
| 1-2 Inch Crack | Epoxy Putty or Pipe Repair Tape | Putty can bridge the crack; tape can wrap the damaged section for added strength. |
| Larger Crack (over 2 inches) or Gouge | Pipe Repair Clamp | Provides robust mechanical support and a secure seal. |
| Corrosion Spot Leak | Pipe Repair Tape or Epoxy Putty | Both can create a durable seal over the weakened area, tape offers more surface coverage. |
| Leak in a Tight Bend or Elbow | Epoxy Putty or Pipe Repair Tape | These are more conformable to curved surfaces than clamps. |
When to Call a Professional Plumber
While these quick fixes are lifesavers in an emergency, they are indeed temporary. You should always contact a qualified plumber for a permanent solution if:
- The leak is significant or spraying forcefully.
- The damaged area is large (more than a few inches).
- The pipe is structurally compromised (e.g., sagging, severely corroded, or burst).
- You are dealing with the main water line.
- The leak is in a difficult-to-access location (e.g., inside a wall, under a concrete slab).
- You are not comfortable performing the quick fix or are unsure about the repair.
- The leak recurs after your temporary fix.
A plumber has the tools, expertise, and materials to diagnose the root cause of the leak and perform a lasting repair. For more information on plumbing emergencies, resources like the EPA’s WaterSense program offer valuable tips on water conservation and system maintenance, indirectly highlighting the importance of sound plumbing.
FAQ: Your Quick Pipe Repair Questions Answered
Q1: How long do these quick fixes typically last?
A1: Quick fixes are designed to be temporary. They can last anywhere from a few days to several weeks, depending on the severity of the leak, the quality of the repair, and the water pressure. They are intended to get you by until a permanent repair can be scheduled with a plumber.
Q2: Can I use duct tape to fix a pipe?

A2: While duct tape might work for a tiny weep in a very low-pressure situation, it’s generally not a reliable or long-term solution for plumbing leaks. The adhesive will degrade, and the tape can absorb water, making the leak worse. Specialized pipe repair products are far more effective.
Q3: What kind of pipe material can I use these fixes on?

A3: Most epoxy putties, repair tapes, and clamps are designed to work on common plumbing materials such as PVC, copper, galvanized steel, and even some plastics. Always check the product packaging to ensure compatibility with your specific pipe material.
Q4: How do I know if the quick fix is working?
A4: After the
