
Quick Summary:
Repair pipes step by step with confidence by following this essential guide. We’ll show you how to identify issues, choose the right repair method, gather tools, and complete common pipe repairs safely and effectively, saving you time and money.
Leaky pipes can be a homeowner’s nightmare. That drip, drip, drip is not just annoying; it can lead to serious water damage, mold growth, and a hefty rise in your utility bills. But don’t panic! Most common pipe leaks and breaks are fixable with a little know-how and some basic tools. This guide is designed to walk you through the process, making pipe repair feel less daunting and more like a manageable DIY project. We’ll cover everything from spotting the problem to making a lasting fix, so you can get your plumbing back in working order.
Understanding Common Pipe Problems
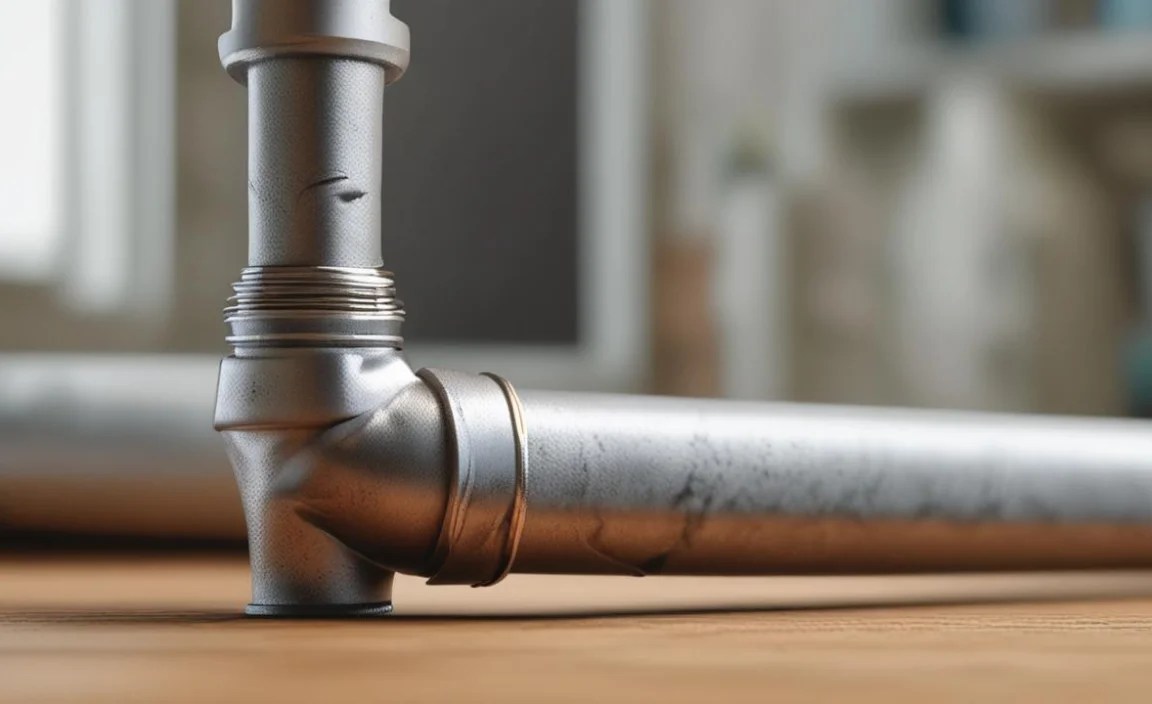
Before you can fix a pipe, you need to know what you’re dealing with. Pipe problems often start small but can escalate quickly if ignored. Some of the most frequent culprits include:
- Leaky Joints: Where pipes connect, small amounts of sealant or wear can lead to drips.
- Cracks or Holes: Caused by corrosion, freezing, or physical impact, these allow water to escape.
- Corrosion: Over time, pipes can weaken and rust from the inside out, leading to pinhole leaks.
- Frozen Pipes: In cold weather, water inside pipes can freeze, expand, and burst the pipe.
- High Water Pressure: Constant excessive pressure can stress pipe joints and material, leading to leaks. You can check your home’s water pressure with a simple gauge if you suspect this is an issue.
Essential Tools and Materials for Pipe Repair
Having the right tools on hand is crucial for a successful pipe repair. Depending on the type of pipe and the nature of the damage, you might need a few different items. Here’s a general list to get you started:
For Most Repairs:
- Pipe Wrench: For gripping and turning pipes.
- Adjustable Wrench: Versatile for various nuts and fittings.
- Pliers: Slip-joint or channel-lock pliers are useful.
- Bucket or Towels: To catch residual water.
- Safety Glasses: Always protect your eyes!
- Work Gloves: For a better grip and protection.
- Flashlight: To see clearly in dark or cramped spaces.
For Specific Repair Methods:
- Pipe Cutters: For clean cuts on copper or plastic pipes.
- Sandpaper or Emery Cloth: To clean pipe surfaces.
- Repair Clamps: Metal sleeves that squeeze a repair material onto the pipe.
- Epoxy Putty: A moldable, quick-setting putty for sealing small holes.
- Pipe Repair Tape: Self-fusing silicone tape that hardens when wrapped tightly.
- Replacement Fittings/Couplings: If a section needs to be replaced.
- Soldering Torch, Solder, and Flux (for copper): For permanent soldered joints.
- PVC Primer and Cement (for PVC): For gluing PVC pipes and fittings.
Step by Step: Repairing a Leaky Pipe
Let’s get to the heart of it. Here’s how to tackle common pipe leaks, broken down into simple, actionable steps.
Step 1: Turn Off the Water Supply

This is the most important first step. Locate your home’s main water shutoff valve. It’s often found where the water line enters your house, typically in a basement, crawl space, or utility closet. If the leak is localized to a specific fixture (like under a sink), there might be smaller shutoff valves directly connected to that fixture. Turn the valve clockwise to shut off the flow.
After shutting off the water, open the faucet closest to the leak to drain any remaining water from the pipes and relieve pressure. Place a bucket underneath the leak to catch any drips.
Step 2: Identify the Type of Pipe
The material of your pipes will influence the repair method. Common types include:
- Copper: Durable, common in older homes. Can be soldered or joined with compression fittings.
- PVC (Polyvinyl Chloride): White plastic pipes, often used for drain, waste, and vent (DWV) systems. Glued with primer and cement.
- PEX (Cross-linked Polyethylene): Flexible plastic tubing, often red for hot water and blue for cold. Connected with crimp or expansion fittings. You can learn more about different pipe materials from resources like the Federal Trade Commission.
- Galvanized Steel: Older, prone to rust and leaks.
Step 3: Assess the Damage
Examine the pipe closely. Is it a small pinhole leak, a crack, a loose joint, or a burst section? The severity and location of the damage will determine the best repair approach. For minor leaks, a temporary or permanent patch might suffice. For larger breaks or corroded sections, you might need to cut out and replace a piece of the pipe.
Step 4: Choose Your Repair Method (Temporary vs. Permanent)
For immediate relief while you plan a more permanent fix, or for very minor leaks, temporary solutions can be a lifesaver. For long-term reliability, permanent repairs are best.
Temporary Repair Options:
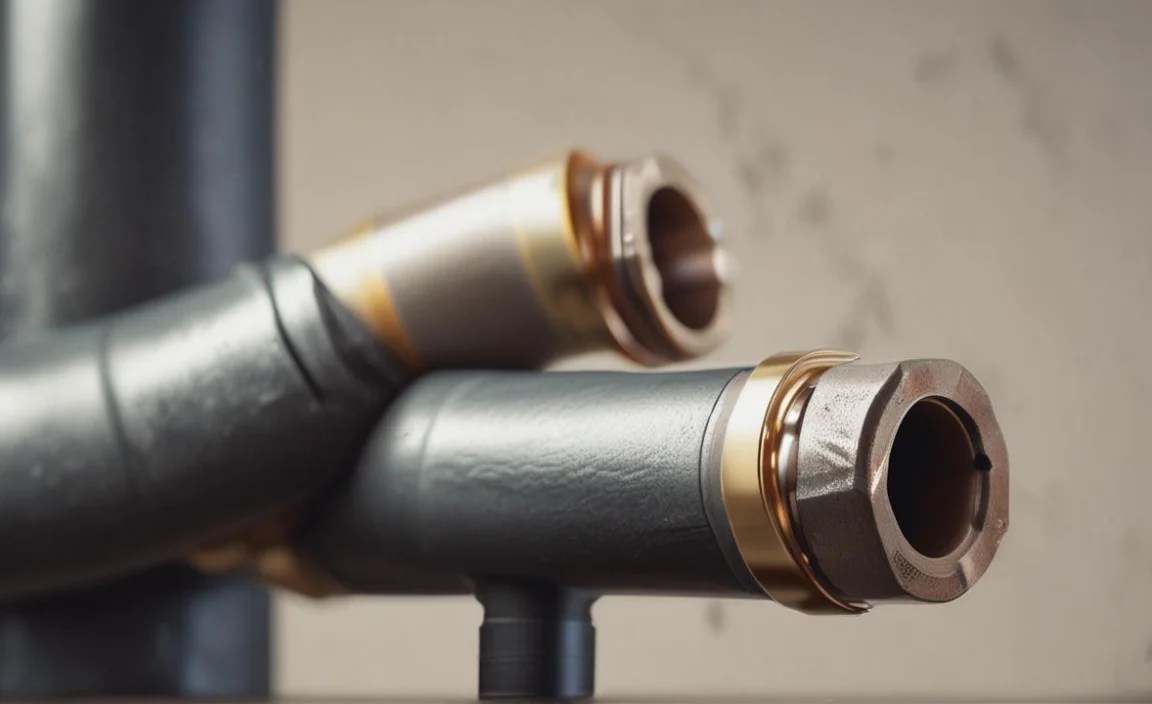
These are great for stopping a leak in its tracks until you can make a permanent repair. They are generally quick and easy to apply.
Option A: Pipe Repair Clamp
- Clean and dry the area around the leak.
- Open the pipe repair clamp and place the rubber gasket over the damaged area.
- Position the metal clamp halves around the pipe, ensuring the gasket is centered on the leak.
- Tighten the screws on the clamp evenly and firmly. This compresses the gasket, sealing the leak.
Option B: Pipe Repair Tape
- Ensure the pipe is clean, dry, and free of rust or debris.
- Start wrapping the tape several inches before and after the damaged area.
- Stretch the tape firmly as you wrap, overlapping each layer by about half the tape’s width. This stretching activates the self-fusing properties.
- Continue wrapping until you have at least 4-6 layers, or until the area is covered generously. The tape will harden, forming a solid seal.
Option C: Epoxy Putty
- Cut the putty according to the package instructions (you usually knead it until the color is uniform).
- Apply the putty firmly to the clean, dry damaged area, pressing it into any holes or cracks.
- Smooth the putty around the pipe, extending it beyond the leak on all sides.
- Allow it to cure fully as per the manufacturer’s instructions before turning the water back on.
Permanent Repair Options:
These methods involve replacing damaged sections or creating a more robust seal that is designed to last.
Option A: Replacing a Section of Pipe (for Copper or Plastic)
This is a more involved repair but provides a long-lasting solution.
- Measure and Cut: Measure the damaged section. Using a pipe cutter, make clean, straight cuts on either side of the damaged area, extending into good pipe material. Remember to account for the length of the new fitting(s) you’ll be using.
- Prepare Pipes: For copper, lightly sand the ends of the existing pipe and the inside of the new fitting with emery cloth. For PVC, slightly roughen the ends and inside of the fittings.
- Install New Section:
- For Copper: Use either a slip coupling (which allows more room for error) or standard couplings. If soldering, apply flux to pipe ends and inside fittings, then push together and heat with a torch, applying solder. If using compression fittings, simply slide the fitting onto the pipe and tighten the nuts. Visit This Old House for detailed soldering instructions.
- For PVC: Apply PVC primer to the pipe ends and inside the fittings, then apply PVC cement and quickly join the pieces, twisting slightly for good adhesion. Hold in place for 30 seconds.
- For PEX: Follow the specific instructions for your PEX system (crimp, clamp, or expansion fittings) using the appropriate tools.
- Allow to Cure: If soldering or cementing, allow adequate time for the joint to set and cure before turning on the water.
Option B: Replacing a Fitting
Sometimes, a leak is at a joint or coupling. If the pipe itself is sound, you might only need to replace the fitting.
- Cut Out the Old Fitting: Carefully cut out the damaged fitting, removing it from the pipe.
- Prepare Pipe Ends: Clean and prepare the ends of the pipes that will connect to the new fitting, just as you would for replacing a section.
- Install New Fitting: Connect the new fitting using the appropriate method for your pipe material (soldering, cementing, compression, or PEX fittings).
- Cure: Allow proper curing time if applicable.
Step 5: Test the Repair
Once the repair is complete and any necessary curing time has passed, slowly turn the main water supply back on. Listen for any sounds of running water and check thoroughly around the repaired area for any signs of leaks. Open the faucet you used to drain the pipes to let any air out, then turn it off. Monitor the repair over the next few hours and days to ensure it holds strong.
Common Pipe Materials and Common Repair Methods
Understanding what your pipes are made of is key to choosing the right repair. Here’s a quick look at some common materials and their typical repair approaches:
| Pipe Material | Pros | Cons | Common Repair Methods |
|---|---|---|---|
| Copper | Durable, corrosion-resistant, long lifespan, recyclable. | Can be expensive, soldering requires skill and heat, can corrode with certain water chemistries. | Soldering, Compression Fittings, Slip Couplings, Repair Clamps, Epoxy Putty, Repair Tape. |
| PVC (Polyvinyl Chloride) | Inexpensive, lightweight, easy to install with glue, good for DWV. | Degrades with UV exposure, can become brittle with age or in cold, not suitable for high-pressure hot water. | PVC Primer & Cement, Replacement sections with couplings, Repair Clamps (temporary). |
| PEX (Cross-linked Polyethylene) | Flexible, easy to install with specialized fittings, freeze-resistant, cost-effective. | Requires specific tools for connections, can be damaged by rodents, not ideal for direct UV exposure. | Crimp Fittings, Clamp Fittings, Expansion Fittings (using PEX tools), Repair Clamps (temporary). |
| Galvanized Steel | Strong, durable when new. | Prone to internal corrosion and rust over time, can clog, difficult to repair without professional help. | Often requires pipe replacement by a professional; temporary fixes like repair clamps or tape are possible for small leaks. |
When to Call a Professional Plumber
While this guide empowers you to tackle many common pipe repairs, there are times when it’s best to leave the job to the experts. Consider calling a plumber if:
- The leak is severe or causing significant water damage. Immediate professional attention might be needed to prevent further destruction.
- You can’t locate the main water shutoff valve. Working with a burst pipe without being able to turn off the water is extremely dangerous.
- The damaged pipe is in a hard-to-reach area, such as inside a wall or beneath a concrete slab.
- You’re dealing with gas lines. Never attempt to repair gas lines yourself; this is a job strictly for certified professionals.
- You’re uncomfortable or unsure about any step of the repair process. Pushing ahead without confidence can lead to mistakes and further damage.
- The pipes are very old or corroded and you suspect more widespread issues.
Plumbers have the specialized tools, knowledge, and experience to diagnose complex issues and perform repairs that meet local building codes and ensure long-term reliability. You can find resources to help you understand when a plumbing issue requires professional intervention from organizations like the Canadian Institute of Plumbing & Heating (though the principles apply universally).
FAQ: Your Pipe Repair Questions Answered
Q1: How do I know if I have a plumbing leak?

A: Look for visible water stains on walls or ceilings, puddles on the floor, unusually high water bills, a constant sound of running water when no fixtures are on, or an unexplained drop in water pressure. Checking your water meter when no water is being used can also help detect hidden leaks.
Q2: What is the easiest way to fix a leaky pipe?

A: For a small, accessible leak, a pipe repair clamp or waterproof epoxy putty is often the easiest and quickest temporary fix. Pipe repair tape can also be very effective if applied correctly.
Q3: Can I use duct tape to fix a pipe?

A: Duct tape is generally not recommended for plumbing repairs, especially for pressurized water lines. It’s not waterproof and won’t form a reliable seal for long, if at all. Specialized pipe repair tape or clamps are much more effective.
Q4: How long do temporary pipe repairs typically last?
A: Temporary repairs, like clamps, tape, or epoxy, are designed to hold until a permanent fix can be made. They can last for days, weeks, or sometimes months depending on the severity of the leak, the pressure on the pipe, and the quality of the application, but they are not meant for permanent use.
Q5: Do I need to turn off my water heater when fixing a pipe?

A: If the leak is on the hot water line, it’s a good idea to turn off your water heater to prevent damage and save energy until the repair is complete. For cold water lines, only the main water supply needs to be turned off.
Q6: How can I prevent pipes from freezing and bursting?

A: Insulate exposed pipes, especially in unheated areas like basements, crawl spaces, and garages. Allow faucets to drip slowly during extreme cold spells. For extended absences in winter, shut off the main water supply and drain the pipes.
Conclusion
Dealing with a leaky pipe doesn’t have to be a cause for major panic. By understanding the common issues, gathering the right tools, and following these step-by-step instructions, you can confidently tackle many pipe repairs yourself. Remember to always prioritize safety by turning off the water supply before you begin and wearing protective gear. Whether you opt for a quick temporary fix or a more permanent solution, knowing these essential techniques can save you time, money, and a lot of stress. Keep this guide handy, and you’ll be well-equipped to handle those unexpected drips and leaks that come with homeownership, ensuring your plumbing system stays in top condition.
