
Quick Summary
Fixing leaky pipes is manageable with the right tools. This guide covers essential repair pipes tools for DIYers, from basic pliers and wrenches to specialized pipe repair kits, ensuring you can confidently tackle common plumbing issues and prevent water damage with ease.
Essential Tools for Pipe Repair: Your Beginner’s Guide
Got a drip? A spray? Don’t let a leaky pipe send you into a panic. Plumbing issues can happen anytime, but with the right knowledge and tools, you can fix most common problems yourself. You don’t need to be a master plumber to handle a leaky joint or a small crack. This guide will walk you through the must-have tools for pipe repair, making you ready to tackle those frustrating leaks with confidence.
We’ll break down what each tool does and why it’s important. By the end, you’ll know exactly what to have in your toolbox to keep your pipes in top shape and avoid costly water damage. Let’s get your pipes fixed!
Why Having the Right Tools Matters
When a pipe starts leaking, the urge to grab the first thing you can find might be strong. However, using the wrong tool can make the problem worse, potentially causing more damage or even leading to injury. Think of it like trying to build furniture with a butter knife – it’s just not going to work well!
Having the correct tools for pipe repair means you can:
- Make repairs effectively and efficiently.
- Prevent further damage to your plumbing system.
- Save money by avoiding expensive emergency plumber calls.
- Feel confident and empowered tackling DIY projects.
This section sets the stage for why investing in a good set of repair pipes tools is crucial for any homeowner.
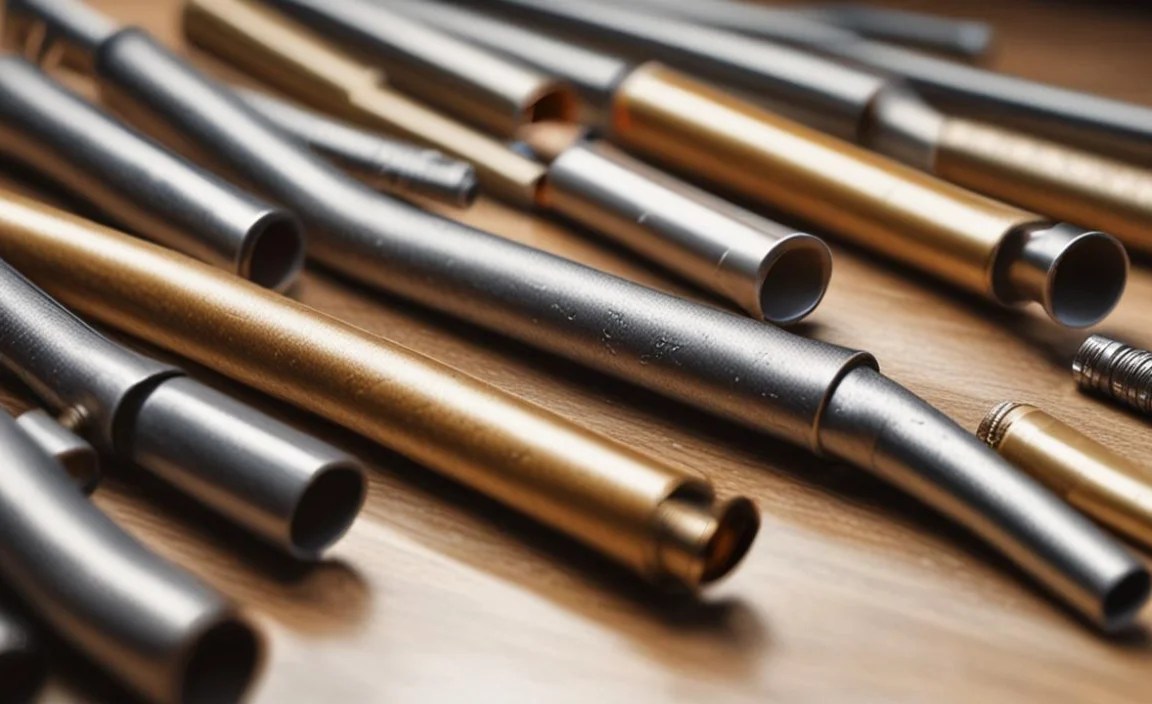
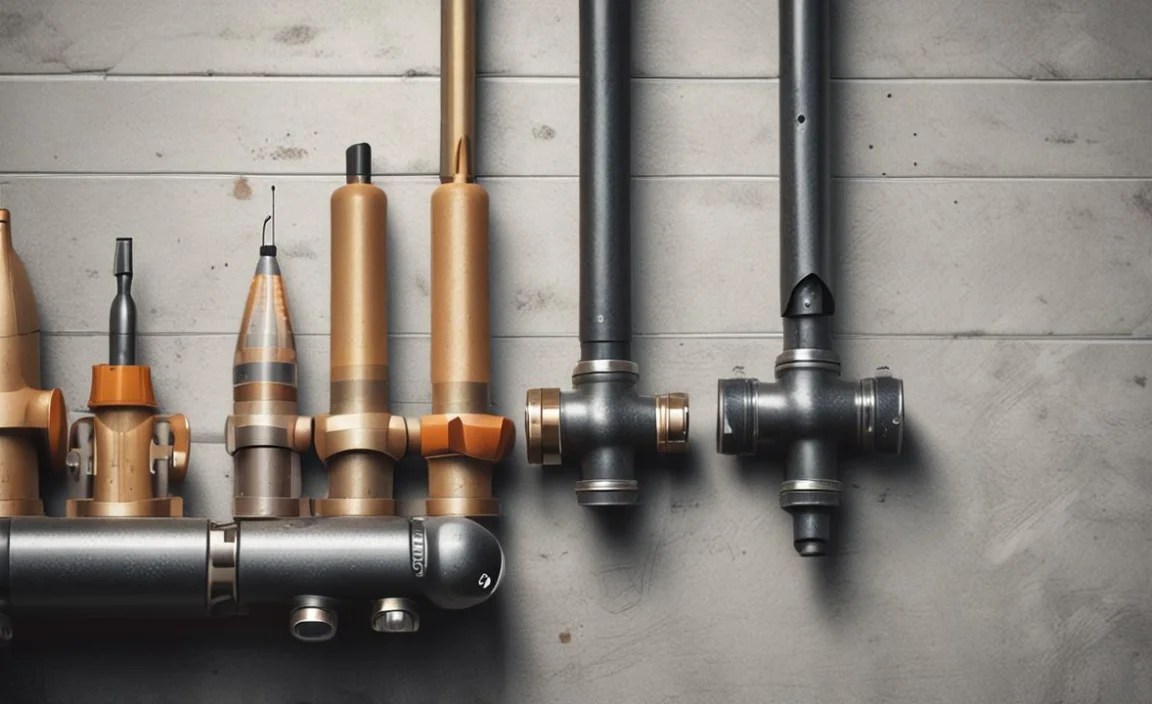
Understanding Common Pipe Materials

Before you start assembling your toolkit, it’s helpful to know what your pipes are made of. Different pipe materials require slightly different approaches and sometimes specific tools. Common materials include:
- Copper: Durable and common in older homes, copper pipes can be rigid or flexible. They’re joined by soldering or compression fittings.
- PVC (Polyvinyl Chloride): Lightweight, affordable, and resistant to corrosion, PVC pipes are widely used for drain, waste, and vent (DWV) systems, and sometimes for cold water supply lines. They are joined using primer and solvent cement.
- PEX (Cross-linked Polyethylene): A flexible plastic tubing popular for water supply lines. PEX is easy to install and resistant to bursting in freezing conditions. It’s typically joined with crimp rings, clamp rings, or push-fit fittings.
- Galvanized Steel: Less common in modern homes due to corrosion issues, these pipes are threaded for connections. They are heavy and rigid.
- CPVC (Chlorinated Polyvinyl Chloride): Similar to PVC but can handle hotter temperatures, making it suitable for hot water lines. It’s also joined with primer and solvent cement.
Knowing your pipe material will help you understand the best repair methods and the specific tools you might need. For instance, cutting copper requires different tools than cutting PVC.
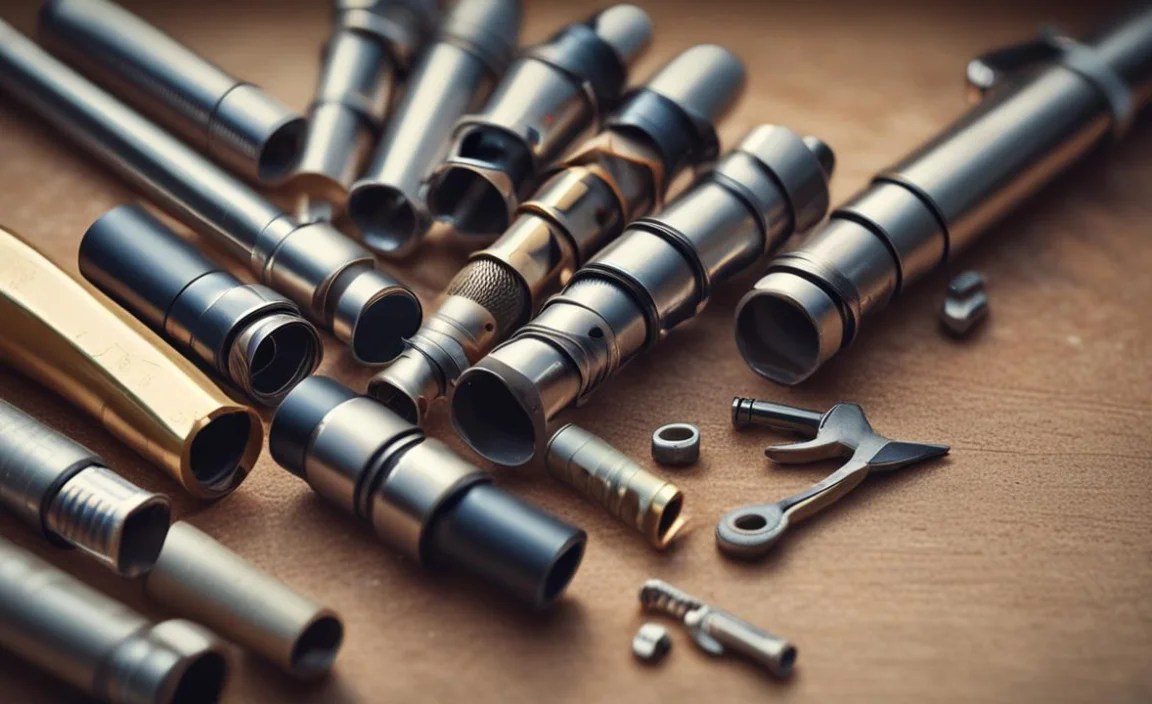
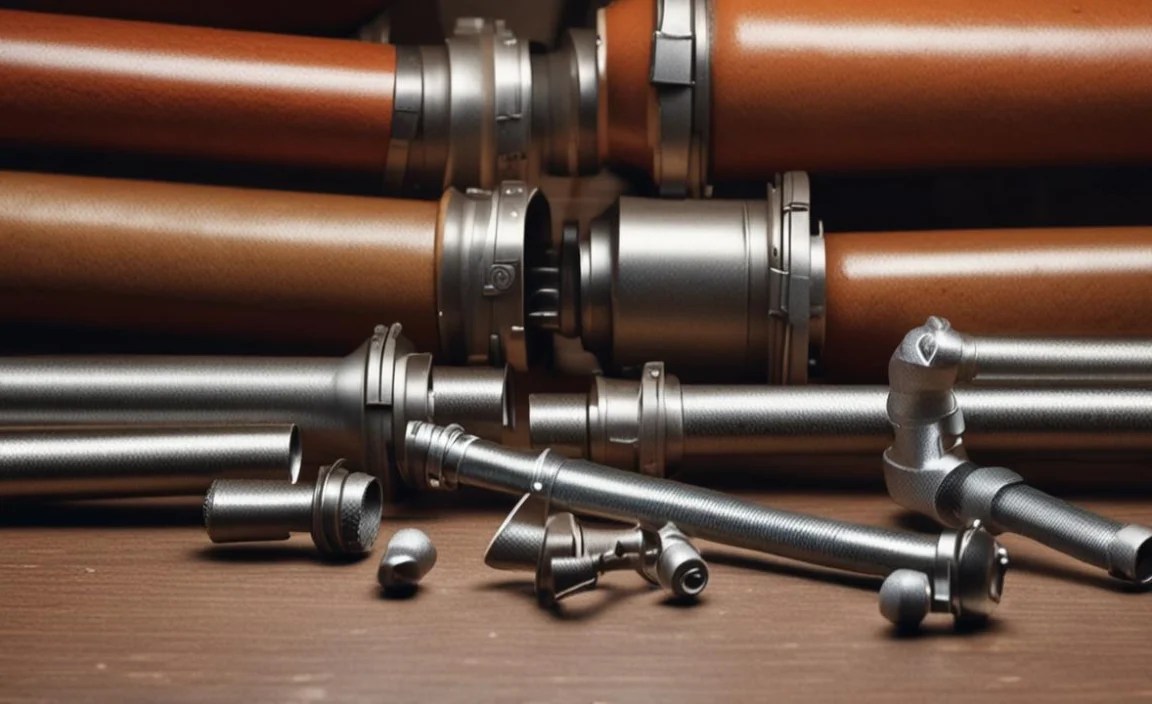
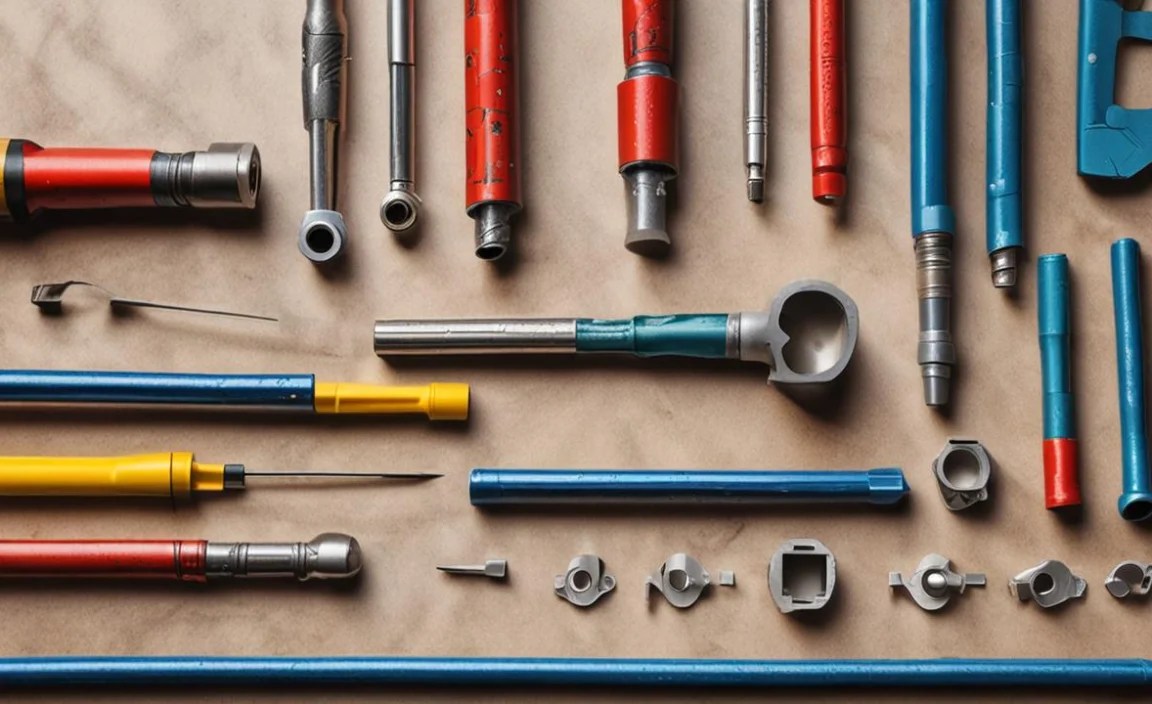
Essential Pipe Repair Tools for Every Homeowner

Here’s a breakdown of the must-have tools for almost any pipe repair situation. These are the workhorses that will help you tackle leaks and minor plumbing issues like a pro.
| Tool Name | What It’s For | Why You Need It |
|---|---|---|
| Adjustable Wrench (or Pipe Wrench) | Tightening and loosening threaded fittings, nuts, and bolts. A pipe wrench has serrated jaws for gripping round pipes. | Versatile for various sizes of nuts and fittings. Crucial for making secure connections or disconnections. |
| Plumber’s Tape (PTFE Tape) | Sealing threaded pipe connections to prevent leaks. | Creates a watertight seal on threaded joints, especially for water supply lines. Essential for preventing leaks. |
| Bucket and Rags | Catching dripping water during repairs and cleaning up spills. | Keeps your workspace dry and clean. Essential for safety and preventing water damage in unexpected places. |
| Flashlight or Headlamp | Illuminating dark or cramped spaces where pipes are located. | You can’t fix what you can’t see! Essential for inspecting pipes and working in crawl spaces or under sinks. |
| Safety Glasses | Protecting your eyes from debris, drips, or potential splashes. | Always prioritize safety. Plumbing work can involve unexpected releases of water or small particles. |
| Gloves | Protecting your hands from dirt, grime, sharp edges, or hot water. | Keep your hands clean and protected. Different types of gloves offer varying levels of protection against chemicals or cuts. |
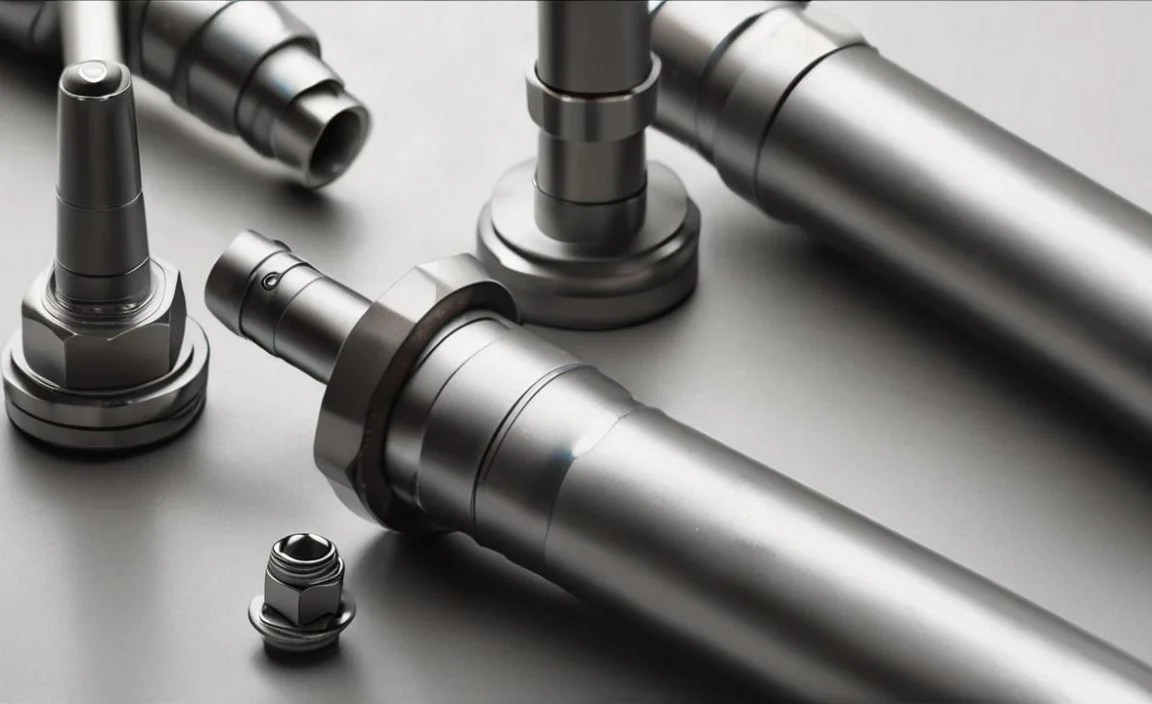
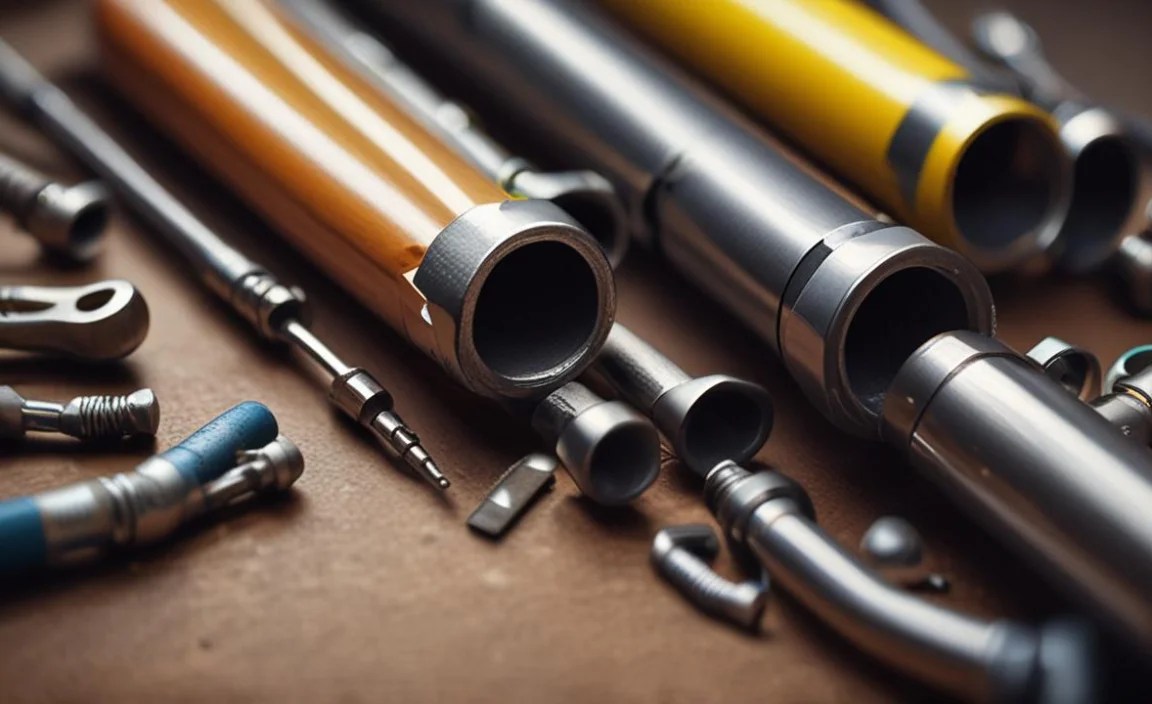
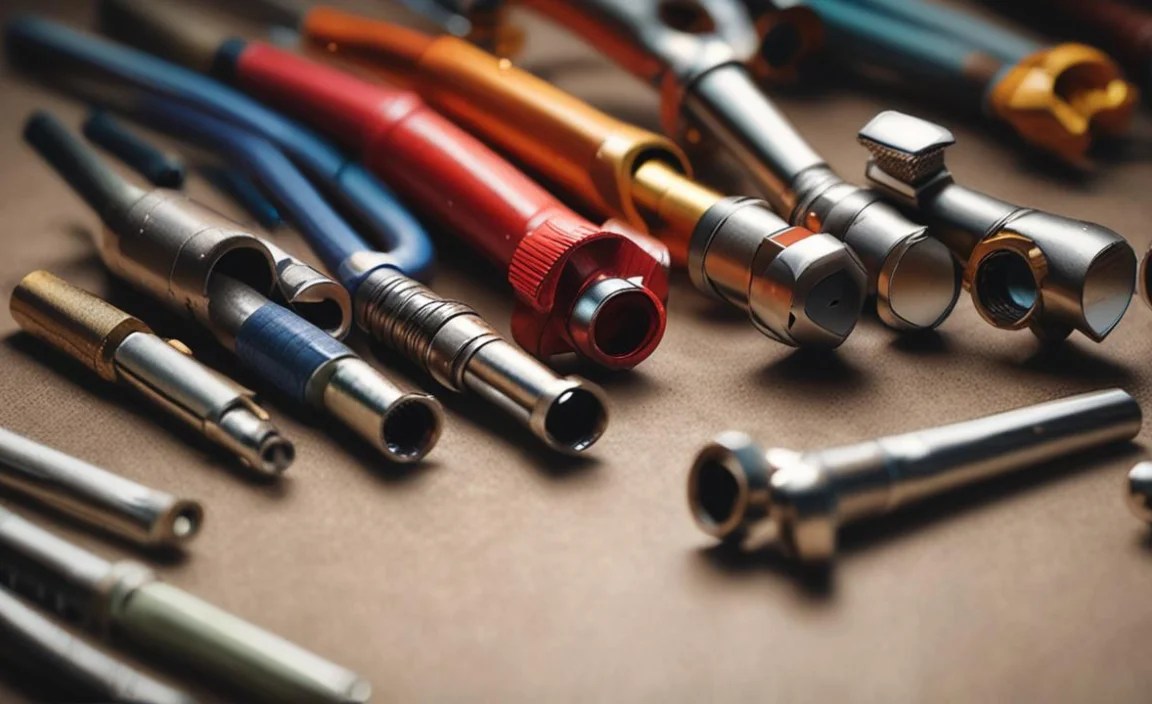
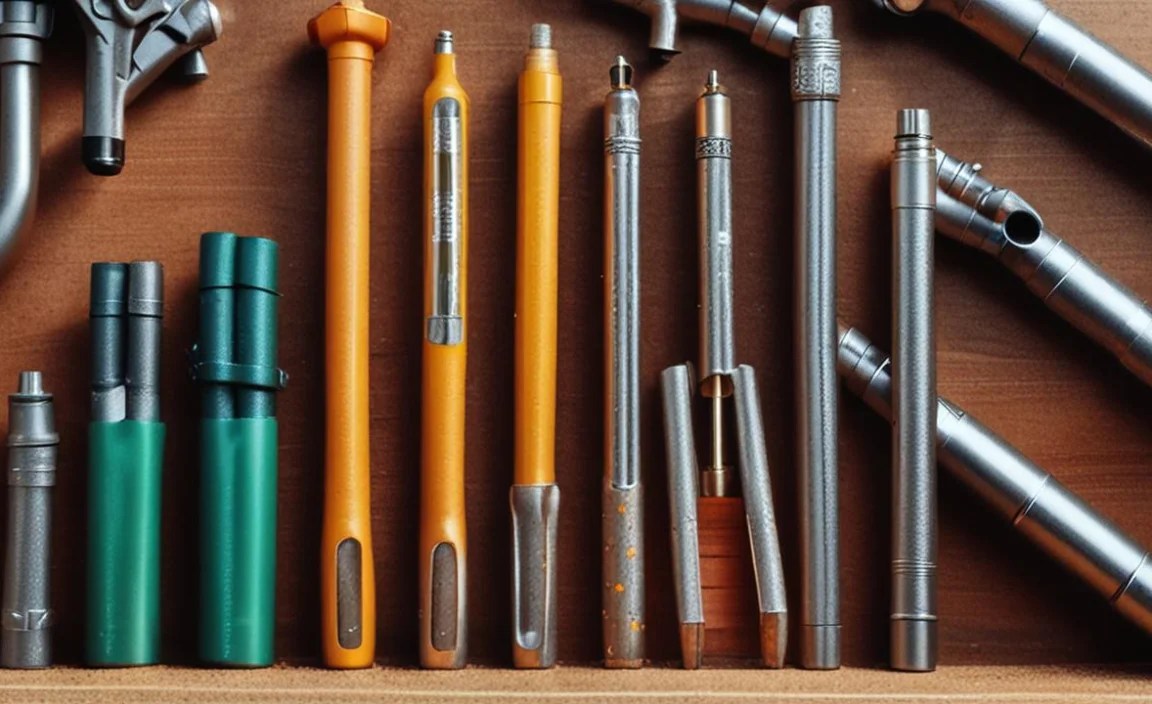
Specific Tools for Different Pipe Types
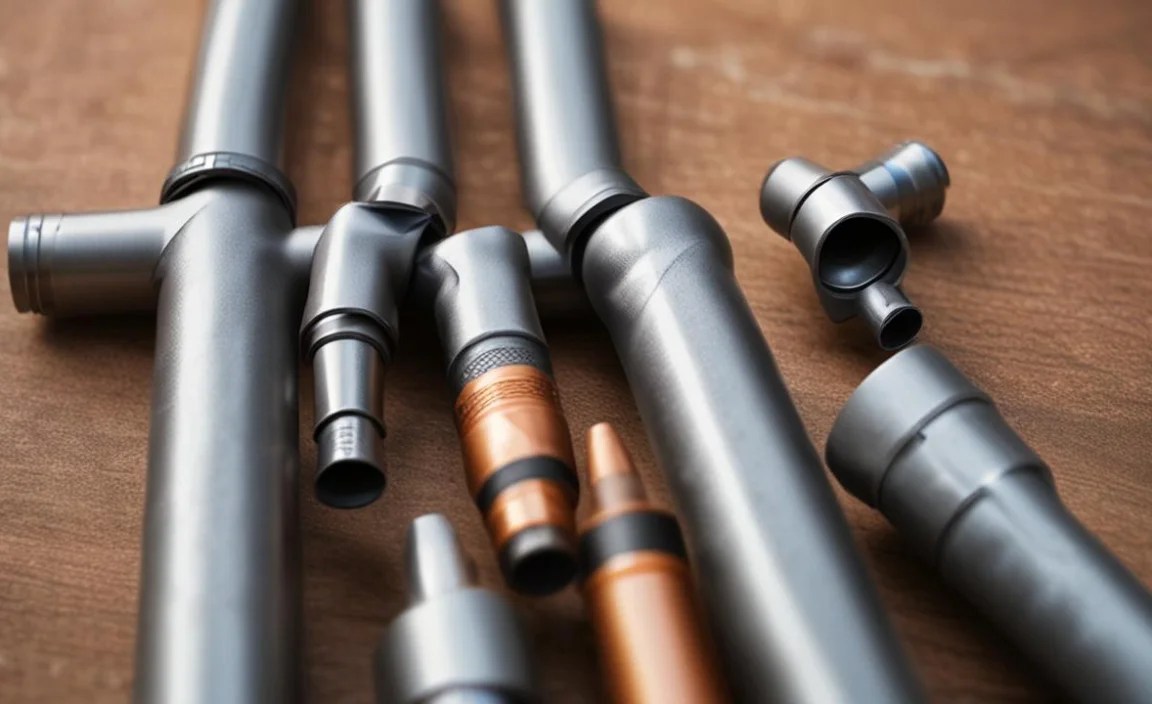
While the basic tools are great for general use, some repairs require specialized equipment. Here are tools for specific pipe materials and common repair tasks:
For Copper Pipes

Copper pipes are known for their durability but can be prone to corrosion or leaks at joints.
- Tube Cutter: This tool makes clean, square cuts on copper pipes, essential for creating a good seal when you need to replace a section or add a fitting. It’s much cleaner and more precise than a hacksaw for copper. You can find them at most hardware stores.
- Deburring Tool: After cutting, the inside edge of a copper pipe can be sharp and burred. A deburring tool smooths this edge, ensuring smooth water flow and a better seal for fittings.
- Propane Torch and Solder (for soldering traditional joints): If you’re dealing with traditional soldered copper fittings and need to make a permanent repair, you’ll need a propane torch to heat the joint and solder that melts and flows into the gap to create a strong seal. Note: Soldering requires practice and careful attention to safety due to the open flame. For beginners, compression or push-fit fittings are often easier and safer.
- Compression Fittings: These fittings don’t require soldering. They use a nut and a ferrule (a metal ring) that compress onto the pipe when tightened, creating a watertight seal. Ideal for DIYers as they are relatively easy to use.
For PVC and CPVC Pipes
These plastic pipes are common in drainage and water supply systems. They rely on solvent welding.
- PVC Pipe Cutter or Saw: For PVC and CPVC, you can use a hacksaw for small jobs, but a ratcheting PVC cutter or miter saw provides cleaner, straighter cuts, which are vital for a good solvent weld. A ratcheting cutter is especially easy to use and provides a quick, clean cut.
- Primer and Cement (Solvent): This is the “glue” for PVC and CPVC. The primer cleans and softens the pipe and fitting surfaces, while the cement melts them together, creating a strong, permanent bond. Always use the correct type of primer and cement for your specific pipe material (PVC or CPVC).
- Measuring Tape: Essential for ensuring you cut pipes to the correct length to fit your fittings properly.
For PEX Pipes
PEX is flexible and popular for its ease of use.
- PEX Cutter: Similar to PVC cutters but designed for the flexibility and diameter of PEX tubing. A quick snap of the handles ensures a clean cut.
- PEX Crimp Tool or Expansion Tool: Depending on the type of fitting you use, you’ll need a PEX crimp tool to attach copper or stainless steel crimp rings, or an expansion tool to stretch the PEX tubing and insert special expansion fittings. Push-fit connectors are also an option that requires no special tools.
- PEX Rings (Crimp or Clamp): These small rings secure the PEX tubing onto barbed fittings when used with the appropriate crimp or clamp tool.
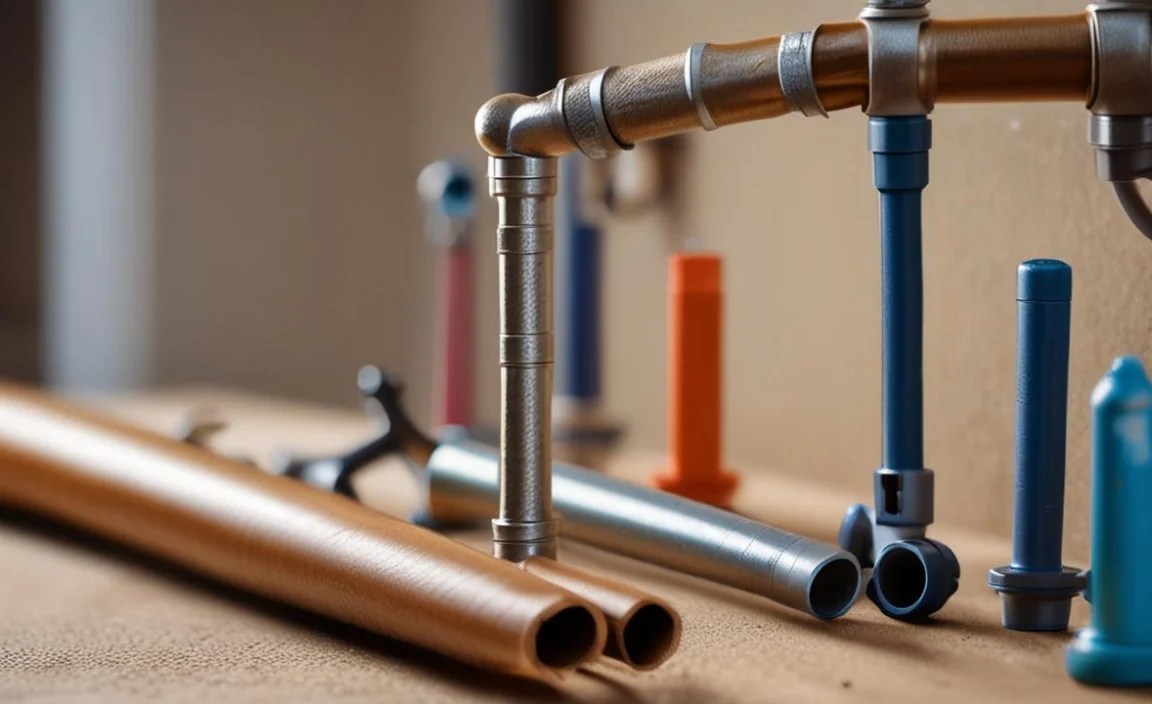
Pipe Repair Kits: Quick Fixes on Hand
Sometimes you need a fast, temporary fix, or you want a convenient all-in-one solution for common problems. Pipe repair kits are fantastic for this. They can temporarily stop leaks until a permanent repair can be made or even serve as a semi-permanent solution for minor issues.
Common Types of Pipe Repair Kits

- Repair Wraps: These are typically fiberglass tape infused with a water-activated resin. You soak the tape in water, wrap it tightly around the damaged pipe section, and it hardens into a rigid shell. Great for small holes or cracks.
- Pipe Clamp Kits: These usually consist of a rubber sleeve that you place over the leak and a metal clamp that fastens around it. The clamp applies pressure to the rubber, sealing the leak. Effective for pinholes or small cracks on straight pipe runs.
- Epoxy Sticks: These are putty-like substances that you knead together. They harden quickly and can be used to patch small holes or cracks. They work best on dry surfaces and are good for temporary fixes on various pipe materials.
When to Use a Pipe Repair Kit
Pipe repair kits are ideal for:
- Emergency repairs: When a leak springs up unexpectedly, a repair kit can buy you time.
- Temporary fixes: To stop a leak until a professional plumber can assess the damage or you can gather the right permanent repair materials.
- Minor leaks: For very small pinholes or hairline cracks on accessible pipes.
It’s important to remember that most kits are intended as temporary solutions. Always follow the manufacturer’s instructions carefully for the best results.
Safety First: Always Prioritize Your Well-being
Working with pipes often means working with water, and sometimes with tools that can be hazardous if misused. Safety should always be your top priority. Here are some key safety tips:
- Turn off the water supply: Before you start any repair, locate the shut-off valve for the affected area or the main water supply valve for your home and turn it off. This prevents a flood and makes your work much safer. You can often find instructional videos on finding your main shut-off valve from reputable sources like the U.S. Environmental Protection Agency guidelines on water meters.
- Wear protective gear: Always wear safety glasses to protect your eyes from debris or water spray. Gloves will protect your hands from dirt, sharp edges, and hot water.
- Be cautious with tools: Understand how to use each tool correctly. Never force a tool; if something isn’t turning, check if you have the correct tool or if the joint is seized.
- Beware of hot water: If you’re working on a hot water line, be aware that the pipes and water can be extremely hot. Let them cool down before you begin or take extra precautions.
- Electrical safety: If you are working near electrical outlets or wiring, ensure all power is turned off and be mindful of damp conditions.
- Know your limits: If a leak is severe, involves a main line, or you feel uncomfortable with the repair, don’t hesitate to call a professional plumber.
A little preparedness goes a long way in ensuring your DIY pipe repair is safe and successful.
Step-by-Step Guide: Fixing a Leaky Faucet Connection
Let’s walk through a common DIY task: fixing a leaky connection under a sink. This is a great scenario to practice using some of your essential repair pipes tools.
Problem: Leaky faucet supply line connection under the sink.

Tools You Might Need:
- Adjustable Wrench (or two)
- Bucket
- Rags
- Plumber’s Tape (PTFE Tape)
- Flashlight
- Safety Glasses
Steps:
- Turn Off Water: Locate the hot and cold water shut-off valves beneath the sink. Turn them clockwise firmly to shut off the water supply to the faucet.
- Drain the Line: Place a bucket under the connection you’ll be working on. Open the faucet to release any remaining water pressure and drain the residual water into the bucket.
- Loosen the Nut: With your adjustable wrench, carefully loosen the compression nut connecting the faucet supply line to the shut-off valve. You might need a second wrench to hold the valve body steady to prevent it from turning.
- Inspect and Clean: Once the nut is off, inspect the threads on both the supply line and the valve. Clean away any old plumber’s tape or debris. Check the rubber washer inside the supply line connector for damage. If it’s cracked or worn, you’ll need to replace the supply line.
- Apply New Plumber’s Tape: If the threads look good and the washer is intact, re-tape the threads on the shut-off valve. Wrap plumber’s tape clockwise around the threads (about 3-4 wraps). This ensures the tape tightens as you screw the nut on.
- Reconnect the Supply Line: Hand-tighten the compression nut onto the valve. Then, use your adjustable wrench to tighten it about a half to a full turn more. Don’t overtighten, as this can damage the threads or the washer.
- Turn On Water and Check: Slowly turn the water shut-off valves back on (counter-clockwise). Open them fully. Check the connection carefully for any drips or leaks. If it’s still leaking, try tightening the nut slightly more. If it persists, you may need to replace the supply line or consider a new shut-off valve.
This process highlights how fundamental tools like wrenches and plumber’s tape are for common repairs. For more advanced repairs, especially those involving cutting or joining pipes, you’ll rely on the specialized tools mentioned earlier.
When to Call a Professional Plumber
While this guide empowers you to handle many pipe repair tasks, it’s crucial to know when a job is beyond the scope of a DIYer. Don’t hesitate to contact a licensed plumber if:
- The leak is severe, causing significant water damage, or you can’t find the main shut-off valve quickly.
- The leak is in a main water line or sewer line.
- You suspect a major pipe burst or structural damage.
- The repair involves complex soldering or specialized equipment you don’t have and don’t feel comfortable learning.
- You’ve attempted a repair, and it’s still leaking, or you’ve made the problem worse.
- The repair is in a hard-to-access area, like behind a wall or under a concrete slab.
- Your local building codes require licensed professional work for certain plumbing tasks.
A professional plumber has the expertise, specialized tools, and knowledge of plumbing codes to ensure repairs are done safely, correctly, and permanently. For more information on plumbing standards, you can refer to resources from organizations like the International Code Council (ICC), which develops codes widely adopted in the U.S.
Conclusion
Dealing with leaky pipes doesn’t have to be a source of stress. By understanding the basic pipe materials and equipping yourself with the essential repair pipes tools – from sturdy wrenches and pipe cutters to specialized kits and safety gear – you’re well-prepared to handle most common plumbing issues. Remember to always prioritize safety by turning off the water and wearing protective gear.
This guide has provided you with the knowledge to identify the tools you need and how to use them for simple repairs. For quick fixes, repair kits offer convenience, while having the right wrenches, cutters, and sealing materials ensures more permanent solutions. Don’t be afraid to start with smaller tasks, build your confidence, and gain mastery over your home’s plumbing. And of course, know when to call in the experts. Happy fixing!
Frequently Asked Questions (FAQ)
Q1: What is the single most important tool for pipe repair?

A1: While many tools are important, an adjustable wrench is arguably the most versatile and critical. It can tighten or loosen a variety of nuts and fittings found on pipes and their connections, making it useful for a wide range of basic repairs.
Q2: Do I need special tools for every type of pipe?

A2: Not necessarily for the most common, simple repairs. However, for permanent or more involved fixes with specific materials like copper, PVC, or PEX, specialized tools like tube cutters, PVC cement, or PEX crimp tools will significantly simplify the job and ensure a better result. For many DIYers, starting with an adjustable wrench, plumber’s tape, and a good bucket and rags covers the basics.
Q3: How do I stop a pipe leak temporarily?

<p
