
Can you fix your shower yourself? Absolutely! This guide offers essential DIY shower repair fixes, from leaky showerheads to cracked tiles, empowering you to tackle common issues safely and effectively. Get ready to save money and enjoy a perfectly functioning shower with simple, step-by-step instructions.
Is your shower acting up? Maybe it’s a drip, a clog, or a less-than-perfect seal. Don’t worry, many common shower problems are easily fixed without needing a professional. You can save money and feel a great sense of accomplishment by tackling these repairs yourself. This guide breaks down the most frequent shower issues and shows you exactly how to fix them. We’ll cover everything you need to know, from gathering simple tools to performing the actual repairs. Ready to bring your shower back to its best?
Common Shower Problems & How to Fix Them
Showers are used daily, so it’s no surprise they can develop a few issues. The good news is that most problems are preventable with basic maintenance, and when they do pop up, they’re rarely insurmountable for the DIY-minded homeowner. Let’s dive into the most common culprits and how you can confidently address them.
1. Leaky Showerhead
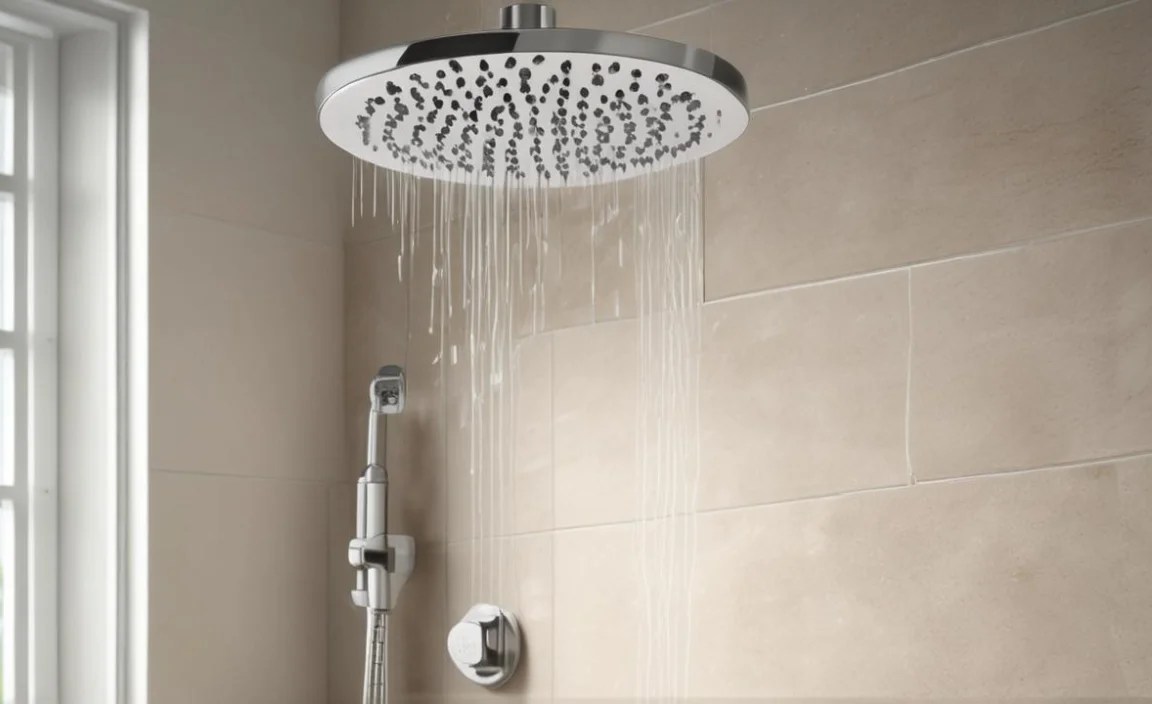
A dripping showerhead isn’t just annoying; it wastes water and can increase your utility bills. Most leaks come from a loose connection or a worn-out washer. This is one of the easiest DIY fixes you can do!
What You’ll Need:
- Adjustable wrench
- Plumber’s tape (PTFE tape)
- Replacement shower arm (if needed)
- Soft cloth
- Wire brush (optional, for cleaning threads)
Step-by-Step Fix:
- Turn Off the Water: Locate and shut off the main water supply to your bathroom or house. Open the shower faucet to drain any remaining water in the pipes.
- Remove the Showerhead: Wrap the shower arm threads with a soft cloth to protect the finish. Use your adjustable wrench to carefully unscrew the showerhead from the shower arm. Turn it counter-clockwise.
- Inspect and Clean: Check the rubber washer inside the showerhead connection. If it’s cracked or deformed, you’ll need to replace it. Clean any buildup or corrosion from the threads of the shower arm and the showerhead using a wire brush.
- Apply Plumber’s Tape: Wrap new plumber’s tape clockwise around the threads of the shower arm. About 3-4 wraps are usually sufficient. This creates a watertight seal.
- Reattach the Showerhead: Screw the showerhead back onto the shower arm, again turning clockwise. Hand-tighten it first, then use the wrench to give it an additional quarter to half turn. Don’t overtighten, as this can damage the threads or the fixture.
- Test for Leaks: Turn the water supply back on and turn on the shower briefly. Check around the connection for any drips. If it still leaks, try tightening it slightly more or reapply the plumber’s tape.
2. Clogged Shower Drain

A slow-draining shower is usually caused by a buildup of hair, soap scum, and debris. This can lead to standing water and unpleasant odors.
What You’ll Need:

- Gloves
- Old toothbrush or rag
- Drain snake or auger (manual or electric)
- Baking soda
- Vinegar
- Hot water
- Pliers or tweezers
- Screwdriver (if drain cover is screwed on)
Step-by-Step Fix:

- Remove the Drain Cover: If your drain cover can be lifted off, carefully pry it up. If it’s screwed in, use a screwdriver to remove the screws.
- Initial Cleaning: With gloved hands, pull out any visible hair or debris. An old toothbrush or a rag can help to clear gunk from around the drain opening.
- Use a Drain Snake: For deeper clogs, a drain snake is your best friend.
- Feed the snake into the drain opening.
- When you feel resistance, crank the handle to break up or hook the clog.
- Slowly pull the snake back out, bringing the debris with it.
- Repeat until the drain is clear.
Many hardware stores offer manual drain snakes for a reasonable price. For tougher clogs, an electric drain auger might be necessary, but use it with caution. You can find helpful guides on using drain snakes from resources like This Old House.
- The Baking Soda & Vinegar Method (for minor clogs):
- Pour about 1/2 cup of baking soda down the drain.
- Follow with 1/2 cup of white vinegar. It will fizz.
- Let it sit for 15-30 minutes.
- Flush with very hot (not boiling) water.
Be patient; this method is best for minor soap scum buildup. Avoid pouring boiling water down plastic pipes as it can cause damage.
- Clean the Trap (Advanced): If the clog persists, you might need to remove and clean the P-trap (the U-shaped pipe under the drain). Place a bucket underneath to catch water, unscrew the connections, clear out debris, and reassemble. This requires a bit more comfort with plumbing.
- Reinstall Drain Cover: Once the drain is flowing freely, replace the drain cover.
3. Grouting and Caulking Issues

Cracked grout or peeling caulk around your shower is a prime spot for water to seep in, potentially causing mold and damage to underlying surfaces. Repairing these is crucial for maintaining your bathroom’s integrity.
What You’ll Need:
- Utility knife or razor blade
- Caulk removal tool (optional but handy)
- Screwdriver or putty knife
- Vacuum cleaner or brush
- Cleaning cloths
- Mold and mildew remover
- Grout sealant (for grout)
- New bathroom caulk (silicone or latex)
- Caulk gun
- Painter’s tape
- Sponge
- Bucket of water
Step-by-Step Fix (Caulking):
- Remove Old Caulk: Use a utility knife, razor blade, or a dedicated caulk removal tool to carefully cut along the edges of the old caulk. Peel or scrape it away. Make sure to get to the base where the caulk meets the tile and tub/shower base.
- Clean the Area: Use a screwdriver or putty knife to scrape away any stubborn residue embedded in the joint. Vacuum or brush away all debris. Then, clean the area with a mold and mildew remover and a cloth. Ensure it’s completely dry before proceeding. A damp surface will prevent new caulk from adhering properly.
- Apply New Caulk:
- Cut the tip of the new caulk tube at a 45-degree angle, making a small opening.
- Load the caulk gun.
- Apply painter’s tape along the edges of the tiles and the tub/shower base, creating a clean line for the caulk. This helps ensure a neat bead.
- Place the caulk tube at a consistent angle to the seam.
- Apply steady, even pressure to the caulk gun trigger as you move along the joint, creating a continuous bead of caulk. Aim to fill the entire gap.
- Smooth the Bead: Immediately after applying the caulk, use a damp finger, a caulk smoothing tool, or a damp sponge to gently run along the bead. This pushes the caulk into the joint and creates a smooth, concave finish. Remove excess caulk with your cloth.
- Remove Tape and Let Dry: Carefully peel off the painter’s tape while the caulk is still wet. Allow the caulk to dry completely according to the manufacturer’s instructions (usually 12-24 hours) before exposing it to water.
Step-by-Step Fix (Grout):

- Prepare the Area: Ensure the grout lines are clean and dry. If there are significant cracks or missing pieces, you may need to chip out the old grout carefully with a grout saw or utility knife.
- Apply New Grout: Use a grout float or a putty knife to press the new grout into the cleaned-out or repaired grout lines. Work it in firmly to ensure it fills the gaps completely.
- Wipe Away Excess: Once the grout starts to set slightly (check product instructions), use a damp sponge to wipe away the excess grout from the tile surface in a diagonal motion. Rinse your sponge frequently in a bucket of clean water.
- Let it Cure: Allow the grout to cure for the time recommended by the manufacturer. This is crucial for its durability.
- Seal the Grout: After the grout has fully cured, apply a grout sealer. Use a small brush or applicator to apply it to the grout lines. Wipe off any excess from the tile. Sealing is vital to protect the grout from stains and moisture. Check out EPA’s guidance on moisture control in buildings for importance of preventing water infiltration.
4. Leaky Shower Valve or Cartridge

If your shower faucet drips even when turned off, or if you have trouble controlling the water temperature, the issue likely lies within the shower valve’s cartridge. This is often a bit more involved but still manageable for a DIYer.
What You’ll Need:

- Screwdriver (Phillips and flathead)
- Allen wrench set
- Utility knife
- Plumber’s grease
- Replacement cartridge (ensure it’s the correct model for your faucet)
- New O-rings (if applicable)
- Old towels or rags
- Bucket
Step-by-Step Fix:

- Turn Off Water Supply: Crucial first step! Shut off the hot and cold water supply valves to the shower. Usually, these are located behind an access panel or in the basement/crawl space below. Open the faucet to relieve any pressure.
- Remove the Handle and Trim Plate: Look for a small screw or set screw on the underside or side of the shower handle. Use the appropriate screwdriver or Allen wrench to loosen and remove it. Pull the handle off. Then, carefully pry off the decorative trim plate (escutcheon). This might require a putty knife or flathead screwdriver.
- Access the Cartridge: You’ll now see the valve stem and the cartridge. There might be a retaining clip or nut holding the cartridge in place. Remove the clip with pliers or unscrew the retaining nut.
- Pull Out the Cartridge: Carefully pull the old cartridge straight out. This can sometimes be stiff. You might need a cartridge puller tool if it’s stuck – these are specific to faucet brands.
- Inspect and Replace: Examine the old cartridge for any cracks or signs of wear. Check the O-rings in valve body for damage and replace them if needed. Lubricate the new cartridge and O-rings with plumber’s grease.
- Install New Cartridge: Insert the new cartridge into the valve body, making sure it’s oriented correctly (there are usually notches or keys to line up).
- Reassemble: Reinstall the retaining clip or nut, then the trim plate, and finally the handle. Re-tighten the set screw to secure the handle.
- Test the Shower: Turn the water supply back on slowly. Check for leaks around the new cartridge. Turn on the shower and test temperature control.
- Troubleshoot: If it still leaks, ensure the cartridge is seated correctly or consider replacing other seals. If temperature still isn’t right, the new cartridge might be faulty or not the correct one.
5. Fixing a Cracked Shower Tile or Shower Base
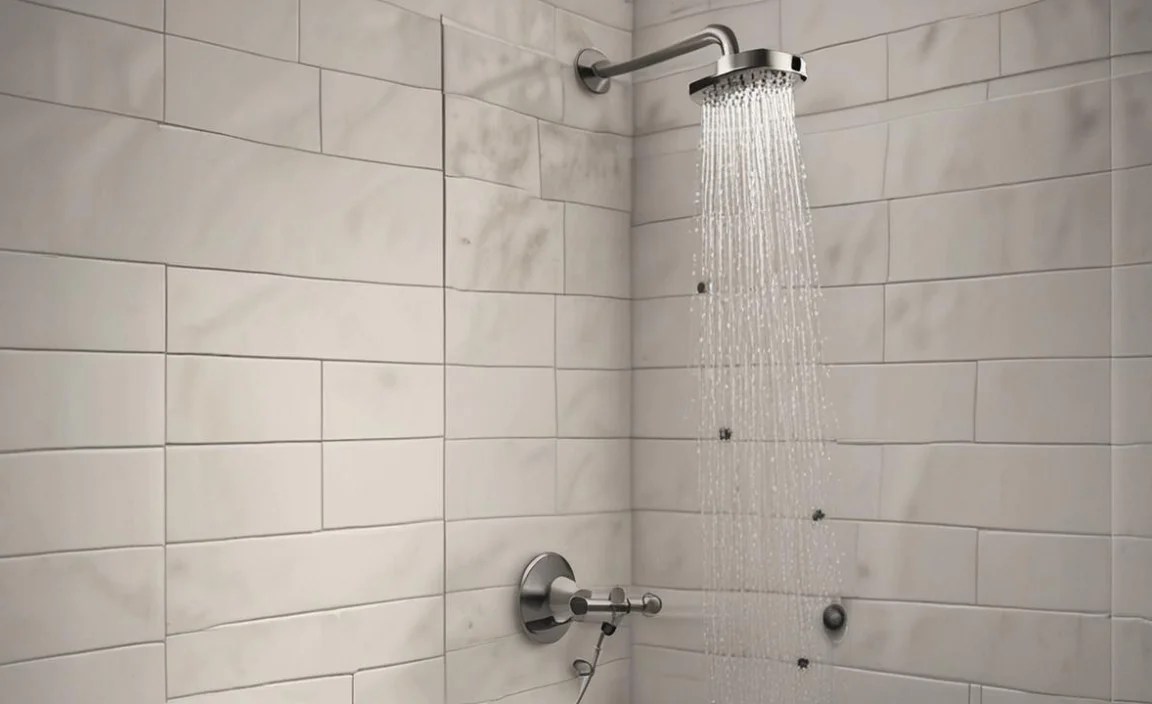
A cracked tile or a chip in your shower base can be unsightly and, more importantly, can lead to water damage if left unrepaired. While a full replacement is extensive, small cracks can often be patched.
What You’ll Need:

- For Tiles:
- Tile repair epoxy or grout repair compound
- Small putty knife or applicator
- Fine-grit sandpaper
- Rubbing alcohol
- Color-matching putty (optional, for aesthetics)
- For Shower Base (Fiberglass/Acrylic):
- Fiberglass repair kit or acrylic repair kit (matching color is ideal)
- Sandpaper (various grits, from coarse to fine)
- Cleaner/degreaser
- Putty knife or spreader
- Gloves and mask
Step-by-Step Fix (Cracked Tile):
- Clean the Area: Thoroughly clean the cracked tile and the surrounding grout. Use rubbing alcohol to ensure the surface is free of any soap scum, grease, or dust. Let it dry.
- Prepare Repair Material: If using a two-part epoxy, mix it according to the manufacturer’s instructions. If using a pre-mixed compound, ensure it’s ready to use.
- Fill the Crack: Use a small putty knife or applicator to carefully fill the crack with the repair material. Press it in firmly to ensure it’s completely filled. For chips, apply enough to rebuild the missing material.
- Smooth and Level: Scrape away any excess material so it’s level with the tile surface.
- Let it Cure: Allow the repair material to cure completely according to the product packaging.
- Sand (if needed): Once cured, if the repair is slightly high, gently sand it smooth with very fine-grit sandpaper. Be careful not to damage the surrounding tile glaze.
- Color Match (optional): If the repair material isn’t color-matched, consider using a tinted grout pen or color-matching putty after the repair has cured to make it less noticeable.
Step-by-Step Fix (Shower Base Chip/Crack):
- Clean the Area: This is critical for adhesion. Clean the damaged area thoroughly with a degreaser and water. Rinse well and let it dry completely.
- Sand the Damaged Area: Lightly sand the edges of the crack or chip (about 1-inch radius around the damage) with medium-grit sandpaper, then very fine-grit sandpaper. This provides a surface for the repair material to adhere to. Clean away all dust with a damp cloth and let it dry.
- Prepare the Repair Kit: Follow the instructions in your fiberglass or acrylic repair kit. This usually involves mixing components. Wear gloves and a mask as these products can have strong fumes.
- Apply the Repair Material: Using a putty knife or spreader, carefully apply the mixed material into the crack or chip. Ensure it’s filled flush or slightly proud of the surface.
- Let it Cure: Allow the repair material to cure completely, as per the kit’s instructions. This can take several hours or even a day.
- Sand to Finish: Once cured, use progressively finer grits of sandpaper to smooth the repaired area down until it is perfectly flush with the surrounding shower base. Be patient and work carefully.
- Buff and Polish: After sanding smooth, you may want to buff and polish the area to restore its shine.
Preventative Maintenance Tips

The best repair is the one you don’t have to do! By implementing a few simple maintenance habits, you can significantly extend the life of your shower and prevent these common issues from arising.
- Wipe Down After Use: A quick squeegee or towel-down of the shower walls and door after each use helps prevent soap scum buildup and reduces the likelihood of mold and mildew.
- Clean Drains Regularly: Don’t wait for your drain to clog. Periodically (e.g., monthly) use a drain cleaner, or the baking soda/vinegar method, to clear out minor buildup before it becomes a problem. A drain cover that catches hair is also a great investment.
- Check Caulking and Grout: Inspect your caulk and grout lines every few months. Address any small cracks or signs of wear immediately before they can lead to water damage.
- Run Hot Water Occasionally: Running hot water through your shower for a minute or two once a month can help flush out mineral deposits and prevent them from building up inside the showerhead and valves.
- Address Leaks Promptly: Even a slow drip needs attention. The faster you fix a leak, the less water you waste and the less chance there is for it to cause secondary damage.
When to Call a Professional

While this guide empowers you to handle many common shower repairs, there are instances where calling
