
Repair shower easy: This guide breaks down common shower repairs into simple steps, empowering you to fix leaky faucets, clogged drains, and cracked tiles with confidence and common household tools. Tackle these fixes yourself and save money!
Is water finding its way where it shouldn’t? A trickling drip from your showerhead or a slow-draining tub can quickly turn a relaxing shower into a frustrating chore. Many homeowners worry that shower repairs are complicated and expensive, requiring professional plumbers for even minor issues. But guess what? Most common shower problems are surprisingly simple to fix with a little know-how and the right approach.
This guide is designed to make shower repair easy, even if you’ve never picked up a wrench before. We’ll walk you through common issues step-by-step, using clear language and focusing on safety. You’ll learn what to look for, the tools you’ll need, and how to fix them yourself, saving you time and money. Let’s get your shower back to its best!
Understanding Common Shower Problems
Before we dive into fixes, it’s helpful to know what you’re up against. Showers have a few key components that are prone to wear and tear. Most issues stem from these areas:
- The Faucet/Showerhead: This is where water pressure and temperature are controlled. Leaks often start here due to worn-out washers, O-rings, or cartridges.
- The Drain: Hair, soap scum, and other debris love to gather here, leading to slow drainage or clogs.
- The Grout and Caulk: These sealants keep water from seeping into your walls and subfloor. When they crack or peel, leaks can occur, potentially causing bigger damage.
- The Shower Base/Tub: Cracks or chips in the shower floor can allow water to penetrate, leading to more serious structural issues.
Don’t let these sound intimidating! We’re going to tackle each one with straightforward solutions.
Essential Tools for Easy Shower Repair

You probably have many of these already in your toolbox. Having the right tools makes any job easier and safer. For most minor shower repairs, you’ll want to have these on hand:
| Tool | Purpose | Why It’s Essential |
|---|---|---|
| Adjustable Wrench | Tightening and loosening nuts and bolts, especially on faucet handles and showerheads. | Versatile for different sizes of fittings without needing a full socket set. |
| Phillips and Flathead Screwdrivers | Removing and reattaching faucet handles, escutcheons (decorative plates), and other small parts. | Standard for most common household fixtures. |
| Pliers (Needle-nose and Slip-joint) | Gripping small parts, pulling out old seals, and manipulating wires or small components. | Gives you a good grip where fingers can’t reach or maintain enough force. |
| Plumber’s Tape (Thread Seal Tape) | Creating a watertight seal on threaded pipe connections. | Essential for preventing leaks on threaded fittings like shower arms. |
| Caulk Gun | Applying new silicone caulk to seal gaps around your tub, shower base, and tiles. | Ensures a smooth, consistent bead of caulk for a waterproof seal. |
| Utility Knife or Caulk Removal Tool | Cutting away old caulk for a clean surface before applying new. | Makes removing old, stubborn caulk much easier and neater. |
| Bucket | Catching residual water when disassembling parts of the faucet or drain. | Prevents messes and protects your floor from water damage. |
| Towel/Rags | Wiping up spills, drying surfaces, and protecting finishes. | Keeps your workspace clean and prevents scratches. |
| Safety Glasses | Protecting your eyes from falling debris, water, or splashes. | Always a good idea when working with plumbing or tools. |
Easy Fix 1: Stopping a Dripping Showerhead
A phantom drip from your showerhead isn’t just annoying; it wastes water and money. The culprit is usually a worn-out washer or O-ring inside the faucet’s handle or a problem with the showerhead itself.
Step-by-Step Guide to Fixing a Dripping Showerhead
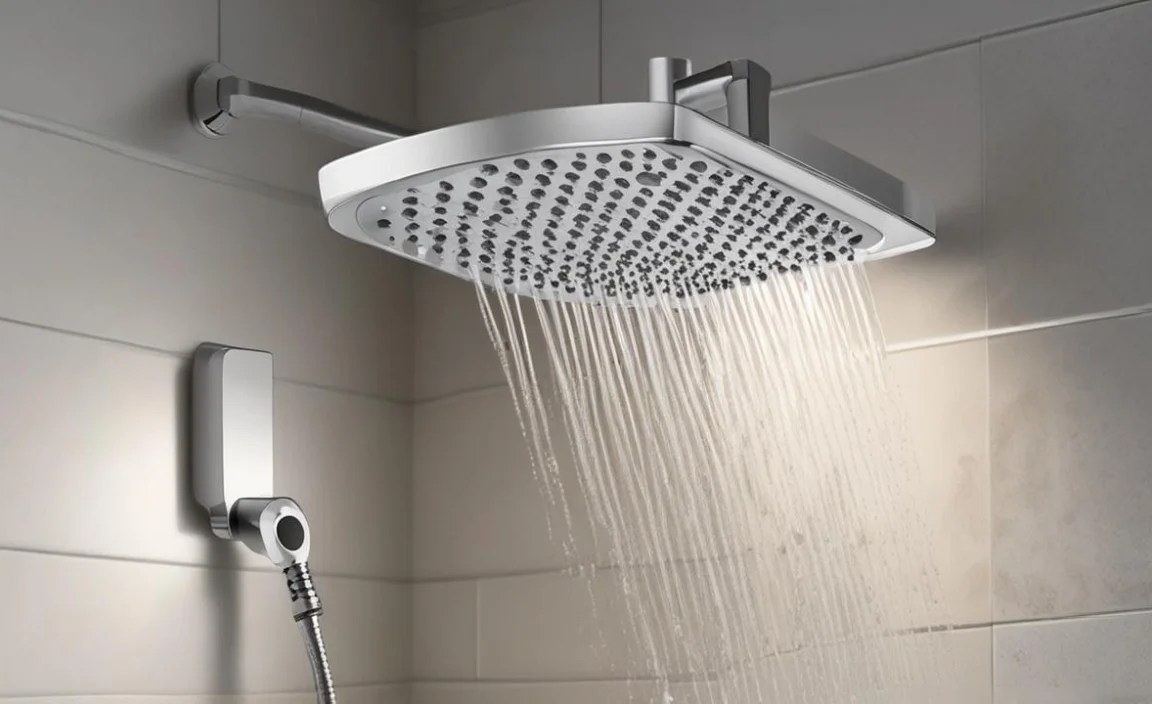
- Turn Off the Water: Before you do anything, locate your home’s main water shut-off valve and turn it off. If you can’t find it or prefer to shut off only the shower, you might be able to turn off the hot and cold water supply valves located behind the access panel of your shower wall (if you have one). If not, turning off the main valve is safest. Turn on the shower briefly to drain any remaining water in the pipes.
- Remove the Faucet Handle: Look for a small screw that holds the handle in place. This is often hidden under a decorative cap or plug. Gently pry off the cap with a small flathead screwdriver or a utility knife. Then, use the appropriate screwdriver (usually Phillips) to remove the visible screw. Pull the handle straight off. Some handles might screw on or pop off differently, so be gentle and observant.
- Remove the Escutcheon Plate: This is the decorative plate behind the handle. It might be held on by screws or simply unscrewed. Remove any screws and carefully pull the plate away.
- Identify and Replace the Cartridge or Stem: This is the part that controls water flow. In many modern faucets, you’ll see a cartridge. In older ones, it might be a valve stem with a seat and spring. You’ll likely need pliers to pull out the old cartridge or stem assembly. Tip: Take a photo of the parts before you remove them, or even better, take the old cartridge with you to the hardware store to ensure you get an exact match. Many manufacturers have diagrams online for their faucet parts.
- Install the New Cartridge/Stem: Carefully insert the new cartridge or stem assembly into the faucet body. Make sure it’s seated correctly and oriented the same way as the old one.
- Reassemble: Put the escutcheon plate back on, then reattach the faucet handle with its screw. Replace the decorative cap.
- Turn Water Back On and Test: Slowly turn the main water supply back on. Check for any persistent drips from the showerhead. If the drip continues, you might need to check the connection where the shower arm meets the wall pipe or consider replacing the showerhead itself.
Showerhead Replacement: A Simple Alternative

If you’ve replaced the internal parts and it’s still dripping, or if your showerhead is simply old and inefficient, replacing it is another easy fix. Most showerheads screw onto the shower arm. Ensure the water is off, unscrew the old showerhead (you might need an adjustable wrench), clean the threads on the shower arm, apply plumber’s tape to the threads, and screw on the new showerhead. Hand-tighten, then give it a quarter-turn with the wrench.
Easy Fix 2: Clearing a Clogged Shower Drain

A slow or completely blocked shower drain is a common, unpleasant problem. Usually, it’s caused by a buildup of hair and soap scum.
Step-by-Step Guide to Unclogging Your Shower Drain

- Remove the Drain Cover: Most drain covers are held in place by screws. Use a screwdriver to remove them and lift off the cover. Some older drains might have a simple pop-up stopper you can lift or twist out.
- Manually Remove Debris: With the cover off, you’ll likely see a tangle of hair and gunk. Use needle-nose pliers or a gloved hand to pull out as much of this visible debris as possible. This alone can often solve the problem.
- Use a Drain Snake (or Coat Hanger): If manual removal doesn’t work, a drain snake (also called a plumber’s auger) is your next best friend. Feed the snake into the drain until you feel resistance. Twist the handle to break up the clog or hook onto it, then slowly pull the snake back out, bringing the debris with it. A straightened wire coat hanger can work as a makeshift snake for smaller clogs. Read more tips on unclogging drains from Reader’s Digest.
- Try Baking Soda and Vinegar: For less severe clogs, pour about half a cup of baking soda down the drain, followed by one cup of white vinegar. It will fizz. Let it sit for about 30 minutes, then flush with hot water. This natural method can help break down grease and soap scum.
- Flush with Hot Water: After attempting to clear the clog, pour a pot of boiling water down the drain to flush away any remaining residue. Be cautious when handling boiling water.
- Reassemble: Screw the drain cover back into place. Test the drain by running water to ensure it flows freely.
What to Avoid: While drain cleaning chemicals seem like a quick fix, they can be harsh on your pipes and the environment, and sometimes they don’t work, leaving you with a drain full of caustic liquid. Physical methods are generally preferred for ease and safety.
Easy Fix 3: Repairing Cracked Grout or Replacing Caulk

Grout and caulk are the unsung heroes of your shower, preventing water from getting behind tiles and into your walls. When they crack, crumble, or pull away, it’s time for a refresh.
Replacing Old Caulk: A Step-by-Step Guide
- Remove Old Caulk: This is often the most tedious part. Use a utility knife, caulk removal tool, or a putty knife to carefully scrape away all the old caulk. Make sure to get into the corners and along the edges. You want a clean, dry surface for the new caulk to adhere to.
- Clean the Area: After removing the bulk of the caulk, clean the seam with a bleach solution or a mildew remover to kill any mold or mildew, then rinse thoroughly and allow it to dry completely. A clean, dry surface is crucial for good adhesion.
- Apply New Caulk: Use a high-quality 100% silicone caulk formulated for bathrooms and kitchens. Cut the tip of the caulk tube at a 45-degree angle, making a small opening. Puncture any inner seal. Place the tube into your caulk gun. Apply a steady, even bead of caulk along the seam, holding the gun at a consistent angle. Try to fill the gap completely.
- Smooth the Bead: Immediately after applying the caulk, smooth it with a caulk-finishing tool, a damp sponge, or even your finger (wearing a glove dipped in soapy water can help prevent sticking). This creates a neat, professional finish and ensures good contact with the surfaces.
- Allow to Cure: Let the caulk cure according to the manufacturer’s instructions, which is typically 24 hours before exposing it to water.
Repairing Cracked Grout
For small cracks in grout, you can often repair them without removing the entire grout line.
- Clean the Grout: Use a stiff brush and a grout cleaner to thoroughly clean the cracked grout line. Rinse and let it dry.
- Apply Grout Repair Pen or Tube: You can purchase grout repair pens or small tubes of grout caulk. Apply the product directly into the cracked lines, following the product’s instructions. For grout repair pens, they often work like a marker, dispensing color into the crack.
- Wipe Away Excess: Most grout repair products require you to wipe away any excess before it dries, creating a smooth finish that matches your existing grout.
- Let it Cure: Allow the repaired grout to cure fully before using the shower.
Easy Fix 4: Addressing Water Stains and Mildew
Water stains and mildew are unsightly and can indicate moisture problems, but they can often be cleaned. Understanding the source is key.
Cleaning Mildew and Stains
- For Mildew: Mix a solution of 1 part bleach to 10 parts water. Wearing gloves and ensuring good ventilation, apply the solution to the mildewed areas with a sponge or cloth. Let it sit for 10-15 minutes, then scrub with a brush and rinse thoroughly. For stubborn spots, you can use a paste of baking soda and water, apply it, let it sit, then scrub and rinse.
- For Water Stains on Tile/Grout: Similar to mildew, try a paste of baking soda and water, or a specialized tile and grout cleaner. For stains on metal fixtures, a paste of lemon juice and baking soda can be effective.
- For Stains on Shower Curtains: Most fabric shower curtains can be washed in the washing machine with detergent and a cup of vinegar or baking soda. For plastic liners, clean them with a mild all-purpose cleaner or a bleach solution.
Preventing Future Problems
The best repair is prevention! After every shower, open the bath fan for at least 20 minutes, and consider squeegeeing down your shower walls to remove excess water. Using a daily shower spray can also help prevent soap scum and mildew buildup. Regularly inspect grout and caulk for any signs of damage and address small issues before they become big problems.
Easy Fix 5: Dealing with Minor Leaks from the Shower Valve Body

Sometimes, leaks aren’t from the showerhead or drain but from the valve behind the handle that controls hot and cold water. This is often due to a faulty valve stem, washer, or cartridge. This repair is slightly more involved but still achievable for a beginner.
Steps to Fix a Leaky Shower Valve Body
- Turn Off Water Supply: Crucial first step. Ensure the main water supply to your house or the specific bathroom is turned off at the valve. Turn on the shower briefly to drain residual water.
- Access the Valve: Most shower valves are accessed from behind an access panel on the other side of the wall, or sometimes from directly behind the shower. If you don’t have an access panel, you might need to carefully cut a small opening in the drywall.
- Remove Handle and Trim: As described in the dripping showerhead section, remove the handle, decorative cap, and escutcheon plate.
- Remove the Valve Stem/Cartridge: You’ll see the valve mechanism now. This is usually held in place by retaining clips or screws. Carefully remove them. You might need specialized cartridge puller tools depending on the brand and type of valve. Family Handyman offers detailed instructions on valve replacements.
- Inspect and Replace: Examine the rubber seals, O-rings, and the stem or cartridge for any signs of wear, damage, or mineral buildup. Replace any worn parts. If it’s a cartridge, replace the entire unit with an identical one.
- Reassemble: Reinstall the valve stem/cartridge, secure it with clips or screws, reattach the escutcheon plate, handle, and decorative cap.
- Test for Leaks: Slowly turn the water supply back on. Check the valve for any leaks. Turn on the shower to test its functionality.
Safety Note: If you’re uncomfortable accessing the valve body or if you suspect a more complex plumbing issue, it’s always best to call a licensed plumber. Improper installation can lead to significant water damage.
When to Call a Professional
While this guide covers many common and easy-to-fix shower issues, some problems are best left to the pros. You should consider calling a plumber if:
- You’ve tried multiple fixes, and the problem persists.
- You suspect a leak behind the walls or under the shower base.
- There’s significant water damage or rot.
- You’re dealing with complex valve systems or pressure issues.
- You’re not comfortable with any of the steps or lack the necessary tools.
Remember, safety and preventing further damage are always the top priorities. Don’t hesitate to get expert help when needed.
FAQ: Your Shower Repair Questions Answered
Q1: How often should I replace shower caulk?
A1: Caulk typically lasts 5-10 years, but you should inspect it regularly. If you see any signs of mold, mildew, cracking, or peeling, it’s time to replace it sooner to prevent water damage.
Q2: Can I use regular household caulk for my shower?
A2: No, it’s important to use 100
