
Quick Summary: Don’t let sink problems drain your day! This guide offers simple, genius fixes for common sink issues like leaks, clogs, and drips. Learn easy DIY techniques to maintain your sink and avoid costly plumber calls. Get your sink working perfectly again with these practical repair tips!
A leaky or clogged sink can be a real nuisance, turning a simple task into a frustrating mess. Water stains, slow drains, and persistent drips can make your kitchen or bathroom feel less cozy. But don’t worry! You don’t always need a professional to sort out these common sink woes. With a few basic tools and some handy tips, you can tackle many sink repairs yourself. This guide will walk you through some genius fixes that are perfect for beginners. Get ready to feel confident and capable as we explore easy ways to keep your sink running smoothly.
Common Sink Problems & How to Tackle Them
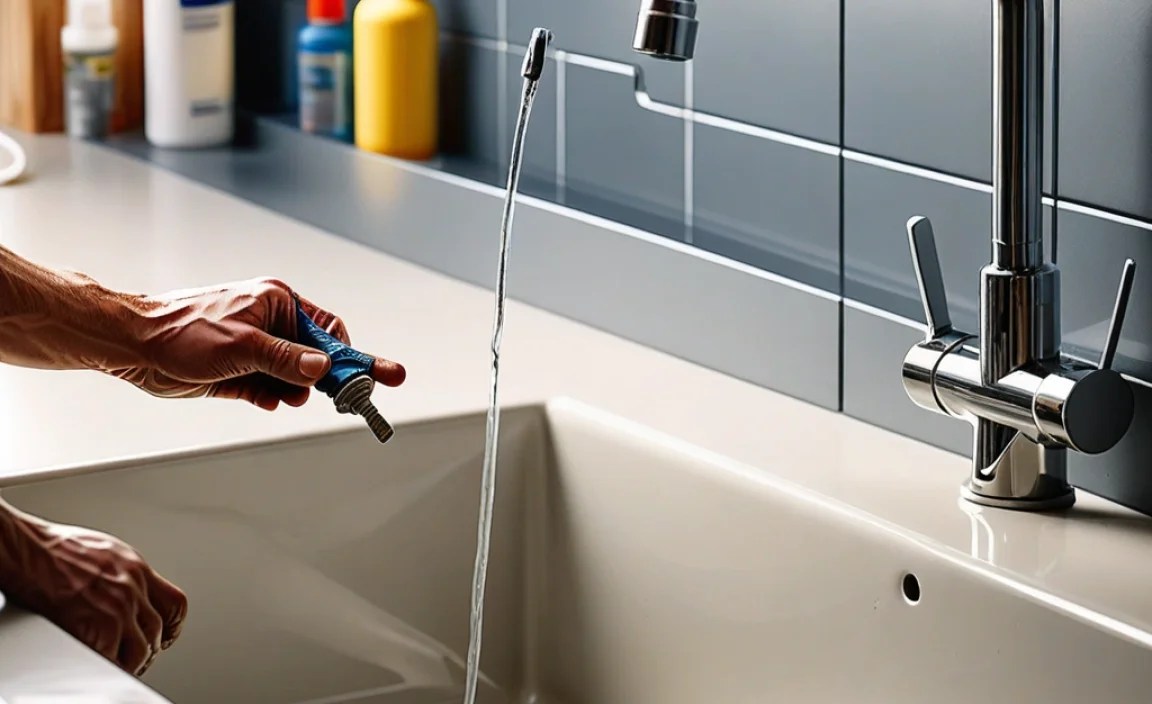
Sink issues usually fall into a few main categories: leaks, clogs, and slow drains. Each can be addressed with straightforward methods. We’ll start with the most common offenders and work our way to more specific solutions. Remember, safety first! Always turn off the water supply to the sink before attempting any repairs to avoid a flood.
1. Fixing a Leaky Faucet: Simple Solutions
A dripping faucet is more than just annoying; it wastes water and money. Often, the culprit is a worn-out washer or O-ring. Here’s how to fix that persistent drip.
Tools You Might Need:
- Adjustable wrench
- Screwdriver set (Phillips and flathead)
- Pliers
- Replacement washers or O-rings (it’s good to have a variety pack)
- Plumber’s grease (optional, but helpful)
- Rag or towel
Step-by-Step Guide to Fixing a Dripping Faucet:
- Turn off the water supply: Look under the sink for two shut-off valves (one for hot, one for cold). Turn them clockwise until snug. Turn on the faucet to drain any remaining water.
- Remove the handle: Most faucet handles have a decorative cap that can be pried off gently with a flathead screwdriver. Underneath, you’ll find a screw. Unscrew it completely.
- Remove the handle: Carefully pull the handle straight up. It might be stuck; try wiggling it gently.
- Access the stem or cartridge: Depending on your faucet type, you’ll see a packing nut or a retaining nut. Use your adjustable wrench to loosen and remove it (turn counter-clockwise). Once removed, you can pull out the valve stem.
- Inspect and replace the washer: At the bottom of the valve stem, you’ll find a rubber washer. If it looks worn, cracked, or flattened, this is likely the cause of your leak. Unscrew the screw holding it in place and replace it with an identical new one. Apply a tiny bit of plumber’s grease to the new washer and the O-rings on the stem if you have it.
- Reassemble: Put everything back in reverse order. Tighten the packing nut (but don’t overtighten), replace the handle, and screw it back on.
- Test: Turn the water supply valves back on slowly. Check for leaks. If it still drips, you might need to replace the O-ring around the stem or, in some cases, the entire cartridge.
For different faucet types, especially ceramic disc or ball faucets, the internal parts might vary. If you’re unsure, taking a picture of the parts before removal can be a lifesaver. You can also find many helpful videos online by searching for your specific faucet brand and model. For more detailed guidance on faucet repair, visit the Federal Trade Commission’s article on saving water.
2. Clearing a Clogged Sink: Beyond the Plunger
A slow-draining or completely blocked sink is a common kitchen or bathroom problem. Grease, hair, and food scraps are the usual culprits. While a plunger can work wonders, sometimes you need a more robust approach.
Essential Tools for Clog Busting:
- Plunger (cup-shaped for sinks)
- Sink/drain snake or auger
- Bucket or old towels
- Gloves
- Baking soda and vinegar
- Old toothbrush or small brush
Methods to Unclog Your Sink:
a) The Plunger Power Play:
- Create a seal: For a double sink, block one drain with a wet rag. Overflow holes (usually near the faucet) should also be covered.
- Fill with water: Add a few inches of water to the sink. This helps the plunger create suction.
- Plunge firmly: Place the plunger over the drain, ensuring a tight seal. Plunge up and down vigorously for about 20-30 seconds.
- Check the drain: Remove the plunger and see if the water drains. Repeat if necessary.
b) The Baking Soda & Vinegar Fizz:
This is a great eco-friendly option for milder clogs.
- Pour baking soda: Pour about 1/2 cup of baking soda down the drain.
- Add vinegar: Follow with 1/2 cup of white vinegar. It will fizz!
- Cover and wait: Quickly cover the drain with a stopper or rag. Let it sit for 15-30 minutes.
- Flush with hot water: Pour a kettle of boiling water down the drain to flush out loosened debris.
c) Using a Drain Snake (Auger):
This is for stubborn clogs that baking soda and plungers can’t handle.
- Feed the snake: Push the end of the drain snake into the drain opening.
- Crank the handle: Once you encounter resistance (the clog), crank the handle to engage the screw tip into the blockage.
- Work it loose: Gently pull back and push forward while cranking to break up or hook onto the clog.
- Retrieve debris: Once you’ve worked the clog loose, pull the snake back out. You might have gunk attached to the end that you can discard.
- Flush: Run hot water to clear any remaining debris.
d) Cleaning the P-Trap: The Secret Clog Catcher
The P-trap is the U-shaped pipe under your sink. It’s designed to hold water to prevent sewer gases from entering your home, but it also traps debris. This is often where clogs hide.
- Prepare for mess: Place a bucket or old towels directly under the P-trap. This pipe will be full of water and gunk.
- Loosen the slip nuts: You’ll see two large nuts connecting the P-trap to the vertical pipe (from the sink) and the horizontal pipe (to the wall). Loosen these by hand or with channel-lock pliers. Gently pull the P-trap down.
- Clean it out: Empty the contents into the bucket. Use an old toothbrush or a small brush to scrub any residue from inside the P-trap.
- Check connecting pipes: While the trap is off, briefly check the opening of the pipes it connects to for any visible blockages.
- Reassemble: Put the P-trap back in place, ensuring the seals (gaskets) are aligned. Hand-tighten the slip nuts, then give them a quarter turn with pliers.
- Test: Run water to check for leaks at the connections.
If these methods don’t work, the clog might be further down the drainpipe, and it may be time to call a plumber or consider a chemical drain cleaner (use with extreme caution and follow instructions strictly, as they can damage pipes and are harmful to the environment). For more on drain maintenance and eco-friendly solutions, check out the EPA’s WaterSense tips.
3. Fixing a Running Toilet: More Than Just a Flush
A toilet that keeps running after flushing is incredibly wasteful. The sound can be maddening, and it can significantly increase your water bill. Most running toilet issues stem from problems with the flush valve or the flapper.
What You’ll Need:
- Replacement flapper (take your old one to the hardware store to match)
- Replacement fill valve (if needed)
- Screwdriver
- Pliers
- Rag
Troubleshooting Your Running Toilet:
- Remove the tank lid: Carefully lift the lid off the toilet tank and set it aside.
- Identify the problem: Look at the parts inside. Is water constantly flowing over the top of the overflow tube? If yes, the flapper might not be sealing correctly. Is water slowly entering the overflow tube from the fill valve? If yes, the fill valve might be faulty.
- Dealing with a faulty flapper: The flapper is the rubber seal at the bottom of the tank that lifts when you flush. If it’s warped, stiff, or damaged, it won’t create a seal.
- Turn off the water: Find the shut-off valve behind the toilet and turn it clockwise.
- Release water: Flush the toilet to empty most of the water from the tank.
- Remove the old flapper: The flapper is usually attached to the overflow tube by two small ears or pins. Unhook these. There’s also a chain connecting it to the flush lever; detach it.
- Install the new flapper: Attach the new flapper to the overflow tube, then connect the chain to the flush lever arm. Make sure the chain has a little slack, but not too much – about 1/2 inch is usually good.
- Turn water back on and test.
- Dealing with a faulty fill valve: The fill valve is the mechanism that refills the tank after you flush. If it’s set too high or is leaking, it will cause the toilet to run.
- Adjust the float: Many fill valves have an adjustable float. You can often adjust it by turning a screw or by squeezing clips to lower the float. The water level should be about an inch below the top of the overflow tube.
- Replace the fill valve: If adjusting the float doesn’t work, the fill valve itself might be bad.
- Turn off the water supply behind the toilet.
- Disconnect the water supply line from the bottom of the fill valve using pliers.
- Inside the tank, there’s a large plastic nut holding the fill valve to the tank. Unscrew this.
- Lift the old fill valve out and install the new one, tightening the nut underneath and reconnecting the water supply line.
- Turn the water back on and test.
A running toilet can easily waste hundreds of gallons of water a day. For more detailed information on how your toilet works and common repairs, check out the EPA’s WaterSense guide to fixing leaks.
4. Countertop and Sink Material Care: Keeping Them Pristine
Beyond functional repairs, keeping your sink and countertop looking good is important. Different materials require different care.
Care Tips for Common Sink and Countertop Materials:
| Material | Daily Cleaning | Stain Removal | Scratch Prevention | Things to Avoid |
|---|---|---|---|---|
| Stainless Steel | Wipe with a soft cloth and mild dish soap. Dry thoroughly to prevent water spots. | Baking soda paste or a specialized stainless steel cleaner. Rub with the grain. | Use a cutting board. Avoid abrasive scrubbers. | Bleach, abrasive cleaners, steel wool. |
| Ceramic/Porcelain | Gentle soap and water. Rinse well. | Baking soda paste or a mild bathroom cleaner. For tough stains, a dilute bleach solution (rinse immediately). | Be mindful of dropping heavy items. | Harsh abrasives, steel wool, dropping heavy objects. |
| Granite/Quartz | Mild dish soap and water. Dry with a soft cloth. | For granite, a specialized granite cleaner or a paste of baking soda and water. For quartz, mild soap and water usually suffices. | Use coasters and trivets. Wipe up spills, especially acidic ones (lemon juice, wine), promptly. | Acids (lemon, vinegar), harsh chemicals, abrasive cleaners. Avoid excessive heat. |
| Solid Surface (e.g., Corian) | Soap and water. Dry with a soft cloth. | Mild abrasive cleaner (like Soft Scrub) or baking soda paste. Sanding can remove deeper scratches. | Use cutting boards and trivets. | Strong solvents, drain cleaner, abrasive pads where the finish is easily damaged. |
Always refer to the manufacturer’s recommendations for your specific sink and countertop material for the best care advice. Proper maintenance can prevent many issues and keep your kitchen and bathroom looking their best for years. For general cleaning product safety, the EPA provides guidance on greener cleaning products.
When to Call a Professional
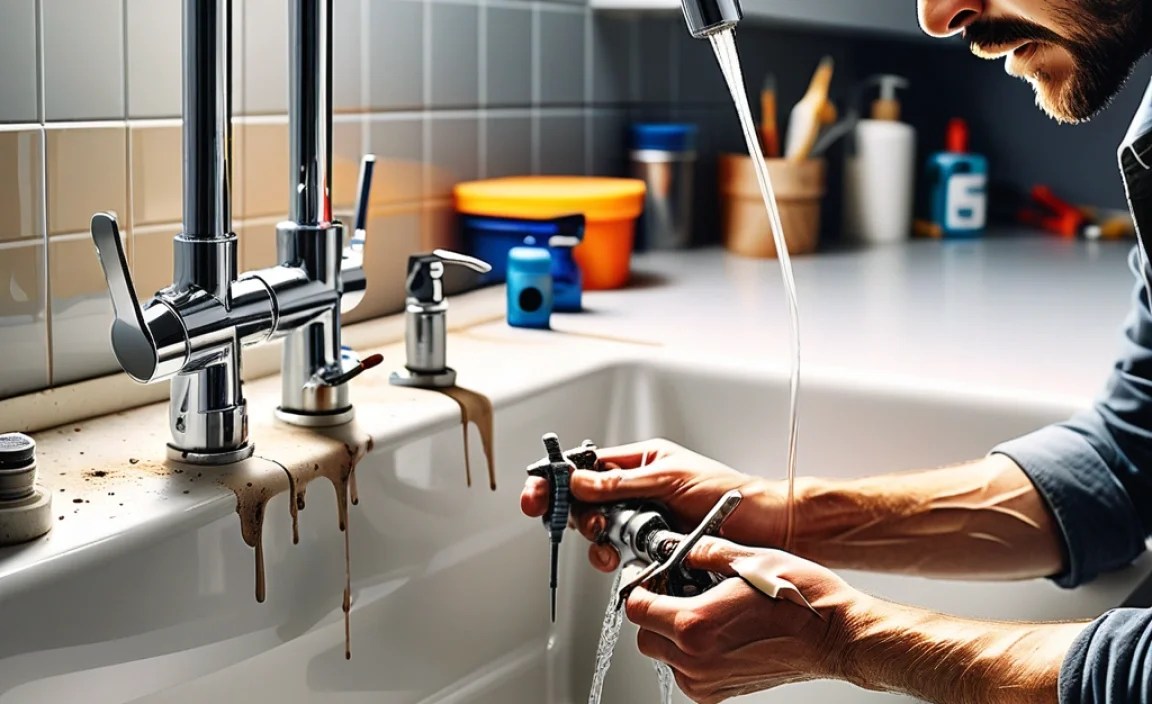
While these DIY tips can solve many common sink problems, there are times when it’s best to reach out to a qualified plumber. Don’t hesitate to call a professional if:
- You’ve tried multiple fixes and the problem persists.
- You suspect a major leak in the pipes behind the walls or under the slab.
- You notice frequent clogs throughout your plumbing system, not just at one sink.
- You’re uncomfortable with any part of the repair process or lack the right tools.
- The issue involves complex plumbing components or large-scale leaks.
- You’re dealing with a gas line or a water heater issue.
A professional plumber has the experience, specialized tools, and knowledge to diagnose and fix complex plumbing issues safely and efficiently. It’s always better to be safe than sorry when it comes to your home’s essential systems.
Frequently Asked Questions (FAQs)
Q1: What’s the easiest way to fix a leaky faucet?
A1: For most standard faucets, the easiest fix is to replace the rubber washer or O-ring inside the valve stem. Make sure to turn off the water supply first!
Q2: My sink is draining very slowly, what’s the first thing I should try?
A2: Start with a plunger. Fill the sink with a few inches of water to create a seal, cover any overflow holes, and plunge vigorously. If that doesn’t work, try the baking soda and vinegar trick.
Q3: Can I use chemical drain cleaners on any clog?
A3: No, chemical drain cleaners should be a last resort. They can be harsh on your pipes, especially older ones, and are harmful to the environment. Always try mechanical methods (plunger, snake) first. Read and follow all instructions and safety precautions if you must use them.
Q4: How often should I clean my sink drain?
A4: For busy kitchens, a monthly rinse with boiling water or the baking soda/vinegar method can help prevent buildup. In bathrooms, regular cleaning is good to catch hair before it causes a major clog.
Q5: What’s the U-shaped pipe under my sink called, and why is it important?
A5: That’s called a P-trap. It holds a small amount of water to prevent sewer gases from coming up into your home. It’s also a common place for clogs to form and can be cleaned out by removing it.
Q6: My faucet handle is stuck, what can I do?
A6: Try gently wiggling it. If it still won’t budge, a small amount of penetrating oil (like WD-40) carefully applied to the stem might help loosen it. Let it sit for a few minutes before trying again. Be sure to wipe away any excess. If it’s very stubborn, don’t force it too hard as you could break it.
