
Replace your cabinet hardware with this easy guide! Learn essential tips for choosing, removing, and installing new knobs, pulls, and hinges. Get professional-looking results with simple steps, ensuring a smooth and confident DIY project. Make your cabinets look new again without the hassle.
Feeling like your kitchen or bathroom cabinets have lost their sparkle? Worn-out hardware can make even the most beautiful cabinets look tired. But don’t worry! Replacing cabinet hardware is one of the easiest and most effective ways to give your space a fresh, updated look. You don’t need to be a master carpenter to tackle this. With the right guidance, you can transform your cabinets and boost your home’s appeal. This guide will walk you through everything you need to know, from picking out the perfect new hardware to installing it with confidence.
We’ll break down the process into simple, manageable steps. You’ll learn about the different types of hardware, the tools you’ll need, and the best practices for a seamless installation. By the end, you’ll be ready to tackle this DIY project and enjoy your revitalized cabinets. Let’s get started on making your cabinets shine!
Why Replace Your Cabinet Hardware?
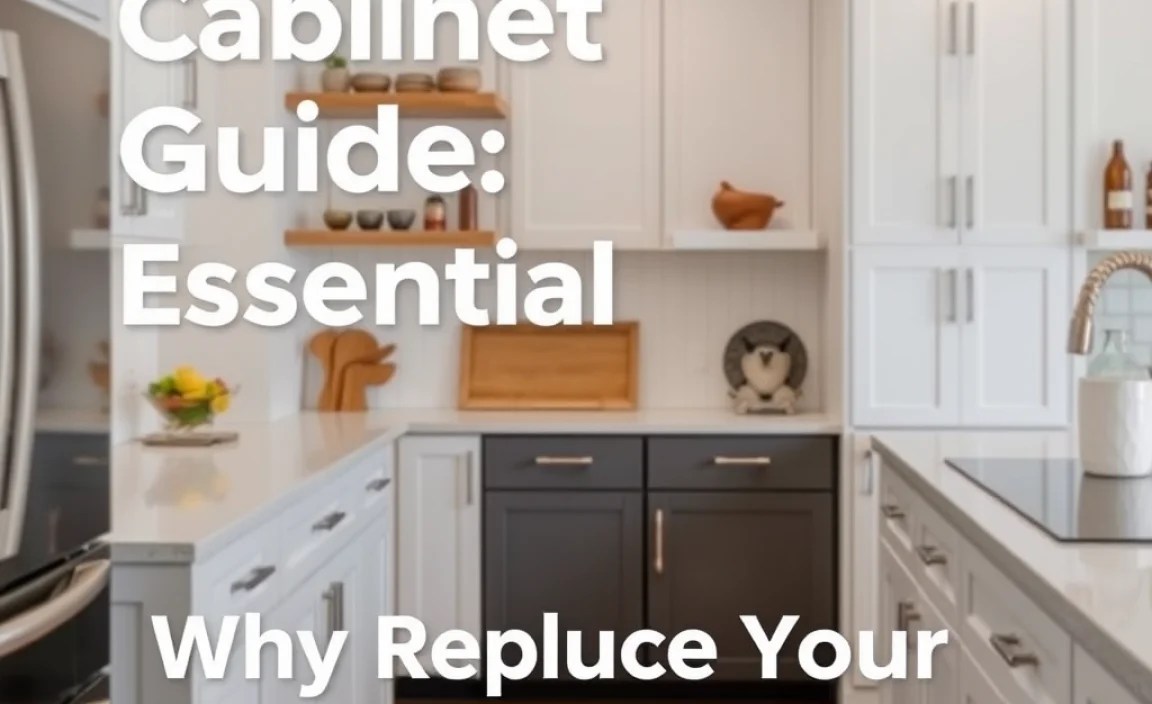
Cabinet hardware might seem like a small detail, but it plays a huge role in the overall look and feel of your kitchen, bathroom, or any room with cabinetry. Over time, hardware can become scratched, tarnished, or simply outdated. Simply swapping out old knobs and pulls can dramatically change the style of your cabinets without the cost and effort of a full renovation. It’s a budget-friendly and impactful update that significantly enhances your home’s aesthetic. Think of it as the jewelry for your cabinets!
Consider these compelling reasons to update your cabinet hardware:
- Aesthetic Refresh: Outdated hardware can make cabinets look dated. New hardware can instantly modernize your space and reflect your personal style.
- Improved Functionality: Sometimes, older hardware becomes stiff, loose, or hard to grip. Modern options are designed for smoother operation and better ergonomics.
- Damage Repair: If your current hardware is broken, chipped, or heavily tarnished, replacing it is essential for both appearance and function.
- Selling Your Home: Updated hardware can be a small but significant selling point, making your home more attractive to potential buyers.
- Personalization: Hardware is a fantastic way to add your personal touch, whether you prefer a sleek modern look, a charming farmhouse vibe, or something entirely unique.
Choosing the Right Cabinet Hardware
Selecting new hardware is an exciting part of the process. It’s your chance to inject personality and style into your cabinetry. However, with so many options available, it can feel a little overwhelming. Don’t fret! Take a deep breath, and let’s break down how to choose the perfect fit for your cabinets and your home’s decor.
Styles of Cabinet Hardware
Hardware comes in a vast array of styles, each offering a different aesthetic. The key is to match the style to your existing cabinets and overall room design.
- Knobs: These are typically single-point attachments and come in countless shapes, sizes, and materials. They offer a classic and often more decorative look.
- Pulls (or Handles): These require two screw holes and span across the cabinet door or drawer face. They often provide a more modern or utilitarian look and can be easier to grip, especially for larger doors.
- Pulls with Single-Point Attachment: These are less common but offer a clean, minimalist look where the pull attaches with just one screw.
Materials and Finishes
The material and finish of your hardware significantly impact its appearance, durability, and how it coordinates with other elements in your room. Here’s a quick look:
| Material/Finish | Description | Style Suitability | Maintenance |
|---|---|---|---|
| Brushed Nickel | A popular, versatile finish with a soft, matte sheen. Resists fingerprints well. | Modern, Transitional, Casual | Low maintenance, easy to clean with a damp cloth. |
| Polished Chrome | Bright, reflective, and sleek. Offers a clean, contemporary feel. | Modern, Industrial | Shows fingerprints and water spots easily; requires frequent polishing. |
| Matte Black | Bold, dramatic, and highly on-trend. Adds a graphic contrast. | Modern, Farmhouse, Industrial, Eclectic | Generally low maintenance, but smudges can be visible on very glossy finishes. |
| Brass (Polished, Brushed, Antiqued) | Warm and inviting. Polished brass is shiny, brushed brass has a softer sheen, and antiqued brass offers a vintage look. | Traditional, Farmhouse, Art Deco, Modern (depending on finish) | Polished brass can tarnish; brushed and antiqued finishes are more forgiving. |
| Oil-Rubbed Bronze | Dark, rich, and often has subtle reddish-brown undertones. Provides a warm vintage or rustic feel. | Traditional, Rustic, Farmhouse | Low maintenance, tends to mask wear and tear well. |
| Stainless Steel | Durable and resistant to corrosion. A practical choice for kitchens. | Modern, Professional Kitchens | Resistant to fingerprints but can show smudges. |
| Glass/Crystal | Adds sparkle and a touch of elegance or vintage charm. | Shabby Chic, Vintage, Glamorous | Can be delicate, requires careful cleaning to avoid scratches. |
Considerations for Cabinet Type
The type of cabinets you have can influence your hardware choice. For example, sleek, flat-panel cabinets often pair well with minimalist or geometric hardware, while raised-panel or traditional cabinets might look better with more ornate or classic designs.
Functionality and Ergonomics
Think about how you’ll use the hardware. Larger cabinet doors and drawers might benefit from longer pulls that offer a better grip. For children’s rooms or areas where ease of use is paramount, consider smooth, rounded edges. Ensure the hardware feels comfortable in your hand.
Scale and Proportion
The size of the hardware should be proportionate to the size of the cabinet door or drawer. Tiny knobs on large cabinets can look out of place, just as oversized pulls on small drawers can be overwhelming. A general rule of thumb is that pulls should be about one-third the width of the drawer or door face.
Measuring for New Hardware
This is crucial! For knobs, it’s simple – they only take up one screw hole. For pulls, you’ll need to measure the “center-to-center” distance. This is the measurement between the centers of the two screw holes.
- For existing holes: Measure the distance between the centers of the current screw holes. Purchase new hardware with the same center-to-center measurement.
- If you’re drilling new holes: Decide on the hardware style and its required hole spacing. You can find a wide variety of center-to-center measurements, such as 3 inches, 4 inches, or longer.
You can find excellent resources for understanding cabinet hardware measurements on sites like US Army Installation Management Command’s DIY Home Maintenance which touches on many aspects of home care that apply here.
Essential Tools and Materials

Gathering the right tools before you start will make the process much smoother and more efficient. Most of these are common household items, and you might already have them on hand.
Tools You’ll Need
- Screwdriver: A Phillips head screwdriver is most common, but you might also need a flathead. A magnetic tip is a lifesaver for dropped screws.
- Drill: For drilling new holes if you’re changing the hole spacing or installing hardware where none existed before.
- Drill Bits: If drilling new holes, you’ll need appropriately sized drill bits. A bit slightly larger than your screw shank but smaller than the threads is ideal for a secure fit. For precise hole placement, consider a drawer jig or a template.
- Measuring Tape: Essential for accurate measurements, especially if drilling new holes.
- Level: To ensure your hardware is installed straight, especially for longer pulls.
- Pencil: For marking hole locations.
- Safety Glasses: Always wear these when drilling or working with tools.
- Gloves (optional): To keep your hands clean and protect them from sharp edges.
- Putty Knife or Spackle (if filling old holes): For patching any holes you don’t want to reuse.
- Screws: Your new hardware should come with screws. Ensure they are the correct length for your cabinet doors and drawers.
Materials You’ll Need
- New Cabinet Knobs and/or Pulls: Ensure you have enough for all your cabinets and drawers.
- New Hinges (if applicable): If you’re also replacing hinges, have those ready.
- Sandpaper (if needed): For smoothing any rough edges after filling old holes.
- Paint/Stain (if touching up): To match the cabinet color after patching.
Step-by-Step Cabinet Hardware Replacement
Now for the hands-on part! This guide covers both replacing knobs/pulls with existing holes and installing new hardware that requires drilling new holes.
Step 1: Preparation and Planning
Before you grab your tools, take a moment to plan:
- Inventory: Count all the doors and drawers you need to update.
- Hardware Count: Ensure you have the correct number of knobs, pulls, and screws for all your cabinets.
- Screw Length: Check the thickness of your cabinet doors and drawers. The screws provided with hardware are typically standard, but for very thin or thick doors, you might need different lengths. You can usually buy assorted screw lengths at hardware stores.
- Layout Plan: Decide where on each drawer and door you want the hardware to be placed. For drawers, centering is typical. For doors, consider placement near the top, bottom, or middle, depending on the door style and your preference.
Step 2: Remove Old Hardware
This is usually the easiest part!
- Open the Cabinet Door/Drawer: This gives you better access to the screws.
- Locate Screws: From the inside of the door or drawer, you’ll see the screws that hold the hardware in place.
- Unscrew: Use your screwdriver to remove the screws. Hold the hardware on the outside firmly to prevent it from spinning.
- Remove Hardware: Once the screws are out, gently pull the old knob or pull away from the cabinet.
- Keep Screws (Temporarily): It’s a good idea to keep the old screws handy until your new hardware is successfully installed, just in case.
Step 3: Deal with Old Holes (If Necessary)
This step depends on whether you’re reusing the same screw hole locations.
- If Reusing Holes: You can usually skip this. If the old screw holes are larger than your new screws, fill them with a small piece of wood filler or even a toothpick, then trim flush. This provides a tighter fit.
- If Drilling New Holes:
- Marking: Use your measuring tape and pencil to mark the exact center (or centers) for your new hardware. Use a level to ensure your marks are perfectly straight, especially for pulls. A template or jig can be extremely helpful here for perfect alignment.
- Drilling:
- For Knobs (single hole): If drilling a new single hole, use a drill bit that matches the size of the screw shank. Drill straight into the cabinet door or drawer front.
- For Pulls (two holes): If drilling two new holes for a pull, first drill one hole. Then, align your pull with this hole and mark the second hole, or use your template for precise spacing. Drill the second hole. Ensure you drill all the way through the cabinet door or drawer face.
- Clean Up: Remove any wood shavings or dust from the drilled holes.
For detailed guidance on cabinet drilling, the Woodworking Network offers great insights into proper techniques.
Step 4: Install New Hardware
This is where your cabinets start to transform!
- Apply New Hardware:
- Knobs: Insert the screw through the back of the cabinet door/drawer. Align the knob onto the screw from the front.
- Pulls: Insert screws through the back of the cabinet door/drawer, aligning them with the holes. Align the pull onto the screws from the front.
- Tighten Screws: Use your screwdriver to tighten the screws. Do not overtighten, as this can strip the wood or damage the cabinet. Tighten until the hardware is snug and secure.
- Check Alignment: Ensure the knob or pull is straight and sits flush against the cabinet surface.
- Test: Open and close the door or drawer to make sure the hardware operates smoothly and doesn’t catch on anything.
Step 5: Repeat and Admire!
Continue this process for all your cabinets and drawers. Once you’re done, step back and admire your work! You’ve successfully updated your cabinetry and given your space a fresh, new look.
Replacing Cabinet Hinges: A Quick Overview

While replacing knobs and pulls is straightforward, replacing cabinet hinges can be a bit more involved, especially if you’re changing the type or mechanism. However, for a simple swap to the same style, it’s manageable.
Types of Hinges
- Concealed (European) Hinges: These are hidden when the door is closed, offering a clean, modern look. They are adjustable for precise door alignment.
- Surface-Mount Hinges: These are visible on the cabinet face and are often used for a decorative or traditional look.
- Overlay Hinges: These determine how much the cabinet door covers the cabinet frame when closed (full overlay, half overlay, inset).
When to Replace Hinges
- If they are rusted, bent, or broken.
- If cabinet doors are sagging or don’t close properly and can’t be adjusted.
- If you’re changing the style of your cabinets significantly.
Basic Hinge Replacement Steps (for same-style swap):
- Support the Door: Have someone help you, or use a shim to support the cabinet door before removing the old hinges.
- Unscrew Old Hinges: Carefully unscrew the old hinges from both the door and the cabinet frame.
- Install New Hinges: Align the new hinges in the same position and attach them with screws.
- Adjust: If using adjustable hinges, make small adjustments to ensure doors hang straight and close properly.
Important Note: If you are changing hinge types or dealing with different overlay requirements, it’s often best to consult detailed tutorials or professional advice, as this can affect door alignment significantly. Websites like Family Handyman have in-depth guides for various hinge types.
Troubleshooting Common Issues
Even with careful work, you might encounter a snag. Here are solutions to common problems:
- Screws Won’t Tighten: The hole is stripped. Try using a longer screw, or fill the hole with wood filler, toothpicks, or a golf tee (cut flush) before re-drilling and inserting the screw.
- Hardware Is Crooked: If you’ve already tightened it, back it off slightly, reposition, and retighten. If the holes themselves are off, you might need to fill the old ones and drill new ones, which can be a bit more work but yields a perfect result.
