
Don’t let worn-out cabinet tools cause frustration! This guide will show you step-by-step how to replace cabinet hardware like handles and knobs, making your cabinets look and function like new. You’ll learn what tools you need and how to get the job done safely and easily.
Hey there, DIYers! Ever feel like your kitchen or bathroom cabinets are looking a little tired? Sometimes, a fresh coat of paint isn’t enough. The hardware – those handles and knobs you grab every single day – can really make a difference. When they get loose, wobbly, or just plain out of style, it’s a renovation project that even beginners can tackle. Replacing cabinet tools, especially hardware, can transform your space without a major overhaul. It’s a simple fix that boosts both appearance and usability. This guide is your friendly, step-by-step companion to getting this job done right. Let’s get your cabinets looking sharp and feeling brand new!
Why Replace Cabinet Tools (Hardware)?
Think about how many times a day you open a cabinet. Those pulls and knobs get a lot of action! Over time, they can show their age. Here’s why it’s a great idea to swap them out:
Aesthetic Upgrade: The easiest way to give your cabinets a modern refresh. New hardware can completely change the look of your kitchen or bathroom.
Improved Functionality: Loose or broken hardware can be annoying and even make cabinets difficult to open and close. New pieces work smoothly.
Increased Home Value: Small improvements like updated hardware can contribute to a better overall impression of your home.
Personalization: Choose hardware that truly reflects your style, from sleek modern designs to rustic farmhouse looks.
Essential Tools for Replacing Cabinet Hardware
Don’t worry, you won’t need a professional toolbox for this. Most of these are common household items.
Must-Have Tools:
Screwdriver: A Phillips head screwdriver is most common for cabinet hardware. Having a set with different sizes is helpful.
Measuring Tape: Essential for ensuring new hardware will fit perfectly.
Drill (Optional but Recommended): Helps with faster screw removal and installation, especially if you have many cabinets. You’ll need drill bits that match your screw sizes.
Utility Knife or Putty Knife: Useful for gently prying off old hardware if it’s stuck or covering screw holes.
Pencil: For marking new hole placements if needed.
Cabinet Hardware Template (Optional): A simple plastic or cardboard tool that helps you align new hardware perfectly, especially if the hole spacing is different from the old hardware. You can often find these at hardware stores or online.
Safety Gear:
Safety Glasses: Always a good idea when working with tools.
Gloves: To protect your hands.
Step-by-Step Guide: Replacing Cabinet Handles and Knobs

Let’s break down the process. It’s simpler than you might think!
Step 1: Gather Your New Hardware
Before you start, make sure you have your new cabinet handles or knobs ready. Measure the distance between the screw holes on your existing hardware. This is called the “center-to-center” measurement for handles. Most handles come in standard measurements like 3 inches, 4 inches, or 96mm (which is about 3.75 inches). Knobs usually only have one screw hole, so measurement isn’t as critical for fit.
Step 2: Remove Old Cabinet Hardware
This is usually the easiest part!
1. Locate the Screws: Look at the back of your cabinet door or drawer. You should see one or two screws holding the hardware in place.
2. Unscrew: Use your screwdriver (or drill with a matching bit) to turn the screws counter-clockwise. Keep a small container or bowl handy to put the screws and old hardware in so they don’t get lost.
3. Gently Pry (If Needed): If the hardware is stuck, especially old paint or finish, you might need to gently coax it off. A thin putty knife or utility knife can help carefully separate it from the cabinet surface. Be gentle to avoid scratching the cabinet.
Step 3: Prepare for New Hardware Installation
1. Clean the Area: Once the old hardware is off, you’ll likely see a clean spot where it was. Wipe this area down with a damp cloth to remove any dust or debris. Let it dry completely.
2. Check Existing Holes: If your new hardware has the same hole spacing as the old, you can use the existing holes. This is the easiest scenario!
Step 4: Install New Cabinet Hardware
This is where your new hardware goes on!
If Using Existing Holes:
1. Align: Place your new handle or knob against the cabinet door or drawer. Line up the screw holes on the hardware with the pre-drilled holes in the cabinet.
2. Insert Screws: From the inside of the cabinet door or drawer, insert the screws that came with your new hardware.
3. Tighten: Start by hand-tightening the screws. Then, use your screwdriver or drill to snug them up. Don’t overtighten, as this can strip the holes or damage the cabinet. Make sure the hardware is straight and secure.
If You Need to Drill New Holes:
1. Measure Carefully: This is crucial. Use your measuring tape and pencil to mark exactly where the new holes should go. If you have a template, use it now to ensure perfect alignment. For handles, measure the center-to-center distance accurately. For knobs, mark the center of where you want the knob to be.
2. Drill Pilot Holes: Use a drill bit that is slightly smaller than the screw diameter. Drill slowly and steadily to create clean holes.
3. Install Hardware: Follow the steps above for aligning, inserting screws, and tightening.
Step 5: Test and Admire!
Open and close the cabinet door or drawer a few times to ensure the new hardware works smoothly. Step back and admire your handiwork! A small change can make a big difference.
Replacing Drawer Pulls vs. Cabinet Knobs
The process is fundamentally the same, but there are a few minor differences to keep in mind.
| Feature | Cabinet Knobs | Drawer Pulls (Handles) |
| Installation| Typically one screw hole. Simple alignment. | Usually two screw holes. Center-to-center measurement is critical. |
| Function | Good for smaller cabinet doors, drawers, or as decorative accents. | Better for larger doors and drawers that require more leverage to open. |
| Style | Wide variety of shapes, sizes, and materials. | Often linear or ergonomic designs. Available in many styles and finishes. |
| Tools Needed| Screwdriver. | Screwdriver, measuring tape. A template can be very helpful if hole spacing differs. |
| Pros | Easy to install, quick aesthetic update. | Provide better grip, can be more comfortable for frequent use. |
| Cons | Less leverage for heavy drawers. | Requires precise measurement for proper hole alignment. |
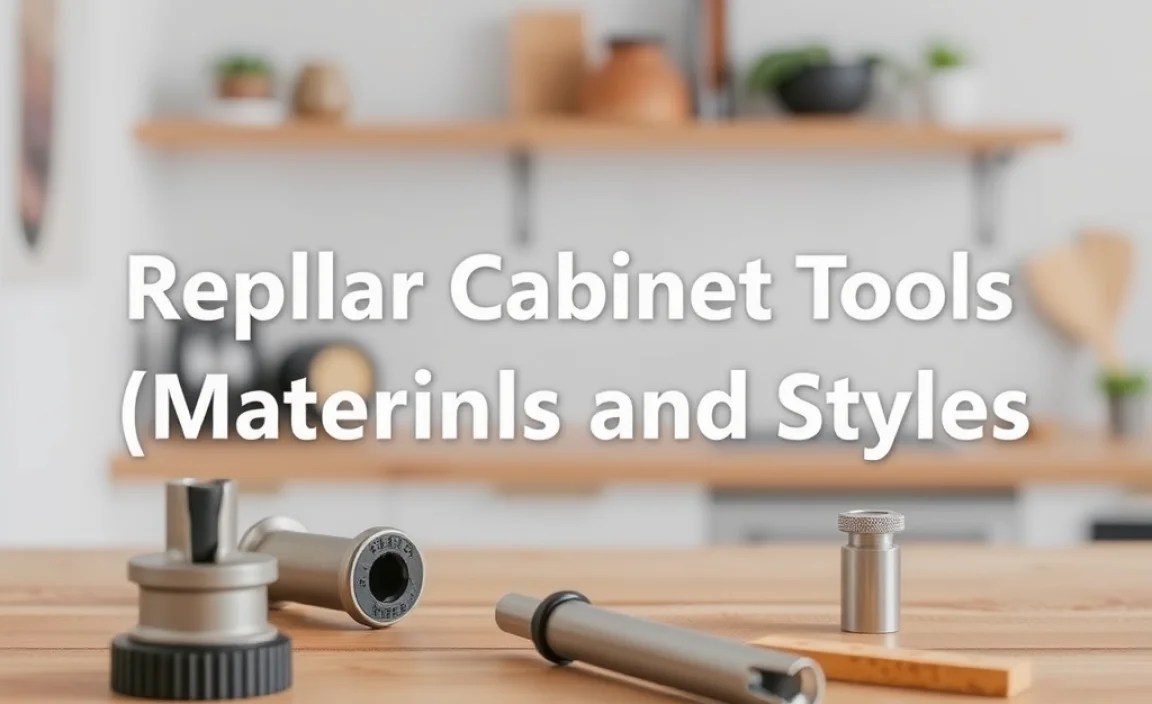
Popular Cabinet Tool (Hardware) Materials and Styles
The world of cabinet hardware is vast! Here are some popular options you’ll encounter:
Materials:
Metal:
Brushed Nickel/Stainless Steel: Durable, resists fingerprints, and offers a modern, clean look. A very popular choice for kitchens.
Polished Chrome: Shiny and reflective, offering a sleek, contemporary feel. Can show fingerprints but is easy to clean.
Brass (Polished or Unlacquered): From a warm, classic glow to a trendy antique finish, brass is versatile. Unlacquered brass will develop a natural patina over time.
Oil-Rubbed Bronze: Offers a dark, rich, and often antique aesthetic. Great for traditional or rustic styles.
Matte Black: A bold, modern statement that pairs well with almost any cabinet color.
Wood: Natural and warm, wood hardware can bring an organic feel to a space. Often used in farmhouse or traditional designs.
Ceramic/Porcelain: Can feature intricate patterns or solid colors, adding a decorative touch. Often paired with metal hardware.
Glass: Offers a touch of elegance and sparkle, especially in knobs.
Styles:
Modern/Contemporary: Clean lines, geometric shapes, minimalist designs. Think sleek pulls in brushed nickel or matte black.
Transitional: A blend of modern and traditional. Often features subtle curves or slightly more ornate details without being overly fussy.
Traditional: Classic designs, often with more ornamentation, crests, or scrolling details. Think ornate brass or detailed bronze.
Farmhouse/Rustic: Distressed finishes, natural materials, simple and sturdy designs. Oil-rubbed bronze or matte black pulls often fit this style.
Industrial: Often features raw metal finishes, exposed screws, and robust, functional designs.
When choosing, consider the existing style of your cabinets and your home. Picking a finish that complements your appliances and fixtures is also a good idea. For example, if your sink faucet is brushed nickel, choosing brushed nickel pulls can create a cohesive look.
Troubleshooting Common Issues When Replacing Cabinet Tools
Even with the best intentions, small hiccups can happen. Here’s how to handle them:
Problem: The screws won’t go in straight.
Solution: Check that you’re using the correct size screw for the hole and the hardware. Make sure the hardware is flush against the cabinet surface before you start tightening. If it’s a handle with two screws, try inserting both screws partway before tightening either one fully. This allows for minor adjustments.
Tip: Using a cabinet hardware template can significantly help with alignment, especially for handles.
Problem: The new hardware doesn’t match the old hole spacing.
Solution (for Handles): This is the most common issue. You’ll need to drill new holes.
1. Fill Old Holes: Use wood filler or wood putty to fill the old, unused screw holes. Let it dry completely according to the product instructions.
2. Sand Smooth: Once dry, gently sand the filled holes so they are smooth and flush with the cabinet surface.
3. Paint Match (If Necessary): If the filled holes are noticeable, you might need to touch them up with a bit of paint or stain that matches your cabinets. Test the color in an inconspicuous spot first.
4. Drill New Holes: Carefully measure and mark the positions for your new hardware. Use a drilling template for accuracy. Drill pilot holes as described in Step 4.
Solution (for Knobs): If you have one old knob hole and want to install a handle with two, you’ll likely need to fill the old hole and drill two new ones. Conversely, if you’re replacing two-holed handles with a single knob, you’ll fill both old holes and drill one new hole for the knob.
Problem: The screws are too short or too long.
Solution: Most new hardware comes with screws. If they aren’t the right length for your cabinet doors or drawers (some are thicker than others), you’ll need to buy replacements.
For short screws: Take one of the original, too-short screws to your local hardware store. Ask for a screw of the same diameter and thread type, but a few millimeters longer.
For long screws: Take one of the original, too-long screws and find a shorter one with the same diameter and thread.
Important: Ensure the screws are designed for cabinet hardware, usually #8 or #10 thread count.
Problem: The hardware feels loose after tightening.
Solution: The holes in the cabinet might be stripped, meaning the wood is damaged and the screws can’t grip.
1. Wooden Dowel/Toothpick Method: Insert a wooden toothpick or a small sliver of a wooden dowel into the stripped hole. You can add a little wood glue for extra hold. Break off any excess so it’s flush with the surface. Let the glue dry. Then, try screwing into the reinforced hole.
2. Larger Screw: As a last resort, you might try a slightly larger diameter screw if the hole is significantly stripped. Be cautious not to make the hole too big.
Tip: Avoid overtightening screws in the first place. “Snug” is the goal, not “cranked down.”
Conclusion
And there you have it! Replacing cabinet tools, specifically the hardware like knobs and handles, is a fantastic DIY project that can drastically improve the look and feel of your kitchen or bathroom. We’ve walked through gathering your tools, carefully removing the old pieces, preparing your cabinets, and installing your shiny new hardware. We’ve also covered common materials, styles, and even how to troubleshoot – because a little preparation goes a long way!
Remember, the key is taking your time, measuring accurately, and not forcing anything. This project isn’t just about making things look pretty; it’s about making your cabinets more functional and enjoyable to use every day. So go ahead, pick o
