
Replace caulking DIY confidently with this essential guide. Learn to remove old caulk, prepare the surface, and apply a fresh, waterproof seal to prevent leaks and improve your home’s look. We’ll walk you through every step, making it simple and effective.
Cracked, peeling, or moldy caulk is more than just an eyesore; it’s an open invitation for water damage and drafts. Think of caulk as your home’s tiny but mighty bodyguard, sealing up gaps around sinks, tubs, windows, and doors. When this bodyguard gets tired, it’s time for a refresh. Many homeowners postpone this task, thinking it’s too messy or complicated.
But you can absolutely tackle replacing caulk yourself! This guide will break down the entire process into easy-to-follow steps, ensuring a clean, professional-looking finish that keeps your home protected and looking its best. Get ready to say goodbye to old, worn-out caulk and hello to a fresh, watertight seal.
Why Replacing Caulk is a DIY-Friendly Task
Replacing caulk might sound intimidating, but it’s one of the most rewarding DIY projects for beginners. Why? Because the tools are simple, the process is straightforward, and the results are immediately visible. A clean bead of caulk can instantly brighten up a bathroom or kitchen. More importantly, properly sealed gaps prevent water from seeping into walls, leading to expensive mold or structural issues down the line. It’s a small effort that delivers big protection and aesthetic improvements. Mastering this skill will save you money and give you a sense of accomplishment.
Understanding Your Caulking Project
Before you grab a tube of caulk, it’s helpful to understand what you’re dealing with. Different areas of your home might require different types of caulk, and knowing the best way to remove the old stuff is key to a smooth application of the new.
Types of Caulk
Choosing the right caulk is crucial for durability and performance. Here’s a quick rundown of common types:
- 100% Silicone Caulk: This is the most waterproof and durable option, perfect for bathrooms and kitchens in areas that get very wet, like shower surrounds and tub edges. It’s flexible and resistant to mold and mildew. However, it can be harder to clean up (requiring mineral spirits) and paintable.
- Acrylic Latex Caulk (with or without Silicone): This is the most common type for general household use. It’s easy to apply, cleans up with water, and is paintable. Latex caulk painted with a little silicone is a good all-around choice for areas like baseboards, window frames, and trim where a watertight seal is needed but not constant submersion.
- Geographic-Specific Caulks: Some caulks are formulated for specific needs, like exterior window caulk that can withstand UV rays and extreme temperatures, or kitchen-specific caulk that resists grease.
Where to Caulk
You’ll find caulk in many places around your home, including:
- Around bathtubs and shower stalls
- Along the edges of sinks and countertops
- Around window and door frames (both inside and outside)
- Where walls meet baseboards or trim
- Around toilets
- Along the joint where your backsplash meets your countertop
Essential Tools and Materials
Gathering the right tools before you start makes the process much smoother. You don’t need a professional toolkit; most items are readily available at your local hardware store.
Here’s what you’ll need:
- Caulk Gun: A basic, dripless model is sufficient for most DIYers.
- Utility Knife or Caulk Removal Tool: For cutting and scraping away old caulk. A dedicated caulk removal tool often makes this easier.
- Putty Knife or Scraper: To help remove stubborn bits of old caulk.
- Rubbing Alcohol or Denatured Alcohol: For cleaning the surface and ensuring good adhesion of new caulk.
- Rags or Paper Towels: For cleaning up messes and wiping away excess caulk.
- Painter’s Tape: To create clean, straight lines if you’re not confident in your freehand caulk bead.
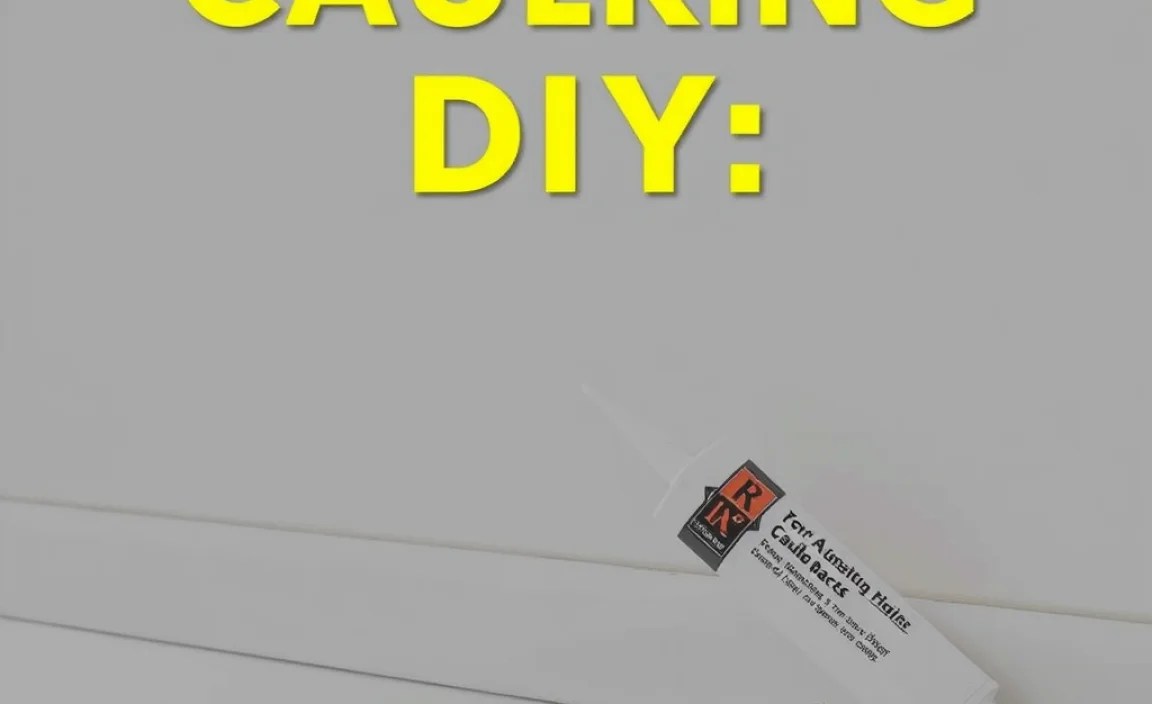
- New Caulk: Choose the right type for your project (see above).
- Caulk Finishing Tool or Damp Cloth/Finger: To smooth the caulk bead.
- Plastic Bags or Gloves: To protect your hands if using silicone caulk and for easy disposal of tools.
- Bucket of Water: Especially if you’re using water-based caulk for easier cleanup.
- Ventilation System (Optional but Recommended): For better air quality, especially when working with silicone or strong cleaners.
Step-by-Step: Replacing Your Caulk Like a Pro
Let’s get down to business! Follow these steps for a clean, effective caulk job.
Step 1: Remove the Old Caulk
This is arguably the most important and often the most tedious step. A clean surface is essential for new caulk to adhere properly. Don’t skip this or rush it!
- Cut the Caulk: Use a utility knife or a dedicated caulk removal tool to carefully cut along the top and bottom edges of the old caulk bead. You’re aiming to break the seal between the caulk and the surfaces it’s stuck to.
- Peel and Scrape: Once cut, try to peel the caulk away. For stubborn sections, use a putty knife or scraper to gently lift and scrape off the remaining caulk. Work slowly and carefully to avoid scratching the surrounding surfaces. A dedicated caulk removal tool often has different angled edges that are perfect for this.
- Clean Up Debris: Use a rag or vacuum to remove any loose pieces of old caulk.
Step 2: Clean the Surface Thoroughly
Once the bulk of the old caulk is gone, you need to ensure the surface is spotless.
- Scrub: Use a stiff brush and warm, soapy water to scrub the area where the caulk was. If there’s any mold or mildew, a solution of 1 part bleach to 10 parts water can be effective, but ensure good ventilation and wear gloves and eye protection. Rinse thoroughly.
- Degrease: For areas like kitchens or around sinks, wiping down the surface with rubbing alcohol (isopropyl alcohol) or denatured alcohol will remove any soap scum, grease, or residue that might prevent the new caulk from sticking.
- Dry Completely: Let the area air dry completely. You can speed this up with a hairdryer on a cool setting or, for bathroom areas, ensure the fan is on for a while. Any moisture left behind will hinder the adhesion of new caulk.
Step 3: Prepare for New Caulk Application (Optional but Recommended)
For a super clean, professional look, consider using painter’s tape.
- Apply Tape: Place a strip of painter’s tape along the edge of the gap where you want the caulk line to end on one side. Apply another strip on the other side, creating a clean “track” for your caulk. Leave a gap between the tapes that is slightly wider than the bead of caulk you intend to apply.
- Ensure Even Gap: Make sure the tape is pressed down firmly and that the gap between the tapes is uniform. This step is a game-changer for achieving straight, even caulk lines, especially for beginners.
Step 4: Prepare Your Caulk Gun and Tube
Getting the caulk tube ready is simple, but a few tricks can help.
- Cut the Nozzle: Using your utility knife, cut the tip of the caulk tube nozzle at a 45-degree angle. Start with a small opening; you can always cut more if you need a wider bead. A smaller opening gives you more control.
- Puncture the Seal: Most caulk tubes have an inner seal. Use the long, thin rod that many caulk guns have (or a long nail or wire) to puncture this seal.
- Load the Gun: Pull back the plunger on the caulk gun, insert the tube nozzle-first, and push the plunger all the way in.
- Release Pressure: Most caulk guns have a trigger lock or a release mechanism (often a small lever or by pressing the trigger fully and then pressing a small button). Activate this every time you stop squeezing the trigger to prevent caulk from continuing to flow out of the nozzle.
Step 5: Apply the New Caulk
This is where your work pays off! Steady hands and consistent pressure are key.
- Test Bead: Before applying to your project, test the caulk flow on a scrap piece of cardboard or paper. Squeeze the trigger and move the gun steadily. Adjust pressure as needed.
- Start Caulking: Position the nozzle at the beginning of the gap at a 45-degree angle, with the cut tip facing into the joint. Squeeze the trigger gently and steadily, drawing the gun along the seam. Aim for a consistent bead that fills the gap without excessive overflow.
- Maintain Consistency: Move at a steady pace. Try to keep the bead size uniform. If you need to stop, engage the caulk gun’s release mechanism immediately.
- Overlap Slightly: If you run out of caulk or need to stop and restart, overlap the new bead slightly with the previous one to ensure a continuous seal.
Step 6: Smooth the Caulk Bead
This step transforms your applied caulk from “just applied” to “professionally finished.”
- Remove Tape (if used): If you used painter’s tape, do this immediately after applying the caulk bead, while the caulk is still wet. Pull the tape away slowly and at a 45-degree angle away from the caulk bead.
- Smooth: You have a few options:
- Caulk Finishing Tool: These plastic tools come with various shaped edges designed to create perfect beads. Run the appropriate edge along the caulk bead, holding it at a consistent angle.
- Damp Rag/Finger: For acrylic latex caulk, slightly dampen your finger or a clean cloth with water (or a small amount of soapy water). Gently run your finger or the cloth along the caulk bead, pushing the caulk into the joint and removing excess. For silicone, a damp cloth or finger can work, but be prepared for a bit more mess, and have denatured alcohol handy for cleanup.
- Wipe Away Excess: Use a damp (for latex) or dry (often better for silicone initially) rag to wipe away any excess caulk that squeezed out or accumulated on your smoothing tool.
Step 7: Clean Up and Cure
Don’t let the mess linger!
- Tool Cleanup: Clean your tools immediately. For acrylic latex caulk, soap and water is usually sufficient. For silicone caulk, you’ll typically need mineral spirits or denatured alcohol for cleanup.
- Dispose of Old Caulk: Roll up old caulk tubes in plastic bags and dispose of them properly.
- Curing Time: Allow the caulk to cure fully. This is crucial. Check the caulk tube for specific curing times, which can range from a few hours to 24 hours or more, depending on the type of caulk and humidity. Avoid getting the area wet or disturbing the caulk until it’s fully cured.
Tips for a Perfect Caulk Seal
Even with a step-by-step guide, a few extra tips can elevate your DIY caulking game:
- Practice Makes Perfect: If you’re new to caulking, grab some scrap wood or cardboard and practice applying a smooth, consistent bead before tackling your actual project.
- Don’t Overwork It: Smooth the caulk bead only once. Going over it multiple times can degrade the finish and create an uneven surface.
- Ventilation is Key: Always ensure good ventilation, especially when working with silicone caulk or cleaning agents like bleach or alcohol.
- Temperature Matters: Avoid caulking in extreme temperatures. Most caulks perform best between 50°F and 80°F (10°C and 27°C). Check the product label for specific recommendations.
- Buy Quality Tools: A good caulk gun, even an inexpensive one, can make a big difference in control and comfort.
- Read the Caulk Tube: Different caulk formulations have unique application and curing instructions. Always read and follow the manufacturer’s directions.
Troubleshooting Common Caulking Issues
Even with careful work, minor hiccups can occur. Here’s how to handle them:
| Problem | Solution |
|---|---|
| Caulk bead is uneven or lumpy. | If the caulk is still wet, you can carefully scrape it off with a putty knife, clean the area, and reapply. If it’s partially set, you may need to remove the entire section and start over for a cleaner finish. |
| Too much caulk overflowed. | Wipe away excess immediately with a damp rag (for latex) or a rag dampened with mineral spirits (for silicone). Don’t push the excess caulk further into the bead; try to remove it cleanly. |
| Caulk won’t stick/is peeling off. | This usually means the surface wasn’t clean or dry enough. You’ll need to remove the failed caulk, thoroughly clean and dry the area, and reapply. Ensure you’re using the correct type of caulk for the surface. |
| Caulk pulls away from edges after drying. | This can happen if the caulk was applied too thinly, or if there was moisture trapped behind it. Ensure the joint is properly filled and that the surrounding surfaces are completely dry before application. |
| Difficulty getting a smooth finish. | Try using a caulk finishing tool for more consistent results. Ensure you’re using consistent pressure and speed when both applying and smoothing. For latex caulk, slightly dampen your finger with water or a soapy solution. |
When to Call a Professional
While replacing caulk is a fantastic DIY project, there are situations where it’s best to call an expert:
- Extensive Water Damage: If you suspect the old caulk has been hiding significant water damage, mold growth within walls, or rot, it’s time for a professional assessment.
- Large or Complex Areas: For very large projects or areas with intricate detailing like crown molding or complex trim work, a professional might offer a cleaner, more efficient finish.
- Lack of Confidence or Time: If you feel overwhelmed by the process, lack the necessary tools, or simply don’t have the time, hiring a handyman or contractor is a sound choice.
- Specific Material Issues: If you are unsure about the type of material you’re working with or if you’re dealing with delicate or historic surfaces, professional advice is valuable.
For most standard bathroom, kitchen, or window sealing needs, however, a DIY approach is perfectly achievable and satisfying. Understanding the role of caulk in preventing water intrusion is also important for home maintenance. Resources from organizations like the Energy Star program often highlight the importance of sealing air leaks, which includes well-maintained caulk, in improving home energy efficiency.
Frequently Asked Questions (FAQ)
Q1: How long does caulk usually last?
A: The lifespan of caulk varies depending on the type, quality of application, and environmental factors. Generally, interior caulk can last anywhere from 5 to 15 years. In high-moisture areas like bathrooms, it might need replacement sooner, perhaps every 3-7 years, especially if mold starts to form or it loses its flexibility.
Q2: What’s the difference between caulk and silicone sealant?
A: Often, people use the terms interchangeably, but there are differences. “Caulk” is a broader term that typically refers to acrylic latex sealants, which are water-based, easy to clean, and paintable. “Silicone sealant” is a specific type of sealant that is 100% silicone. It’s more waterproof, flexible, and durable, making it ideal for very wet areas, but it’s harder to clean up and generally cannot be painted.
Q3: Can I caulk over old caulk?
A: It’s strongly NOT recommended to caulk over old caulk. New caulk won’t adhere properly to the old, possibly dirty or degraded caulk. This will lead to a weak seal that.
