
Quick Summary: Replacing an exhaust fan is an easy DIY project! With simple tools and this guide, you can swap out an old fan for a new one in under an hour, improving your bathroom’s air quality and comfort. We’ll walk you through each step clearly and safely.
Tired of that stale, steamy bathroom air lingering long after a shower? A faulty or inefficient exhaust fan can be the culprit. Replacing your bathroom exhaust fan might sound daunting, but it’s actually a straightforward DIY task that can make a huge difference in your home’s air quality and comfort. You don’t need to be a seasoned pro to tackle this. We’ll break down the process into simple, manageable steps. Get ready to breathe easier with a brand-new, quiet, and effective exhaust fan!
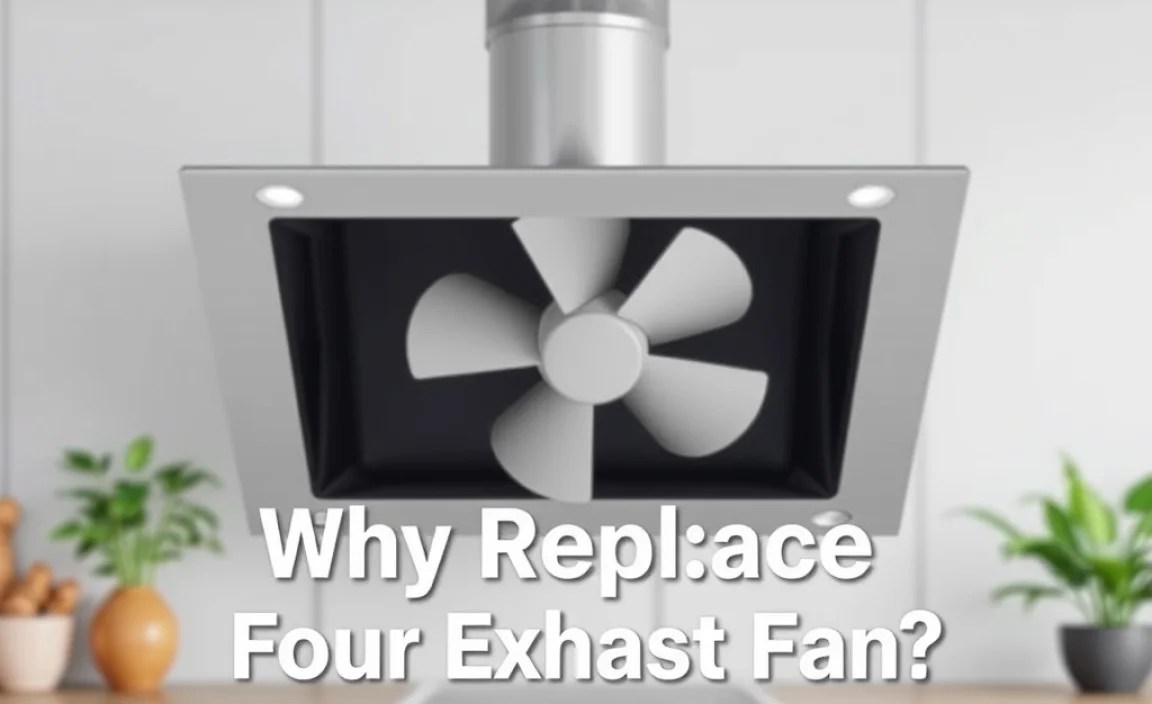
Why Replace Your Exhaust Fan?
Over time, exhaust fans can become less effective due to accumulated dust, motor wear, or simply being an outdated model. A well-functioning exhaust fan is crucial for a healthy bathroom. It removes moisture, which prevents mold and mildew growth. It also clears out odors, making your bathroom a more pleasant space.
Common signs that it’s time for a replacement include:
- The fan makes excessive noise (grinding, rattling, or squealing).
- It doesn’t seem to move much air or clear steam quickly.
- The fan has stopped working altogether.
- You’re upgrading to a more energy-efficient or quieter model.
Tools and Materials You’ll Need

Gathering your tools before you start will make the process smoother and quicker. You don’t need a massive toolbox for this job. Most of the items are probably already in your home or are easy to find at any hardware store. Safety first, though – always make sure you have safety glasses and work gloves!
Here’s a list of what you’ll typically need:
- New Exhaust Fan: Ensure it’s compatible with your existing ductwork size and electrical setup.
- Screwdriver Set: Both Phillips head and flathead screwdrivers will be useful.
- Wire Strippers/Cutters: For safely disconnecting and reconnecting electrical wires.
- Voltage Tester (Non-Contact): Crucial for ensuring the power is off before you touch any wires.
- Pliers: For gripping and manipulating wires.
- Utility Knife or Putty Knife: To gently pry off old fan covers and trim away old caulk or paint.
- Stepladder: To comfortably reach the fan unit.
- Safety Glasses: Protect your eyes from dust and debris.
- Work Gloves: Keep your hands clean and protected.
- Dust Mask: Especially useful if the old fan is dusty.
- New Screws (Optional): Sometimes the screws for the new fan housing might be different.
- Painter’s Tape: To protect surrounding surfaces.
- Drop Cloth or Old Sheet: To catch any falling dust or debris.
Understanding Your Exhaust Fan
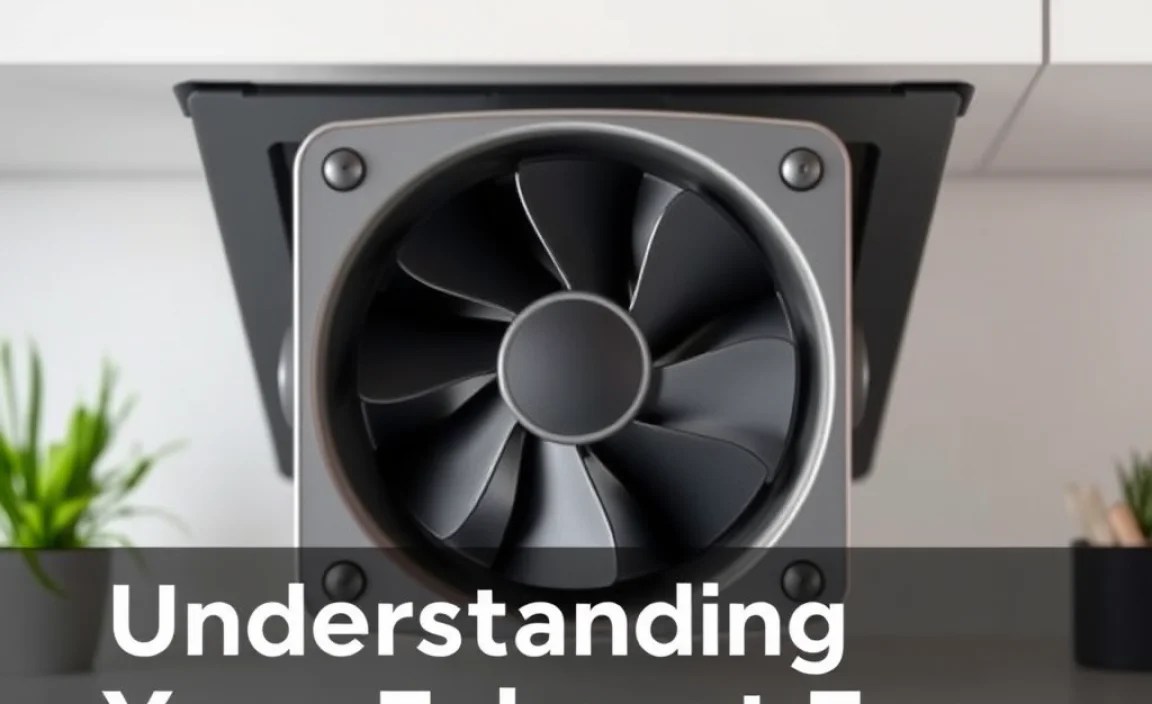
Before diving in, let’s briefly understand what makes up a typical exhaust fan. This knowledge will help you identify parts and understand the process better.
The main components are:
- Housing: The box that encloses the motor and fan blade, installed within the ceiling joists.
- Motor: Powers the fan blade.
- Fan Blade: Usually a plastic propeller that pushes air out.
- Grille/Cover: The decorative part you see from inside the bathroom.
- Duct Connector: Where the ductwork attaches to the housing to vent air outside.
- Electrical Connection Box: Where the wires from your home’s electrical system connect to the fan’s motor.
The fan housing is typically mounted between ceiling joists, with the ductwork running from this housing through the attic or crawl space to an exterior vent. The electrical wiring connects to the motor inside the housing.
Step-by-Step Guide to Replacing Your Exhaust Fan

Replacing your exhaust fan is manageable with patience and care. Follow these steps precisely to ensure a safe and successful replacement.
Step 1: Safety First – Turn Off the Power!
This is the most critical step. Never work on electrical components with the power on.
- Locate your home’s electrical panel (circuit breaker box).
- Identify the circuit breaker that controls your bathroom lights and exhaust fan. If it’s not labeled, you might need to test by flipping breakers until the fan and light go off (make sure no one else is using anything on that circuit).
- Flip the identified breaker to the “OFF” position.
- Go to your bathroom and try to operate the exhaust fan and light switch. Confirm they do not turn on.
- Crucial Check: Use a non-contact voltage tester at the fan’s switch and, if accessible, at the fan unit itself to double-check that there is no power flowing. Place the tester near the wires. If it lights up or beeps, the power is still on, and you need to return to the breaker box.
Step 2: Remove the Old Fan Grille and Housing
Once you’ve confirmed the power is off, it’s time to get to the fan itself.
- Remove the Grille: Most exhaust fan grilles are held in place by springs or clips. Gently pull down on the grille. If it feels resistant, look for small tabs along the edge. You might need to carefully press these tabs or use a putty knife inserted gently between the grille and the ceiling to release it. Be careful not to damage the surrounding drywall.
- Inspect the Housing: Once the grille is off, you’ll see the fan motor and blade assembly. It’s usually attached to a metal frame or housing that’s mounted to the ceiling joists.
- Detaching the Housing (if necessary): Some fan units are designed so you can pull the motor and fan assembly out from below without disturbing the main housing. Others require you to remove the entire housing. Look for screws holding the fan motor assembly to the housing frame. Carefully unscrew these. Gently pull the motor and fan unit down, being mindful of electrical wires connected to it.
Step 3: Disconnect the Electrical Wiring
With the fan unit partially or fully accessible, you can now disconnect the wiring.
- Locate the Wiring: You’ll see wires coming from your ceiling connected to the fan motor. These are usually black (hot), white (neutral), and sometimes green or bare copper (ground).
- Using the Voltage Tester: Even though you’ve turned off the breaker, it’s good practice to use your voltage tester one last time on these wires to be absolutely sure.
- Disconnecting the Wires: You’ll typically find the wires connected via wire nuts (small plastic caps) or terminal screws.
- Wire Nuts: Unscrew the wire nuts counter-clockwise. Once removed, gently separate the wires.
- Terminal Screws: If wires are wrapped around screws, loosen the screws with a screwdriver until you can unwrap the wire.
- Note Connections: If you’re unsure, take a quick photo with your phone of how the wires are connected. Label the wires from the fan and your home’s wiring with tape if it helps you remember (e.g., “Fan Black” to “House Black”).
Step 4: Remove the Old Fan Assembly
At this point, you should be able to fully remove the old fan and its housing if necessary.
- Detaching the Housing: If the fan housing is screwed directly into the ceiling joists or a mounting bracket, you’ll need to remove those screws.
- Lowering the Fan: Once all screws and electrical connections are free, carefully lower the entire old fan assembly from the ceiling. Be prepared for some dust to fall. A drop cloth placed beneath your work area is a good idea here.
- Inspect the Ductwork: While everything is open, check the ductwork connection to ensure it’s secure and not damaged. Make sure there are no obstructions.
Step 5: Install the New Fan Housing
This is where you start putting the new unit in. Your new fan might come with a new housing or use your existing one if it’s compatible. Always follow the manufacturer’s specific instructions for your new fan.
- Position the New Housing: If your new fan came with a new housing, carefully maneuver it into the opening between the ceiling joists. Position it so the duct connector is aligned with your ductwork and the electrical knockout is accessible.
- Secure the Housing: Use screws to firmly attach the new housing to the ceiling joists or mounting bracket. Ensure it’s snug and doesn’t move.
- Connect the Ductwork: Attach your existing ductwork to the new fan’s duct connector. Secure it with a clamp or tape as recommended by the fan manufacturer, ensuring a tight seal to prevent air leaks.
Step 6: Wire the New Fan Motor
Now you’ll connect the electrical components. This is similar to disconnecting, but in reverse.
- Prepare the Wires: Ensure the ends of both the house wiring and the new fan motor wires are clean and stripped (if necessary) to reveal about ½ inch of bare copper. Use your wire strippers if needed.
- Connect the Wires: Connect the wires according to the diagram provided with your new fan. Typically, this involves matching colors:
- Ground Wire: Connect the green or bare copper wire from the fan to the green or bare copper ground wire from your house wiring.
- Neutral Wire: Connect the white wire from the fan to the white wire from your house wiring.
- Hot Wire: Connect the black wire (and any other colored wire, if applicable, for a light or a two-speed fan) from the fan to the corresponding colored wire (usually black) from your house wiring.
- Secure Connections: Use new wire nuts to twist onto each pair of connected wires, turning them clockwise until snug. Tug gently on each connection to ensure it’s secure.
- Tuck Wires: Carefully push the connected wires and wire nuts back into the fan’s electrical connection box within the housing.
Step 7: Install the New Fan Motor and Blade Assembly
This is the part that moves air!
- Mount the Motor/Blade Assembly: Carefully lift the new fan motor and blade assembly into the housing. Align it with the mounting points.
- Secure the Motor: Screw the motor and blade assembly into place within the housing. Ensure it’s securely fastened.
Step 8: Attach the New Grille and Test
Almost done! It’s time to put the finishing touches on your new fan.
- Attach the Grille: Align the new grille with the fan housing. Most grilles simply push up into place, and the springs or clips will hold them securely. Ensure it sits flush against the ceiling.
- Turn Power Back On: Go back to your electrical panel and flip the circuit breaker back to the “ON” position.
- Test the Fan: Go into the bathroom and test the exhaust fan using its switch. It should turn on quietly and powerfully.
- Test Light (if applicable): If your fan includes a light, test that as well.
- Check for Vibrations: Listen for any unusual noises or excessive vibrations. Ensure the fan is running smoothly.
Congratulations! You’ve successfully replaced your exhaust fan.
Choosing the Right Exhaust Fan

Not all exhaust fans are created equal. Here’s a quick look at factors to consider when selecting your replacement.
Key Features to Consider:
- Airflow (CFM): Cubic Feet per Minute (CFM) measures how much air the fan can move. For bathrooms, 50 CFM is generally recommended for every 50 square feet of floor space. A good rule of thumb is to get a fan with at least 80-100 CFM for standard bathrooms to handle humidity effectively. You can find this information on the product packaging or description.
- Sones: This measures the sound level of the fan. A quiet fan is highly desirable in a bathroom. Look for fans with a sones rating of 1.0 or lower. For comparison, 1.0 sone is about as loud as a quiet refrigerator, while 3.0 sones is like a normal conversation.
- Energy Efficiency: ENERGY STAR certified fans use less electricity, saving you money on your energy bills and being better for the environment.
- Features: Some fans come with built-in humidity sensors (they turn on automatically when humidity rises), motion sensors, built-in LED lights, or even Bluetooth speakers.
- Duct Size: Most fans are designed for 4-inch or 6-inch ductwork. Ensure your new fan matches the size of your existing duct.
Types of Exhaust Fans:
- Standard Exhaust Fans: The most common type, designed solely for ventilation.
- Exhaust Fans with Lights: Combine ventilation with a bathroom light fixture.
- Humidity-Sensing Fans: Automatically turn on when they detect high humidity levels, ensuring your bathroom dries out efficiently without you having to remember to turn it on.
- Fan/Light/Heater Combos: These offer complete bathroom comfort solutions, providing ventilation, lighting, and even heating.
- Inline Fans: These fans are installed within the ductwork, often in an attic or crawl space, and are generally more powerful and quieter as the motor is not directly above the bathroom. They require more complex installation.
Troubleshooting Common Issues
Even with careful work, you might encounter minor hiccups. Here are a few common problems and how to address them:
Problem: New Fan Won’t Turn On
- Check Power: Double-check that the circuit breaker is fully on.
- Verify Wiring: Ensure all wire nuts are secure and connections are correct where you joined the wires. A loose connection is the most common cause.
- Test Voltage: Carefully test the wires at the fan unit with your voltage tester (after turning the breaker back on) to see if power is even reaching the fan. If not, the issue might be further up the circuit.
Problem: Fan is Noisy or Rattles
- Loose Components: Ensure the fan motor assembly and grille are securely fastened.
- Fan Blade Obstruction: Make sure nothing is touching the fan blade. Sometimes a wire can get loose and interfere.
- Ductwork Vibration: The ductwork might be vibrating. Ensure it’s properly secured and not rubbing against anything.
- Imbalanced Blade: In rare cases, the fan blade itself might be defective or unbalanced.
Problem: Fan Seems to Be Moving Less Air Than Expected
- Duct Restrictions: Check the ductwork for kinks, debris, or a collapsed section. Ensure the duct is not too long or has too many sharp bends, as this restricts airflow. According to the U.S. Department of Energy, keeping duct runs as short and straight as possible improves efficiency.
- External Vent Blockage: The vent cap on the outside of your house might be blocked by leaves, nests, or snow.
- Incorrect CFM Rating: The new fan might have a lower CFM rating than your old one, or your bathroom might require a higher CFM than the fan provides.
When to Call a Professional
While replacing an exhaust fan is a manageable DIY task for many, there are situations where calling a qualified electrician or a contractor is the best and safest option.
Consider professional help if:
- You are uncomfortable working with electrical wiring.
- Your home’s wiring is old or appears damaged.
- You need to run new ductwork or the existing ductwork is inaccessible or damaged.
- The fan is part of a complex ventilation system.
- You’ve tried troubleshooting and cannot resolve the issue.
- The fan is located in a hard-to-reach or hazardous area.
An electrician can ensure the wiring is done safely and up to code, preventing fire hazards or electrical shock. They also have specialized tools and knowledge to diagnose more complex problems.
Frequently Asked Questions (FAQ)
How long does it typically take to replace a bathroom exhaust fan?
For most DIYers, replacing an exhaust fan can take anywhere from 45 minutes to 2 hours. This includes gathering tools, disconnecting the old fan, installing the new one, and testing. It depends on your comfort level with the task and the accessibility of the fan.
Do I need to be an electrician to replace an exhaust fan?
While you don’t need to be a licensed electrician, you do need to be comfortable with basic electrical work: identifying wires, disconnecting and reconnecting them safely, and always, always ensuring the power is off. If you are unsure at any point, it’s best to consult or hire a professional.
Can I replace just the fan motor instead of the whole unit?
In some cases, yes. If the housing and ductwork are in good condition, you might be able to find a replacement motor and fan blade assembly that fits your existing housing.
