
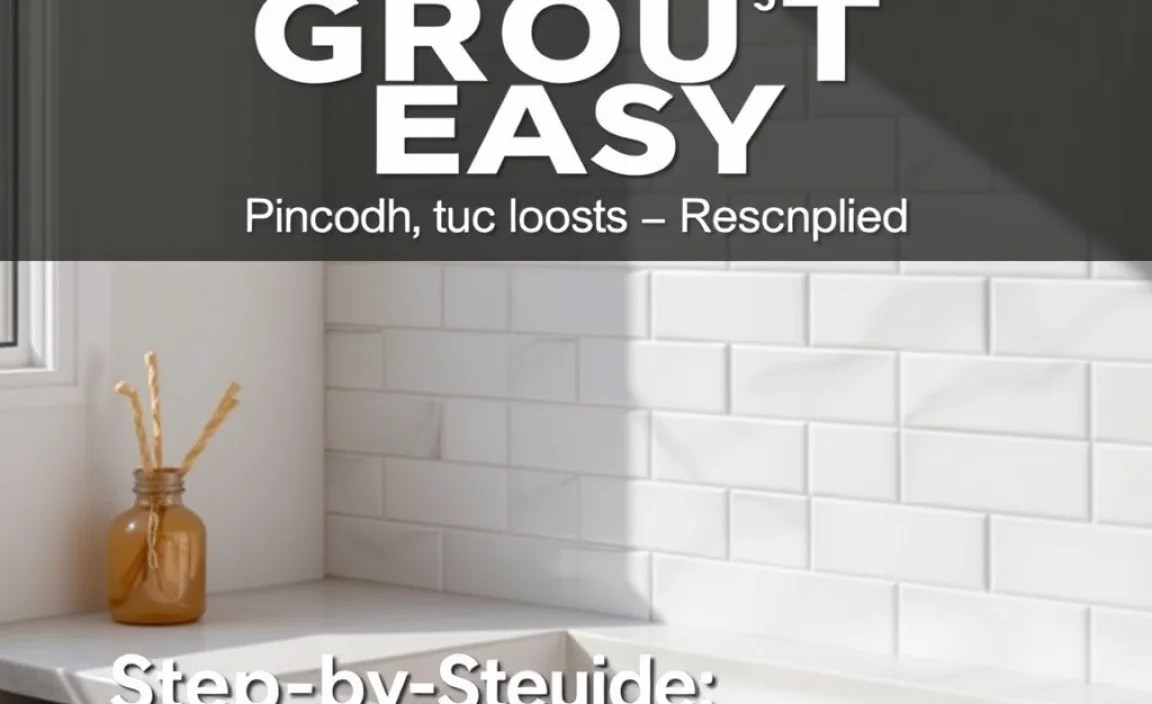
Yes, you can easily replace grout for effortless, professional results! This guide breaks down the process, from removing old grout without damaging tiles to applying new grout smoothly, ensuring a beautiful, long-lasting finish perfect for any home DIYer.
Grout lines can get dirty, stained, or even crack over time. This makes your tiles look dull and worn, no matter how clean the rest of your space is. It might seem like a big, messy job, but replacing grout is actually a very achievable DIY project. With the right tools and a little patience, you can refresh your tiled surfaces and bring back that just-installed look. We’ll walk through each step simply, so you can feel confident tackling this common home improvement task. Get ready to see your tiles shine again!
Why Replacing Grout is Easier Than You Think

Many homeowners put off grout replacement because they imagine it as a difficult, time-consuming, and potentially tile-damaging chore. The truth is, with modern tools and a straightforward approach, you can achieve excellent results without being a professional tiler. The key lies in understanding the process and using the right techniques to make it efficient and safe for your tiles.
Think about it: grout is the material that fills the gaps between tiles, holding them together and preventing moisture and dirt from seeping underneath. Over years of use, it’s natural for this filler to show wear and tear. Cracked, crumbling, or discolored grout doesn’t just look bad; it can even lead to bigger problems like water damage if left unaddressed. The good news is that revitalizing your tiled areas is well within your reach. This guide is designed to demystify the process and equip you with the knowledge to tackle it confidently.
Getting Started: Tools and Materials You’ll Need

Before you dive into removing old grout, gathering all your supplies is crucial. Having everything ready will make the process smooth and prevent frustrating pauses to run to the store. We’ve compiled a list to help you prepare for an easy grout replacement job.
Essential Tools for Grout Removal
- Grout Saw or Scraper: This is your primary tool for scraping out old grout. They come with different blade shapes to fit various grout joint widths.
- Utility Knife: Useful for scoring stubborn grout or cleaning edges before applying new grout.
- Oscillating Multi-Tool with Grout Blade: For larger areas or very tough grout, this powered tool can significantly speed up the removal process. Ensure you use a blade specifically designed for grout removal.
- Screwdriver (Flathead): Can be used carefully to pry out loosened grout.
- Vacuum Cleaner with Crevice Tool: Absolutely vital for cleaning out dust and debris from the grout lines as you work.
- Stiff Brush: For sweeping away loose debris after vacuuming.
- Gloves: Protect your hands from grout dust and chemicals.
- Safety Glasses: Essential to protect your eyes from flying debris.
- Dust Mask: Grout dust can be harmful to inhale, so a mask is highly recommended.
Materials for New Grout Application
- New Grout: Choose the right type for your project (sanded for widerjoints, unsanded for narrow ones, or epoxy for high-moisture areas). Check the manufacturer’s recommendations based on your tile and joint size. For beginners, a pre-mixed grout can simplify the process, though it often has a shorter working time. For more information on grout types and applications, the Tile Council of North America (TCNA) offers excellent resources.
- Grout Float: A specialized trowel with a rubber base for pressing grout into the joints.
- Bucket(s): For mixing grout (if not pre-mixed) and for rinsing your sponge.
- Grout Sponge: A dense, porous sponge designed for grout cleanup.
- Clean Rags or Microfiber Cloths: For final buffing and cleaning.
- Painter’s Tape: To protect adjacent surfaces like countertops or walls, preventing grout from getting on them.
- Water: For mixing grout and for cleanup.
Step-by-Step Guide: How to Easily Replace Grout
Replacing grout involves two main phases: removing the old material and applying the new. While it requires some elbow grease, following these clear steps will lead to satisfying results.
Phase 1: Removing the Old Grout
This is often the most physically demanding part, but being methodical will make it much easier and safer for your tiles.
- Prepare Your Workspace: Lay down drop cloths to protect your floor. Ensure good ventilation, especially if using any cleaning solutions or if the area is prone to mold.
- Score the Grout Lines (Optional but Recommended): If your grout is very hard, lightly scoring along the edges of the grout lines with a utility knife can help to break its bond. Be careful not to cut into the tile itself.
- Start Scraping:
- Manual Method: Use your grout saw or scraper. Place the blade into the grout line and move it back and forth, applying steady pressure. Work in short strokes, aiming to remove about half of the grout’s depth.
- Power Tool Method: If using an oscillating tool, set it to a low speed. Let the tool do the work. Guide it carefully along the grout line, again, aiming to remove roughly half the depth of the old grout. Keep the tool at a slight angle to avoid hitting the tile edges. Refer to the tool’s manual for specific instructions on grout removal.
- Work Section by Section: Don’t try to remove all the grout at once. Focus on a small area, perhaps a few square feet, at a time. This allows you to remove the debris as you go.
- Vacuum Regularly: After scraping a section, use your vacuum cleaner with the crevice tool to suck up all the loose grout dust and debris. This is crucial for a clean application of new grout.
- Check for Loose Tiles: As you remove grout, you might uncover loose tiles. Press down on them. If they move easily, you may need to re-adhere them with tile adhesive once the grout is fully removed and the area is clean.
- Repeat Until All Grout is Removed: Continue scraping and vacuuming your way across the entire area. Ensure you remove the grout down to the level of the tile surface, or slightly below if needed for new grout to sit flush or slightly recessed.
Phase 2: Preparing for and Applying New Grout
Once the old grout is gone and the lines are clean, the exciting part begins: making your tiles look new again!
- Clean the Grout Lines Thoroughly: After vacuuming, use a stiff brush to dislodge any remaining dust from the lines. Then, wipe the tile surfaces with a damp cloth, ensuring no dust residue remains. A quick spray of water and a squeegee can help, followed by a final vacuum. The lines must be clean and dry.
- Mix the Grout (if not pre-mixed): Follow the manufacturer’s instructions on the grout packaging precisely. Add grout powder to the specified amount of water in a clean bucket. Mix until it reaches a peanut butter-like consistency, with no dry lumps. Let it ‘slake’ (rest) for the time recommended by the manufacturer, usually 5-10 minutes, then remix. Prepared properly, the grout should hold its shape without being too stiff or too soupy. For detailed guidance on grout mixing, look for resources from reputable tile suppliers like Lowe’s or Home Depot, which often provide instructional videos and articles.
- Apply the Grout:
- Using your grout float, scoop a generous amount of grout from the bucket.
- Hold the float at a 45-degree angle to the tile surface. Spread the grout across the joints, pressing firmly to push it deep into the gaps. Work diagonally across the tiles to avoid pulling grout out of the joints.
- Cover a small section at a time, ensuring all the lines are completely filled.
- Remove Excess Grout: After filling the joints in a section, hold the grout float at a steeper angle (around 90 degrees) and scrape off the majority of the excess grout from the tile surfaces. Again, work diagonally across the tiles.
- Initial Cleanup (Wetting and Sop-up):
- Wait for the grout to start setting slightly – it will usually don’t smudge easily when touched for about 10-20 minutes (timing varies with temperature and humidity).
- Dip your grout sponge into a bucket of clean water, then wring it out very thoroughly. A damp sponge is key; you don’t want to wash the grout out of the joints.
- Gently wipe the tile surface in a sweeping, circular motion. Rinse the sponge frequently in the clean water bucket, using a second bucket for dirty rinse water if possible to keep your cleaning water cleaner for longer.
- Focus on cleaning the tile faces, being careful not to dig into the fresh grout lines.
- Second Cleanup (Smoothing and Refining): After the initial cleanup, the grout lines will start to firm up. Use a clean, damp grout sponge (again, well wrung out) to gently smooth over the grout lines. This helps create a uniform surface.
- Final Buffing: Once the grout has dried to a haze on the tile surface (usually after 1-2 hours), use a clean, dry microfiber cloth or soft rag to buff away the remaining haze. This will reveal the clean, finished grout lines and shiny tiles.
- Curing Time: Allow the grout adequate time to cure. This typically takes 24-72 hours, depending on the grout type and manufacturer’s instructions. Avoid heavy traffic or exposing the area to excessive water during this period.
Choosing the Right Grout for Your Project

Selecting the correct type of grout is essential for both the appearance and longevity of your tiled surfaces. The most common types you’ll encounter are sanded, unsanded, and epoxy grout. Understanding the differences will help you make the best choice for your DIY project.
Sanded Grout
Sanded grout contains fine grains of sand mixed with cement. The sand provides strength and helps prevent shrinkage when the grout dries.
- Best for: Grout joints that are 1/8 inch wide or larger.
- Pros: Strong, durable, less prone to cracking in wider joints.
- Cons: The sand can scratch delicate tiles (like polished marble or glass), so it’s generally not recommended for these materials or very narrow joints.
Unsanded Grout
Unsanded grout is a smoother mixture without sand. This makes it ideal for very fine or delicate applications.
- Best for: Grout joints that are 1/8 inch wide or narrower.
- Pros: Smooth finish, won’t scratch delicate tiles, good for intricate tile patterns.
- Cons: Can shrink and crack in wider joints if not carefully applied, may require more frequent reapplication if used in wide gaps.
Epoxy Grout
Epoxy grout is made from epoxy resins and a hardener. It is much less porous and more stain-resistant than cement-based grouts.
- Best for: High-moisture areas like bathrooms, kitchens, and areas prone to heavy staining (e.g., garage floors, commercial kitchens). It can be used for most joint widths.
- Pros: Highly durable, waterproof, stain-resistant, and requires less maintenance.
- Cons: More expensive, more difficult to work with (sets faster, harder to clean), requires more precise mixing and application. For beginners, cement-based grouts (sanded or unsanded) are usually a better starting point. For extensive information on grout types and properties, consult resources from tile industry experts such as the Tile Council of North America (TCNA).
Most DIYers will start with sanded or unsanded cement-based grouts. Always check the grout manufacturer’s guidelines for the specific tile and joint size you are working with.
Table: Grout Type Comparison

| Grout Type | Typical Joint Width | Pros | Cons | Best For |
|---|---|---|---|---|
| Sanded Grout | 1/8 inch and larger | Durable, prevents shrinkage, good for wider joints | Can scratch delicate tiles, not for narrow joints | Standard tile walls and floors |
| Unsanded Grout | 1/8 inch and narrower | Smooth finish, won’t scratch delicate tiles | Can shrink/crack in wider joints, less durable in wide gaps | Glass, polished stone, intricate patterns, narrow joints |
| Epoxy Grout | All widths (suitable for most) | Waterproof, stain-resistant, very durable, low maintenance | Expensive, harder to apply, faster setting time | High-moisture areas, high-traffic zones, kitchens, bathrooms |
Tips for an Even Easier Grout Replacement
Even with a clear step-by-step guide, a few extra tips can make your grout replacement project flow even more smoothly and professionally.
- Test on an Inconspicuous Area: If you’re unsure about how a tool will perform or how a certain grout looks, test it in a hidden spot first.
- Don’t Rush the Removal: Patience during grout removal prevents accidental chipping or cracking of your tiles. It’s better to take your time than to have to replace a tile.
- Keep Your Tools Clean: Grout can harden on tools quickly, making them hard to use. Wipe down your grout float and sponge frequently during the process.
- Fresh Water for Sponging: Use clean water when sponging and rinsing grout. Changing your rinse water frequently (even having two buckets, one for initial rinse, one for cleaner rinse) makes a huge difference in the final appearance and prevents spreading grout haze too thinly.
- Caulk Expansion Joints: Areas where tile meets different materials (like countertops, walls, or tubs) are called expansion joints. These should be sealed with flexible caulk, not grout, to accommodate movement and prevent cracking.
- Consider Grout Sealer: After new grout has fully cured (check the grout manufacturer’s recommendation, usually 72 hours or more), applying a grout sealer can help protect it from stains and moisture, especially if you used cement-based grout.
- Work in Good Lighting: Proper lighting helps you see whether you’ve removed all the old grout and whether the new grout is applied evenly and cleaned off properly.
Troubleshooting Common Grout Replacement Issues
Even with the best preparation, you might encounter a few snags. Here’s how to handle some common challenges:
- You’re scratching the tiles while removing grout: You might be pressing too hard or using a tool that’s too sharp for your tile surface. Try a gentler scraping motion or a different grout saw blade. For very delicate tiles, an oscillating tool on a low setting might be safer if used with extreme care, or consider professional help.
- The grout is too hard to remove: You can try a grout remover solution designed to soften hardened grout. Follow the product instructions carefully and ensure good ventilation. Sometimes, a heat gun on a low setting can also help soften stubborn grout, but use with extreme caution to avoid damaging tiles or surrounding materials.
- The new grout is difficult to spread or crumbles: This often means the consistency is wrong. If it’s too dry, add a tiny bit of water and remix. If it’s too wet, add a little more grout powder. Always aim for that peanut-butter consistency.
- You’re seeing too much haze after cleanup: This can happen if you used too much water during the sponging phase, or if you didn’t change your rinse water often enough. Don’t worry; a good buffing with a dry microfiber cloth should remove most of it once it’s fully dry. If haze persists, a specialized grout haze remover might be needed.
- The grout lines aren’t uniform: This is usually due to inconsistent removal of old grout depth or uneven application of new grout. Once the grout is cured, you can sometimes go back with a grout pen for a more uniform color, or for a more drastic fix, consider regrouting again or accepting the character it adds!
Frequently Asked Questions (FAQ)
Q1: How long does it take to replace grout?
For a beginner, tackling a small area like a backsplash or a shower floor might take 4-8 hours, spread over a day or two.
