
Replacing your showerhead is a simple DIY task! With the right tools and these proven hacks, you can upgrade your shower experience in under an hour. Start by turning off the water, gathering your supplies, and following these easy steps for a leak-free, modern shower upgrade.
Shower Replacement Made Simple: Your Beginner’s Guide to a Refreshing Upgrade
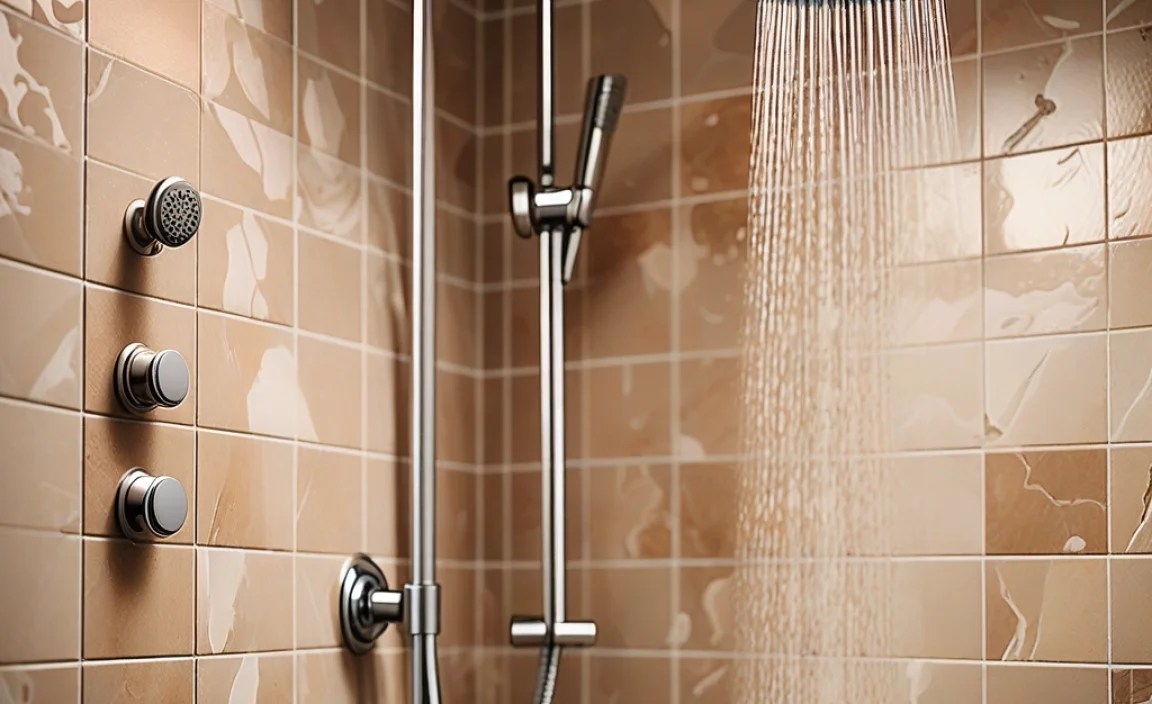
Does your current showerhead drip, sputter, or just lack luster? A worn-out showerhead can make your daily routine less enjoyable. But don’t worry, upgrading to a new one is easier than you think! You don’t need to be a plumbing pro to tackle this common home improvement. With a few simple tools and a little guidance, you can transform your shower into a relaxing oasis. We’ll walk you through everything, from preparation to the final polish, ensuring a successful and leak-free installation. Get ready to give your bathroom a refreshing update!
Why Replace Your Showerhead?
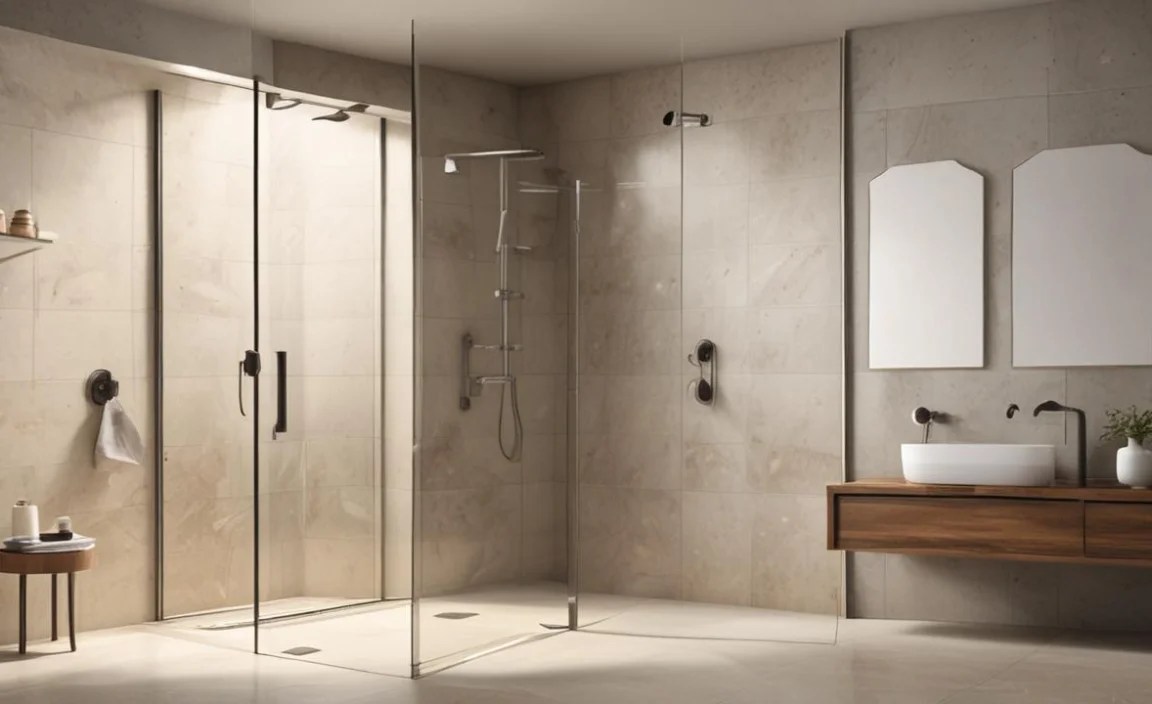
There are plenty of great reasons to consider replacing your showerhead. Maybe your current one is old and stained, making your bathroom look dated. Perhaps it’s not delivering the water pressure you crave for a truly invigorating shower. Or, it could be that you’re looking to save water and energy, as newer models are often designed with efficiency in mind.
Some common indicators that it’s time for a change include:
- Low water pressure or inconsistent spray patterns.
- Visible mineral buildup or rust that can’t be cleaned.
- Leaking even when turned off.
- Desire for a different shower experience (e.g., rain shower, handheld).
- Outdated style that clashes with your bathroom’s decor.
Replacing a showerhead is a fantastic DIY project that offers tangible benefits without requiring advanced skills or expensive tools. It’s a quick win that can significantly improve your daily comfort and even add value to your home.
Tools and Materials You’ll Need
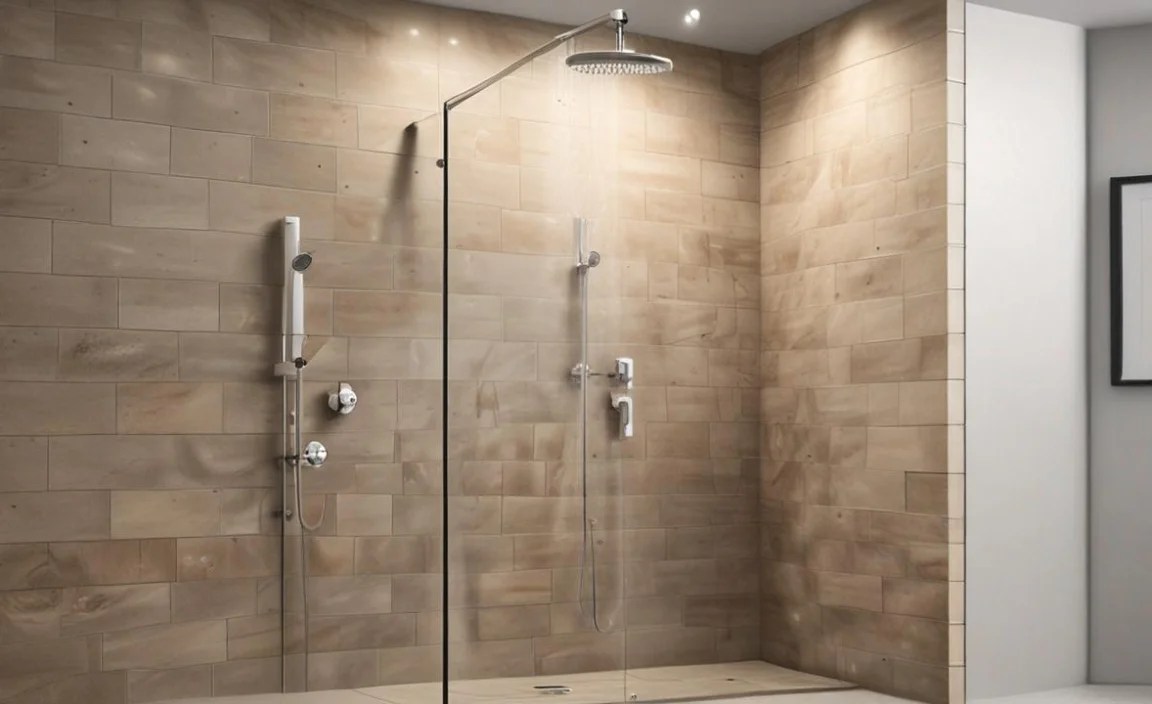
Gathering the right supplies before you start is key to a smooth and efficient replacement. You don’t need a whole toolbox for this job; most items are common household tools.
Here’s what you should have on hand:
- New Showerhead: Choose one that fits your needs and style!
- Adjustable Wrench: This is your primary tool for loosening and tightening.
- Plumber’s Tape (PTFE Tape): Essential for creating a watertight seal.
- Old Rag or Towel: To protect the fixture and catch drips.
- Old Toothbrush or Stiff Brush: For cleaning threads.
- Optional: Pliers (for stubborn old showerheads).
- Optional: Shower Arm (if replacing the entire arm).
Having these items ready means you can proceed without interruptions, making the job faster and less frustrating.
Step-by-Step Guide: How to Replace Your Showerhead
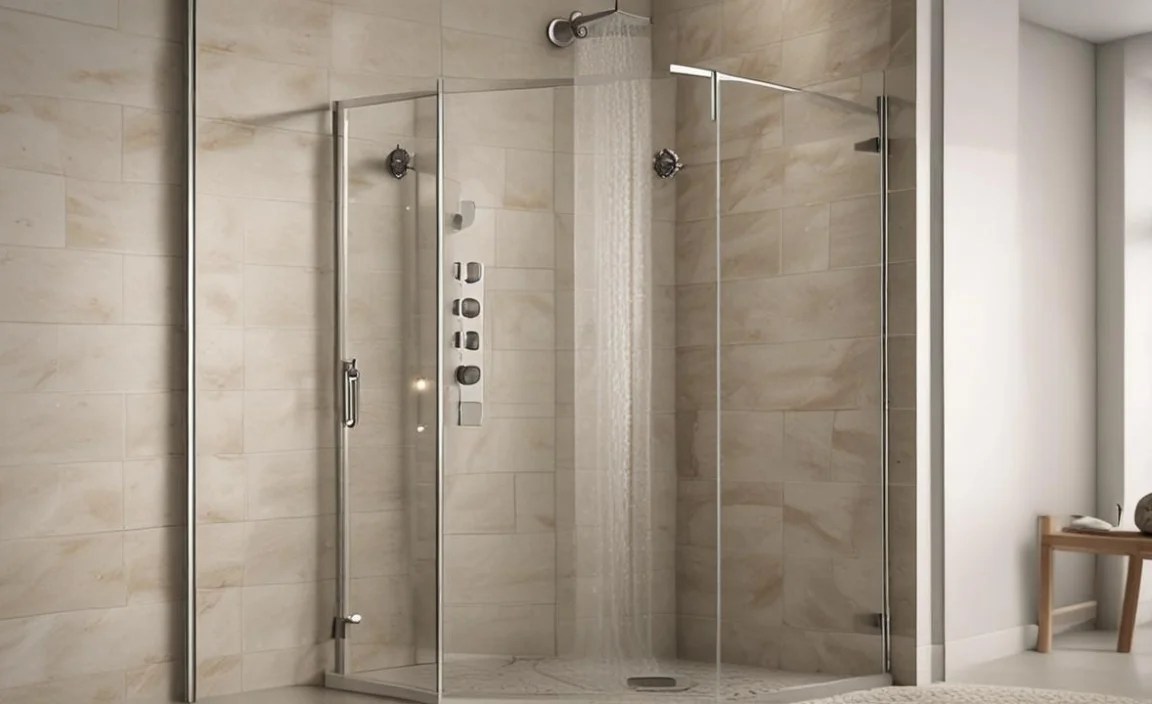
Let’s get started! This process should take less than an hour.
Step 1: Turn Off the Water Supply
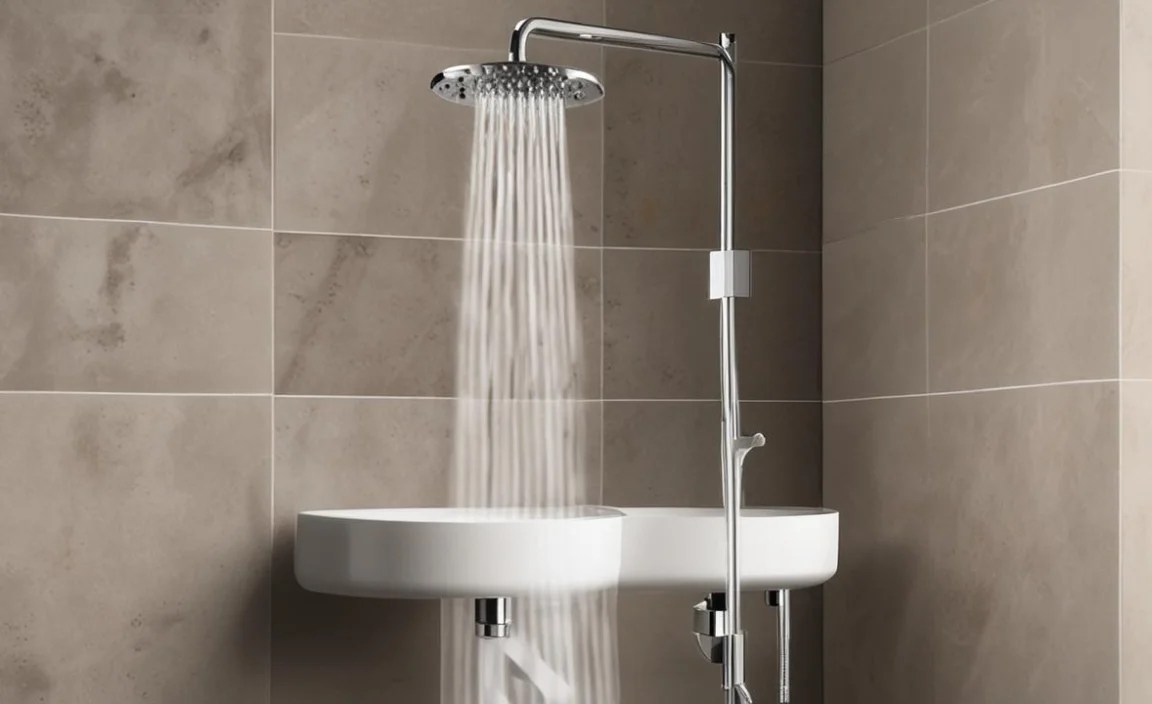
This is the most crucial safety step! You don’t want any unexpected water spray.
- Locate the main water shut-off valve for your home or, if possible, the shut-off valve specifically for your bathroom.
- Turn the valve clockwise to shut off the water supply completely.
- To be extra sure, you can also turn on your existing showerhead briefly to release any residual water pressure in the line.
Step 2: Prepare Your Workspace
Lay down that old rag or towel over the drain to prevent small parts from falling in. If you’re working with a shower arm extension, you might want to place a bucket beneath it to catch any lingering water.
Step 3: Remove the Old Showerhead
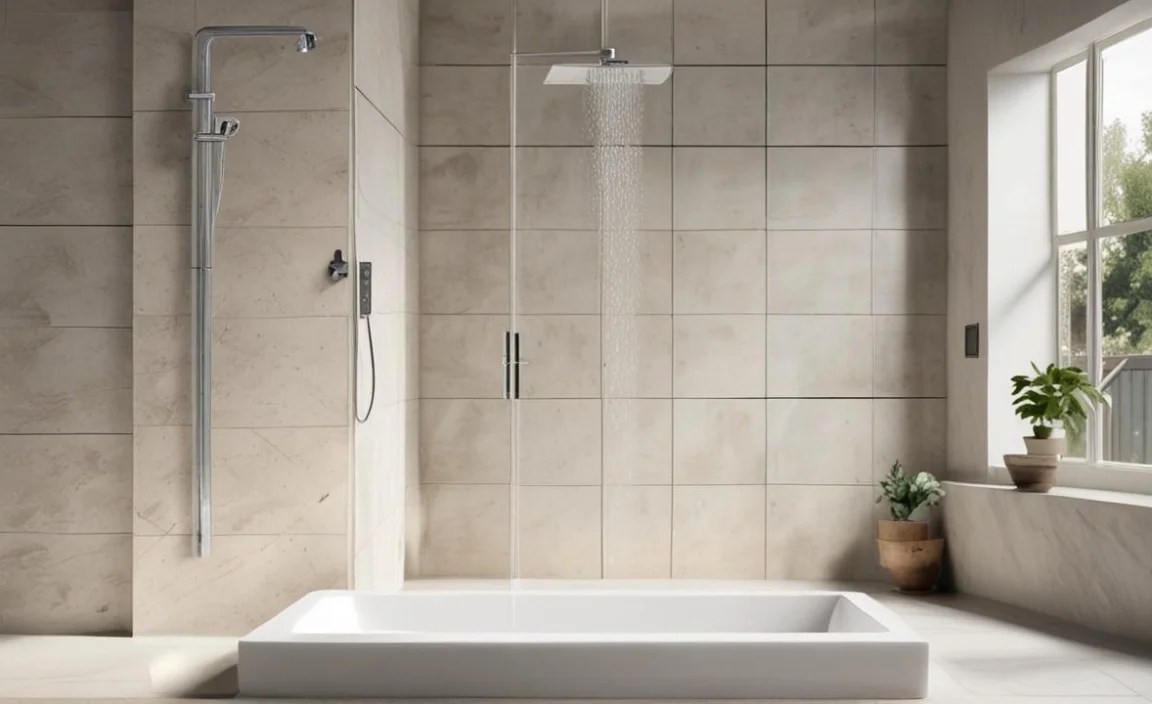
- Gently grip the base of the old showerhead where it connects to the shower arm.
- Use your adjustable wrench to loosen the showerhead. Turn it counter-clockwise. If it feels stuck, apply gentle, steady pressure. Avoid forcing it, as this could damage the shower arm.
- Occasionally, an old showerhead might be very stubborn. If the wrench slips or you’re worried about damaging the arm, try wrapping the connection with the rag to improve grip. For extremely tight fittings, pliers might be a last resort, but be very careful to avoid scratching or deforming the shower arm.
- Once loosened, unscrew the old showerhead by hand the rest of the way.
Step 4: Clean the Shower Arm Threads
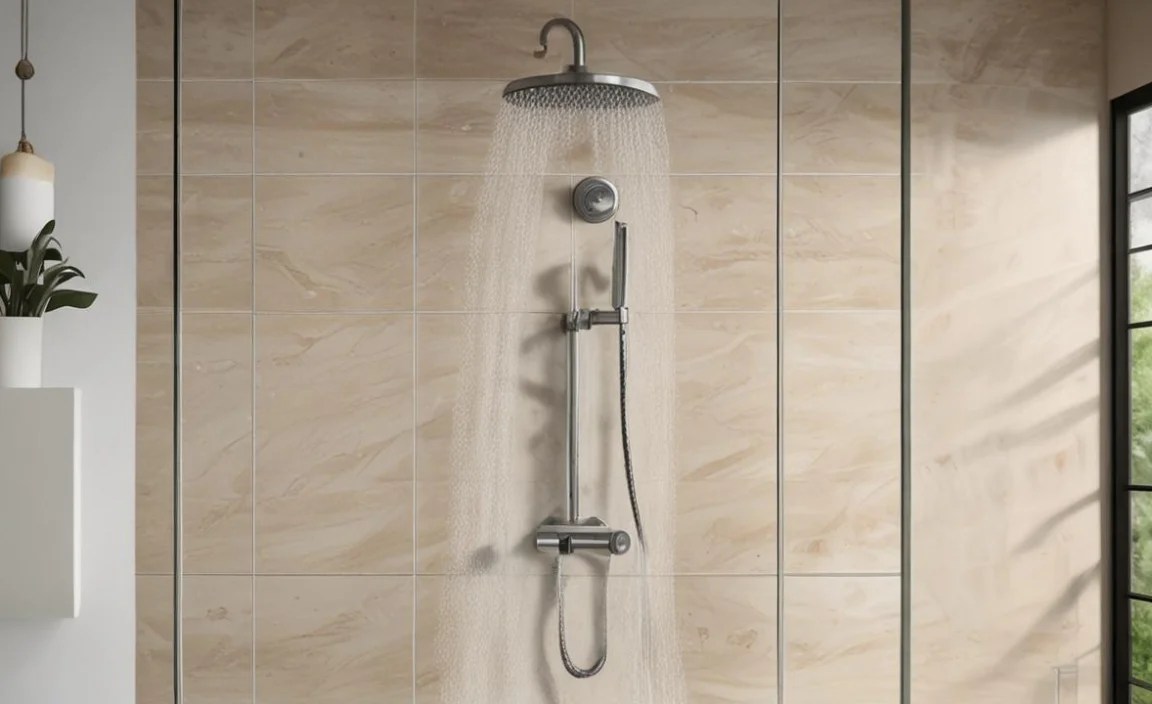
- Inspect the threads on the end of the shower arm. You’ll likely see some old plumber’s tape and possibly mineral deposits.
- Use your old toothbrush or stiff brush to remove any old tape, gunk, or debris from the threads. Clean threads ensure a better seal for the new showerhead.
- Wipe the end of the shower arm with your rag to ensure it’s clean and dry.
Step 5: Apply New Plumber’s Tape
Properly applying plumber’s tape (also known as PTFE tape or Teflon tape) is vital for preventing leaks.
- Take a new piece of plumber’s tape.
- Start at the end of the shower arm threads.
- Wrap the tape clockwise around the threads. This is important because when you screw on the new showerhead (which also turns clockwise), it tightens the tape rather than unraveling it.
- Overlap the tape slightly with each turn, ensuring complete coverage of the threads. You typically need about 3-5 wraps, depending on the tape’s thickness.
- Smooth down the tape so it adheres well to the threads.
Step 6: Install the New Showerhead
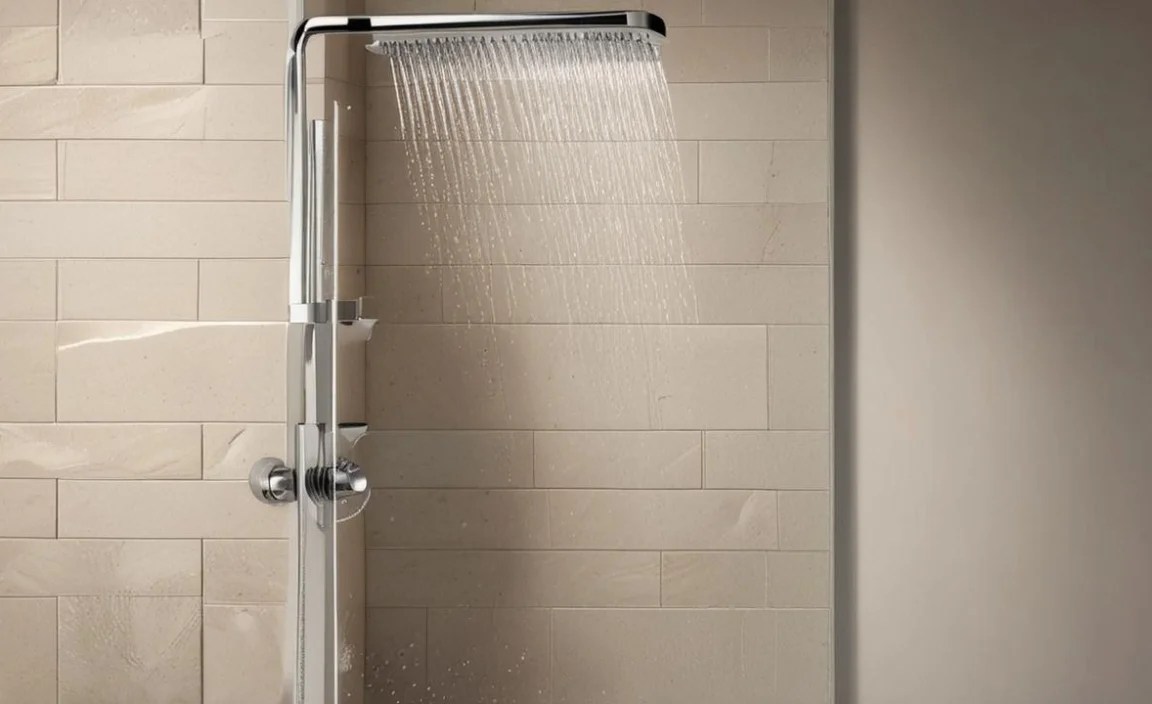
- Take your new showerhead and locate its threaded connection.
- Carefully align it with the taped threads on the shower arm.
- Begin screwing the new showerhead on by hand, turning it clockwise. It should thread on smoothly. If you feel resistance, stop and check that it’s aligned correctly.
- Once hand-tight, use your adjustable wrench to give it a final snug turn. Typically, a quarter to a half turn past hand-tight is sufficient. Do not overtighten, as this can crack the plastic components of the showerhead or damage the threads.
Step 7: Test for Leaks
- Turn the main water supply back on slowly.
- Turn on the new showerhead. Let the water run for a minute or two.
- Carefully check the connection point between the shower arm and the new showerhead for any drips.
- If you see any leaks, turn off the water, and give the showerhead another slight snug with the wrench. If it persists, you may need to remove the showerhead, clean the threads again, and reapply the plumber’s tape, ensuring you wrapped it tightly and in the correct direction.
Step 8: Enjoy Your New Shower!
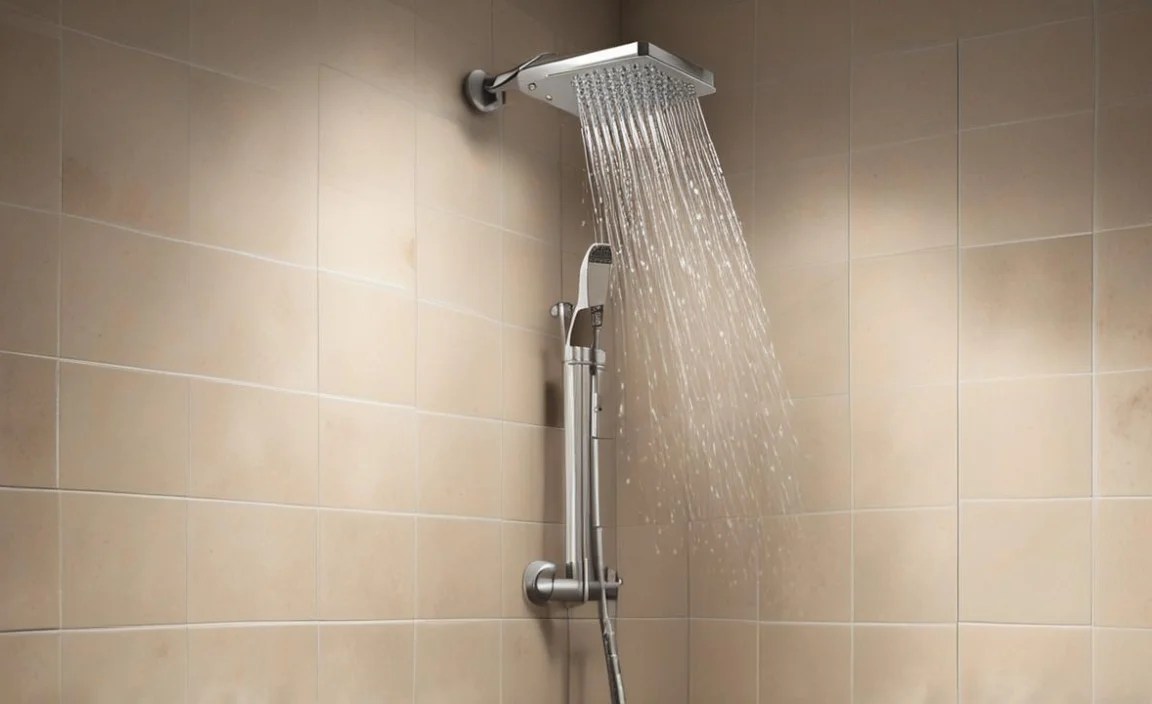
Once you’ve confirmed there are no leaks, it’s time to enjoy the fruits of your labor! You’ve successfully replaced your showerhead and upgraded your daily experience.
Proven Best Hacks for a Seamless Shower Replacement
Beyond the basic steps, a few expert tips can make your showerhead replacement even smoother and ensure longevity. These are the “hacks” that seasoned DIYers swear by.
Hack 1: Protect Finishes with a Rag
When using your adjustable wrench, always wrap the jaws with a cloth or rag before gripping the shower arm or showerhead connection. This simple step prevents scratches and dings on the chrome or other finishes, keeping your fixtures looking pristine.
Hack 2: Clockwise for Sealing, Counter-Clockwise for Loosening
Remember this little mantra: “Righty tighty, lefty loosey.” When applying plumber’s tape, always wrap it in the same direction the showerhead will be screwed on (clockwise). This ensures the tape remains tightly in place and creates a perfect seal.
Hack 3: The Power of Hot Water (for Stubborn Heads)

If your old showerhead is exceptionally difficult to remove, sometimes a little heat can help expand the metal slightly, making it easier to turn. Run hot water over the connection point for a few minutes (be careful not to burn yourself) or use a hairdryer on a medium setting. Then, try your wrench again. Always ensure the water is off before attempting this.
Hack 4: Cleaning is Key for a Tight Seal
Don’t skip the thread cleaning! Mineral deposits and old tape residue are the primary culprits behind leaks. A clean thread surface is essential for the new plumber’s tape to adhere correctly and create a watertight barrier. An old toothbrush is surprisingly effective for getting into those nooks and crannies.
Hack 5: Don’t Overtighten – It Makes Things Worse
This is a common mistake for beginners. While you want a snug fit, overtightening can strip threads, crack plastic connectors, or damage the shower arm. Always tighten hand-tight first, then give it just a quarter to a half turn with the wrench. When in doubt, a slightly looser fit that you can easily adjust is better than a break.
Hack 6: The Two-Wrench Technique (for Shower Arm Replacement)
If you’re replacing the entire shower arm (the pipe coming out of the wall), you’ll need a second wrench. Use one wrench to turn the shower arm itself (counter-clockwise to remove) and a second wrench held steady on the escutcheon plate (the decorative flange against the wall) to prevent it from turning and potentially damaging the pipe within the wall. When installing the new arm, tighten it firmly but avoid excessive force.
Showerhead Types and Features to Consider
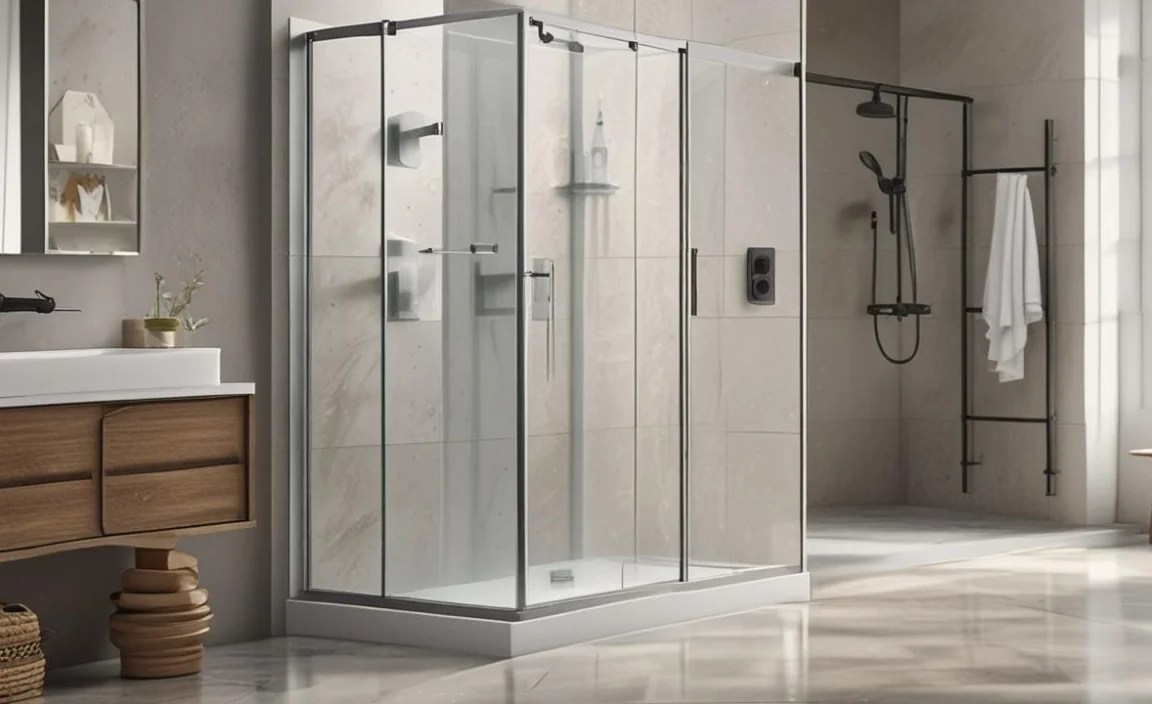
Choosing a new showerhead is also an opportunity to enhance your shower experience. Here’s a quick look at common types and features:
Showerhead Types
| Type | Description | Pros | Cons |
|---|---|---|---|
| Fixed Showerhead | The most common type, permanently attached to the shower arm. Comes in various spray patterns. | Simple to install, wide variety, often most affordable. | Limited adjustability of spray direction. |
| Handheld Showerhead | Connected via a flexible hose, allowing for greater maneuverability. Ideal for rinsing, bathing children, or pets. | Highly versatile, easy to direct water, aids in cleaning the shower. | Installation can be slightly more complex (mounting bracket), hose can sometimes kink. |
| Rain Showerhead | Large, flat heads designed to mimic rainfall, offering a gentle, overhead spray. | Luxurious and relaxing experience, wide coverage. | Can require higher water pressure to be effective, may not be suitable for all bathroom setups (often mounted overhead), can be more expensive. |
| Body Sprays | Multiple small jets installed in the shower wall, providing a spa-like experience. | Full-body coverage, therapeutic massage effect. | Requires professional installation and significant plumbing work, increases water usage. |
Key Features to Look For
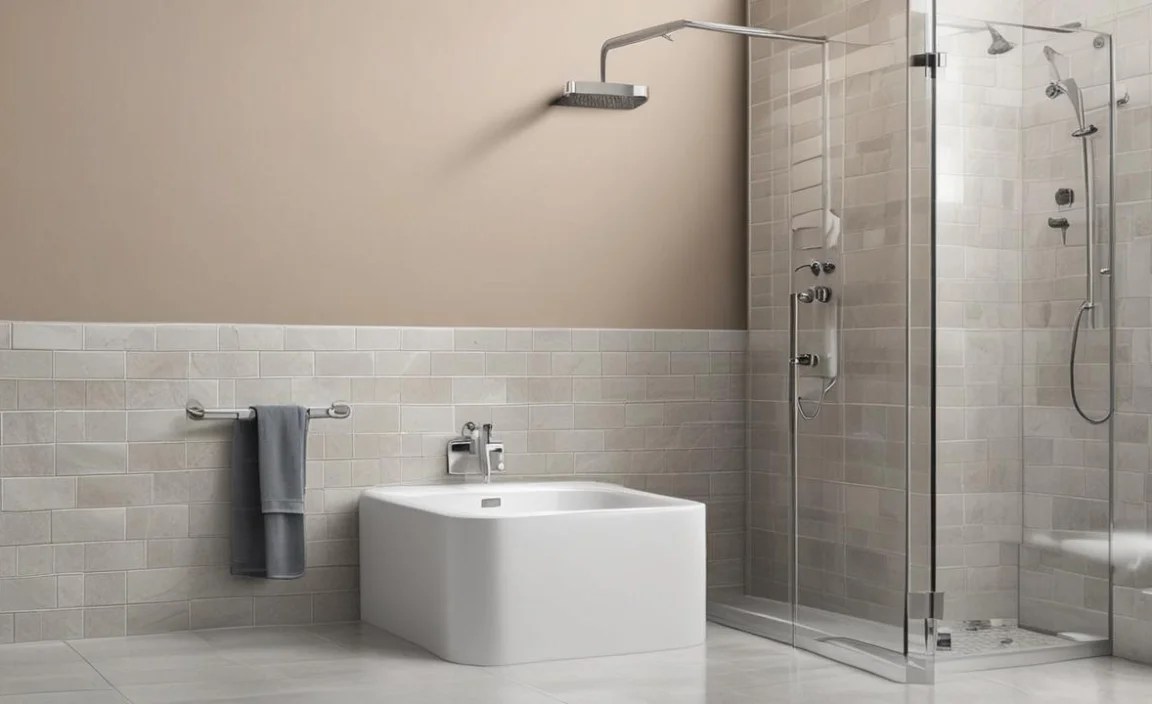
- Spray Settings: Most showerheads offer multiple settings like massage, mist, rain, and powerful jets.
- Water Efficiency: Look for the WaterSense label from the U.S. Environmental Protection Agency. These showerheads use at least 20% less water than standard models, saving you money on water and energy bills. For instance, EPA-certified showerheads typically produce no more than 2.0 gallons per minute (gpm).
- Flow Rate (GPM): The standard flow rate in the U.S. is 2.5 gpm. Water-efficient models are 2.0 gpm or less.
- Material and Finish: Consider durability (brass is very durable) and how the finish matches your bathroom fixtures (chrome, brushed nickel, oil-rubbed bronze, matte black).
- Easy-Clean Nozzles: Rubber or silicone nozzles make it easy to wipe away mineral buildup.
Troubleshooting Common Issues
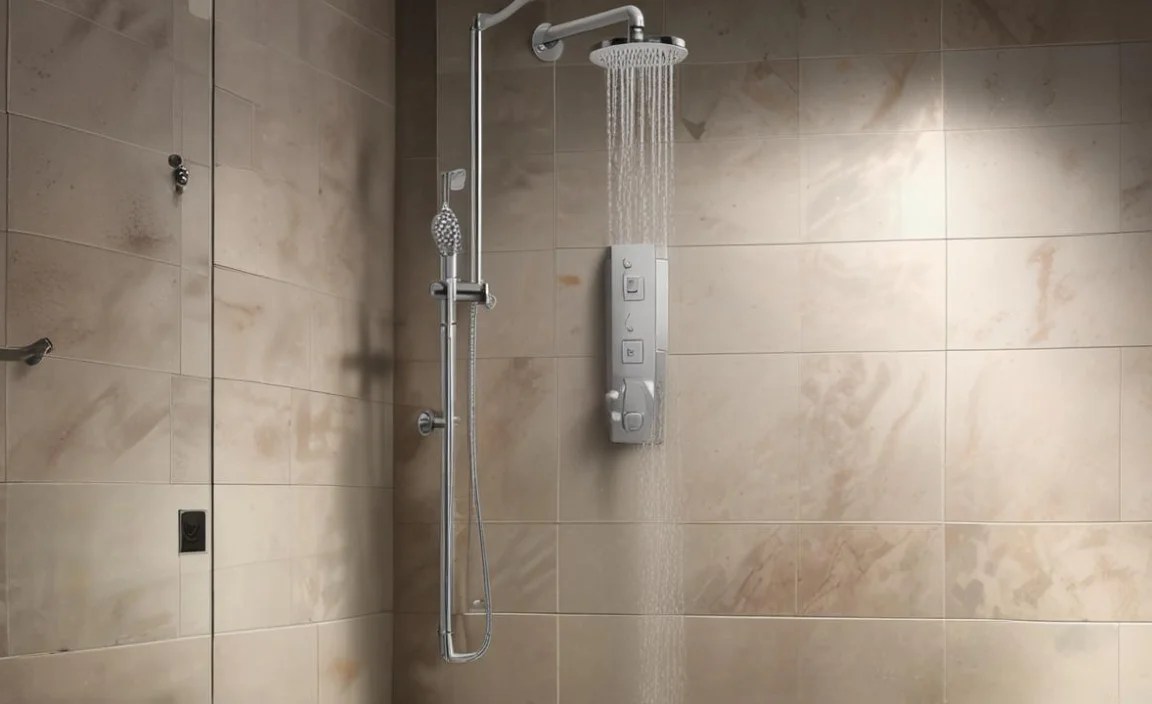
Even with the best hacks, you might encounter a small hiccup. Here’s how to deal with the most common ones:
- Leaking at the Connection: This is almost always due to insufficient or incorrectly applied plumber’s tape. Turn off the water, remove the showerhead, re-tape the threads clockwise, and resecure.
- Low Water Pressure: Ensure the water supply is fully on. Check if the new showerhead has a flow restrictor (some are removable, but check local regulations and your manufacturer’s instructions before removing it). Also, ensure the shower arm isn’t clogged. If the problem persists, it might indicate a larger plumbing issue.
- Showerhead Won’t Tighten Properly: The threads on either the shower arm or the showerhead might be damaged. Inspect them carefully. If damaged, you may need to replace the shower arm.
- Water Spraying Out of the Shower Arm Base: This is a sign the connection to the shower arm isn’t sealed properly. Reapply plumber’s tape and tighten the showerhead.
Remember, for persistent or complex issues beyond a simple re-tighten or re-tape, it’s best to consult a licensed plumber.
Conclusion: Your Revitalized Shower Awaits!
You’ve now got the expert tips and a clear, step-by-step process to confidently replace your showerhead. It’s a rewarding DIY project that can significantly improve your daily routine and bathroom aesthetic. Remember to work safely, use your tools wisely, and don’t be afraid to get a little hands-on. With these proven hacks, you’re well on your way to enjoying a leak-free, high-performing, and stylish new shower experience. Congratulations on taking on this simple yet impactful home improvement project!
Frequently Asked Questions (FAQ) About Replacing a Showerhead
There’s no such thing as a silly question when you’re tackling a DIY project for the first time! Here are answers to some common queries.
Q1: How tight should I make the new showerhead?

You should tighten the showerhead hand-tight first, then snug it with a wrench for about a quarter to a half turn. Overtightening can damage the components or strip the threads, so be gentle!
Q2: Do I really need plumber’s tape?
Yes, plumber’s tape is crucial. It fills in tiny gaps in the threads, creating a watertight seal and preventing leaks. Without it, you’re very likely to have drips.
Q3: What if the old showerhead won’t come off?

Ensure you’re turning it the correct way (counter-clockwise). If it’s stuck, try the rag-and-wrench method for better grip or apply a little heat to the connection point (carefully!). A penetrating lubricant like WD-40 can also help, but ensure you clean the threads thoroughly afterward before applying new tape.
Q4: Can I replace the shower arm too?
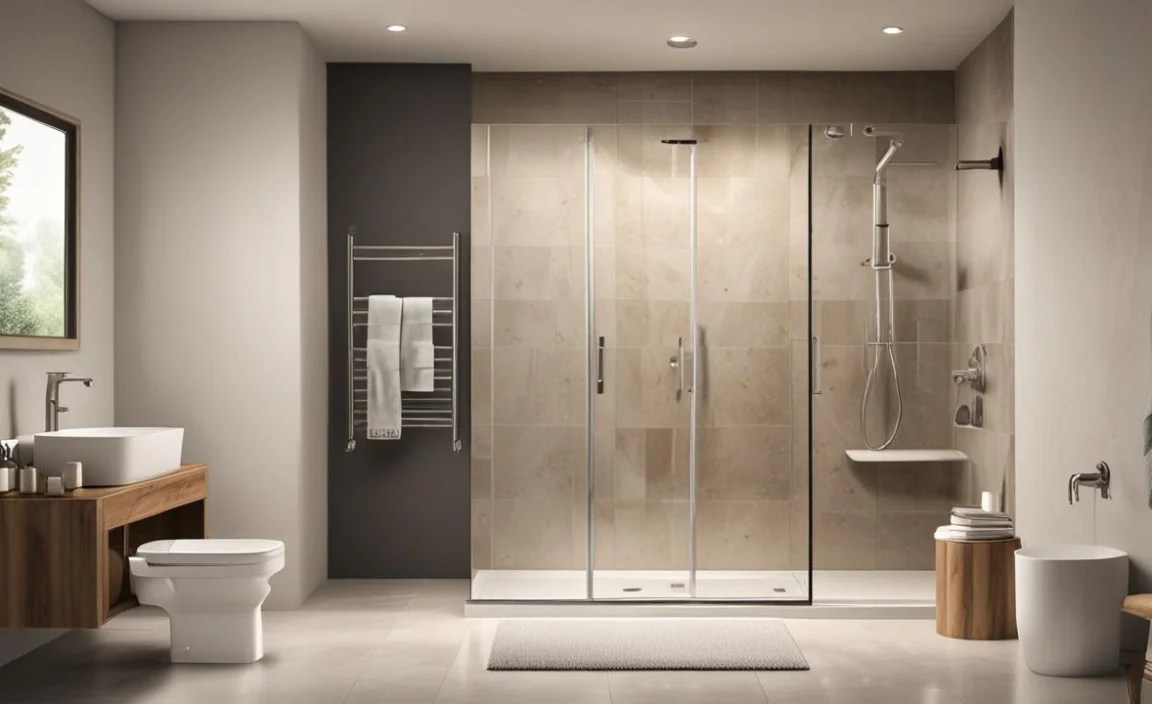
Yes! If your shower arm is old, corroded, or you just want to change its look or position before installing a new showerhead, you can replace it. Remember to use two wrenches to prevent damage to the pipe behind the wall.
Q5: How often should I replace my showerhead?
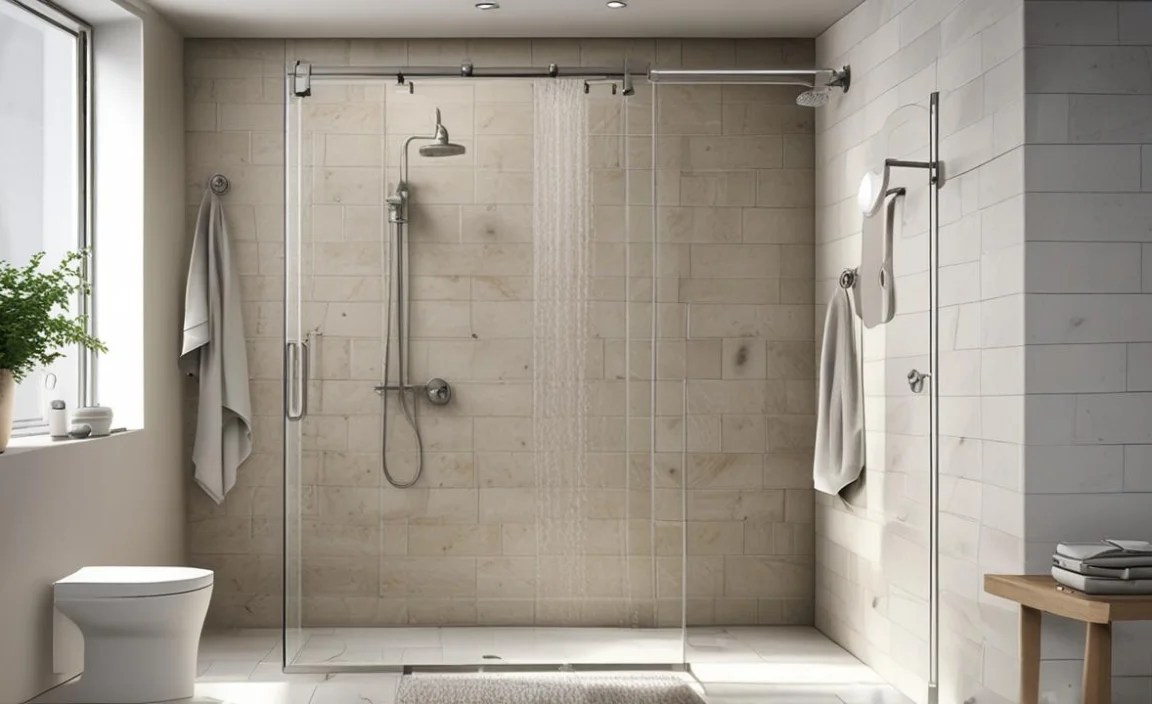
There’s no set schedule. Replace it when it shows signs of wear, like mineral buildup that won’t budge, low pressure, or leaks. Many homeowners upgrade for style or efficiency long before a showerhead fails completely.
Q6: What are GPM and why should I care?

GPM stands for Gallons Per Minute, which is the rate at which water flows through your showerhead. The U.S. has a legal maximum of 2.5 GPM, but newer, water-efficient models often use 2.0 GPM or less, saving water and energy without a noticeable drop in performance. Look for the WaterSense label from the EPA for certified efficient models.
