
Fixing a sink leak is straightforward! Common fixes involve tightening connections, replacing worn-out washers or O-rings, or swapping out the entire faucet or P-trap. With basic tools and these proven steps, you’ll confidently stop drips and prevent water damage, saving money and hassle.
A leaky sink is more than just an annoying drip; it’s a silent menace to your cabinets, floors, and wallet. That constant plinking sound can drive anyone crazy, and more importantly, wasted water and potential water damage can lead to costly repairs down the line. But don’t worry! You don’t need to be a master plumber to tackle most sink leaks. We’ll break down the common culprits and provide easy-to-follow, proven fixes that will have your sink back in perfect working order. You’ll gain the confidence to tackle this common household issue and keep your home dry and damage-free.
Understanding Your Sink Leak: Where Is It Coming From?

Before you grab any tools, it’s essential to pinpoint the source of the leak. Water can escape from various parts of your sink assembly, and the fix depends entirely on where the problem lies. Taking a moment to observe will save you time and effort. Sometimes, it’s as simple as a loose connection. Other times, a worn-out part needs replacing.
Here are the most common areas where sink leaks originate:
- Faucet Base: Dripping water where the faucet meets the sink.
- Spout End: Water dripping from the end of the spout when the faucet is off.
- Handle(s): Leaks around the base of the faucet handles.
- Under the Sink: This is a broad category, often involving either the drain pipes or the water supply lines.
- P-Trap: The U-shaped pipe under your sink.
- Supply Lines: The flexible or rigid hoses connecting the shut-off valves to your faucet.
To help you diagnose, try these simple steps:
- Dry Everything: Thoroughly dry all visible parts of the faucet and under-sink plumbing with a clean rag.
- Observe: Turn on the faucet briefly, then turn it off. Watch closely for where the water first appears. If the leak only happens when water is running, focus on the faucet itself. If it drips after the water is off or from under the sink, the issue is likely with the drain or supply lines.
- Feel for Moisture: Run your dry hand along pipes and connections to feel for dampness.
Common Leak Locations and Their Fixes
Once you’ve identified the general area, we can explore the most likely causes and the simplest ways to fix them. For many homeowners, these DIY solutions are all that’s needed to replace sink leak problems effectively.
1. Leaks from the Faucet Base or Handle(s)
These leaks usually stem from internal faucet components like washers, O-rings, or cartridges that have worn out or become loose. The good news is that replacing these small parts is often very achievable.
Tools You Might Need:
- Adjustable wrench or basin wrench
- Screwdrivers (Phillips and flathead)
- Plumber’s grease
- Replacement washers, O-rings, or cartridge (specific to your faucet model)
- Rag or towel
- Safety glasses
Step-by-Step Fix:
- Turn Off the Water: This is the MOST IMPORTANT step! Look for the hot and cold shut-off valves under the sink. Turn them clockwise until they are tight. Turn on the faucet to drain any remaining water in the lines.
- Identify Your Faucet Type: Most modern faucets use a cartridge or a ceramic disc. Older faucets might use compression stems with rubber washers. Knowing your faucet type will help you find the correct replacement parts. You can often find the model number on the faucet itself or in your home’s documentation. If not, take photos of the faucet parts to a hardware store for assistance.
- Disassemble the Handle: Usually, there’s a decorative cap on the handle that pops off, revealing a screw. Remove the screw to lift the handle off.
- Access the Cartridge or Stem: Depending on your faucet, you might need to remove a retaining clip, nut, or bonnet nut to pull out the faulty cartridge or stem assembly. Refer to your faucet’s manual or online resources for your specific model.
- Replace Worn Parts:
- Cartridge Faucets: Carefully pull out the old cartridge. Inspect it for cracks or damage. Apply a bit of plumber’s grease to the O-rings on the new cartridge and insert it firmly into the faucet body, ensuring it’s oriented correctly.
- Compression Faucets: At the end of the stem, you’ll find a rubber washer held by a screw. Remove the screw, replace the washer, and reattach the screw. Also, check the O-ring around the stem itself.
- Reassemble Faucet: Put everything back together in reverse order.
- Turn Water Back On: Slowly turn the shut-off valves counter-clockwise.
- Test for Leaks: Operate the faucet, checking for drips from the handle or spout.
2. Leaks from the Spout End (When Off)
If your faucet drips from the spout even when it appears to be fully off, this typically indicates a problem with the internal valve mechanism, similar to leaks around the handle. For cartridge or disc faucets, it’s usually the cartridge that needs replacing. For compression faucets, it’s most often the seat washer at the bottom of the stem valve.
Tools You Might Need:
- All tools listed for Faucet Base Leaks, plus possibly a seat wrench if you have a compression faucet.
Step-by-Step Fix:
- Shut Off Water: Locate and turn clockwise the hot and cold shut-off valves under the sink.
- Drain the Faucet: Open the faucet to release any trapped water.
- Disassemble: Follow the same disassembly steps as above to access the internal valve components (cartridge or stem).
- Inspect and Replace:
- Cartridge/Disc Faucets: The cartridge likely has a worn O-ring or the internal seals are failing. Replace the entire cartridge as described previously.
- Compression Faucets: At the very bottom of the valve stem (where the handle attaches), you’ll find a small brass seat. The washer presses against this seat to stop water flow. If this washer or the seat is damaged, it will drip. Replace the washer. In some cases, the seat itself might be replaceable with a seat wrench.
- Reassemble: Carefully put the faucet back together.
- Restore Water Supply: Turn the shut-off valves counter-clockwise.
- Check for Drips: Ensure the spout no longer drips when the faucet is in the “off” position.
3. Leaks Under the Sink: The P-Trap and Drain Pipes
Leaks from the P-trap (the U-shaped pipe) or other drain pipes are often due to loose slip-joint nuts or damaged seals. These are usually easy fixes.
Tools You Might Need:
- Adjustable wrench or pipe wrench
- Bucket (to catch water)
- Rag or towel
- Replacement P-trap if yours is cracked (uncommon for minor leaks)
- Plumber’s tape (Teflon tape) – optional for threaded connections on some systems.
Step-by-Step Fix:
- Clear the Area: Remove everything from under the sink to give yourself working room. Place a bucket directly beneath the P-trap.
- Tighten Slip-Joint Nuts: The P-trap is typically connected to the vertical pipe coming from the sink basket and the horizontal pipe going into the wall using large plastic or metal nuts called slip-joint nuts. These nuts are often hand-tightened, but sometimes they loosen over time. Try tightening them by hand first. If that doesn’t work, use an adjustable wrench to give them a quarter to half turn. Don’t overtighten, especially if they are plastic, as they can crack.
- Check for Cracks: While you’re under there, inspect the pipes themselves for any visible cracks or damage. If a pipe is cracked, it will need to be replaced.
- Test for Leaks: Run water down the sink for a minute or two. Check all the connections you tightened and the pipes themselves for any signs of moisture.
- Replacing the P-Trap (if necessary): If tightening doesn’t work and you suspect a leak from the trap itself or its seals, you can replace the entire P-trap assembly. Unscrew the slip-joint nuts on both ends of the U-bend, remove the old trap, and install the new one, ensuring the seals (washers) are correctly seated. Then, tighten the slip-joint nuts.
Important Note on Drain Pipes: If the leak is not at a connection point but directly from the smooth plastic pipe itself, it’s likely a crack. This pipe section will need replacement.
4. Leaks from Water Supply Lines
These are the flexible hoses or rigid pipes that bring hot and cold water from the shut-off valves to the faucet. Leaks here can range from a slow drip at the connection to a burst hose.
Tools You Might Need:
- Adjustable wrench
- Bucket (to catch water)
- Rag or towel
- Replacement supply line(s)
- Plumber’s tape (Teflon tape)
Step-by-Step Fix:
- Shut Off Water: Turn off the hot and cold shut-off valves under the sink by turning them clockwise.
- Open Faucet: Turn on the faucet to relieve pressure and drain remaining water.
- Prepare for Removal: Place a bucket or towels under the connections to catch any residual water.
- Disconnect Supply Lines: Use an adjustable wrench to loosen the nuts connecting the supply lines to both the shut-off valves and the faucet tailpieces.
- Inspect Old Lines: Look for signs of corrosion, cracking, or damage on the old lines.
- Install New Supply Lines:
- Wrap the threaded ends of the shut-off valves (and faucet tailpieces if they don’t have their own seals) with a few layers of plumber’s tape, wrapping in the direction the nut will tighten (clockwise).
- Connect the new supply lines to the shut-off valves and the faucet tailpieces. Hand-tighten first, then use an adjustable wrench to snug them up. Be careful not to overtighten, especially with flexible braided hoses. Generally, hand-tight plus a quarter to a half turn with a wrench is sufficient.
- Turn Water Back On: Slowly open the shut-off valves counter-clockwise.
- Check for Leaks: Carefully inspect all connections for drips. Run the faucet and check again.
For more information on plumbing basics and maintenance, the Federal Trade Commission’s website offers practical advice for homeowners.
Preventative Maintenance: Stop Leaks Before They Start
The best way to deal with a sink leak is to avoid it altogether! A little regular maintenance can go a long way in keeping your plumbing in top shape.
- Regular Visual Checks: Take a minute every few months to look under your sink. Do you see any moisture, corrosion on pipes, or signs of drips? Catching small issues early is key.
- Listen for Changes: An unusual dripping sound or a persistent gurgle can indicate a developing problem.
- Don’t Force Faucets: Avoid overtightening or forcing faucet handles closed. This can wear out internal parts faster.
- Check Connections: Periodically feel the supply line connections to the shut-off valves and faucet. If they feel damp, it might be time to tighten them or consider replacing the lines if they’re old.
- Flush Water Lines Periodically: If you have hard water, mineral buildup can sometimes affect faucet seals. Running hot water for a few minutes periodically can help flush out minor sediment. For significant sediment issues, consider a water-softening system.
When to Call a Professional
While many sink leaks are DIY-friendly, there are times when it’s best to call in a professional plumber:
- Persistent Leaks: If you’ve tried the common fixes and the leak persists, there may be a more complex issue.
- Major Pipe Damage: If you discover significant cracks or bursts in main water pipes or drain lines, it’s best to have a professional assess and repair the damage to prevent widespread water issues.
- Uncertainty or Discomfort: If you feel uncomfortable or unsure at any point during the repair process, don’t hesitate to call a plumber. Safety and proper repair are paramount.
- Old or Corroded Plumbing: If your plumbing is very old or shows signs of significant corrosion, a professional can offer advice on system upgrades and prevent future, more serious problems.
According to the U.S. Environmental Protection Agency (EPA)’s WaterSense program, even small drips can waste a significant amount of water over time. Fixing leaks is good for your budget and the environment!
Troubleshooting Common Sink Leak Scenarios
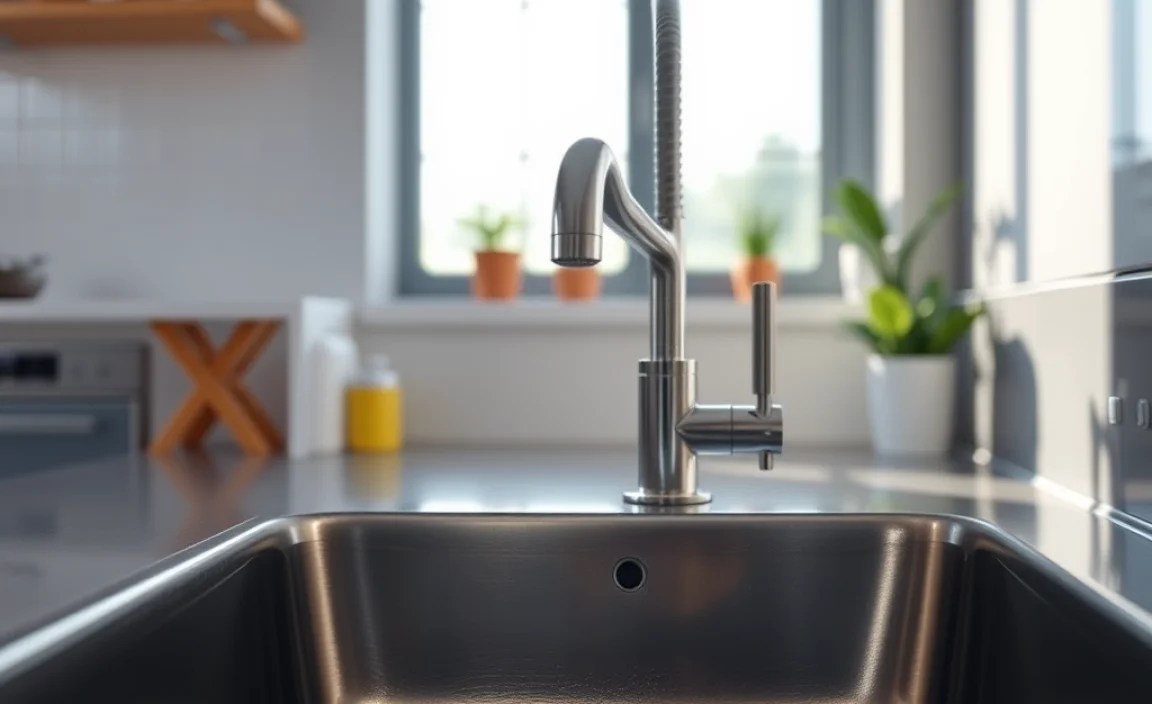
Let’s look at some specific situations and how to handle them.
Scenario 1: Drip from the Hot Water Side
Problem: Only the hot water side of the faucet drips when off, or there’s a leak from the hot water handle.
Fix: This strongly points to an issue with the hot water side’s internal components (cartridge, O-ring, or seat washer). Follow the steps for “Leaks from the Spout End (When Off)” or “Leaks from the Faucet Base or Handle(s),” focusing only on the hot water side. Ensure you correctly identify the hot water shut-off valve and supply line.
Scenario 2: Constant Drip from the Aerator/Spout During Use
Problem: Water doesn’t shut off completely and drips from the spout, or streams weakly when it shouldn’t.
Fix: This usually means the internal valves (cartridge, seals, or washers) are worn and not creating a complete seal. You’ll need to disassemble the faucet and replace the relevant internal parts as described in the faucet leak sections.
Scenario 3: Puddle Forming ONLY When the Dishwasher Drains
Problem: A leak appears under the sink, but only after the dishwasher has finished its cycle and is draining.
Fix: This typically indicates a problem with the dishwasher drain hose connection. This hose often connects to a special fitting on the sink drain pipe or the garbage disposal. Check that fitting and the hose clamp to ensure it’s secure and not leaking. You may need to tighten the clamp or replace the hose.
Scenario 4: Sink Basket Leaks Around the Edge
Problem: Water seeps out from under the sink rim of the sink basket itself, not the drain pipe.
Fix: This means the plumber’s putty or sealant around the sink basket has failed. This is a more involved repair that requires removing the sink basket, cleaning off the old putty, applying new plumber’s putty (or silicone sealant appropriate for sinks), and re-installing the basket. This might be a good time to consider calling a plumber if you’re not comfortable with this type of task.
Essential Tools for Sink Leak Repairs
Having the right tools makes any DIY job easier and safer. Here’s a quick list of common tools you’ll likely need for sink leak repairs:
| Tool | Description | Use When… |
|---|---|---|
| Adjustable Wrench | Versatile wrench that can be adjusted to fit various nut and bolt sizes. Available in different sizes. | Tightening or loosening nuts on supply lines, P-trap connections, and faucet assemblies. |
| Basin Wrench | A specialized wrench with a long shaft and a swiveling jaw, designed to reach nuts in tight spaces behind the sink bowl. | Tightening or loosening faucet mounting nuts or tailpiece nuts in confined spaces under the sink. |
| Screwdrivers (Phillips & Flat |
