
Replacing tiles doesn’t have to break the bank! Learn genius, affordable solutions to manage the “replace tiles cost.” Discover smart DIY strategies, material choices, and repair techniques that save money without sacrificing style or durability. Get ready to transform your space affordably!
Hey everyone, Bryan Lee here! Are you looking at your tired, chipped, or outdated tiles and wondering about the cost to replace them? It’s a question many homeowners face. The idea of a full tile replacement can sound expensive and overwhelming, but I’m here to tell you it doesn’t have to be! There are absolutely brilliant and budget-friendly ways to tackle this project. We’ll walk through everything, from understanding the price factors to discovering amazing DIY hacks that will make your wallet – and your home – breathe a sigh of relief.
Think of this as your friendly guide to a beautiful, refreshed space without the hefty price tag. We’re diving into smart choices, clever techniques, and helpful tips to keep that “replace tiles cost” firmly in check. Ready to get started on a project that’s both achievable and impressive?
Understanding the “Replace Tiles Cost”: What You Need to Know

When you’re thinking about replacing tiles, the first thing that pops into mind is usually the price. It’s a big factor, and for good reason! The “replace tiles cost” can vary wildly. This isn’t just about the tiles themselves; it’s a whole equation with several moving parts. Knowing these parts helps you budget wisely and find those affordable solutions we’re all looking for.
Let’s break down what typically influences how much you’ll spend when you decide to replace your tiles. Understanding these elements will empower you to make informed decisions and discover where you can save.
Factors Influencing Tile Replacement Costs
Several key elements contribute to the overall expense of a tile replacement project. Being aware of these will help you navigate the process and find the most cost-effective approach.
- Size of the Area: The bigger the space, the more tiles you’ll need, and the more labor (if you hire professionals) will be involved.
- Type of Tile: Different materials have vastly different price points. Ceramic is generally more affordable than natural stone or porcelain.
- Labor Costs: This is often the biggest chunk of the budget. DIY saves on labor but requires your time and effort. Professional installation costs vary by region and the complexity of the job.
- Subfloor Preparation: If your existing subfloor needs repair or leveling, this adds to the cost. This is a crucial step for a lasting tile job, so don’t skip it if it’s needed!
- Grout and Supplies: Don’t forget the cost of grout, adhesive, spacers, sealers, and any tools you might need to buy or rent.
- Removal of Old Tiles: Tearing out old tiles can be labor-intensive and might require special tools. Sometimes, there are additional costs for hauling away the debris.
- Complexity of the Layout: Intricate patterns, lots of cuts (like around corners or fixtures), or difficult-to-reach areas can increase installation time and cost.
Average Cost Ranges (DIY vs. Professional)
To give you a clearer picture, here’s a general idea of what you might expect to spend. Remember, these are estimates, and your specific project could be higher or lower. These figures are for the materials and labor for a standard 100 sq ft area, like a small bathroom or kitchen backsplash.
| Item | DIY Cost (Materials Only) | Professional Installation Cost (Materials & Labor) |
|---|---|---|
| Basic Ceramic Tiles | $100 – $300 | $500 – $1,000+ |
| Mid-Range Porcelain/Stone Look Tiles | $300 – $700 | $1,000 – $2,500+ |
| High-End Natural Stone/Porcelain | $700 – $1,500+ | $2,000 – $4,000+ |
| Tools & Supplies (Adhesive, Grout, etc.) | $100 – $300 | Included in overall labor cost, but potentially higher due to pro tools/materials. |
| Old Tile Removal & Disposal | $50 – $150 (for tool rental/disposal fees) | $200 – $500+ |
As you can see, the DIY route can offer significant savings, primarily by eliminating labor costs. This is where our “genius & affordable solution” really shines!
Genius & Affordable Solutions: Beating the “Replace Tiles Cost”

Alright, let’s get to the good stuff! How do we slash that “replace tiles cost” without sacrificing a beautiful outcome? It’s all about smart choices and a little bit of DIY magic.
1. The Power of DIY: Your Biggest Money Saver
If you’re comfortable getting your hands dirty, tackling the tile replacement yourself is the single most effective way to reduce costs. Labor can account for 50-75% of a professional installation budget. While it takes time and effort, the savings are huge.
What You’ll Need (Basic Toolkit for DIY):
- Safety Glasses (Absolutely essential!)
- Work Gloves
- Utility Knife
- Pry Bar and/or Scraper
- Hammer
- Putty Knife
- Bucket
- Sponge
- Tile Nippers or Wet Saw (for cutting tiles – wet saws can be rented)
- Trowel (for spreading adhesive)
- Grout Float
- Level
- Measuring Tape
- Stud Finder (if removing wall tiles and need to locate studs)
- Tile Spacers
- Mastic or Thin-set Mortar (tile adhesive)
- Grout
- Sealer (for grout and some tile types)
DIY Steps at a Glance:
- Clear the Area: Remove everything from the room or space you’re working on.
- Remove Old Tiles: This is the grunt work. Start in a corner, prying up tiles. Use a scraper to remove old adhesive. For stubborn tiles, a hammer and chisel might be needed.
- Prepare the Subfloor: Clean the subfloor thoroughly. Make sure it’s level and smooth. Repair any damage. This is critical for the new tiles to lay flat and last. A quick guide from the Home Depot explains this well.
- Plan Your Layout: Dry-lay some tiles to figure out your pattern and where cuts will be needed. Start from the center or a focal point.
- Apply Adhesive: Spread the thin-set mortar or mastic evenly with your trowel, creating ridges.
- Lay New Tiles: Press each tile firmly into the adhesive. Use spacers to maintain even grout lines.
- Cut Tiles: Measure and cut tiles as needed for edges and obstacles. A wet saw is best for precise cuts.
- Grout: Once the adhesive has cured (check product instructions, usually 24-48 hours), remove spacers and apply grout using a grout float.
- Clean and Seal: Wipe off excess grout with a damp sponge. After the grout cures, seal it to protect against stains and moisture.
Yes, it’s a process, but imagine the money you save!
2. Strategic Material Selection: Affordable Elegance
The type of tile you choose significantly impacts the “replace tiles cost.” You don’t need to opt for the most expensive option to get a stunning look.
- Ceramic Tiles: These are typically the most budget-friendly option. They come in an incredible variety of colors, patterns, and simulated finishes (like wood or stone) at a fraction of the cost of the real thing. They are durable and easy to clean, making them perfect for kitchens and bathrooms.
- Porcelain Tiles: While slightly more expensive than ceramic, porcelain offers superior durability and water resistance. Opt for porcelain that mimics the look of high-end materials like marble or granite. Many modern porcelain tiles are incredibly realistic and hold up very well.
- Luxury Vinyl Tile (LVT): This is a fantastic alternative for flooring. LVT can convincingly replicate the look of wood, stone, or ceramic at a much lower price point. It’s water-resistant, durable, and often easier to install than traditional tiles, especially for DIYers.
- Peel-and-Stick Tiles: For backsplashes or small accent areas, peel-and-stick tiles are incredibly affordable and incredibly easy to install. They adhere directly to your existing surface (ensure it’s clean and smooth) and require no grout or adhesive.
Tip: Look for “economy” or “builder-grade” options within your preferred tile type. These are often perfectly good tiles that simply have less intricate designs or fewer special features.
3. The Magic of Refinishing and Repair: The Ultimate Affordable Solution
Sometimes, you don’t need to replace all the tiles. Often, a few cracked or stained tiles are the only issues. Or perhaps the grout is the problem, making the whole area look old.
Grout Refresh:
Dirty, stained, or crumbling grout can make even the most beautiful tiles look bad. Instead of replacing everything, consider refreshing the grout.
- Cleaning: A good scrub with a grout cleaner and a stiff brush can work wonders. For tougher stains, a steam cleaner can be effective.
- Regrouting: If the grout is damaged or crumbling, you can carefully remove the old grout using a grout saw or utility knife and then reapply new grout. This is a much cheaper and easier fix than full tile replacement. You can even change the grout color to dramatically update the look! Tools and techniques for this are readily available from sites like FamilyHandyman.
- Grout Pens/Paint: For a quick facelift, grout pens or grout paint can cover stains and refresh the color of your grout lines. This is a super fast and cheap DIY fix for cosmetic issues.
Spot Replacement (DIY Friendly):
If only one or two tiles are damaged, you can often replace just those specific tiles.
- Carefully Remove Damaged Tiles: This requires a delicate touch to avoid damaging surrounding tiles. Use a hammer and chisel or a multi-tool with a grout removal blade. Slowly chip away at the grout around the damaged tile, then carefully tap the tile itself to break it into smaller pieces for easier removal.
- Clean the Area: Scrape away all old adhesive and grout from the exposed subfloor.
- Install New Tile: Apply new adhesive to the space and carefully set a matching tile.
- Regrout: Once the adhesive is cured, fill the gaps with new grout. If you’re lucky, you might have leftover tiles from the original installation! If not, bringing a chip of the old tile to a tile store can help you find the closest match.
Tile Over Tile: The Risky but Sometimes Viable Option
In some specific scenarios, you can install new tiles directly over existing ones. This saves on demo costs. However, it’s crucial to ensure the existing surface is:
- Perfectly flat and level.
- Well-adhered to the subfloor (no loose tiles).
- Clean and free of any grease or soap scum.
- Primed appropriately.
This method raises the floor height by the thickness of the old tile plus the new tile and adhesive, which can impact doors, baseboards, and transitions. It’s generally not recommended for floors in wet areas like showers due to potential moisture issues. Always research specific product guidelines for tile-over-tile installations, often found on manufacturer websites like Lowe’s. It’s best for walls or areas where slight height changes aren’t an issue.
4. Smart Shopping Strategies
Where and how you buy your tiles can make a big difference in the “replace tiles cost.”
- Shop Sales and Clearance: Keep an eye out for seasonal sales, holiday promotions, and clearance sections at big box stores and local tile shops.
- Buy in Bulk or Remnants: Sometimes, you can find deals on overstock or remnant tiles. This is great if you only need a small amount or if you’re looking for unique pieces.
- Consider Discount Retailers: Stores specializing in discount building materials often have great deals on tiles. You might have to sift through more options, but the savings can be substantial.
- Online Marketplaces: Check online platforms for deals from retailers or even individuals selling leftover tiles.
5. Creative Alternatives to Full Replacement
Sometimes, the most affordable solution isn’t replacing tiles at all, but giving them a new look!
- Tile Paint and Stencils: For a temporary or budget-friendly update, you can paint your existing tiles. Use specialized tile paint and consider stencils to add patterns. This is a great option for backsplashes or areas that don’t experience heavy wear and tear. Ensure you clean and prep the tiles thoroughly for best adhesion. Resources like This Old House offer great tips on this.
- Waterproof Wall Panels: For bathrooms and showers, consider waterproof wall panels as an alternative to tile. These can be installed directly over existing surfaces (sometimes even over tile, check manufacturer specs) and offer a seamless, modern look. They are often faster to install than tiling and have no grout lines to clean. While the upfront cost per square foot might be comparable to mid-range tile, the labor savings can be significant.
- Vinyl Sheet Flooring or Peel-and-Stick Vinyl Tiles: For floors, especially in kitchens or laundry rooms, vinyl sheet or LVT can offer a durable, water-resistant, and affordable update. Many varieties are designed to be installed directly over existing hard flooring, further reducing demo and prep work.
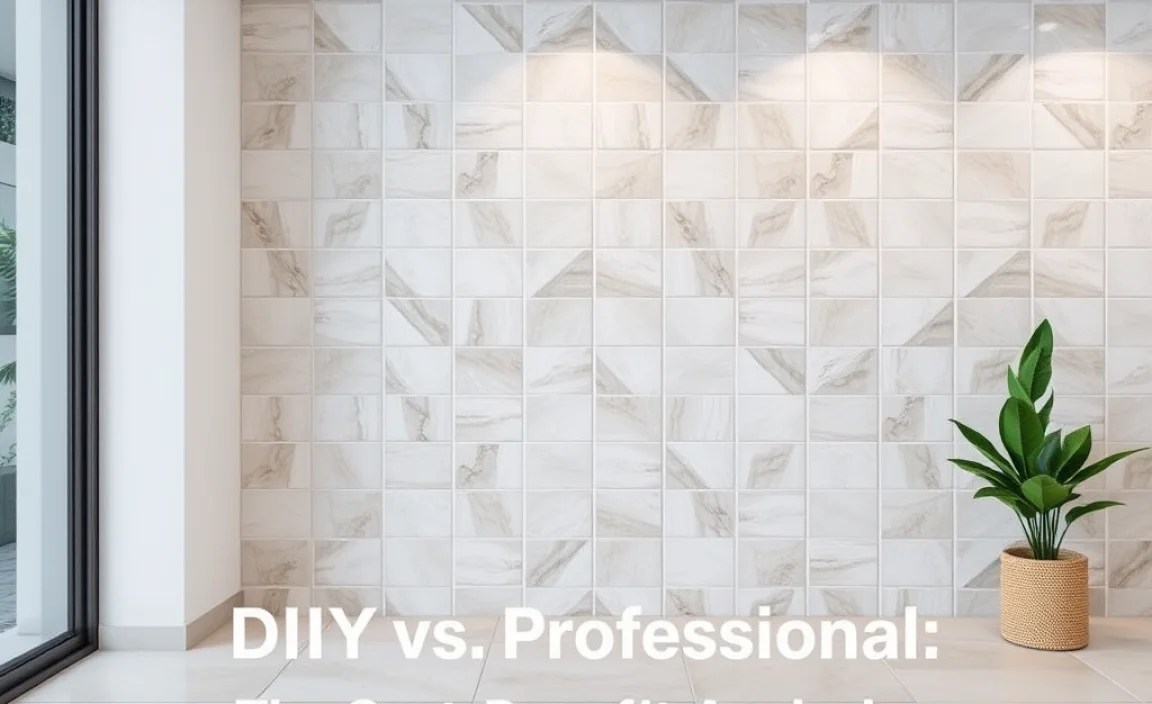
DIY vs. Professional: The Cost-Benefit Analysis
Making the decision between DIY and hiring a professional is a big one, heavily influenced by your budget and skill level. Let’s break down the pros and cons.
DIY Pros:
- Massive Cost Savings: Eliminates labor charges, the largest expense.
- Control Over Timeline: You work at your own pace.
- Sense of Accomplishment: Deep satisfaction from completing a project yourself.
- Learning New Skills: You gain valuable home improvement knowledge.
DIY Cons:
- Time Intensive: Can take significantly longer than professional installation.
- Requires Skill & Patience: Mistakes can be costly and time-consuming to fix.
- Tool Investment/Rental: May need to buy or rent specialized tools.
- Potential for Errors: Water damage, uneven surfaces, or poor aesthetics can occur if not done correctly.
Professional Installation Pros:
- Speed and Efficiency: Professionals work quickly and have the right tools.
- Expertise and Quality: They ensure the job is done right, with a professional finish and durability.
- Handles Complexity: Experienced with challenging layouts, plumbing, or subfloor issues.
- Warranties: Many professionals offer warranties on their labor.
Professional Installation Cons:
- High Cost: Significantly more expensive due to labor charges.
- Scheduling: You must work around their availability.
- Less Control: You have less direct control over the day-to-day process.
Decision Guide:
- If budget is extremely tight and you have ample time and patience: DIY is likely your best bet. Focus on simpler tile types and layouts to start.
