
Replace tiles guide: Proven effortless reno for a fresh look. This guide makes replacing tiles simple for any DIYer. Learn essential steps, tools, and tricks to achieve a professional finish. Get ready for beautiful new tiles!
Tired of worn-out, outdated, or chipped tiles? Replacing them might seem daunting, but it’s a surprisingly manageable DIY project. With the right approach and a little patience, you can transform any space. This guide breaks down the process into easy-to-follow steps, ensuring you can tackle this renovation with confidence. Forget hiring expensive pros; you’ve got this!
We’ll walk you through everything from preparation to the final grout. You’ll learn about the essential tools you need, how to safely remove old tiles, prepare your surface, and lay down your new ones perfectly. Get ready to give your kitchen backsplash, bathroom floor, or accent wall a stunning makeover without the stress.
Why Replace Your Tiles?

Tiles are more than just a floor or wall covering; they are a significant design element. Over time, even the most durable tiles can show wear and tear. Cracks, chips, grout discoloration, or just a style that feels out of date are common reasons homeowners decide it’s time for a change.
Replacing tiles can:
- Boost Your Home’s Value: A fresh, modern tile installation can significantly increase your property’s appeal.
- Improve Functionality: Damaged tiles can harbor mold or create trip hazards. New ones offer a clean, safe surface.
- Update Your Style: Trends change! New tiles can instantly modernize your kitchen, bathroom, or any other tiled area.
- Fix Damage: Repairing cracked or broken tiles is essential for safety and preventing further issues.
Getting Started: Planning Your Tile Replacement

Before you even think about swinging a hammer, careful planning is crucial. This stage ensures your project runs smoothly and you get the results you want. Rushing this part can lead to mistakes and extra work down the line.
Choosing Your New Tiles
The fun part! When selecting new tiles, consider the following:
- Material: Ceramic, porcelain, natural stone, glass – each has unique properties, costs, and installation needs. Porcelain is very durable for floors, while ceramic is often more budget-friendly for walls. Natural stone offers a luxurious look but requires sealing.
- Size and Shape: Large format tiles can make a small room feel bigger. Mosaics offer intricate patterns. Subway tiles are a timeless classic.
- Color and Finish: Think about the overall aesthetic of your room. Glossy tiles can brighten a space, while matte finishes offer a more subtle look and can hide water spots better.
- Intended Use: Floor tiles need to be durable and slip-resistant. Wall tiles can be more decorative. Check the tile’s PEI rating (Porcelain Enamel Institute) for wear resistance if it’s for flooring. A PEI rating of 3 is usually sufficient for residential floors.
- Quantity: Always buy at least 10-15% extra tile to account for cuts, mistakes, and future repairs. Measure your area carefully: Length x Width = Square Footage. Add your extra percentage.
Understanding Grout and Spacers
Grout fills the gaps between tiles, adding strength and preventing dirt and moisture from getting underneath. It also plays a role in the final look.
- Types of Grout:
- Sanded Grout: Contains sand for strength, best for grout lines 1/8 inch or wider.
- Unsanded Grout: Smoother, used for narrower grout lines (less than 1/8 inch), often with glass or metal tiles.
- Grout Color: Contrasting grout can make your tile pattern pop, while matching grout creates a more seamless look.
- Spacers: These small plastic pieces ensure consistent gaps between tiles for uniform grout lines. They come in various sizes (the width of your desired grout line).
Essential Tools and Materials Checklist
Gathering all your supplies beforehand will save you time and frustration. Here’s a comprehensive list:
Tools You’ll Need:
- Safety glasses and gloves
- Utility knife
- Pry bar or putty knife
- Hammer
- Scraper or chisel
- Dust mask
- Bucket(s)
- Sponges
- Drop cloths or old sheets
- Painter’s tape
- Measuring tape
- Pencil
- Level
- Trowel (V-notch or square-notch, depending on tile size – check tile manufacturer recommendations)
- Tile nippers or a wet saw (for cutting tiles)
- Grout float
- Margin trowel or putty knife (for applying adhesive)
- Tile saw (optional, but highly recommended for precise cuts, especially with hard materials like porcelain or stone)
- Angle grinder with a diamond blade (for stubborn adhesive or cutting in tight spots)
Materials You’ll Need:
- New tiles
- Tile adhesive (thin-set mortar is common for floors and walls)
- Grout
- Tile spacers
- Substrate repair materials (e.g., drywall patch, leveling compound, if needed)
- Sealer (for natural stone or certain types of grout)
Step-by-Step: Replacing Existing Tiles
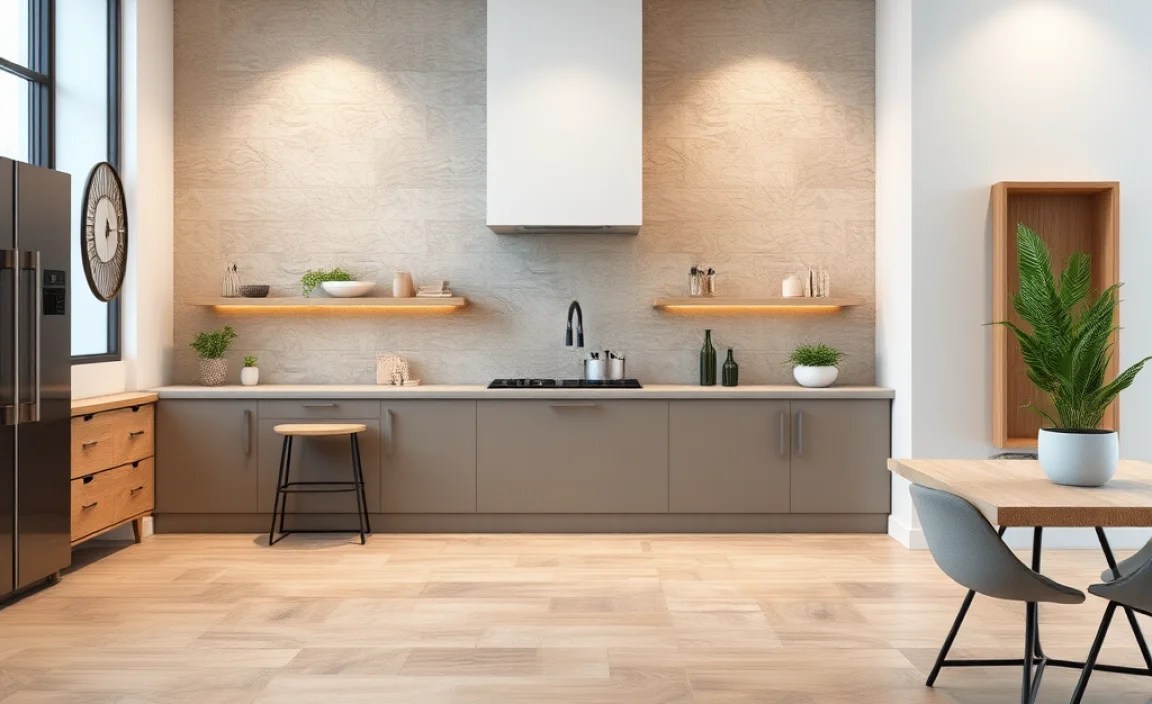
This is where the transformation begins! Follow these steps carefully for a successful tile replacement.
Step 1: Prepare the Area and Protect Surfaces
This is crucial for a clean and safe renovation. Cover anything you don’t want to get damaged or dusty.
- Clear the Space: Remove all furniture, decor, and accessories from the room.
- Protect Floors and Fixtures: Lay down drop cloths or old sheets on adjacent flooring and any nearby furniture. Use painter’s tape to secure edges and protect baseboards or fixtures.
- Ventilation: Open windows for fresh air, especially when removing old materials or working with adhesives.
Step 2: Remove Old Tiles Safely
This is often the messiest part. Work methodically to avoid damaging the underlying surface or injuring yourself.
- Score Grout Lines: Use a utility knife or a grout saw to score around the edges of each tile, cutting into the grout. This helps loosen the tile and makes removal easier.
- Pry Up Tiles: Start in a corner or edge. Insert a putty knife or thin pry bar between a tile and the surface. Gently tap the handle with a hammer to work the tool underneath. Wiggle and pry to lift the tile.
- Chip Away Stubborn Tiles: For tiles that won’t budge, you might need to use a hammer and chisel or a scraper. Place the chisel at an angle and carefully tap with the hammer. Wear safety glasses!
- Remove Old Grout: If the old grout is intact and you’re replacing tiles in the same spot, loosen the grout around them. Sometimes, especially for wall tiles, loosening surrounding grout may be enough to remove the tile itself.
- Use an Angle Grinder (If Necessary): For very stubborn tiles or adhesive, an angle grinder with a diamond blade can be used to cut the tile into smaller pieces or grind away at the adhesive. Be extremely cautious and wear full protective gear.
- Wear Protection: Always wear safety glasses and gloves during the removal process. Dust from old tiles and grout can be harmful. A dust mask is also recommended.
Check out This Old House’s guide to tile removal tools for more insights.
Step 3: Prepare the Substrate
A clean, flat, and stable surface is critical for a proper tile installation. Poor substrate preparation is a leading cause of tile failure.
- Scrape Away Old Adhesive: Use a floor scraper or stiff putty knife to remove all remnants of old tile adhesive and grout. The goal is a smooth, clean surface.
- Inspect for Damage: Check the substrate (the material beneath the tiles, e.g., concrete, plywood, drywall) for any damage, rot, or water issues.
- Repair and Level: Patch any holes in drywall or plywood. If the surface is uneven, you may need to use a self-leveling compound. For plywood, ensure it is rigid and doesn’t flex excessively. For bathroom floors, a cement backer board is often recommended for moisture resistance.
- Clean Thoroughly: Vacuum and wipe down the entire area to remove all dust, debris, and residue. A clean surface ensures the new adhesive bonds properly.
Ensure your substrate is suitable for tiling. Different surfaces may require different preparation methods or underlayments. For instance, when tiling over existing vinyl or linoleum, ensure it’s well-adhered and in good condition, or consider using a cement board overlay.
Step 4: Lay Out Your New Tiles (Dry Fit)
This crucial step helps you visualize the final layout and plan your cuts before you start applying adhesive.
- Find the Center or Starting Point: Determine where your main pattern will begin. Often, this is the center of the room or the most visible area. Use a chalk line or tape measure to mark guidelines.
- Place Tiles: Arrange your tiles on the prepared surface without adhesive.
- Use Spacers: Insert tile spacers between each tile to create consistent grout lines.
- Plan Cuts: Identify where you’ll need to cut tiles (around edges, doorways, fixtures). Measure these areas carefully. You can mark tiles that need cutting now.
- Adjust for Even Cuts: Ideally, you want full tiles in the most visible areas and cut tiles only at the edges. Adjust your starting point slightly if needed to achieve this balanced look.
Step 5: Apply Tile Adhesive
This is where you permanently fix your tiles. Work in small sections so the adhesive doesn’t dry out.
- Mix Thin-Set Mortar (if applicable): Follow the manufacturer’s instructions for mixing thin-set. It should have a peanut butter-like consistency. Let it ‘slake’ (rest) for about 5-10 minutes, then remix.
- Spread Adhesive: Use the flat side of your trowel to spread a thin, even layer of adhesive onto the substrate.
- Trowel the Adhesive: Switch to the notched side of the trowel, holding it at a 45-degree angle. Comb the adhesive to create uniform ridges. These ridges help the tiles bond securely. Ensure consistent depth in your ridges.
- Work in Small Sections: Apply adhesive to an area large enough for only a few tiles at a time. This prevents the adhesive from drying before you set the tiles.
Step 6: Lay the New Tiles
Now, place those beautiful new tiles!
- Set the First Tile: Press the first tile firmly into the adhesive with a slight twisting motion. This ensures full contact and embeds it into the ridges.
- Continue Laying Tiles: Place subsequent tiles, pressing them into the adhesive and butting them up against the spacers.
- Maintain Spacers: Ensure a spacer is in place between every tile to maintain consistent grout lines.
- Check for Level: Periodically use your level to check that the tiles are flat and even. Gently tap down any high tiles with the trowel handle or a rubber mallet.
- Clean Excess Adhesive: Wipe away any adhesive that squeezes up between tiles or onto the tile faces with a damp sponge or cloth before it dries.
- Cut Tiles as Needed: Use a wet saw or tile nippers for precise cuts as you go, or after laying full tiles around the perimeter. Always measure twice and cut once!
For reference on proper trowel usage and adhesive application, consult resources like Build Magazine.
Step 7: Grouting Your New Tiles
Once the adhesive has fully cured (check the adhesive’s instructions – typically 24-48 hours), it’s time for grout.
- Remove Spacers: Carefully pull out all the tile spacers.
- Mix Grout: Mix the grout according to the manufacturer’s directions. It should have a smooth, spreadable consistency, slightly thicker than toothpaste.
- Apply Grout: Load a grout float with grout. Spread it over the tiles, holding the float at a 45-degree angle. Force the grout into the gaps between the tiles, working diagonally across the tile pattern.
- Scrape Off Excess: Use the edge of the float, held at a near 90-degree angle, to scrape off as much excess grout from the tile surfaces as possible.
- First Cleaning (Damp Sponge): After about 15-30 minutes (depending on humidity and grout type), when the grout starts to firm up, use a damp (not wet!) sponge to gently wipe the tile surfaces in a circular motion. Rinse your sponge frequently in a clean bucket of water, emptying the dirty water when needed. This will remove the grout haze.
- Second Cleaning (Buffing): Once the grout is dry to the touch, a haze will likely remain. Buff the tiles with a clean, dry cloth or microfiber towel to polish them and remove the remaining haze.
Step 8: Sealing (If Necessary) and Final Touches
This step protects your grout and some types of tiles from stains and moisture.
- Check Grout and Tile Type: Some new tiles, especially porous ones like natural stone, require sealing. Many types of grout also benefit from sealing to prevent staining. Urethane or epoxy grouts often do not require sealing.
- Allow Grout to Cure: Wait for the grout to fully cure according to the manufacturer’s instructions (this can take several days to a week).
- Apply Sealer: Use a clean brush or applicator to apply the sealer to the grout lines or entire tile surface, as directed by the product. Wipe off any excess sealer from the tile face immediately.
- Allow Sealer to Dry: Let the sealer dry completely.
- Final Clean-Up: Remove any painter’s tape and mats. Give the area a thorough final clean.
Table: Common Tile Types and Their Properties
Understanding the different types of tiles can help you make the best choice for your project.
| Tile Type | Pros | Cons | Best For |
|---|---|---|---|
| Ceramic | Affordable, easy to cut, wide variety of styles and colors. | Can chip or crack under heavy impact, less dense than porcelain. | Walls, backsplashes, low-traffic floors. |
| Porcelain | Very durable, dense, water-resistant, excellent for high-traffic areas. | Harder to cut, can be more expensive than ceramic, heavier. | Floors (kitchens, bathrooms, entryways), patios. |
| Natural Stone (Marble, Granite, Slate) | Luxurious, unique patterns, adds significant value. | Porous (requires sealing), can be expensive, can stain or etch, requires specialized care. | Feature walls, low-traffic floors, countertops. |
| Glass | Reflective, modern look, adds brightness, good for mosaics. | Can be prone to scratching if not high quality, harder to cut, can be slippery. | Backsplashes, shower walls, decorative accents. |
| Travertine | Natural, elegant look, good for rustic or classic styles. | Porous, requires sealing, can be softer than other stones and prone to chipping. | Floors, walls, patios. |
Tips for an Effortless Reno
Here are some pro-tips to make your tile replacement go even smoother:
- Rent a Torpedo Saw: For large projects or very hard tiles, renting a wet tile saw can make cuts faster and more accurate than hand tools.
- Work in Good Light: Adequate lighting helps you see imperfections and ensures proper adhesive coverage.
- Clean as You Go: Wiping up stray adhesive and grout immediately saves a lot of scrubbing later.
- Patience is Key: Don’t rush the drying times for adhesive and grout. This is essential for durability.
