
Don’t let a broken toilet interrupt your day! Replacing a toilet is a manageable DIY project. This guide walks you through everything from choosing a new toilet to a leak-free installation, saving you money and frustration. Get ready to tackle this common household task with confidence!
A malfunctioning toilet can be more than just an inconvenience; it can be a real headache. Whether it’s a constant leak, a persistent clog, or an outdated, inefficient model, knowing how to replace a toilet can save you time and a surprising amount of money on plumber visits. If you’ve ever searched “replace toilet near me” with a growing sense of urgency, you’ll be glad to know this is a project many homeowners can accomplish themselves. We’ll break down the process into simple, actionable steps. From understanding what you need to buy to the final flush test, this guide will equip you with the knowledge and confidence to get the job done right. Let’s turn that old, tired toilet into a fresh, new fixture!
Why Replace Your Toilet? Common Reasons
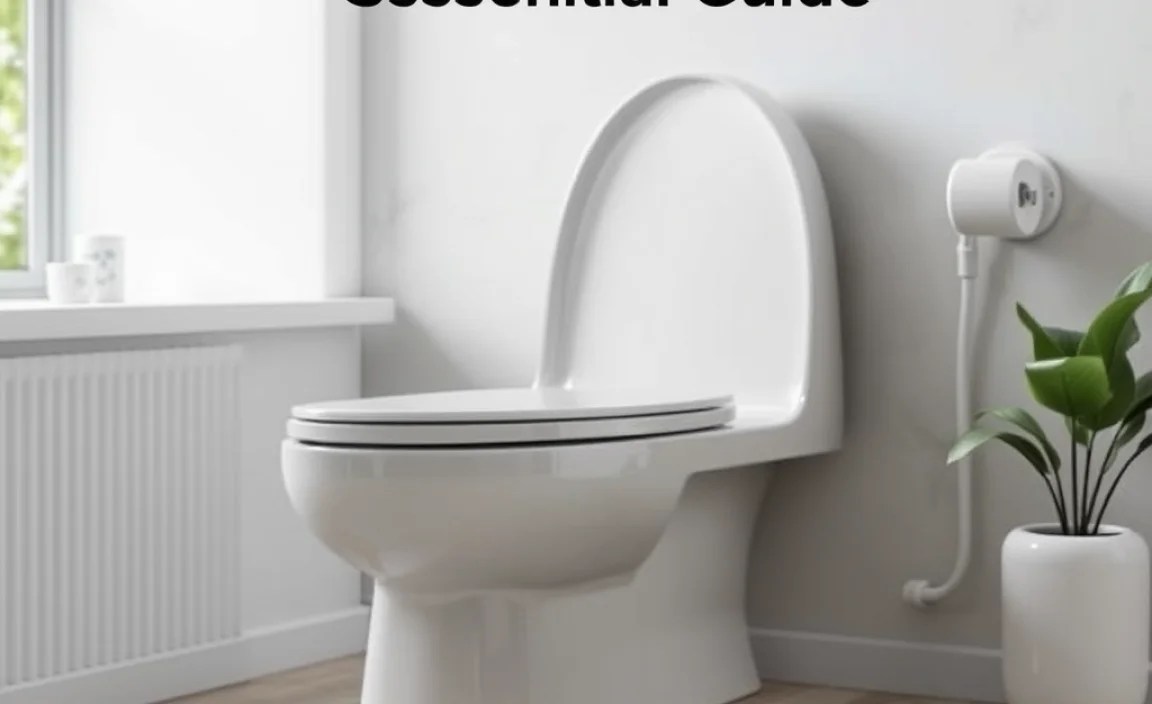
Toilets are workhorses in our homes, but like any fixture, they don’t last forever. There are several compelling reasons why you might find yourself needing to replace your toilet. Understanding these can help you decide if it’s time for an upgrade.
- Leaks: Persistent leaks, especially those coming from the base or the tank-to-bowl connection, can be a major water waster and a sign of underlying problems that are hard to fix permanently.
- Clogs: If your toilet clogs frequently, it might be due to an outdated design with a less efficient trapway or issues within your plumbing system that a new toilet could help alleviate.
- Cracks: A cracked tank or bowl is not only unsightly but can lead to leaks and potential structural damage. This is a definite reason for replacement.
- Inefficiency: Older toilets use significantly more water per flush than modern, WaterSense-labeled models. Upgrading can lead to considerable savings on your water bill and is better for the environment.
- Age and Aesthetics: Even if functional, an old toilet can look dated. Replacing it can refresh your bathroom’s appearance and improve comfort.
Choosing Your New Toilet: What to Look For

Selecting a new toilet is more than just picking a color. Several factors can influence your decision and ensure you get a toilet that fits your needs, budget, and bathroom style. Think about these key features:
1. Type of Toilet
- One-Piece: The tank and bowl are a single unit. They are generally easier to clean, offer a sleeker look, and are less prone to leaks between the tank and bowl. However, they can be heavier and more expensive.
- Two-Piece: The tank and bowl are separate pieces that are bolted together. These are the most common and usually more affordable. They can be slightly more challenging to clean around the connection.
- Wall-Hung: The toilet is mounted to the wall, with the tank hidden in the wall cavity. These save floor space and offer a minimalist look but are the most complex and expensive to install, usually requiring professional help.
2. Flush Efficiency and Water Usage
Look for toilets with the EPA’s WaterSense label. These toilets use 1.28 gallons per flush (GPF) or less, compared to older models that could use 1.6 GPF or even 3.5 GPF. This not only conserves water but also lowers your water bills. Technologies like dual-flush (offering a reduced flush for liquid waste and a full flush for solids) are also excellent for water saving.
3. Bowl Shape and Height
- Round Bowl: Takes up less space and is ideal for smaller bathrooms.
- Elongated Bowl: Offers more seating area and is generally considered more comfortable for adults.
- Standard Height: Typically around 15 inches from the floor to the seat rim.
- Comfort Height (or Chair Height): Taller, usually 17-19 inches, making it easier to sit down and stand up, especially for seniors or those with mobility issues.
4. Rough-In Measurement
This is crucial for ensuring the toilet fits your existing plumbing. The standard rough-in is 12 inches from the finished wall (tile, etc.) to the center of the drainpipe or floor bolt caps. Some toilets are available in 10-inch or 14-inch rough-ins, but 12-inch is by far the most common. Measure yours before buying!
5. Style and Finish
Toilets come in various styles, from traditional to modern. White is the most common color, but other options exist. Consider how the toilet will complement your bathroom’s overall aesthetic.
Tools and Materials You’ll Need

Before you start the “replace toilet near me” process, gather all your tools and supplies. Having everything on hand will make the job much smoother and prevent frustrating trips to the hardware store mid-project. You can often find toilet replacement kits that include common parts, but double-check what’s included.
| Essential Tools | Essential Materials |
|---|---|
| Adjustable Wrench or Pliers | New Toilet (including tank, bowl, and lid) |
| Bucket | New Wax Ring (with or without a horn, depending on your drain) |
| Sponge | Toilet Bolt Caps (often come with wax ring or new toilet) |
| Towel or Rags | Toilet Flange Bolts (if yours are corroded or missing) |
| Putty Knife or Scraper | Toilet Seat (optional if you want to upgrade) |
| Hacksaw (if flange bolts need cutting) | Toilet Bowl Cleaner (for cleaning the old toilet before removal) |
| Cordless Drill (optional, for easier tightening) | Gloves (rubber or disposable) |
| Safety Glasses | Old Towels or Rags for spills |
| Level |
Step-by-Step Guide: Replacing Your Toilet

Here’s how to successfully replace your old toilet and install a new one. Take your time, and don’t hesitate to re-read steps if you’re unsure.
Step 1: Turn Off the Water Supply
Locate the shut-off valve behind the toilet, usually on the left side along the wall. Turn the handle clockwise until it stops. To be absolutely sure the water is off, flush the toilet to drain most of the water from the tank. Hold the flush lever down until the tank is as empty as possible.
Step 2: Empty the Toilet Tank and Bowl
Use a sponge to soak up any remaining water in the bottom of the tank. Then, do the same for the toilet bowl. You can use your bucket and sponge to transfer water out. The goal is to remove as much water as possible to prevent spills during removal.
Step 3: Disconnect the Water Supply Line
Using your adjustable wrench, carefully unscrew the water supply line from the fill valve at the bottom of the tank. A small amount of residual water might drip out, so have a towel ready.
Step 4: Remove the Tank (if it’s a Two-Piece Toilet)
On the back of the bowl, under the tank, you’ll see two or three bolts. Unscrew the nuts holding the tank to the bowl. You might need to hold the bolt head on the inside of the tank with a screwdriver while turning the nut underneath. Once loose, carefully lift the tank off the bowl and set it aside.
Step 5: Remove the Old Toilet Bowl
The toilet bowl is typically secured to the floor by two caps covering bolts. Pry off these caps using a putty knife or screwdriver. Unscrew the nuts from the floor bolts. If the bolts are corroded, you might need to cut them off with a hacksaw.
Once the nuts are removed, gently rock the toilet bowl back and forth to break the wax seal connecting it to the drainpipe. Lift the bowl straight up and out. It’s heavier than it looks, so be prepared! Place it on old towels or cardboard to avoid damaging your floor.
Step 6: Clean the Flange and Floor
Use a putty knife or scraper to remove all traces of the old wax ring from the toilet flange and the floor around it. Also, clean up any debris or old sealant. Inspect the toilet flange (the plastic or metal ring on the floor that connects to the drainpipe). Ensure it’s not cracked or damaged. If it is, it will need to be repaired or replaced, which might require professional help. You can find guidance on flange repair from resources like TerryLove.com, a reputable plumbing resource.
Step 7: Install New Toilet Flange Bolts
Slide the new toilet flange bolts into the slots on the flange. They should rest parallel to the rim of the flange and the wall, positioned so they’ll align with the holes in the base of your new toilet bowl. Some people like to secure them with a little petroleum jelly to keep them in place.
Step 8: Set the New Wax Ring
Place the new wax ring directly onto the toilet flange, aligning it with the opening. Make sure the tapered side of the ring faces upwards. Some new wax rings come with a plastic funnel (a horn) that should point into the drainpipe; ensure this is correctly seated.
Step 9: Set the New Toilet Bowl
Carefully lower the new toilet bowl over the flange bolts, aligning them with the holes in the base of the bowl. Press down firmly to set the wax ring. You can gently rock the bowl to ensure it’s seated properly.
Important: Once the toilet is placed, do NOT lift it up and set it down again, as this will break the wax seal and require a new wax ring. If you need to reposition it, lift it straight up without twisting.
Step 10: Secure the Toilet Bowl
Place washers and nuts onto the flange bolts. Tighten them by hand first, then use your wrench to snug them up. Alternate between the two bolts, tightening them evenly. Do not overtighten, as this can crack the porcelain. Use a level to ensure the bowl is sitting perfectly straight. Once level, give the bolts an additional quarter to half turn.
Place the new bolt caps over the nuts.
Step 11: Assemble and Install the Tank
If you have a two-piece toilet, you’ll need to attach the tank to the bowl. Place the rubber gasket onto the tank’s outlet (where it connects to the bowl). Then, carefully position the tank onto the back of the bowl, aligning the tank bolts with the holes on the bowl. Insert the bolts from inside the tank and screw on the nuts from underneath the bowl.
Tighten these nuts evenly, alternating between sides, until the tank is snug against the bowl. Again, avoid overtightening. Check that the tank is level.
Step 12: Connect the Water Supply Line
Connect the water supply line to the fill valve on the new tank. Tighten it with your wrench, but don’t overtighten. You don’t want to damage the plastic threads on the fill valve.
Step 13: Turn On Water and Test for Leaks
Slowly turn the water supply valve counter-clockwise to turn the water back on. Let the tank fill. As it fills, check for any leaks around the supply line connection, the tank-to-bowl bolts, and the base of the toilet. Once the tank is full, check the water level; it should be at the marked line inside the tank.
Step 14: Flush and Check Again
Flush the toilet and observe. Does it flush properly? Does the tank refill correctly? After the flush and refill cycle, check again for.
