
Seal drain easy for essential home fixes: Learn simple, effective methods to seal drains, preventing leaks and water damage. This guide provides DIY steps, tool recommendations, and maintenance tips for a watertight home.
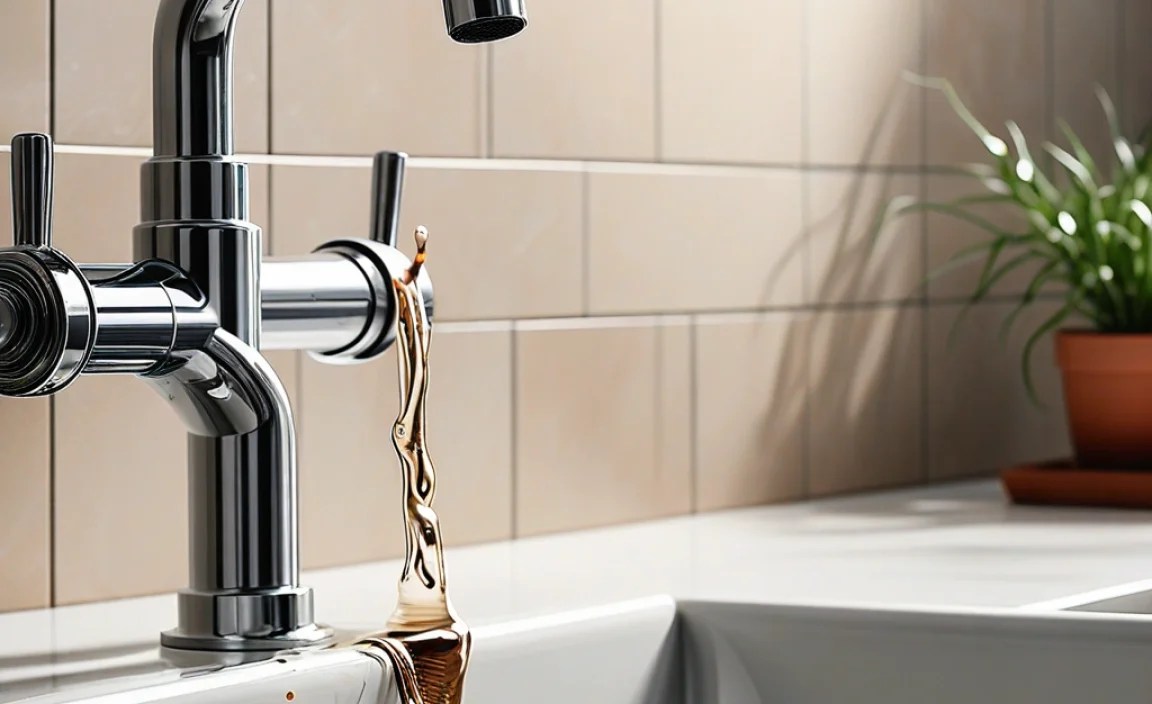
Drains are vital in our homes, helping water flow away. But what happens when they start to leak? A leaky drain can cause a lot of damage, from stained ceilings to mold growth. It’s a common problem, and many homeowners worry about the cost and difficulty of fixing it. The good news is, with a few simple tools and this easy-to-follow guide, you can confidently seal your drains and protect your home. We’ll walk you through everything, step-by-step, so you can tackle this common household issue with ease and peace of mind.
Why Sealing a Drain is Essential
Your home’s plumbing system is a complex network designed to keep water moving where it should. Drains are a crucial part of this. They carry away used water from sinks, showers, and bathtubs. When a drain isn’t properly sealed, it can lead to a cascade of problems, impacting both your home’s structure and your health.
A faulty seal around a drain allows water to seep into areas it shouldn’t. This can manifest in several ways:
- Water Damage: The most immediate concern is water damage to cabinetry, subflooring, and even the structure of your home. This can lead to costly repairs.
- Mold and Mildew Growth: Persistent moisture in dark, enclosed spaces creates the perfect environment for mold and mildew. These organisms can cause respiratory problems and allergic reactions.
- Unpleasant Odors: Leaking drains can allow sewer gases to escape into your home, leading to foul smells.
- Pest Infestations: Damp areas can attract pests like cockroaches and rodents.
- Increased Water Bills: Even small, constant leaks contribute to higher water usage and bills.
Addressing a leaky drain promptly is key to preventing these issues. Fortunately, sealing a drain is often a straightforward DIY task, requiring only a few basic tools and materials. This guide will empower you to handle it yourself, saving money and ensuring your home remains a safe, dry, and healthy place.
Understanding Common Drain Sealing Needs
When we talk about “sealing a drain,” it really refers to two main scenarios: sealing the connection where the drain pipe enters a fixture (like a sink or tub), and sealing the drain opening itself when you no longer want it to function or want to prevent leaks from a slow drain.
1. Sealing the Drain Opening (Stopper and Strainer)
This is often what people mean when they want to “seal drain easy.” It involves creating a watertight barrier at the drain opening in a sink, tub, or shower. This is usually done to:
- Temporary Plugging: For tasks like filling a sink for washing dishes or a bathtub for a soak.
- Preventing Leaks: If a drain stopper isn’t sealing perfectly, a pliable sealant can help.
- Preventing Odors: Sealing an unused drain can stop sewer gases from coming up.
- Preventing Pests: Keeping unwanted critters from entering through the drain.
2. Sealing Drain Pipe Connections
This involves ensuring the pipes and fittings connecting your drain fixtures to the main plumbing system are watertight. Leaks here are more serious and can happen at:
- Behind the Wall: Where the drain pipe connects to the fixture’s tailpiece.
- Under the Sink: Connections between the tailpiece, P-trap, and drainpipe.
- Around the Tub Shoe: The connection at the bottom of a bathtub drain.
