
Experiencing a leaky drain? Don’t worry! This guide shows you how to find and seal common drain leaks yourself, saving you time and money. We’ll cover simple fixes for sinks, tubs, and showers, so you can tackle “seal drain near me” issues with confidence.
Got a pesky drip coming from a drain? It’s a common household headache, but thankfully, fixing it is often a simple DIY job. You don’t need to be a plumbing expert to seal a leaky drain effectively. This guide is designed for beginners, breaking down the process into easy steps. We’ll help you identify the source of the leak and show you precisely what you need to do to make it a thing of the past. Get ready to tackle your “seal drain near me” quest and achieve a dry, worry-free home!
Why Your Drain Might Be Leaking
Drains are everywhere in our homes – sinks, showers, bathtubs, even dishwashers and washing machines. Over time, the seals around these drains can wear out, crack, or simply loosen. This is especially true for the drain flange, the metal ring you see at the bottom of your tub or shower, and the caulk or sealant around sink drains. When these seals fail, water finds a way to escape, leading to annoying drips, water damage, and potential mold growth.
The culprit is usually a breakdown in the watertight barrier. Think of it like a gasket on a jar lid – if it’s damaged or missing, the contents can spill out. For drains, this barrier is crucial. Common reasons for failure include:
- Age and wear: Materials like rubber gaskets and old caulk degrade over time.
- Improper installation: If a drain wasn’t sealed correctly from the start, leaks can happen sooner.
- Changes in temperature: Frequent hot and cold water can cause materials to expand and contract, stressing seals.
- Physical damage: Dropping heavy items in the sink or tub can knock seals out of place or cause damage.
- Deterioration of plumber’s putty or silicone sealant: The compounds used to create a watertight seal can dry out or crack.
When you notice water where it shouldn’t be – under your sink, around the base of your toilet, or on your ceiling below a bathroom – it’s time to investigate. Don’t let a small leak turn into a big problem. Finding a reliable solution for “seal drain near me” issues is entirely within your reach with the right guidance.
Identifying the Source of the Leak
Before you can seal a drain, you need to pinpoint exactly where the water is escaping. This might seem tricky, but with a systematic approach, it becomes much simpler. Often, the leak isn’t directly at the drain opening itself but rather from the connections or seals underneath.
Here’s how to play detective:
- Dry Thoroughly: Start by completely drying the area around the drain. Use old towels or a dry cloth to ensure everything is bone dry. This way, any new water you see is fresh leakage.
- Run Water (Strategically): Slowly run water into the drain.
- If it’s a sink drain, plug the sink and fill it a few inches. Then, pull the stopper. Watch carefully underneath the sink as it drains.
- For a shower or tub drain, place a stopper or a heavy object over the drain while the tub or shower fills. Once it’s full, remove the stopper and observe the area beneath.
- Listen carefully for drips. Look for wet spots on pipes, connections, or the subfloor.
- Check Common Leak Points:
- Drain Flange: This is the visible metal ring at the bottom of your tub or shower drain. Leaks can occur if the seal between the flange and the tub, or the flange and the drain pipe below, has failed.
- Sink Drain Assembly: Under the sink, there’s a pop-up stopper assembly that goes through the sink basin. Leaks often happen at the large nut connecting this assembly to the underside of the sink, or where the rubber gasket has failed.
- Plumbing Connections: Look at all the pipe joints and connections leading away from the drain. A loose slip nut or a cracked pipe can also be the source.
- Overflow Gasket: For sinks and tubs, water can leak behind the overflow plate if its seal is damaged.
- Use Paper Towels: If you can’t see water but suspect a leak, place dry paper towels around all the joints and connections. Run water again, and then check the paper towels for damp spots. This helps isolate the exact location.
Once you’ve found the wet spot, you’re one step closer to performing your “seal drain near me” repair. The next step is gathering your tools and materials.
Essential Tools and Materials for Sealing Drains

Gathering the right supplies before you start will make the job go much smoother. You won’t need a lot of specialized equipment for most basic drain sealing tasks. Here’s a breakdown of what you’ll likely need:
Tools You’ll Need:
- Adjustable Wrench or Pipe Wrench: For tightening nuts on plumbing connections under sinks.
- Pliers: Channel-lock pliers are versatile for gripping and turning various components.
- Screwdriver Set: A Phillips and flathead screwdriver might be needed for drain strainers or overflow plates.
- Putty Knife or Scraper: To remove old caulk or sealant.
- Rags or Old Towels: For drying the area and cleaning up.
- Bucket: To catch any residual water when disconnecting pipes.
- Utility Knife or Box Cutter: For cutting away old caulk.
- Safety Gloves: To protect your hands.
- Safety Glasses: To protect your eyes from debris.
Materials for Sealing:
- Plumber’s Putty: A pliable, oil-based compound used to create a watertight seal between drain fittings and fixtures like sinks and strainers. It’s excellent for non-porous surfaces and situations where the joint might be disturbed later. You can find it at any hardware store.
- 100% Silicone Caulk (Kitchen & Bath formula): A flexible, waterproof sealant. Ideal for sealing gaps around fixtures where movement might occur or for sealing edges against walls or tub surrounds. Look for formulas that are mildew resistant.
- Replacement Gaskets: If you discover a worn-out rubber gasket during your inspection, you’ll need to replace it. You can usually find assortments at hardware stores.
- New Drain Flange (if needed): In some cases, the metal flange itself might be damaged or corroded, requiring replacement.
- Pipe Thread Sealant (Pipe Dope) or PTFE Tape (Teflon Tape): Used on threaded pipe connections to ensure a watertight seal. Not strictly for the drain opening, but essential for pipe junctions that might be disturbed.
Ensure you have these items ready. Having everything on hand will prevent frustrating trips back to the store and allow you to complete your “seal drain near me” project efficiently.
How to Seal a Sink Drain (Underneath)
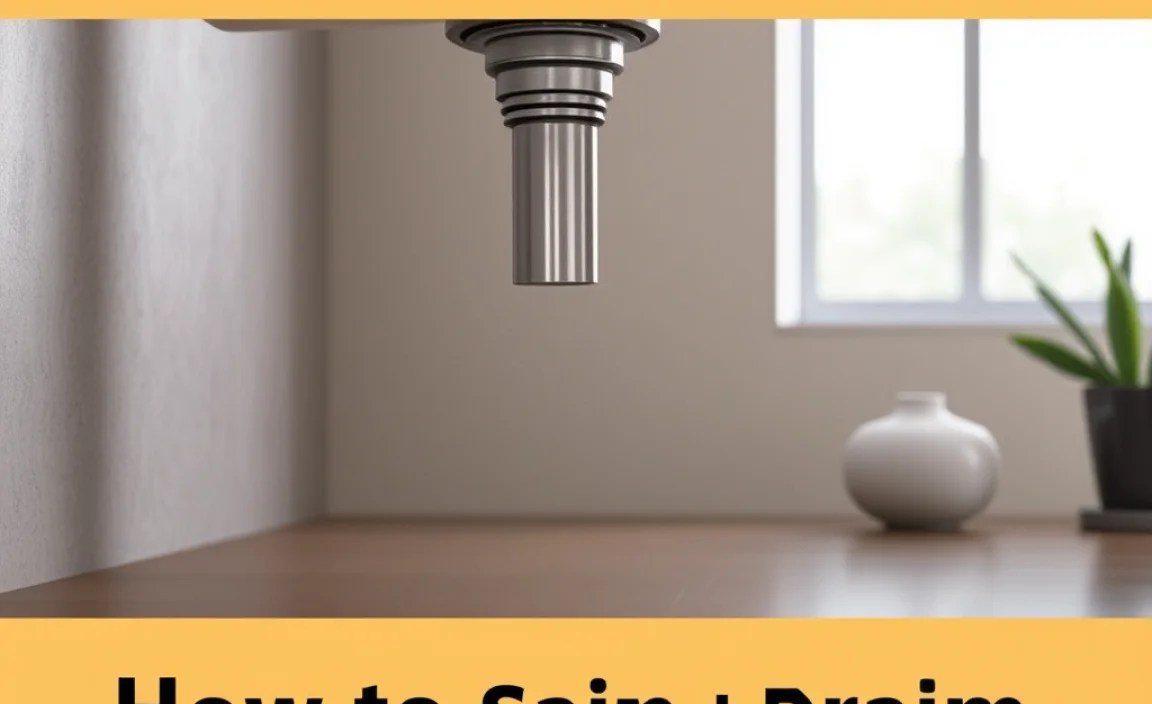
Sink drains are perhaps the most common source of leaks because of the complex assembly underneath. Here’s a step-by-step guide to tackling those leaks.
Step 1: Turn Off Water and Disconnect P-Trap
Open the cabinet under your sink and place a bucket beneath the P-trap (the curved pipe section). Use pliers or a pipe wrench to loosen the slip nuts connecting the P-trap to the drainpipe coming from the wall and the tailpiece going down from the sink. Be prepared for some residual water to drain into the bucket. Once loose, remove the P-trap. This gives you better access to the drain assembly connected to the sink basin.
Step 2: Inspect and Tighten the Sink Drain Assembly
Look at the large nut (often called a locknut or jamb nut) that secures the drain body (the part that goes through your sink) to the underside of the sink basin. Gently tighten this nut with pliers or the appropriate wrench. Don’t overtighten, as this can crack the sink basin, especially if it’s porcelain or ceramic.
Step 3: Check and Replace the Gasket
If tightening the nut doesn’t stop the leak, you likely need to replace the rubber gasket that sits between the drain body and the underside of the sink. Loosen the locknut completely and pull the drain body down from the sink. Remove the old, likely flattened or cracked, gasket. Clean both the underside of the sink basin and the drain body where the gasket seals. Install a new, appropriately sized gasket. You can find universal sink drain gasket kits at hardware stores. Refer to This Old House for general plumbing tips that can be applied here.
Step 4: Reassemble and Test
Reinsert the drain body into the sink from above. Re-install the locknut from underneath, ensuring the gasket is seated correctly. Tighten the locknut firmly, but again, avoid overtightening. Reattach the P-trap, ensuring its gaskets are in place and all slip nuts are snug. Run water into the sink and check thoroughly underneath for any drips. If a leak persists, the issue might be with the plumber’s putty seal under the drain strainer itself.
Step 5: Re-sealing the Drain Strainer (If Necessary)
If the leak seems to be coming from the edge of the drain strainer inside the sink basin, you might need to reapply plumber’s putty. Remove the P-trap and locknut again to pull the drain body out. Clean all old putty from the underside of the sink and the flange of the drain body. Roll a generous amount of plumber’s putty into a rope about 1/4 inch thick. Place this rope around the underside of the drain strainer. Insert the drain strainer into the sink opening from above. From underneath, reassemble the drain body, locknut, and P-trap over the putty-sealed strainer. As you tighten the locknut, excess putty will squeeze out around the strainer’s edge inside the sink. Clean this excess putty. Run water to test.
This comprehensive approach covers most sink drain leak scenarios, helping you effectively “seal drain near me” problems originating from your sink.
How to Seal a Bathtub or Shower Drain

Bathtub and shower drains can present unique challenges, but the principles of sealing are similar. The most common offenders are the drain flange seal or the drain shoe connection to the waste pipe.
Step 1: Remove the Drain Stopper and Strainer
For most tub drains, you’ll need to remove the stopper first. This might involve unscrewing a setscrew on the side of the stopper handle or simply pulling it up. Then, use a screwdriver or specialized drain wrench to unscrew the drain strainer (the metal grid). Be aware that this strainer is often set in plumber’s putty or sealant and might require some gentle prying or unscrewing.
Step 2: Inspect the Drain Flange Seal
Once the strainer is out, you’ll see the metal drain flange. This flange should be sealed to the bottom of the tub or shower base with either plumber’s putty or a rubber gasket. The other end of the flange (below the tub surface) screws into a threaded fitting called a “drain shoe,” which is connected to your drainpipe. If water is leaking around the edge of the flange inside the tub, the seal here has likely failed.
Step 3: Remove and Re-seal the Drain Flange
This is the most involved step. You’ll need to remove the entire drain assembly. Sometimes, you can unscrew the flange from the drain shoe from above if it’s designed that way. More often, you’ll need to access the drain shoe from below, through an access panel or by crawling into the basement or crawl space. If you have access, loosen the large nut on the drain shoe that connects it to the tub’s drain nipple (the part the flange screws into). With the drain shoe disconnected, you can pull the tub drain flange and nipple assembly out from the tub opening.
Clean off all old putty or sealant from the underside of the tub and the old flange. Apply a generous rope of plumber’s putty around the underside of the new drain flange. Insert the new flange and nipple assembly into the tub opening, ensuring the putty compresses evenly. From below, reconnect the drain shoe to the new nipple and tighten the nut securely. Ensure the drain shoe is also properly connected to the main drainpipe, using pipe thread sealant or PTFE tape on threaded connections if necessary. See this guide from Family Handyman for visual assistance.
Step 4: Reinstall Strainer and Test
Clean up any excess putty that squeezed out around the inside of the tub. Screw the drain strainer back into the new assembly, making sure it’s snug. Run water in the tub or shower for several minutes and check meticulously underneath for any signs of leaks. Ensure all pipe connections in the access point are also dry.
This process is crucial for any “seal drain near me” need related to a tub or shower. If you don’t have convenient access to the drain shoe from below, this job might require a plumber.
Sealing Around the Overflow Plate
Many sinks and tubs have an overflow drain, typically located just below the rim. This is a safety feature to prevent tubs and sinks from overflowing. The overflow plate is secured to the tub or sink with screws, and a gasket behind it creates a seal with the tank. If this seal fails, water can leak down the back of the overflow tube and out onto your floor or ceiling.
Step 1: Remove the Overflow Plate
Locate the screws on the overflow plate. Unscrew them using a screwdriver (usually a Phillips head). Carefully pull the overflow plate away from the sink or tub. You might need to gently pry it if it’s sealed very tightly.
Step 2: Inspect and Replace the Gasket
Behind the overflow plate, you’ll likely find a rubber gasket or a layer of caulk/putty. Inspect this material for cracks, dryness, or deterioration. If it looks worn out, this is your leak source. Clean the area behind the plate and the surface of the overflow opening on the fixture thoroughly. Apply a new, correctly sized rubber gasket or a bead of 100% silicone caulk (designed for kitchens and bathrooms) around the opening.
Step 3: Reinstall and Seal
Carefully align the overflow plate with the new gasket or caulk and screw it back into place. Make sure the screws are snug, creating a good seal. Don’t overtighten. Run water into the sink or tub, filling it past the overflow opening. Then, drain the fixture and check for leaks below, especially around the overflow tube connection to the drain pipe if accessible.
This is a crucial secondary check for anyone concerned about their “seal drain near me” situation, as overflow leaks can often be mistaken for main drain leaks.
When to Call a Professional Plumber
While many drain leaks are manageable DIY projects, there are times when it’s best to call in an expert. Recognizing your limits is part of being a smart homeowner.
Consider calling a professional plumber if:
- You cannot locate the leak source: If you’ve tried the steps above and are still unsure where the water is coming from, a plumber has specialized tools and experience to find it.
- The leak is from a cracked pipe: While a loose joint can be tightened, a cracked pipe requires replacement, which is a more complex plumbing job.
- You lack access to the drain assembly: If the drain shoe or pipework is in a very difficult-to-reach location (e.g., behind a solid wall without an access panel), a plumber can assess the best course of action, which might involve cutting into drywall.
- The existing plumbing looks old or corroded: If you encounter very old, brittle, or corroded pipes, attempting repairs yourself could cause more damage. A plumber can assess the overall condition of your plumbing system.
- You’re uncomfortable with the repair: Plumbing involves water, and mistakes can lead to significant damage. If you’re not confident in your abilities, it’s always safer to hire a professional.
- You’ve attempted repairs, and the leak persists: Sometimes, a problem is more complex than it appears, and a seasoned professional might be needed to diagnose and fix it.
For complex issues or when in doubt, a plumber is your best bet for a safe, effective, and long-lasting “seal drain near me” solution. They can also spot potential downstream issues you might miss.
Preventative Maintenance for Your Drains
The best way to deal with leaking drains is to prevent them from happening in the first place! Regular maintenance can extend the life of your plumbing and keep those annoying drips.
