
Essential pipe sealing tools include pipe dope, PTFE tape, clamping tools like pipe wrenches and pliers, and specialized sealants for specific materials. Understanding these tools will help you achieve reliable, leak-proof pipe connections and tackle common DIY plumbing fixes with confidence.
Leaky pipes are a homeowner’s frustration, leading to water damage, mold growth, and wasted water. It can feel daunting to fix, but you don’t need to be a master plumber! With the right tools and a little know-how, sealing pipes effectively is a manageable DIY task. From simple drips to more persistent leaks, knowing which tools to grab makes all the difference. We’ll guide you through the essential tools and proven fixes to get your pipes sealed tight, saving you money and peace of mind. Get ready to tackle those leaks with confidence!
Why Sealing Pipes Matters
Properly sealed pipes are the backbone of a healthy plumbing system. They prevent water from escaping where it shouldn’t, which is crucial for several reasons:
- Preventing Water Damage: Unseen leaks can seep into walls, floors, and ceilings, causing rot, mold, and structural damage that’s expensive to repair.
- Conserving Water: Even small drips add up. Sealing leaks means you’re not pouring money down the drain with wasted water.
- Maintaining Water Pressure: Leaks can reduce the overall pressure in your system, affecting shower strength and appliance function.
- Avoiding Mold and Mildew: Constant moisture from leaks creates an ideal environment for mold and mildew, which can be harmful to your health.
- Extending Pipe Lifespan: Some leaks can corrode pipes over time, shortening their lifespan and leading to more significant problems down the line.
The good news is that most common pipe sealing tasks are well within reach for the average DIYer. It all starts with having the right tools for the job.
Essential Tools for Sealing Pipes
When it comes to sealing pipes, you’ll encounter a few different scenarios, and having the right tools will make the job smoother and more effective. Here’s a breakdown of the must-have gear:
1. Thread Sealants: The Go-To for Threaded Connections
Thread sealants are your first line of defense against leaks in threaded pipe joints. These are applied to the male threads of a pipe before it’s screwed into a fitting. They fill in tiny gaps between the threads, creating a watertight seal.
a. PTFE Pipe Thread Tape (Teflon Tape)
This is probably the most common and recognizable pipe sealing tool. It’s a thin, white, non-adhesive tape made of polytetrafluoroethylene (PTFE). It’s flexible, easy to use, and works on most types of threaded fittings, including metal and plastic.
How it works: You wrap the tape around the pipe threads in a specific direction (usually clockwise when looking at the end of the pipe). The tape compresses as the fitting is tightened, filling the voids and creating a seal. It also acts as a lubricant, making it easier to tighten the fitting and easier to disassemble later.
Pros:
- Inexpensive and widely available.
- Easy to apply for beginners.
- Works with most common plumbing materials (PVC, PEX, brass, galvanized steel).
- Allows for easier disassembly.
Cons:
- Can be tricky to apply just the right amount – too little and it leaks, too much and it can impede flow or make tightening difficult.
- Less effective on very high-pressure or high-temperature applications.
- Needs to be applied in the correct direction.
Expert Tip: Always wrap PTFE tape in the direction that the pipe will be screwed in (clockwise). This prevents the tape from unraveling as you tighten. For most standard fittings, 2-3 wraps are sufficient. For larger pipes or fittings, you might need more.
b. Pipe Dope (Pipe Joint Compound)
Pipe dope is a paste-like sealant that comes in a can or a plastic tube with an applicator brush. It’s more viscous than PTFE tape and can fill larger gaps. There are different types of pipe dope, formulated for specific applications:
- All-purpose pipe dope: Good for general plumbing, water, and natural gas lines.
- Water-resistant pipe dope: Ideal for hot and cold water systems.
- Gas-rated pipe dope: Specifically formulated to seal natural gas and propane lines safely.
- Plastic pipe dope: Designed not to damage plastic pipes like PVC or ABS.
How it works: You apply a liberal coat of pipe dope with the brush onto the male threads. As you thread the fitting on, the dope squeezes out, creating a seal. It stays somewhat pliable, allowing for slight movement without breaking the seal.
Pros:
- Excellent for sealing larger gaps or damaged threads.
- Can provide a stronger, more durable seal than tape in some applications.
- Easier to get a consistent application by just spreading it on.
- Some types offer excellent lubrication for tighter connections.
Cons:
- Can be messy to apply.
- Some types can harden over time, making disassembly difficult.
- Needs to be chosen carefully based on the type of pipe and fluid (water, gas, etc.).
- May not be suitable for all types of plastic fittings.
Safety Note: Always use the correct type of pipe dope for the material and substance being conveyed. For natural gas lines, using a gas-rated compound is critical for safety. You can find more information on safe plumbing practices from resources like the U.S. Environmental Protection Agency’s WaterSense program, which often touches on water efficiency and system integrity.
2. Wrench and Pliers: For Gripping and Tightening
Once you’ve applied your sealant, you need to tighten the fitting securely. This is where a good grip comes in. Having a variety of wrenches and pliers ensures you can handle different pipe sizes and types.
a. Pipe Wrenches
These are the classic plumbing tools. They feature adjustable jaws with serrated teeth that bite into pipe surfaces for a strong grip. They are designed for turning round pipes and pipe fittings.
- Adjustable Pipe Wrench: The most common type, with a sliding jaw that can be adjusted to fit various pipe diameters. They come in different sizes (e.g., 10-inch, 14-inch, 18-inch).
- Straight Pipe Wrench: Jaws are parallel to the handle.
- Offset Pipe Wrench: The lower jaw is offset, allowing it to get into tighter spots or hook onto pipes more easily.
How to Use: Place the jaws around the pipe or fitting. Tighten the adjustment nut to create a snug fit. Turn the wrench to tighten or loosen. Always ensure the wrench is gripping firmly before applying force.
Expert Tip: For best results and to avoid damaging pipes (especially softer metals or plastic), always position the pipe wrench so that you are pulling the handle upwards or towards you. This leverages the weight of the tool and allows the jaws to bite into the pipe for a secure grip, rather than pushing the jaws away and potentially slipping.
b. Channel Lock Pliers (Water Pump Pliers)
These versatile pliers have an adjustable pivot point, allowing the jaws to open to different widths. They are great for gripping nuts, bolts, and pipes, especially in situations where a pipe wrench might be too bulky or could damage the finish.
How to Use: Select the appropriate jaw opening by sliding the pivot. Grip the object firmly. Use for tightening or loosening, or for holding a fitting in place while another part is tightened.
c. Adjustable Wrench (Crescent Wrench)
While not ideal for the primary gripping of pipes, an adjustable wrench is handy for holding nuts, bolts, or certain types of compression fittings in place while you tighten a connection elsewhere.
3. Specialized Sealants and Repair Systems
Sometimes, a simple thread seal isn’t enough, or you have a leak in a pipe section rather than a joint. For these situations, specialized products can be a lifesaver.
a. Rubber Gaskets and O-Rings
Used in compression fittings, valve stems, and faucets, rubber gaskets and O-rings create a seal through compression. They are often found in flexible hoses, faucet cartridges, and some types of pipe unions.
How they work: When a fitting is tightened, the rubber is squeezed, filling the space and preventing leaks. The material properties of the rubber are crucial here – it needs to be flexible enough to seal but durable enough to withstand water and temperature.
b. Compression Fittings
These fittings don’t require threading. Instead, they use a nut and a ferrule (a small ring or sleeve) that compresses onto the pipe when the nut is tightened, creating a watertight seal. They are common for connecting copper, PEX, and CPVC pipes.
Tools needed: You’ll typically need two wrenches (one to hold the fitting body, one to tighten the nut) and a pipe cutter. No thread sealant is used here.
c. Pipe Repair Wraps and Clamps
For repairing cracks or pinholes in straight sections of pipe, specialized repair wraps or clamps are invaluable. These are often temporary fixes but can be very effective in an emergency.
- Repair Wraps: These are typically resin-impregnated fiberglass tape that hardens when wet. You wrap it tightly around the damaged pipe section, and it cures into a hard, rigid shell that seals the leak. Follow the manufacturer’s instructions carefully, as cure times vary.
- Pipe Clamps (Repair Clamps): These are metal clamps, often lined with rubber, that you place around the damaged pipe area and tighten with bolts. The rubber pushes against the pipe, sealing the leak. Ensure you get a clamp designed for the type and size of pipe you are repairing.
Where to find this info: For best practices on plumbing repairs, consult the International Code Council (ICC), which develops the building codes that govern plumbing installations and safety in many regions.
4. Pipe Cutters and Deburr Tools
When working with new pipes or replacing sections, you’ll need to cut pipes to size. A clean, square cut is essential for a good seal, especially with compression fittings or solvent-welded joints. After cutting, you must deburr (remove sharp edges) the pipe’s interior and exterior.
a. Pipe Cutters
- Ratcheting PVC/Plastic Pipe Cutter: Easy to use for plastic pipes, it makes clean cuts with minimal effort.
- Tubing Cutter: Designed for metal pipes (copper, steel), it uses a sharp wheel that slices through the pipe as you rotate it.
b. Deburring Tool
A deburring tool has a conical blade that shaves off the burrs from the inside and outside of a pipe after cutting. This is critical for ensuring fittings slide on properly and create a good seal, preventing flow restrictions.
5. Other Useful Tools
Beyond the core sealing tools, a few other items can make your DIY plumbing tasks much easier:
- Bucket and Towels: Have these on hand to catch residual water when you disconnect or repair pipes.
- Safety Glasses: Protect your eyes from debris or pipe material.
- Utility Knife: Useful for scoring certain types of pipe or cleaning up old sealant.
- Wire Brush: For cleaning threads before applying sealant.
- Work Gloves: To protect your hands and improve grip.
Step-by-Step: Sealing a Threaded Pipe Joint
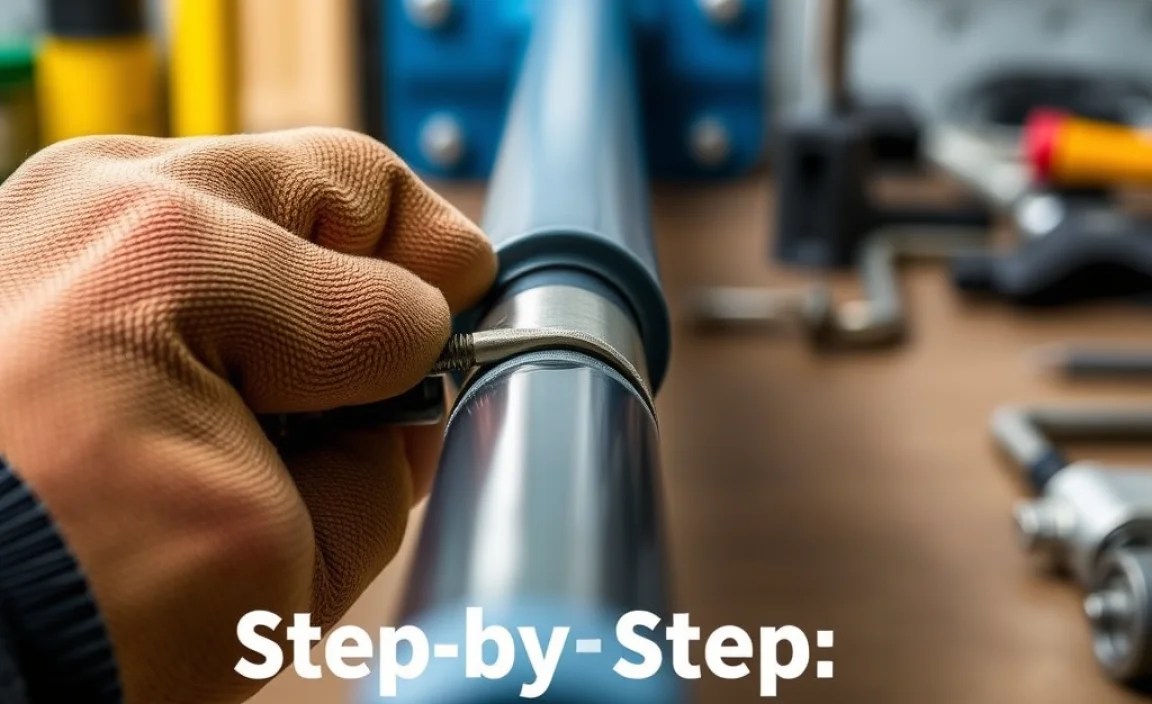
Let’s walk through a common scenario: sealing a threaded pipe joint. This is a fundamental DIY plumbing skill that will serve you well.
What You’ll Need:
- Pipe dope or PTFE tape
- Two pipe wrenches (or one pipe wrench and one adjustable wrench/pliers)
- Wire brush (optional, for cleaning threads)
- Bucket and rags
- Safety glasses
Steps:
- Turn Off Water: Locate the main water shut-off valve for your house and turn it off. If you’re working on a specific fixture, use its local shut-off valve. Open a faucet at the lowest point in your house to drain residual water from the lines.
- Prepare the Threads: If working with an existing joint, disconnect the pipes. If the old sealant is still present and caked on, use a wire brush to clean the male threads as thoroughly as possible. For new pipes, ensure the threads are clean and free of debris.
- Apply Sealant:
- Using PTFE Tape: Wrap the tape clockwise around the male threads, overlapping slightly with each wrap. Apply 2-3 wraps for standard fittings, or more for larger pipes or fittings with coarser threads. Ensure the tape is snug and covers all threads from the shoulder of the pipe to the end.
- Using Pipe Dope: Apply a generous, even coat of pipe dope with the applicator brush to the male threads. Cover all threads from the shoulder to the end. Avoid getting excessive dope on the very end of the pipe, as it can be squeezed into the pipeline.
- Thread the Fitting: Carefully screw the fitting onto the pipe by hand. It should thread on smoothly for at least a few turns. If it feels stiff or crosses, stop, back it out, and check for cross-threading, which can damage the threads and cause leaks.
- Tighten the Fitting:
- For smaller connections or when working alone: Gently tighten by hand as much as you can.
- Using Wrenches: Use one pipe wrench to hold the fitting in place (or securely on the pipe itself if it’s a straight male end you’re attaching to). Use the second pipe wrench on the fitting you are screwing onto the pipe. Tighten the fitting until it is snug and secure, but do not overtighten, as this can crack the fitting or damage the threads. A good rule of thumb is to tighten it about a quarter to a half turn past hand-tight. If using pipe dope, you might see a small amount squeeze out, which is a good sign of a proper seal.
- Turn Water Back On: Slowly turn the water supply back on. Check the connection for any signs of leaks or drips. If you see a minor weep, you may be able to tighten it slightly more. If it continues to leak, you may need to disassemble, reapply sealant, and re-tighten.
Sealing Compression Fittings: A Quick Guide
Compression fittings are popular for their ease of use and reliability, especially for connecting rigid pipes like copper or CPVC. Here’s how they generally work and the tools involved:
Tools Needed:
- Pipe cutter (for plastic or metal)
- Deburring tool
- Two wrenches (typically adjustable wrenches or open-end wrenches of the correct size)
- The compression fitting itself (body, nut, and ferrule)
Steps:
- Cut the Pipe: Make a clean, square cut on the pipe using the appropriate pipe cutter.
- Deburr the Pipe: Use a deburring tool to remove all internal and external burrs. This is crucial for a good seal.
- Slide Components On: Slide the compression nut onto the pipe, followed by the ferrule (the ring). Ensure the ferrule is oriented correctly according to the fitting manufacturer’s instructions (usually with the tapered end facing the fitting body).
- Insert into Fitting: Push the pipe firmly into the fitting body, ensuring it’s seated all the way.
- Tighten the Nut: Slide the ferrule and nut up to the fitting. Hand-tighten the nut as much as you can. Then, use one wrench to hold the fitting body steady and the second wrench to tighten the compression nut. Tighten it until it feels snug, then give it an additional half to three-quarters of a turn. Avoid overtightening, which can deform the ferrule or pipe.
- Test for Leaks: Turn the water on and check for any leaks.
For detailed specifications on different types of compression fittings and their installation, consult resources from reputable plumbing fixture manufacturers or industry guides.
Sealing Different Pipe Materials
The type of pipe material can influence the best sealant and tools to use. Here’s a quick look:
| Pipe Material | Recommended Sealant | Primary Tools | Considerations |
|---|
