
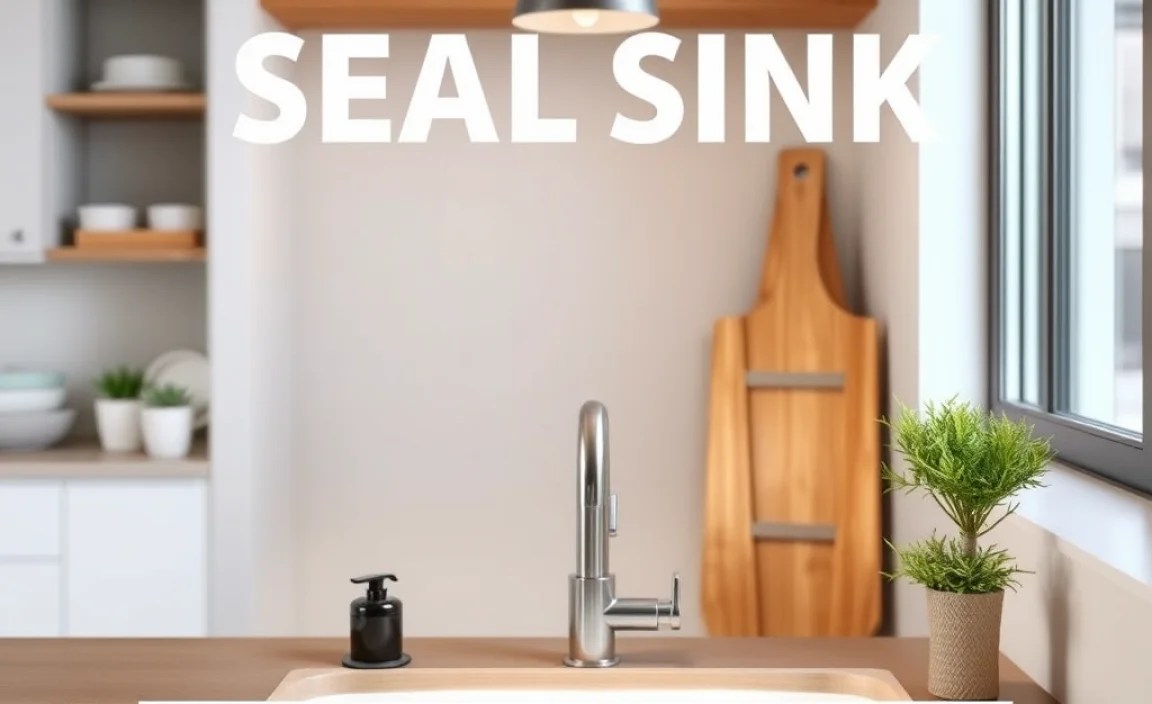
Yes, you can effectively seal a sink without calling a plumber! This guide provides easy, step-by-step instructions for beginners to seal their sink, stopping leaks and improving functionality with common household tools and materials. Learn how to tackle this common home fix yourself and save time and money.
A leaky sink can be a real nuisance. That constant drip, the growing puddle beneath, and the worry about water damage – it’s enough to make anyone anxious. But before you reach for the phone to book an expensive plumber, consider this: sealing a sink is a surprisingly achievable DIY project for most homeowners. Many common sink leaks, especially those around the drain and faucet base, can be fixed with a few simple tools and a bit of patience.
This guide is designed with you in mind, breaking down the process into easy-to-follow steps. We’ll cover everything from identifying the leak source to applying the right sealant, ensuring you can confidently tackle this essential home fix. Get ready to say goodbye to those annoying drips and puddles!
Why Does a Sink Need Sealing?
Sinks are an integral part of our daily lives, used for everything from washing dishes to brushing our teeth. Over time, the seals around various parts of the sink can degrade, crack, or simply wear out. This is due to several factors:
- Water Exposure: Constant contact with water, especially hot water and cleaning products, can break down sealants like caulk or plumber’s putty.
- Temperature Changes: Expansion and contraction with hot and cold water can stress the seals.
- Mechanical Stress: Using the sink, placing heavy items, or accidental bumps can put pressure on the seal.
- Aging Materials: Like any material, sealants have a lifespan and will eventually need replacement.
When these seals fail, water can escape, leading to several problems. The most common issues include leaks around the sink rim where it meets the countertop, drips from the faucet base, or seepage from the drain assembly. These leaks can cause water damage to your cabinets, countertops, and even the subfloor, leading to mold growth and structural issues if left unaddressed. Fortunately, most of these leaks are fixable without professional help.
Identifying the Source of the Leak

Before you can fix your sink, you need to know exactly where the water is coming from. This might seem obvious, but sometimes water can travel and make the leak appear worse or in a different spot than its origin. Here’s how to pinpoint the problem:
- Dry Everything Thoroughly: Use a clean, dry cloth to wipe down all around the sink basin, countertop, faucet, and under the sink. Make sure every surface is completely dry. This is crucial for accurately tracing the leak.
- Fill the Sink (Slightly): Add a small amount of water to the sink basin. If you suspect a drain leak, fill it a couple of inches. If you suspect a faucet leak, avoid filling it too high.
- Observe Closely: Watch for any water seeping out. Pay attention to the following areas:
- Sink Rim: Look for water coming up between the sink edge and the countertop.
- Faucet Base: Check if water leaks out from where the faucet meets the sink or countertop.
- Drain Assembly: Inspect around the large nut directly underneath the sink drain.
- Water Supply Lines: While not technically part of the sink seal, it’s good to check the connections where the water lines attach to the faucet.
- Run the Water: Turn on the faucet (hot and cold) and observe. This can help identify leaks from the faucet itself or its connections.
- Test the Drain: If you filled the sink, let the water out and observe the drain as it empties. Look for leaks around the drain flange (inside the sink) and the plumbing connections underneath.
Having a flashlight can be a great help in spotting small drips in dimly lit cabinet spaces. Once you’ve identified the specific spot where the water is appearing, you’re ready to gather your supplies and fix it.
Essential Tools and Materials for Sealing Your Sink

Fortunately, most sink sealing jobs don’t require a specialized toolkit. You likely have many of these items already, or they are inexpensive and readily available at any hardware store. Having the right materials makes a huge difference in the longevity and appearance of your seal.
What You’ll Need:
- Caulk or Sealant: The type of sealant you need depends on the location of the leak.
- Kitchen & Bath Silicone Caulk: Excellent for sealing around the sink rim where it meets the countertop, especially in kitchens and bathrooms where moisture is high. Look for mildew-resistant varieties.
- Plumber’s Putty: Ideal for sealing around drains, strainers, and faucet bases that don’t experience constant overt water pressure. It’s a pliable, wax-like compound.
- RTV Sealant: A silicone-based sealant that offers excellent adhesion and flexibility, suitable for various sink components.
- Caulk Gun: If you’re using a squeeze tube of caulk, you’ll need a gun to apply it smoothly and evenly. Get one with a smooth rod for better control.
- Putty Knife or Scraper: For removing old caulk or excess sealant.
- Utility Knife or Razor Blade: Useful for cutting away stubborn old caulk.
- Cleaning Supplies:
- Rubbing Alcohol or Mineral Spirits: For cleaning surfaces to ensure proper adhesion of new sealant.
- Clean, Lint-Free Cloths or Paper Towels: For drying and wiping away excess.
- Sponge: For cleaning up any mess.
- Gloves: To protect your hands from caulk and cleaning agents.
- Painter’s Tape (Optional but Recommended): Helps create clean, straight lines for your caulk bead.
- Small Bowl of Water (Optional): For smoothing caulk if using silicone.
Choosing the right sealant is key. For instance, using plumber’s putty where caulk is needed might lead to premature failure because putty isn’t designed for constant water exposure. Always read the product label to ensure it’s appropriate for your specific application and the materials you’re sealing (e.g., granite, laminate, porcelain).
How to Seal a Sink Rim Leak (Caulking)

The most common leak is often around the edge where the sink meets the countertop. This usually means the caulk seal has failed.
Step-by-Step Guide to Caulking a Sink Rim:
- Remove Old Caulk:This is the most crucial step for a good new seal. Use a putty knife or a utility knife to carefully cut along the edge of the old caulk. Work slowly and steadily. You want to remove all the old, brittle caulk without scratching your countertop or sink. For stubborn bits, a razor blade held at a low angle can help.
- Clean the Area Thoroughly:Once the old caulk is gone, clean the gap between the sink and countertop thoroughly. Use rubbing alcohol or mineral spirits on a clean cloth to remove any remaining residue, soap scum, or grease. This ensures the new sealant will adhere properly. Let the area dry completely.
- Mask the Area (Optional but Recommended):Apply painter’s tape along the edge of the countertop and the edge of the sink basin, leaving a gap between the two tapes that is slightly wider than the bead of caulk you intend to apply. This creates a guide for a perfectly straight, professional-looking seal and makes cleanup much easier.
- Prepare the Caulk Tube:Cut the tip of the caulk tube at a 45-degree angle using a utility knife or the cutter on your caulk gun. Start with a small opening – you can always cut it larger if needed. Puncture the inner seal of the tube if indicated by the manufacturer.
- Load the Caulk Gun:Pull back the plunger on the caulk gun, insert the caulk tube (cut tip facing forward), and push the plunger back firmly to engage with the tube. Release the trigger lock mechanism.
- Apply the Caulk:Position the tip of the caulk tube at the beginning of the gap you want to seal. Place the tip against the joint. Apply steady, even pressure to the caulk gun trigger, and move the gun smoothly along the gap at a consistent speed. Aim for a continuous bead of caulk. Work in manageable sections.
- Smooth the Caulk Bead:This is where you create that clean, finished look.
- For Silicone Caulk: Dip your finger in a small bowl of water (or use a caulk smoothing tool). Gently run your wet finger along the caulk bead, pressing it into the gap and removing excess.
- For other types: Follow manufacturer recommendations. Some might suggest a damp cloth or a specialized tool.
Wipe away excess caulk from your finger or tool with a paper towel frequently. Be careful not to drag too much caulk out of the gap.
- Remove the Tape and Clean Up:If you used painter’s tape, remove it immediately after smoothing the caulk, pulling it away at a 45-degree angle. This ensures a clean line. Use a damp cloth or sponge to gently clean up any stray caulk immediately. Never use harsh cleaners on fresh caulk.
- Allow to Cure:Let the caulk cure according to the manufacturer’s instructions. This typically takes at least a few hours, but often up to 24 hours, before it can be exposed to water. Avoid using the sink during this time.
For more detailed information on caulking, resources like the This Old House guide to caulking offer excellent visual explanations.
How to Seal a Leaky Sink Drain (Plumber’s Putty)

Sink drains can be another common culprit for leaks. If you notice water underneath the sink specifically around the drain pipes, it’s likely the seal around the drain flange or the connections are faulty.
Step-by-Step Guide to Sealing a Sink Drain:
- Turn Off Water Supply & Gather Supplies:While you’re not disconnecting pipes, it’s good practice to turn off the hot and cold water shut-off valves under the sink to prevent accidental drips. Gather your tools: plumber’s putty, putty knife, clean rags, and potentially a wrench if you need to tighten connections.
- Dismantle the Drain (If Necessary):Under the sink, locate the large nut that holds the drain assembly to the sink basin. You might need a pair of large channel-lock pliers or a specialized drain wrench to unscrew this nut. Once the nut is loose, you should be able to pull the drain and tailpiece down from beneath the sink. If the drain flange is simply loose at the top, you may not need to fully dismantle.
- Clean the Drain Flange and Sink Underside:Inside the sink, scrape away any old putty or sealant from around the drain flange. Use a putty knife and then clean the area with rubbing alcohol. Underneath the sink, clean the drain tailpiece and the area where the large nut was located. Ensure all surfaces are dry and free of debris.
- Apply Plumber’s Putty:Take a generous amount of plumber’s putty and roll it into a rope-like shape, about half an inch in diameter. This rope should be long enough to go all the way around the underside of the drain flange.
- Reassemble the Drain:Carefully place the drain flange back into the sink drain hole from the top side. From underneath the sink, slide the putty-covered rope onto the tailpiece of the drain assembly. Fit the tailpiece up into the sink flange.
- Tighten the Drain Nut:Screw the large drain nut back onto the tailpiece, pressing it firmly against the sink basin. Hand-tighten it as much as you can, then use your pliers or wrench to tighten it another quarter to half turn. Don’t overtighten, as you could crack the sink or strip the threads. As you tighten, excess plumber’s putty should squeeze out from under the flange both inside and outside the sink. Also, excess putty should squeeze out from where the tailpiece meets the flange underneath.
- Clean Away Excess Putty:Inside the sink, use a putty knife or your finger to carefully scrape away the excess putty that squeezed out from under the flange. For the underside, use a rag to wipe away the expelled putty. A little bit of putty squeezing out is a good sign that you have a solid seal.
- Test for Leaks:Turn the water supply back on if you turned it off. Fill the sink with a few inches of water and let it sit for about 10-15 minutes. Check underneath for any drips. Also, run water down the drain and ensure no leaks occur during drainage.
If leaks persist, you may need to tighten the drain nut slightly more or consider replacing the entire drain assembly if it’s old or damaged. For a more visual guide, check out resources like Family Handyman’s guide to fixing a leaky sink drain.
How to Seal a Leaky Faucet Base
Sometimes, water can seep from the base of your faucet, where it meets the sink or countertop. This can be due to worn O-rings or a failed seal under the faucet. While this can sometimes involve replacing parts, a temporary or minor fix might be possible with sealant.
Step-by-Step Guide to Sealing a Faucet Base:
- Dry the Area:Thoroughly dry the entire area around the base of the faucet and where it meets the sink or countertop. Water trapped here will prevent new sealant from adhering.
- Remove Old Sealant (If Any):If there’s old caulk or putty around the faucet base, carefully remove it using a utility knife or putty knife, similar to how you’d remove old caulk from the sink rim. Be cautious not to scratch the faucet or countertop.
- Apply Sealant:You can use a high-quality silicone caulk or RTV sealant for this. Apply a thin, continuous bead of sealant around the base of the faucet, filling the gap between the faucet and the sink/countertop. Ensure the sealant forms a complete barrier.
- Smooth and Clean Up:Smooth the bead of sealant using a damp finger or a caulk-smoothing tool. Wipe away any excess immediately with a damp cloth. If you used painter’s tape, remove it now.
- Allow to Cure:Let the sealant cure completely according to the manufacturer’s instructions before using the faucet or allowing water to come into contact with the sealed area.
It’s important to note that if the leak is coming from the internal parts of the faucet, sealant around the base may only offer a temporary solution. If the problem persists or worsens, you might need to replace the faucet’s internal cartridges or O-rings, which is a more involved repair often explained on plumbing resources like The Spruce’s faucet repair guides.
Comparison of Sealants: Caulk vs. Plumber’s Putty
Choosing the right sealant is vital for a lasting repair. While both caulk and plumber’s putty are used for sealing, they have distinct properties and ideal applications.
| Feature | Silicone Caulk (Kitchen & Bath) | Plumber’s Putty |
|---|---|---|
| Primary Use | Sealing gaps and joints where water exposure is constant (e.g., |
