
Quick Summary:
Experiencing a shower breakdown in plumbing? Don’t panic! Common issues like low water pressure, leaks, or a clogged drain can often be tackled with simple DIY fixes. This guide provides clear, step-by-step solutions for essential shower repairs, empowering you to get your shower back in working order safely and efficiently.
Nothing disrupts a peaceful morning routine quite like a shower breakdown in plumbing. Whether it’s a trickle instead of a torrent, an annoying drip, or a drain that’s seen better days, these issues can be frustrating. But before you call in a plumber for every little hiccup, know that many common shower problems are surprisingly manageable for the DIY enthusiast. With a few basic tools and this guide, you can confidently diagnose and fix many of these plumbing headaches yourself.
We’ll walk you through the most common shower breakdowns, explain what might be causing them, and provide easy-to-follow instructions for essential fixes. Get ready to restore your shower’s performance and enjoy a refreshing experience again!
Understanding Common Shower Breakdown in Plumbing Issues

Showers are complex systems involving water supply lines, valves, showerheads, drainpipes, and often, a bathtub mixer. When something isn’t working right, it can be a bit of a mystery. However, most shower problems fall into a few common categories. Understanding these will help you pinpoint the issue and find the best solution.
The good news is that many of these problems stem from simple wear and tear, mineral buildup, or minor blockages that can be addressed with readily available parts and tools. Taking a proactive approach can save you time, money, and a lot of inconvenience.
1. Low Water Pressure
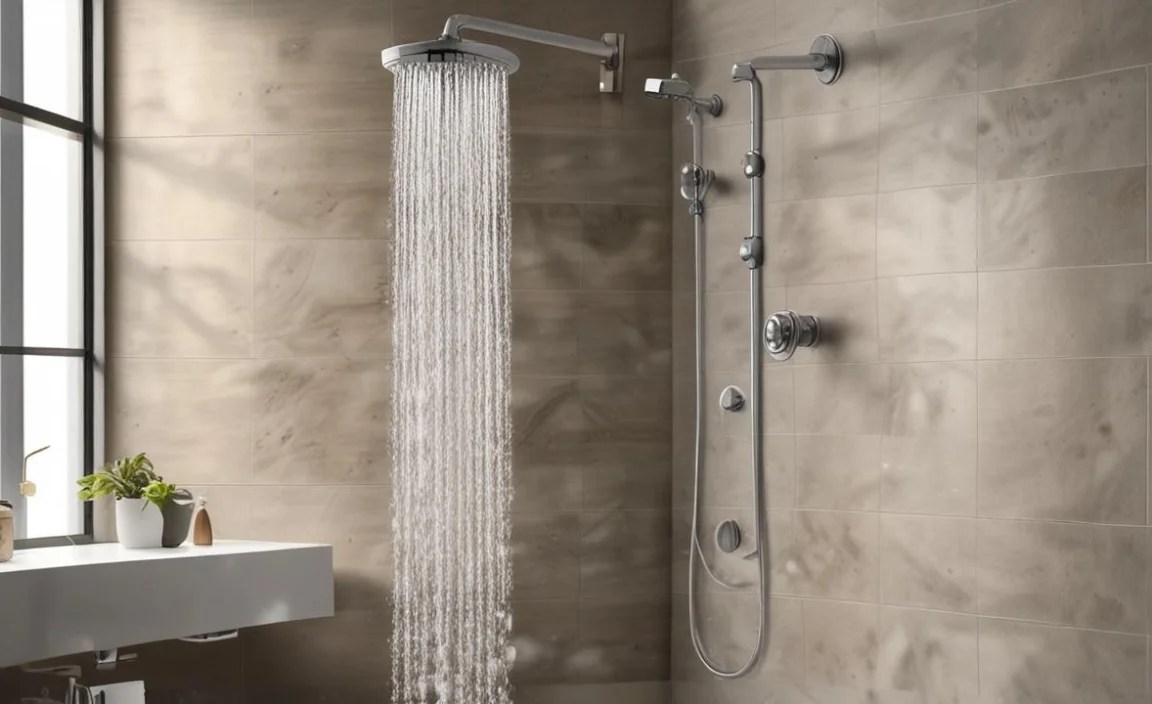
This is perhaps the most common shower complaint. You expect a strong, invigorating spray, but instead, you get a weak dribble. Low water pressure can make showering feel more like a rinse than a proper wash. The cause can be a clogged showerhead, a problem with the shower valve, or even an issue further back in your home’s plumbing system.
2. Leaking Showerhead or Faucet
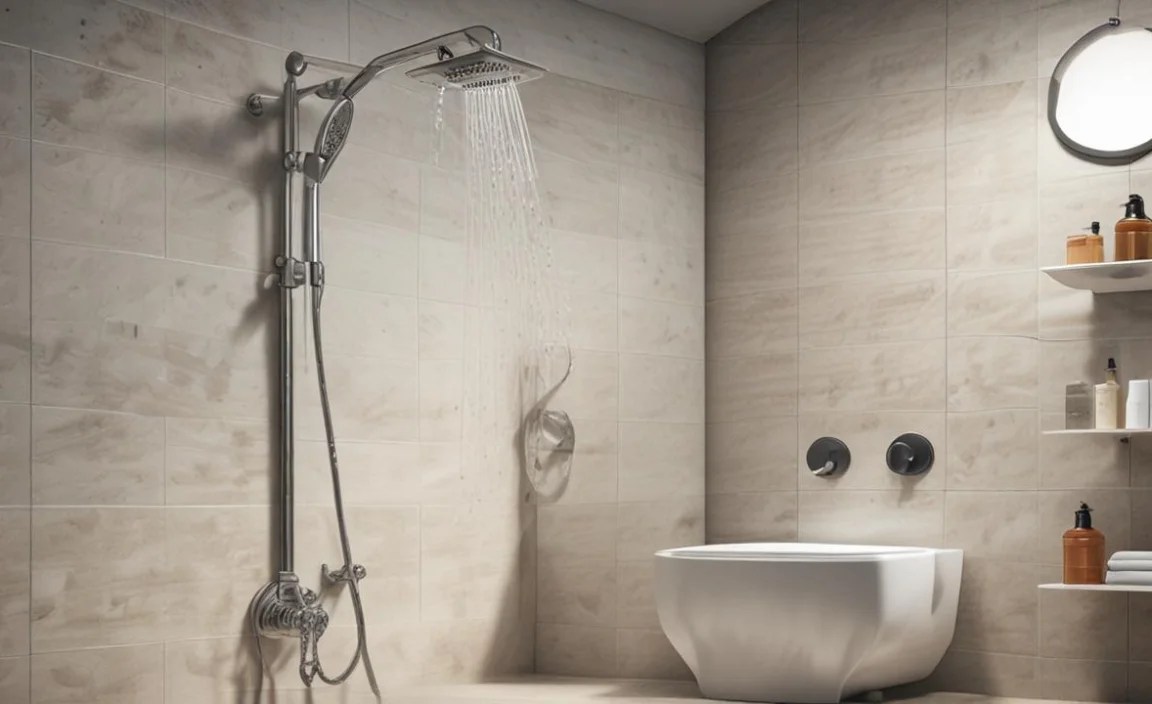
A persistent drip from the showerhead or a faucet that won’t turn off completely is not only annoying but also wastes a significant amount of water. This usually indicates a worn-out washer, O-ring, or a faulty cartridge within the faucet or shower valve. These small parts are crucial for controlling water flow.
3. Clogged Shower Drain
When water pools in the shower floor and drains slowly, it’s a clear sign of a clog. Hair is the usual culprit, often collecting with soap scum and other debris to form a stubborn blockage. While some clogs are minor, severe ones can back up water into the tub or shower stall.
4. Temperature Control Issues
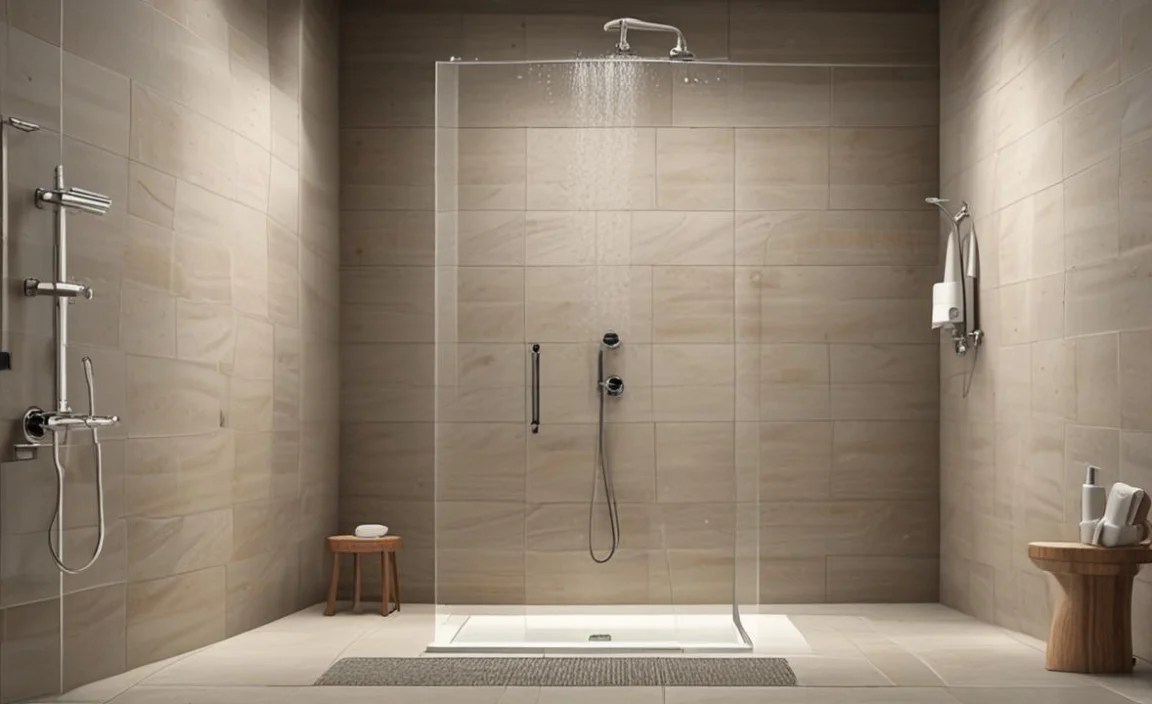
A shower that’s too hot, too cold, or fluctuates wildly is a discomfort. This can be due to a faulty shower valve cartridge, mineral buildup affecting the valve’s operation, or issues with your home’s water heater. Correcting temperature problems is key to a safe and enjoyable shower.
5. No Hot Water in Shower

While this might seem like a water heater problem, it can sometimes be related to the shower’s mixing valve. If only your shower is affected and other hot water fixtures in your home are working fine, the shower valve might be the issue. However, it’s always worth checking your water heater first.
Essential Tools for Shower Repairs
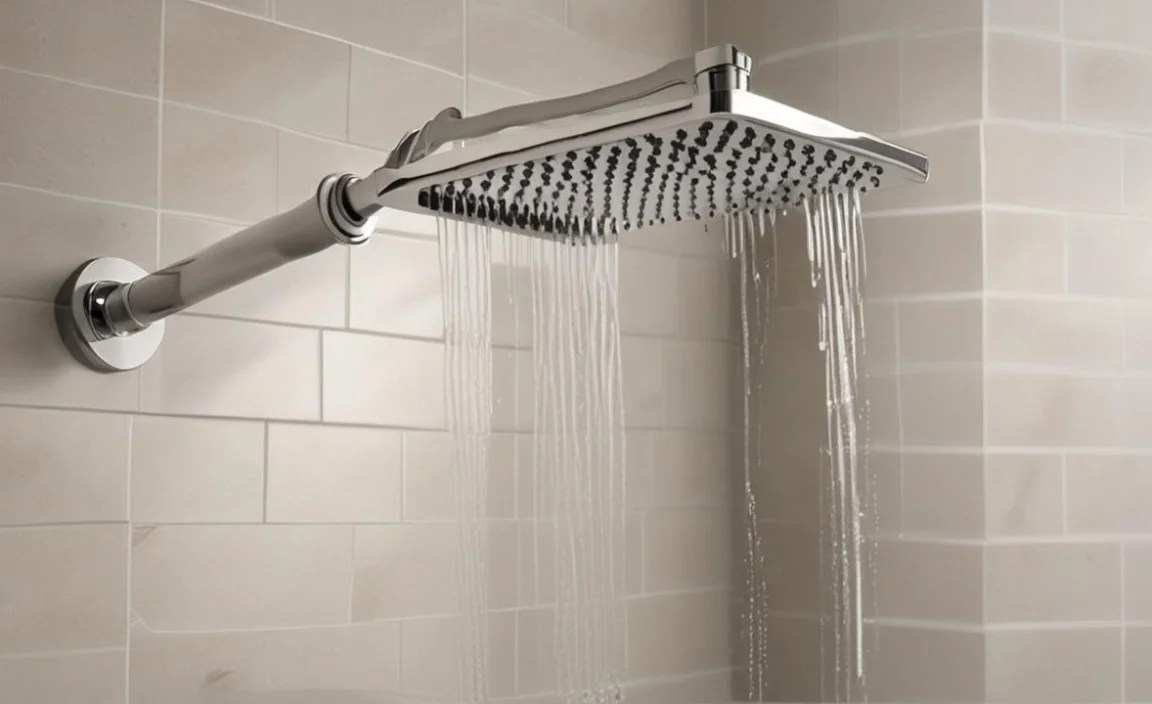
Before you dive into any repairs, it’s wise to have a basic toolkit on hand. You don’t need to be a professional plumber to own these handy items:
- Adjustable Wrench: Versatile for gripping and turning various nuts and bolts found in shower fixtures.
- Plumber’s Tape (PTFE tape): Essential for creating watertight seals on threaded pipe connections.
- Screwdrivers: A set of Phillips head and flathead screwdrivers is necessary for disassembling shower handles and trim plates.
- Pliers (Slip-joint or Channel-lock): Useful for gripping larger pipes and fittings.
- Allen Wrench Set: Many modern shower handles use small set screws that require Allen wrenches.
- Bucket: To catch any residual water when disassembling fixtures.
- Rag or Towel: For wiping up spills and protecting surfaces.
- Safety Glasses: Always protect your eyes, especially when working with plumbing that may have loose debris or pressurized water.
- Penetrating Oil: For loosening stubborn, corroded parts.
- Wire Brush: To clean mineral deposits from parts.
Fixing Low Water Pressure
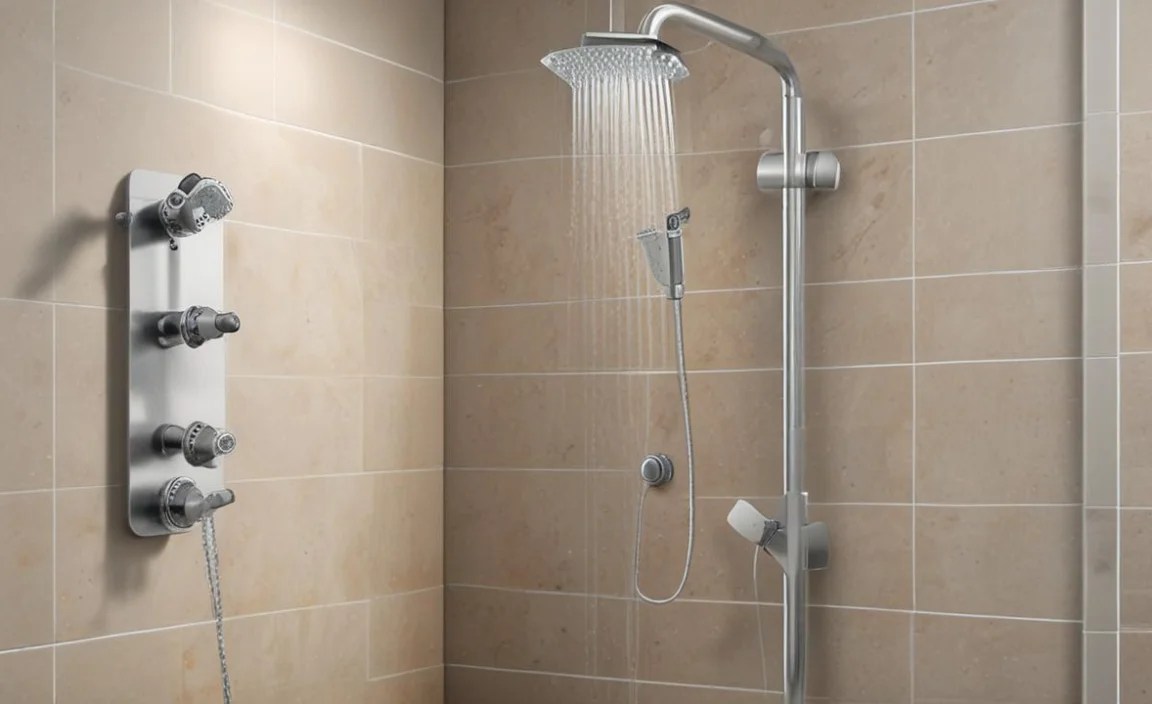
Low water pressure can be a quick fix or a sign of a more complex plumbing issue. Let’s start with the simplest solutions.
Step 1: Clean the Showerhead
Mineral deposits (limescale) are the most frequent culprits for a clogged showerhead, impeding water flow. Many showerheads can be easily removed and cleaned.
- Turn off the water supply: While not always necessary for a showerhead alone, it’s good practice if you’re unsure.
- Remove the showerhead: Most showerheads screw onto the shower arm. You can usually unscrew them by hand. If it’s tight, use an adjustable wrench. Wrap a rag around the showerhead base before using the wrench to prevent scratching.
- Soak in vinegar: Place the showerhead in a bowl or plastic bag filled with white vinegar. Let it soak for a few hours, or even overnight, to dissolve the mineral buildup.
- Scrub and rinse: Use an old toothbrush or a small brush to scrub away any remaining deposits. Rinse the showerhead thoroughly with clean water.
- Reinstall: Screw the showerhead back onto the shower arm. You might want to wrap some plumber’s tape around the threads of the shower arm before screwing it back on for a better seal.
- Test: Turn on the water and check the pressure.
Step 2: Check the Shower Valve (Cartridge)
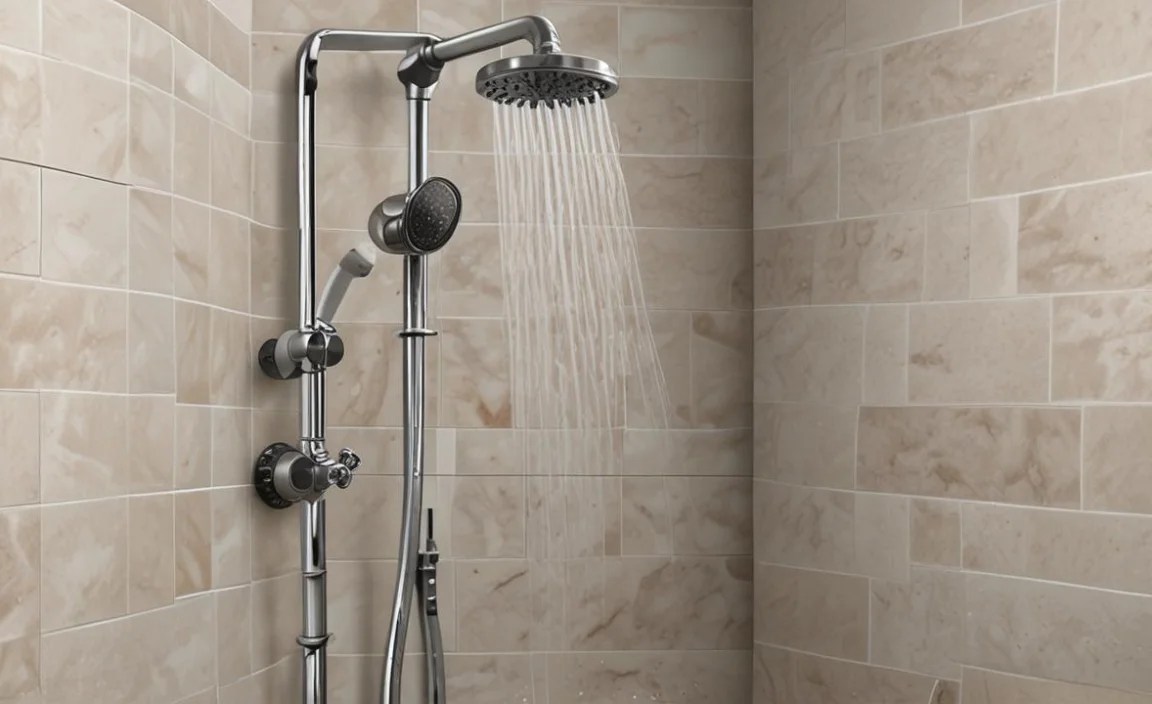
If cleaning the showerhead doesn’t help, the problem might be with the shower valve’s cartridge. This is the part inside the handle that controls the flow and temperature of the water. Over time, they can get clogged with sediment or wear out.
Important Safety Note: Before you begin, turn off the main water supply to your home or at least the shut-off valves for your bathroom if they exist. Then, drain any remaining water from the pipes by opening a faucet on a lower level of your home.
- Remove the handle: Look for a small screw, often hidden under a cap or decorative plate on the handle. You might need a small flathead screwdriver or an Allen wrench.
- Remove the trim plate/escutcheon: Once the handle is off, you’ll see a decorative plate covering the valve. This is usually held on by screws. Remove them and pull off the plate.
- Identify and remove the cartridge: The cartridge is a stem-like component inside the valve body. It might be held in place by a retaining clip, a nut, or screws. Consult your shower’s manufacturer or look for model numbers to identify the correct replacement cartridge. Diagrams and instructions are often available online. For example, Family Handyman offers detailed guides on shower valve repair.
- Clean or Replace the Cartridge: If the cartridge looks dirty, you can try cleaning it. However, if it appears worn or damaged, it’s best to replace it with a new one. Make sure to get the exact replacement part for your fixture.
- Reassemble: Fit the new (or cleaned) cartridge into the valve body, secure it with its clip or nut, reattach the trim plate and handle.
- Test: Turn the water supply back on slowly and test the shower.
Step 3: Inspect Supply Lines

Less common, but possible, is a kink or partial blockage in the hot or cold water supply lines leading to the shower valve. This is a more involved repair and might require professional help if you’re not comfortable working with the main supply lines. However, if you’ve recently had plumbing work done, it’s worth checking if any lines might have been accidentally pinched.
Fixing Leaking Showerheads and Faucets

Lingering drips after the tap is turned off can be a nuisance and wasteful. This typically points to worn-out internal parts.
Common Culprits and Fixes
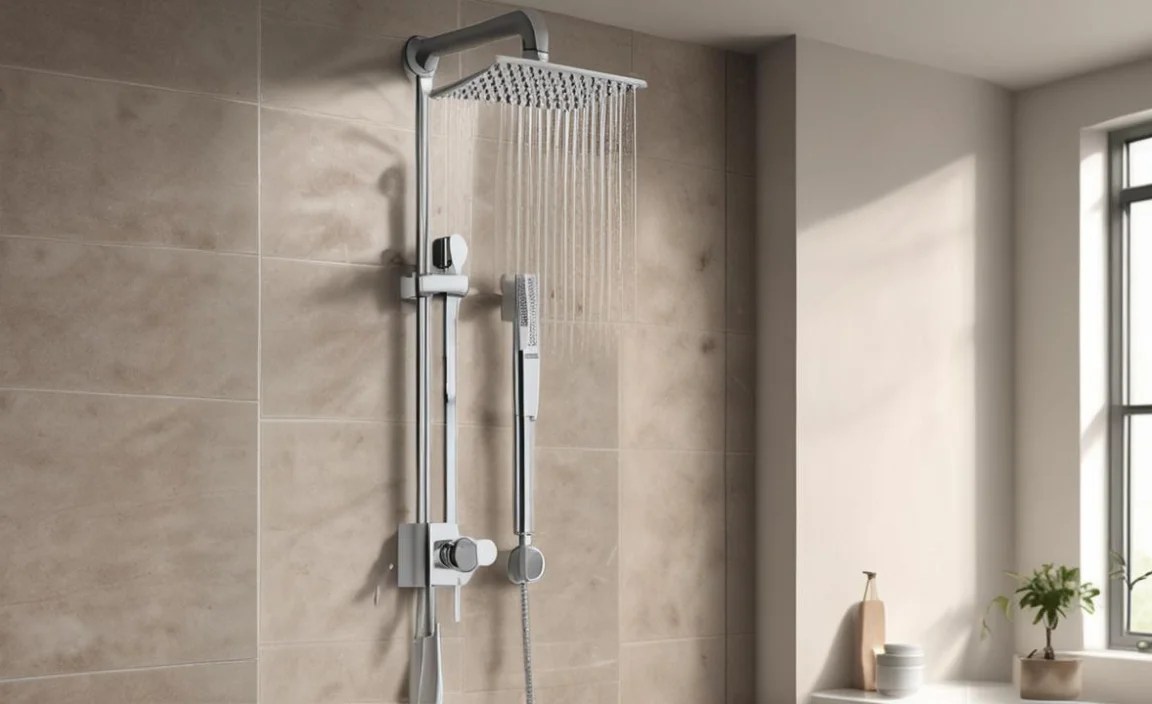
The most frequent causes of leaks in shower faucets are:
- Worn Washers: These are rubber or neoprene seals that prevent water from escaping when the valve is closed.
- Damaged O-rings: These are small rubber rings that create seals in various parts of the faucet assembly.
- Faulty Cartridge: As mentioned in the low-pressure section, the cartridge is a central component that can wear out.
Repairing a Dripping Showerhead
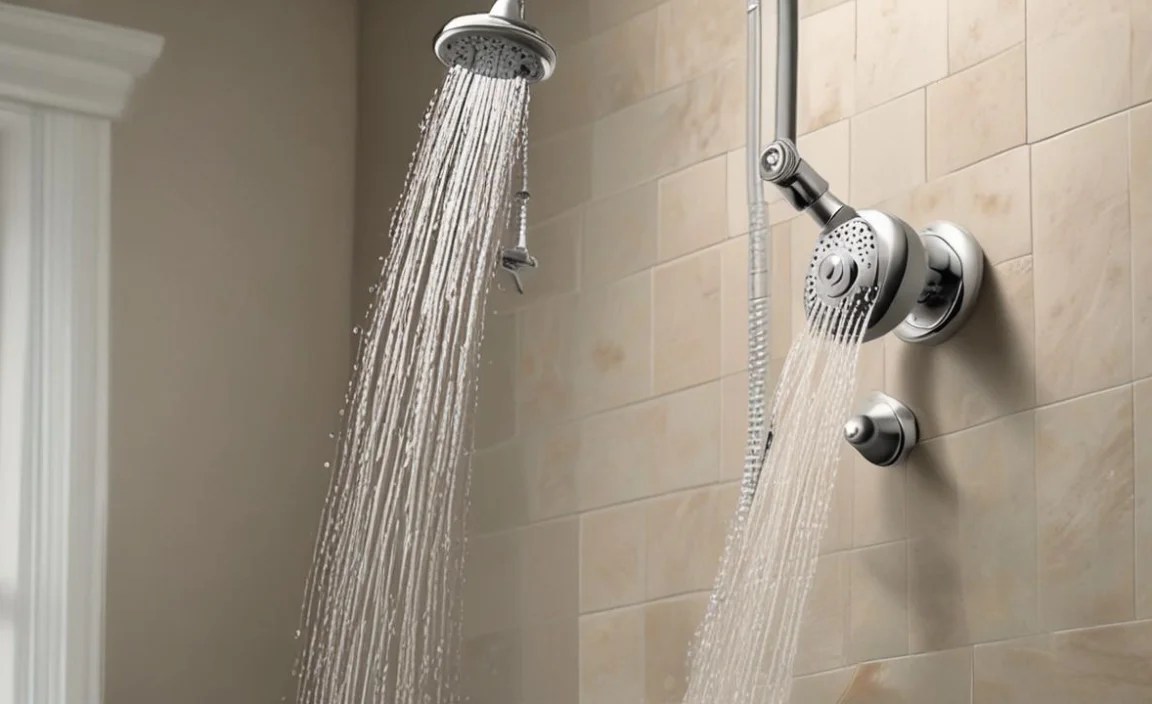
- Turn off the water supply: Crucial step before any disassembly.
- Remove the showerhead: Unscrew it from the shower arm.
- Check the connection: Sometimes the leak is just a loose connection or a missing/damaged washer inside the showerhead’s connection point. Replace if needed.
- Inspect the shower arm: Though rare, a crack in the shower arm itself could cause leaks.
- Reinstall and test.
Repairing a Dripping Faucet/Handle
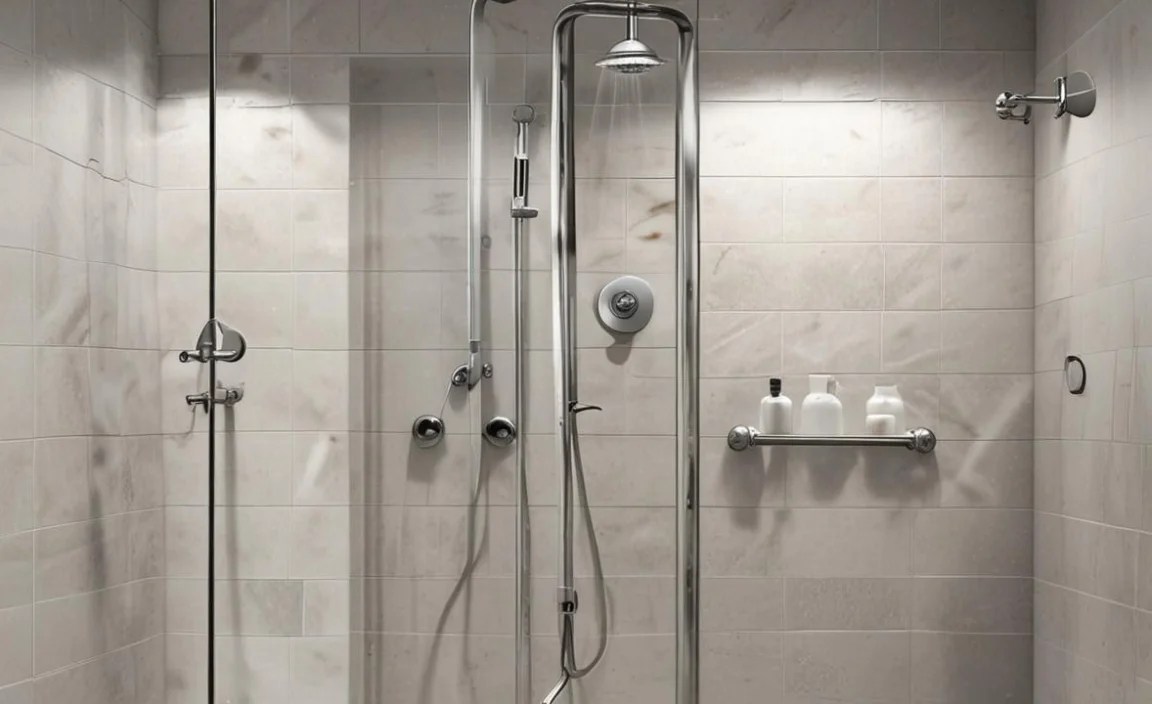
- Turn off the water supply: Always the first step.
- Remove the handle: Locate and remove the set screw a similar way you would for a shower valve cartridge.
- Remove the trim and escutcheon: Expose the inner workings of the faucet.
- Address the washer or cartridge:
- For compression faucets (older style): You’ll typically find a stem with a rubber washer at the bottom. Unscrew the stem and replace the washer. Also, check for any O-rings on the stem that might need replacing.
- For cartridge faucets (modern style): You’ll need to remove the cartridge as described in the low-pressure section. Inspect it for cracks or worn seals. Often, replacing the entire cartridge is the simplest and most effective solution.
- Clean valve seat (if applicable): The valve seat is where the washer presses against. If it’s rough or corroded, it can cause leaks. You might be able to smooth it with a valve seat dresser tool or replace it if possible.
- Reassemble: Put everything back together carefully.
- Test: Turn water back on slowly and check for drips.
For detailed parts identification, visiting the PlumbingSupply.com website or searching for your specific faucet brand and model can be very helpful. They often have diagrams and parts lists.
Fixing a Clogged Shower Drain
A slow-draining shower can quickly turn into a standing-water mess. The primary cause is almost always a hair and soap scum buildup.
Step 1: Manual Removal of Debris

Often, the clog is right at the drain opening and is easily accessible.
- Remove the drain cover: Most drain covers can be unscrewed or simply lifted off. Some might have small screws holding them in place.
- Pull out visible hair: Use your fingers (wear gloves if you prefer), tweezers, or a bent coat hanger to carefully pull out any accumulated hair and gunk.
- Clean the drain opening: Wipe down the area around the drain to remove any residue.
Step 2: Using a Drain Snake or Auger
If the clog is deeper, a drain snake (also called a plumber’s auger) is your best friend. These flexible cables can reach further into the pipe to break up or retrieve blockages.
- Insert the snake: Feed the end of the snake into the drain opening.
- Push and crank: Gently push the snake into the pipe until you feel resistance (the clog). Once you hit it, start cranking the handle of the snake. This will either break up the clog or hook onto it.
- Retrieve the snake: Slowly pull the snake back out, bringing any debris with it.
- Clean and repeat: Clean the snake and repeat if necessary.
- Flush with hot water: After clearing, pour a kettle of boiling water down the drain to help dissolve any remaining soap scum or grease.
Step 3: Natural and Chemical Drain Cleaners (Use with Caution)

For stubborn clogs, you might consider drain cleaners. However, use these sparingly and with extreme caution, as they can be harsh on pipes and the environment.
- Baking Soda and Vinegar: Pour about half a cup of baking soda down the drain, followed by half a cup of white vinegar. Let it fizz for 15-30 minutes, then flush with hot water. This is a gentler option.
- Enzymatic Cleaners: These use enzymes to break down organic matter like hair and soap scum. They are generally safer for pipes and the environment but take longer to work.
- Chemical Drain Cleaners: These are the most potent but also the most hazardous. Always follow the product instructions precisely. Wear gloves and eye protection. Never mix different chemical cleaners, as this can create dangerous fumes. If a chemical cleaner doesn’t work, do not attempt to use another type or a plunger immediately, as trapped chemicals can splash back.
For more advanced drain clearing techniques, resources like the EPA’s WaterSense site often have tips on water conservation related to plumbing, which indirectly relates to efficient drain use.
Always remember to flush your drains with plenty of hot water after using any cleaning method to ensure all residue is gone.
Troubleshooting Temperature Control Issues
A shower’s temperature should be consistent and controllable. If yours isn’t, it’s usually down to the shower valve cartridge or issues with the water heater. Assuming your water heater is functioning correctly (check other faucets), let’s focus on the shower valve.
The Role of the Shower Cartridge

The shower cartridge is a complex valve that mixes hot and cold water to deliver your desired temperature and flow. It contains several seals, chambers, and often a diverter for the showerhead and tub spout. Mineral buildup, debris entering from the water supply, or simply age can cause these cartridges to malfunction.
Steps for Diagnosing and Fixing Temperature Issues
- Turn off the water supply: Essential for safety and to prevent flooding.
- Remove the handle and trim: Follow the same steps as described for fixing leaks or low pressure.
- Inspect the Cartridge: Examine the cartridge for any visible damage, cracking, or heavy mineral buildup.
- Clean the Cartridge: If it’s just dirty, you can try cleaning it with vinegar and a brush.
- Replace a Faulty Cartridge: If cleaning doesn’t help, or if the cartridge looks damaged, replacement is the best option. You must get an exact match for your shower valve’s make and model. Take the old cartridge to a hardware store that specializes in plumbing parts, or find the model number on the valve body itself.
- Reinstall and Test: Once the new cartridge is in place, reassemble the faucet. Turn the water supply back on slowly and test the temperature control.
Consider Thermostatic Mixing Valves
For enhanced safety and precise temperature control, particularly in homes with children or elderly individuals, consider a thermostatic mixing valve. These valves automatically maintain a set water temperature, preventing scalding even if water pressure fluctuates.
Common Shower Parts and Their Function

Understanding the different parts can demystify repairs. Here’s a quick rundown:
| Part Name | Function | Common Issues |
|---|---|---|
| Showerhead | Dispenses water in a spray pattern. | Clogged nozzles, low pressure, drips. |
| Shower Arm | Connects the showerhead to the water supply pipe. | Leaking at connection, corrosion. |
| Shower Faucet Handle | Operates the shower valve to control water flow and temperature. | Stiff, loose, or broken. |
| Escutcheon Plate | Decorative plate behind the handle that covers the valve and wall opening. | Loose, corroded, or cracked. |
| Shower Valve / |
