
Quick Summary: Installing a shower involves careful planning, precise measurements, and diligent sealing. This guide breaks down shower installation in plumbing for beginners, covering essential tools, step-by-step instructions from framing to finishing, and crucial tips for a waterproof, long-lasting result. Get ready to transform your bathroom with confidence!
Dreaming of a new shower? Maybe your old one is tired, or you’re just ready for an upgrade. Whatever the reason, installing a new shower can feel like a big project. But don’t worry! With the right guidance, even beginners can tackle shower installation in plumbing. This guide is here to make the process clear and manageable. We’ll walk you through everything you need, from the initial steps of preparing your space to the final touches that ensure a leak-free, beautiful shower. Let’s get your dream shower project started!
Why Learn About Shower Installation?
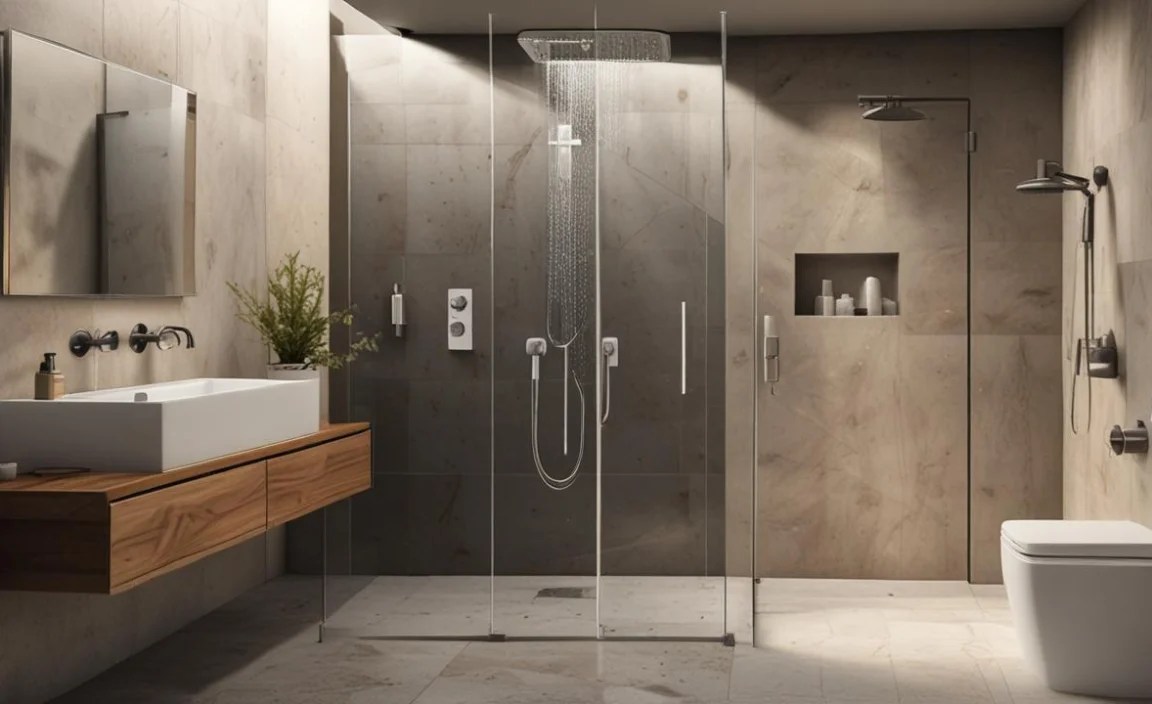
Understanding shower installation in plumbing is a valuable skill for any homeowner. DIY projects like this not only save you money on labor costs but also give you a real sense of accomplishment. Knowing how to properly install a shower ensures it’s functional, looks great, and, most importantly, prevents costly water damage down the line. A well-installed shower adds value to your home, and a poorly installed one can lead to serious issues like mold, mildew, and structural damage. This guide aims to equip you with the knowledge to achieve a professional-looking result, even if you’re new to plumbing.
Essential Tools and Materials for Shower Installation
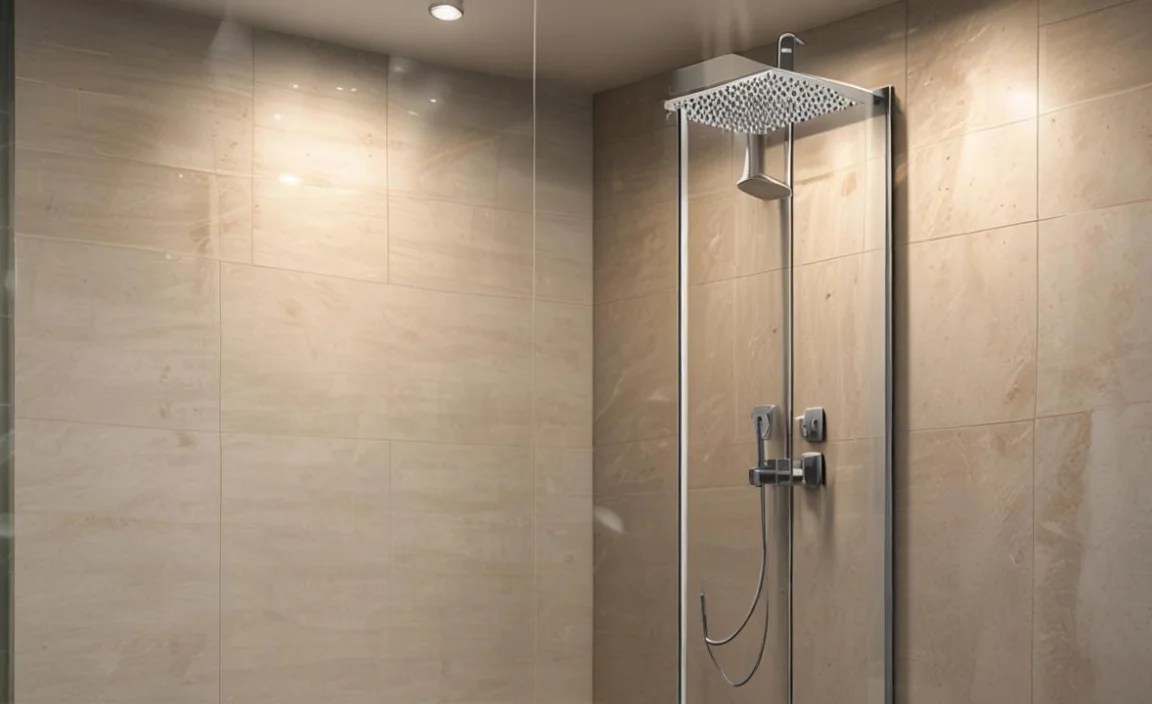
Before you dive into the project, gather all your tools and materials. Having everything on hand will make the installation process much smoother and prevent frustrating interruptions. Here’s a list to get you started:
Tools You’ll Need:
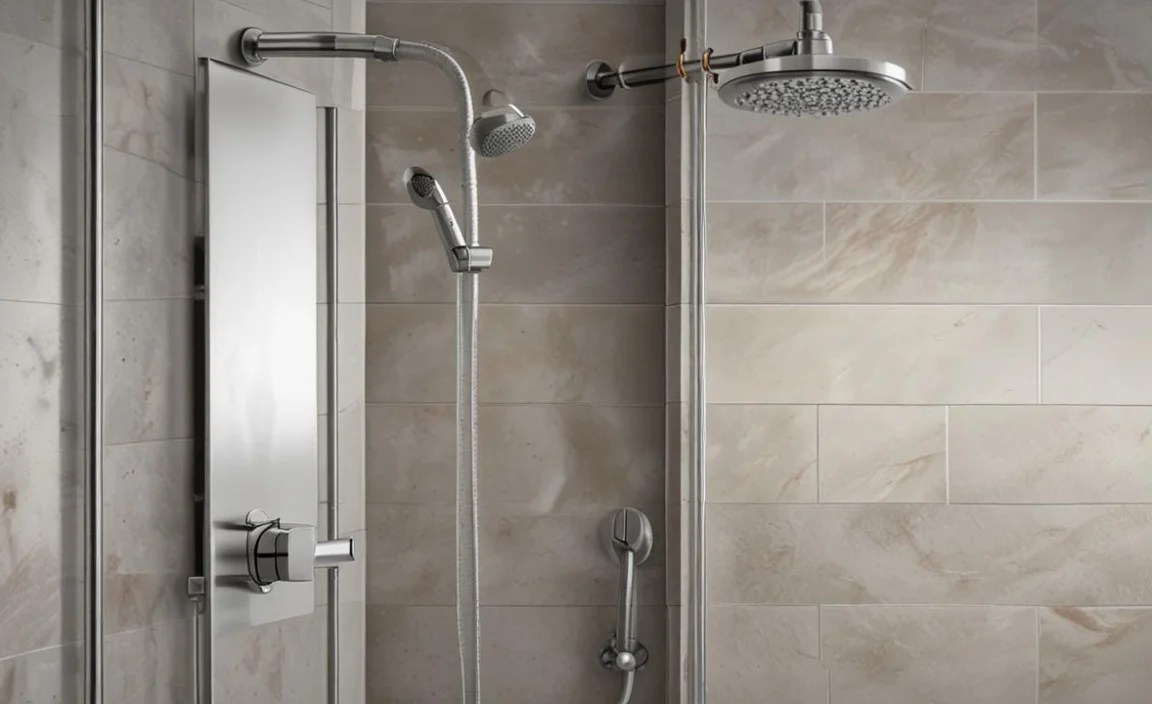
- Tape measure
- Level (a long one is best)
- Pencil
- Utility knife
- Caulking gun
- Adjustable wrench or pipe wrench
- Pliers (slip-joint and channel-lock)
- Stud finder
- Drill with various bits (including a hole saw if needed)
- Reciprocating saw (for any necessary demolition or adjustments)
- Safety glasses
- Work gloves
- Bucket
- Scrub brush and sponges
- Drop cloths or plastic sheeting
- Optional: Wet saw for tile, plumber’s tape
Materials You’ll Need:
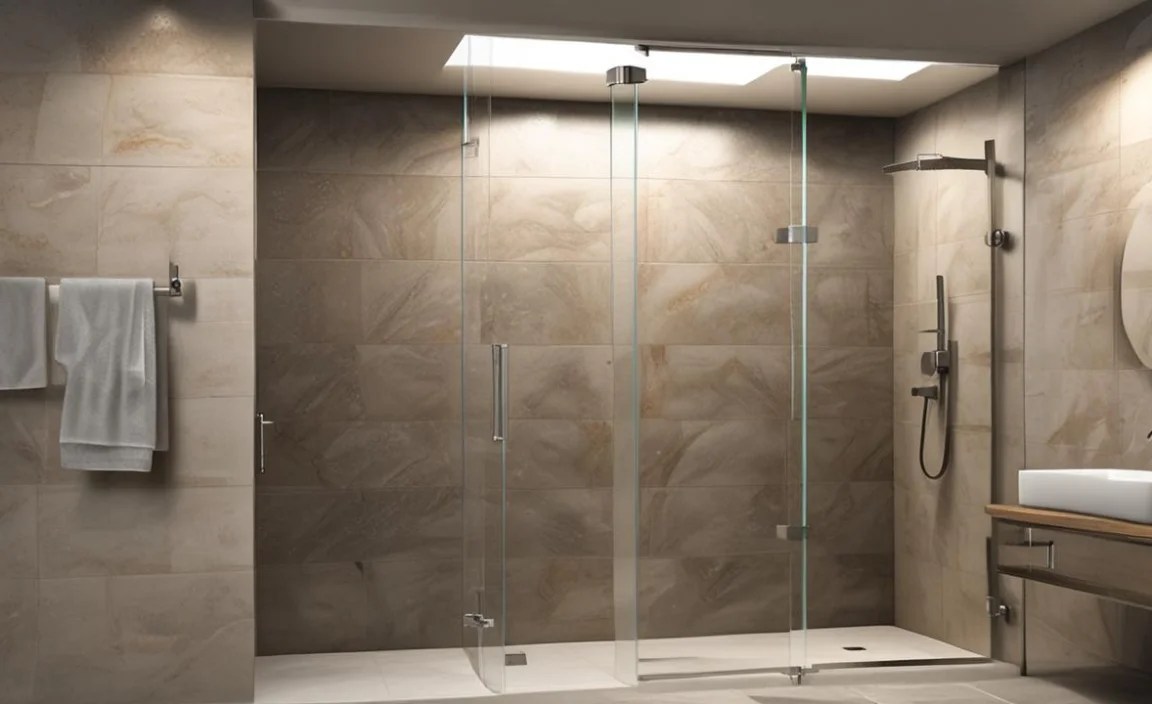
- New shower stall or shower base and walls (e.g., acrylic, fiberglass, or custom tile setup)
- Shower valve and trim kit
- Showerhead
- Drain assembly
- Water-resistant drywall or cement board
- Thin-set mortar (if tiling)
- Grout (if tiling)
- Waterproofing membrane or liquid membrane
- Silicone caulk (mildew-resistant)
- Fasteners (screws, nails appropriate for your framing and materials)
- Subfloor adhesive (if replacing subfloor)
- Plywood or other subfloor material (if needed)
- Optional: Tile,backer board for tile
Step-by-Step Shower Installation Guide
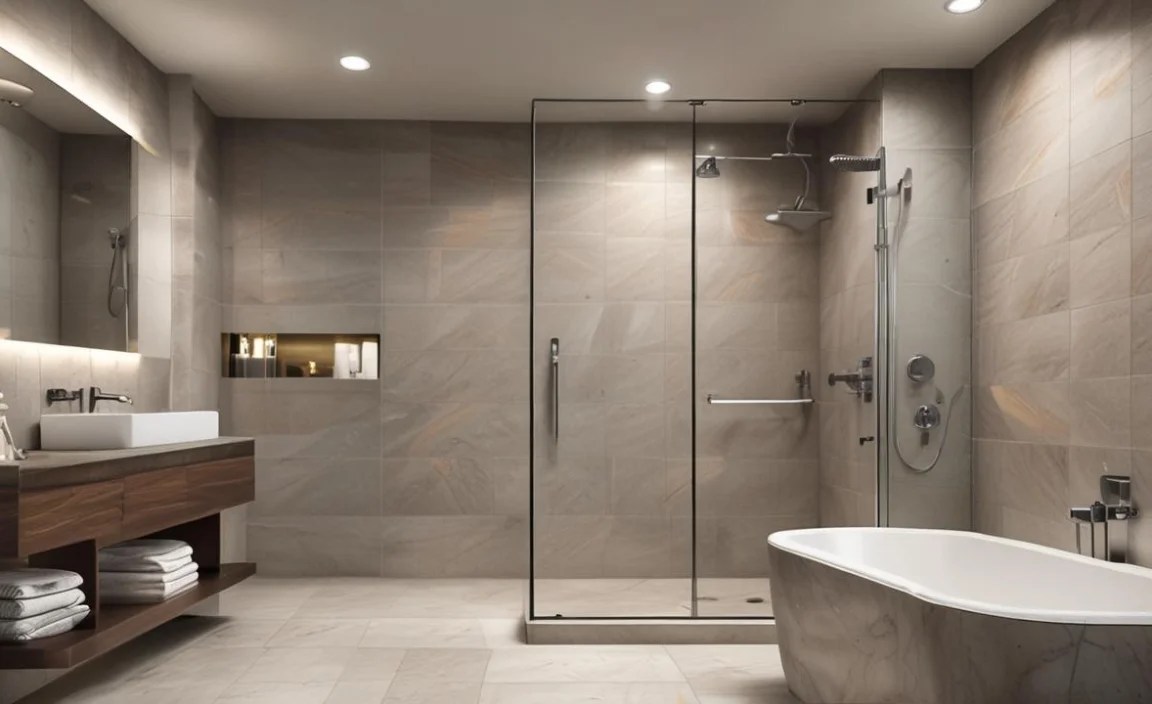
Let’s break down the shower installation in plumbing process into manageable steps. Remember to always follow manufacturer instructions for your specific shower unit and components.
Step 1: Planning and Preparation
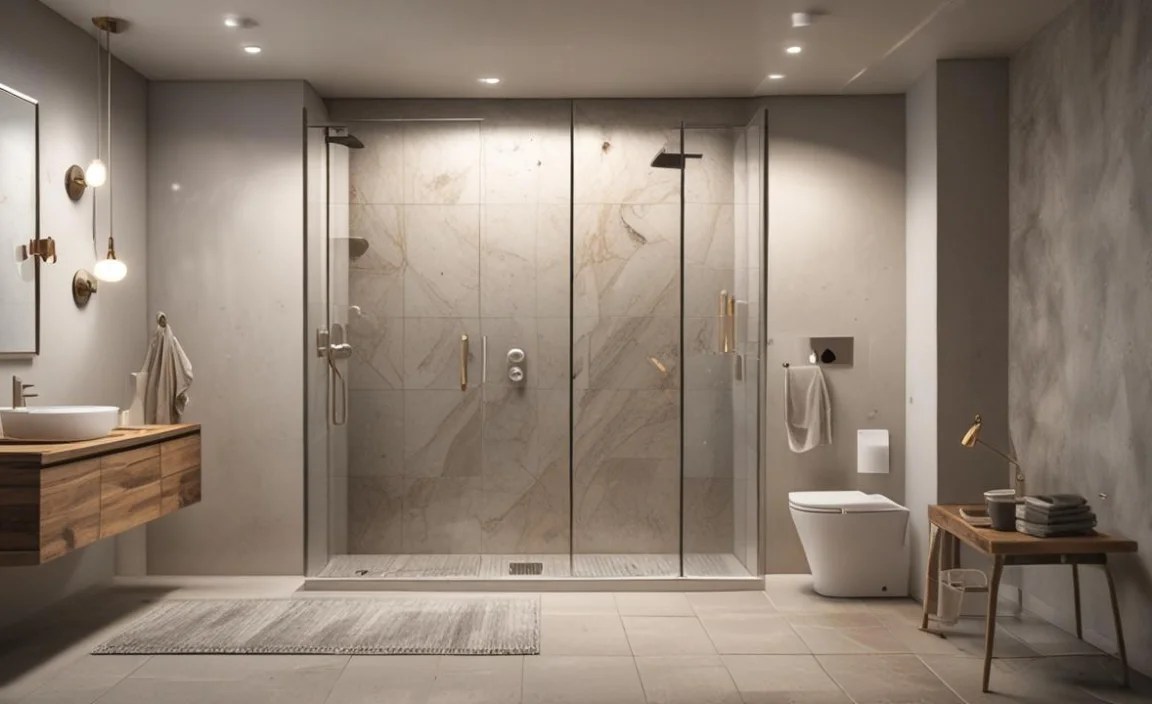
This is the most crucial stage. Measure your space carefully. Decide on the type of shower you’ll install: a one-piece unit, a multi-piece unit, or a custom tiled shower. Ensure your existing plumbing can support the new fixture. If you’re replacing an old shower, carefully remove it, being mindful of plumbing connections. Inspect the subfloor and wall studs for any damage or rot, and make necessary repairs.
Key Considerations:
- Space: Will the new shower fit? Check door clearances and surrounding fixtures.
- Plumbing Rough-in: Ensure your water supply lines (hot and cold) and the drainpipe are in the correct positions and at the right height, as specified by your shower unit or local building codes. You might need a plumber’s help here if significant changes are needed. The U.S. Department of Housing and Urban Development (HUD) often has excellent resources on home plumbing and building codes.
- Ventilation: A properly ventilated bathroom is essential to prevent moisture buildup.
Step 2: Installing the Shower Base
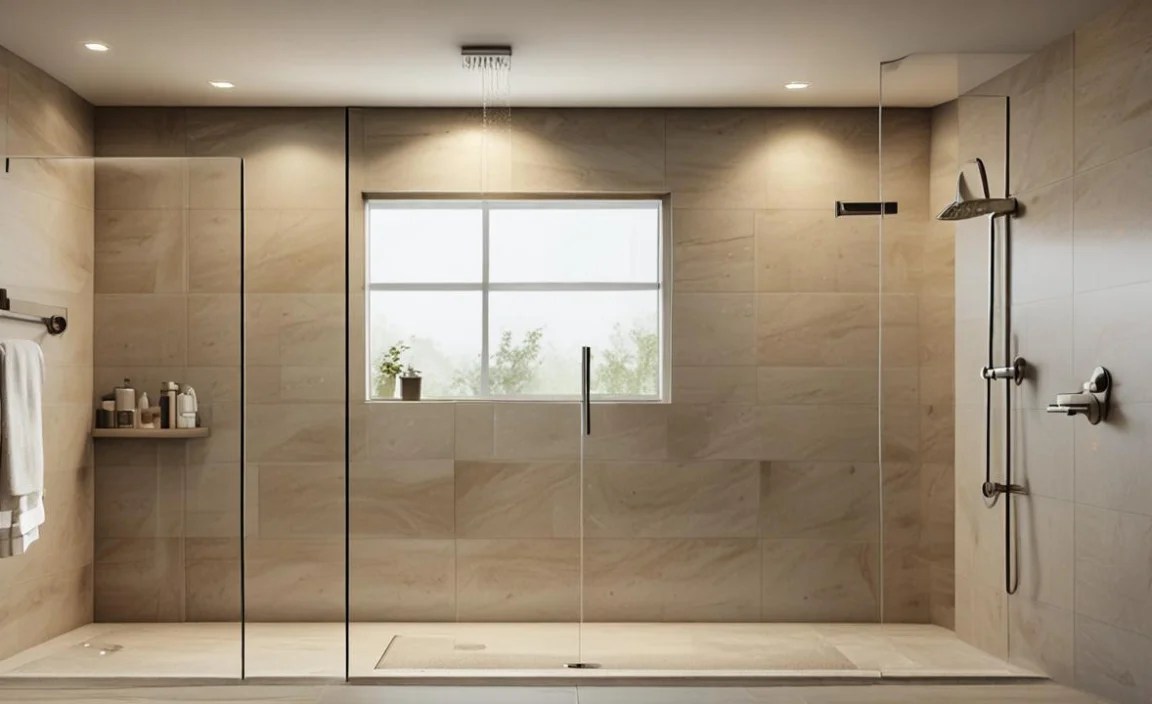
The shower base is the foundation of your shower. It needs to be level and securely fastened. Follow these general steps:
- Prepare the Subfloor: Ensure the subfloor is clean, dry, and level. If the base requires a mortar bed, mix and apply it according to instructions. Pour concrete or specific leveling compounds if needed.
- Position the Base: Carefully place the shower base into its designated spot.
- Level the Base: Use your level to ensure the base is perfectly level in all directions. Shim it if necessary. A non-level base will cause water to pool and potentially leak.
- Connect the Drain: Install the drain assembly according to the manufacturer’s directions. Ensure a watertight connection to the drainpipe, using plumber’s putty or silicone sealant as recommended.
- Secure the Base: Fasten the base to the subfloor and wall studs using appropriate screws or nails. Over-tighten screws can warp the base, so be cautious.
Step 3: Installing Shower Walls
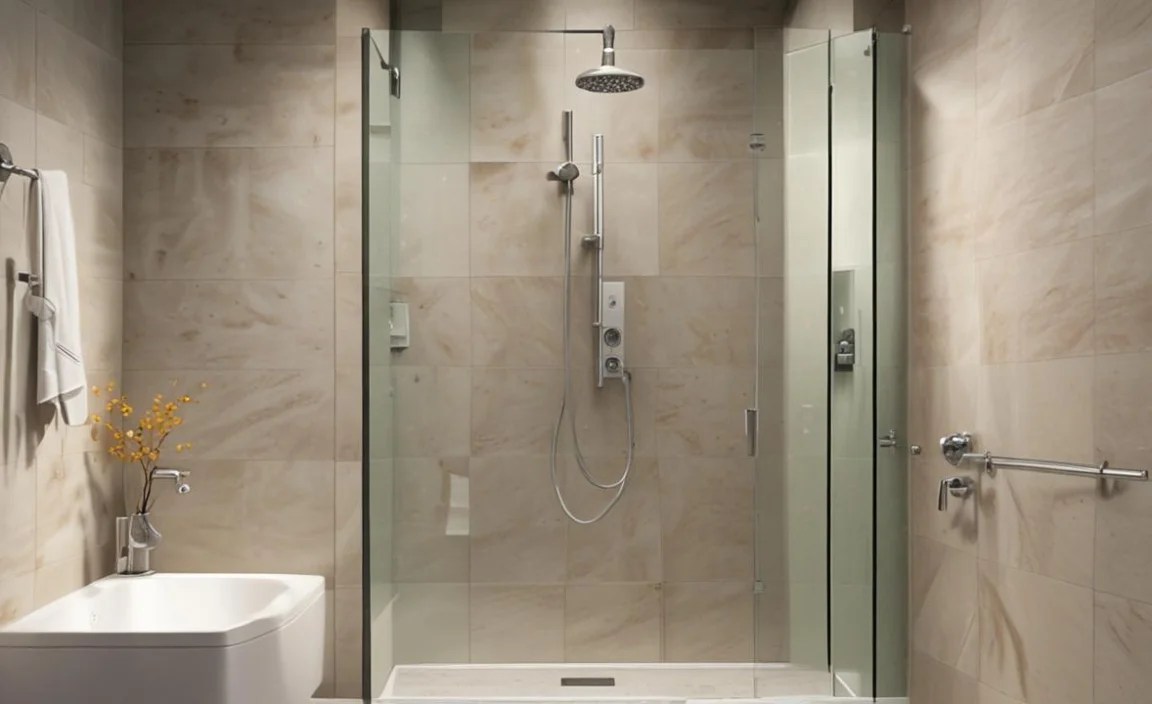
Whether you’re using a pre-fabricated wall kit or tiling your shower, this step is critical for waterproofing. For pre-fab units:
- Prepare Walls: If you have studs, cover them with water-resistant drywall or cement board. Cement board is generally preferred for wet areas like showers.
- Apply Adhesive: Apply construction adhesive to the back of the wall panels or to the studs/backer board as instructed by the manufacturer.
- Mount the Walls: Carefully position and press the wall panels into place. They often interlock or have specific mounting systems.
- Secure the Walls: Screw or nail the wall panels into the studs. Ensure they are plumb and securely attached.
- Seal Seams: Apply silicone caulk to all seams and edges, especially where walls meet the base and at corners.
For a tiled shower, the process is more involved and includes applying a waterproofing membrane over the cement board before tiling. This is a critical step to prevent water from reaching your wall studs.
Step 4: Installing the Shower Valve and Trim
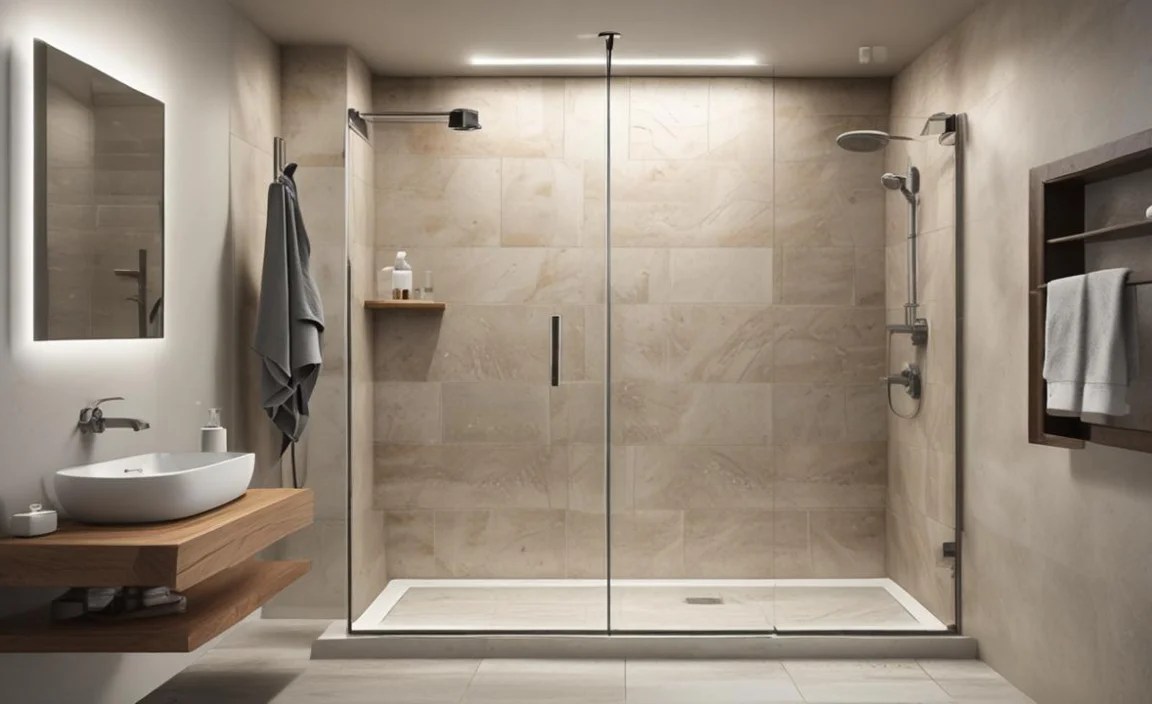
This is where you connect your showerhead and faucet controls.
- Install the Valve Body: If you haven’t already, install the shower valve body into the wall opening. Ensure it’s properly connected to your hot and cold water supply lines and the shower arm pipe. The valve should be mounted securely to the framing.
- Install Valve Trim: Mount the escutcheon plate (the decorative plate behind the handle) and install the handle and decorative trim. Follow the manufacturer’s specific instructions for your trim kit.
- Connect Showerhead: Apply plumber’s tape to the threads of the shower arm if it’s not already pre-taped. Screw on the showerhead and tighten it snugly.
Important Note on Valves: Many modern shower valves include built-in anti-scald features. If you are replacing an old valve, ensure the new one is compatible with your plumbing type (e.g., PEX, copper) and consider upgrading if your old valve lacks modern safety features.
Step 5: Waterproofing and Sealing
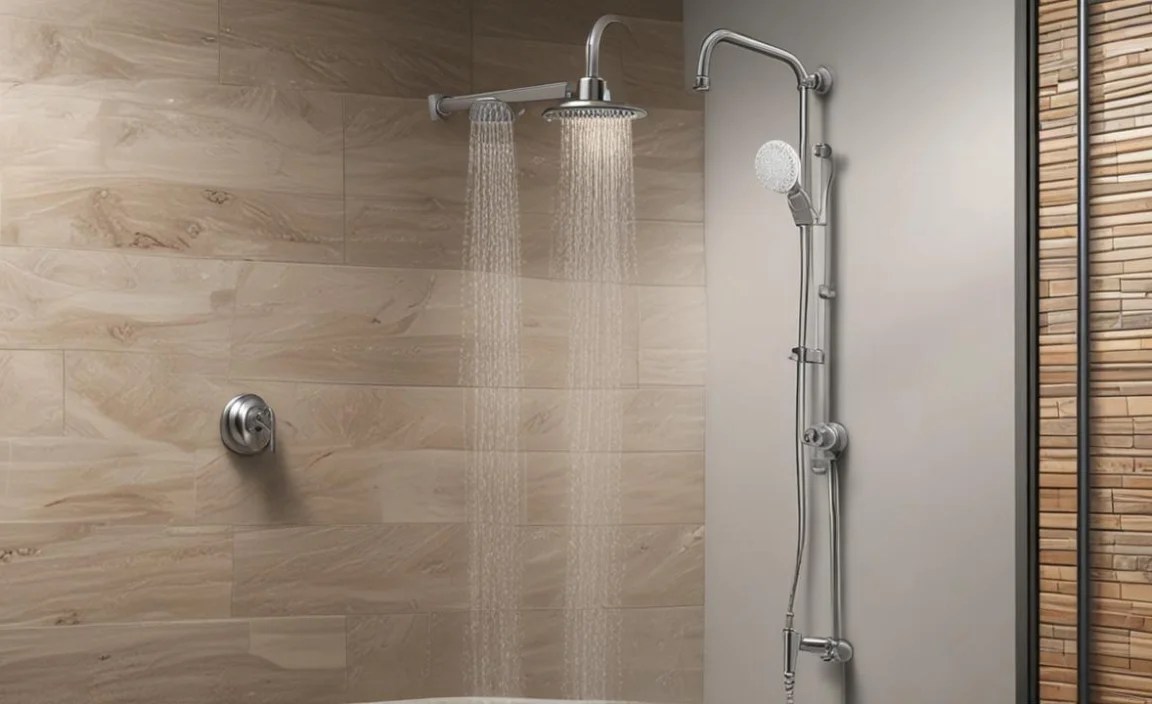
This is the absolute key to a long-lasting shower installation in plumbing. No matter what type of shower you have, proper sealing is non-negotiable.
- Caulk All Seams: Apply a generous bead of high-quality, mildew-resistant silicone caulk along all seams. This includes where the walls meet the base, where panels meet each other (if applicable), around the shower arm, and any other penetration points.
- Smooth the Caulk: Use a caulk tool or a wet finger to smooth the bead for a clean, watertight seal.
- Check for Gaps: Inspect every inch for any tiny gaps or imperfections. Reapply caulk as needed.
For tiled showers, the waterproofing membrane applied under the tile is your primary barrier. Sealing the grout lines and edges with caulk complements this.
Step 6: Finishing Touches and Testing
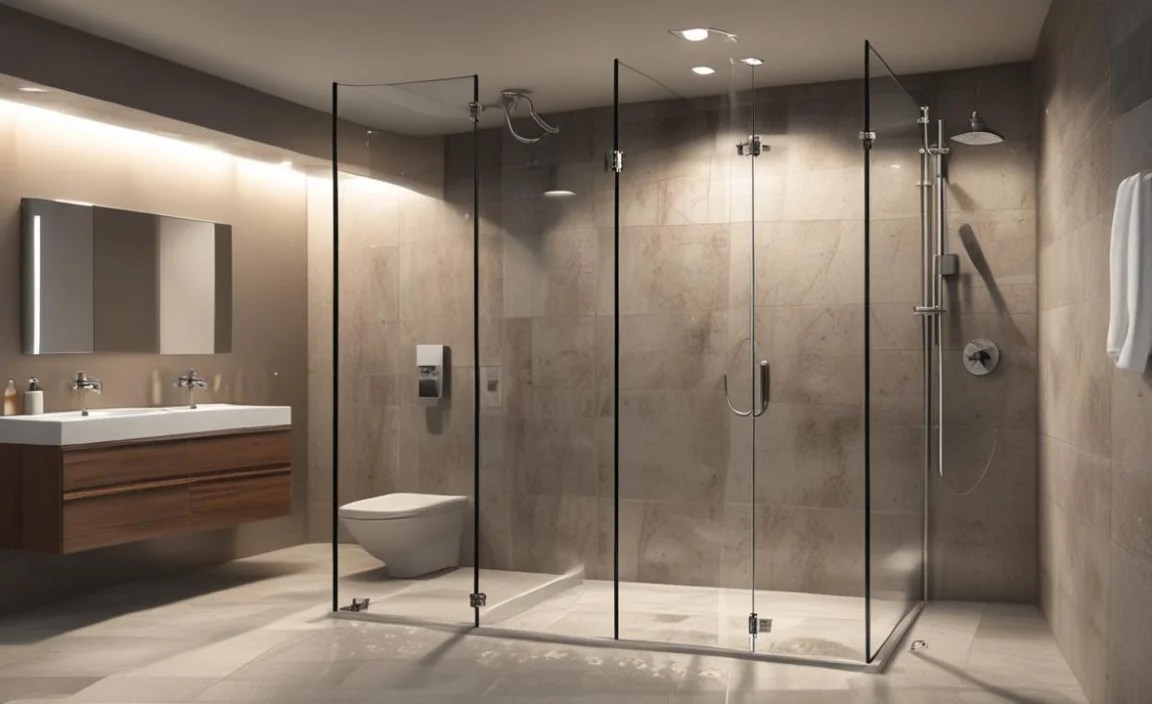
Once all the components are installed and sealed, it’s time for the final checks.
- Install Doors or Curtain Rod: If you have shower doors, install them according to their specific instructions once all other work is complete and caulk has cured. If using a shower curtain, install the rod.
- Turn on Water and Test: Slowly turn on the main water supply or the shut-off valves to your bathroom.
- Check for Leaks: Run hot and cold water through the showerhead. Turn the diverter on and off. Check every connection point, especially around the valve, shower arm, and drain, for any drips or leaks. Pay close attention to the base and wall seams.
- Inspect Drain: Ensure water drains efficiently and without pooling.
If you find any leaks, turn off the water immediately and address the issue. This might involve tightening a connection, reapplying caulk, or resealing a joint.
Shower Installation: Key Differences by Type
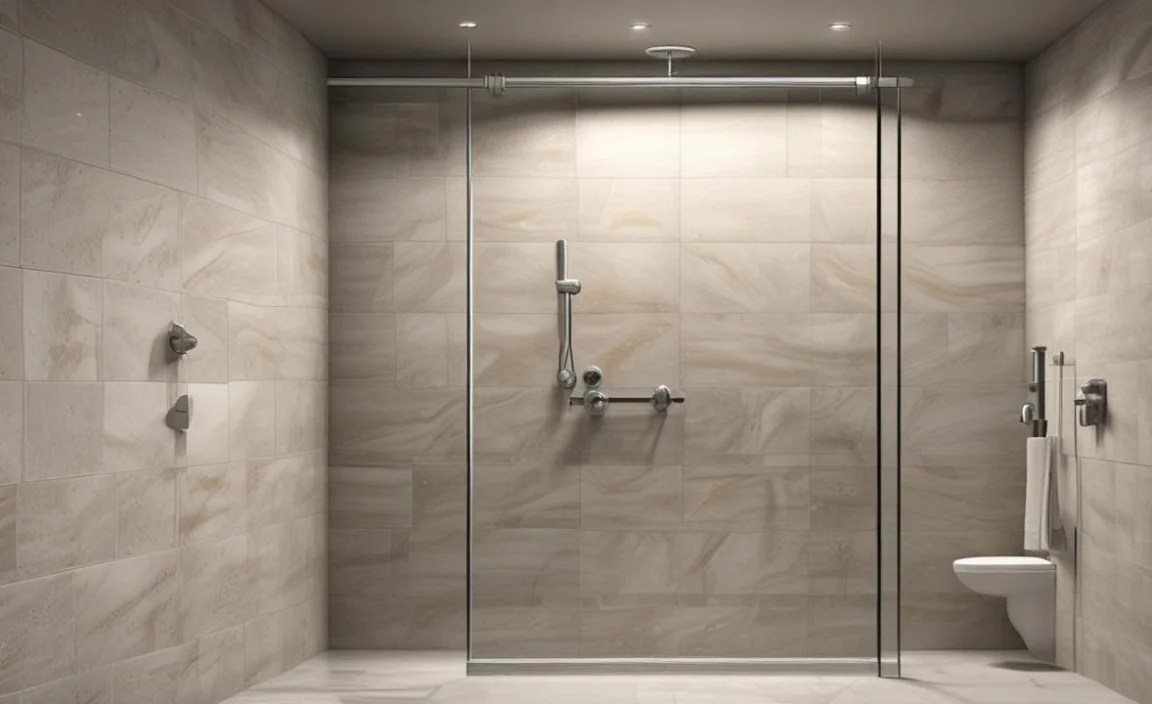
The general steps for shower installation in plumbing are similar, but the specifics can vary quite a bit depending on the type of shower you choose.
One-Piece Shower Units
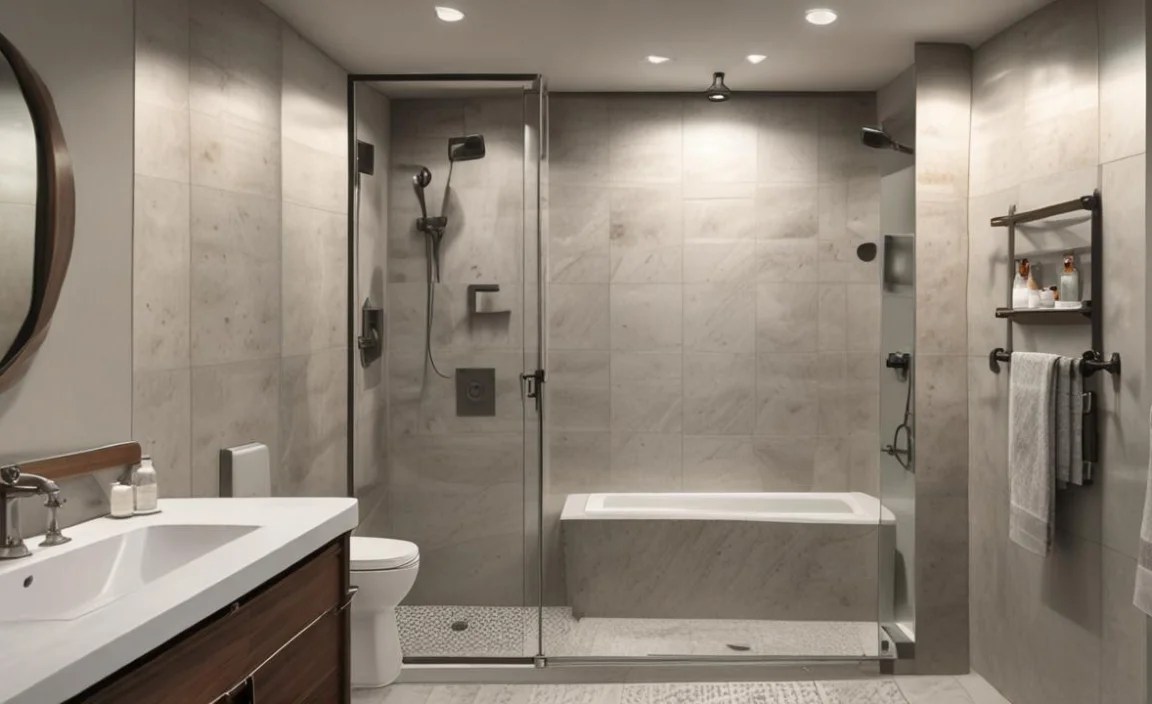
These are typically made of acrylic or fiberglass and are molded into a single unit. They are generally the easiest to install for beginners as they often include a built-in base and walls.
- Pros: Easy to install, fewer seams to seal, generally lighter, often more affordable.
- Cons: Can be difficult to get into tight spaces during installation due to their size, limited design options, can be prone to scratching.
Installation: You’ll focus on ensuring the existing subfloor is level, connecting the drain, and then simply positioning and securing the unit to the wall studs. Sealing around the perimeter is key.
Multi-Piece Shower Units
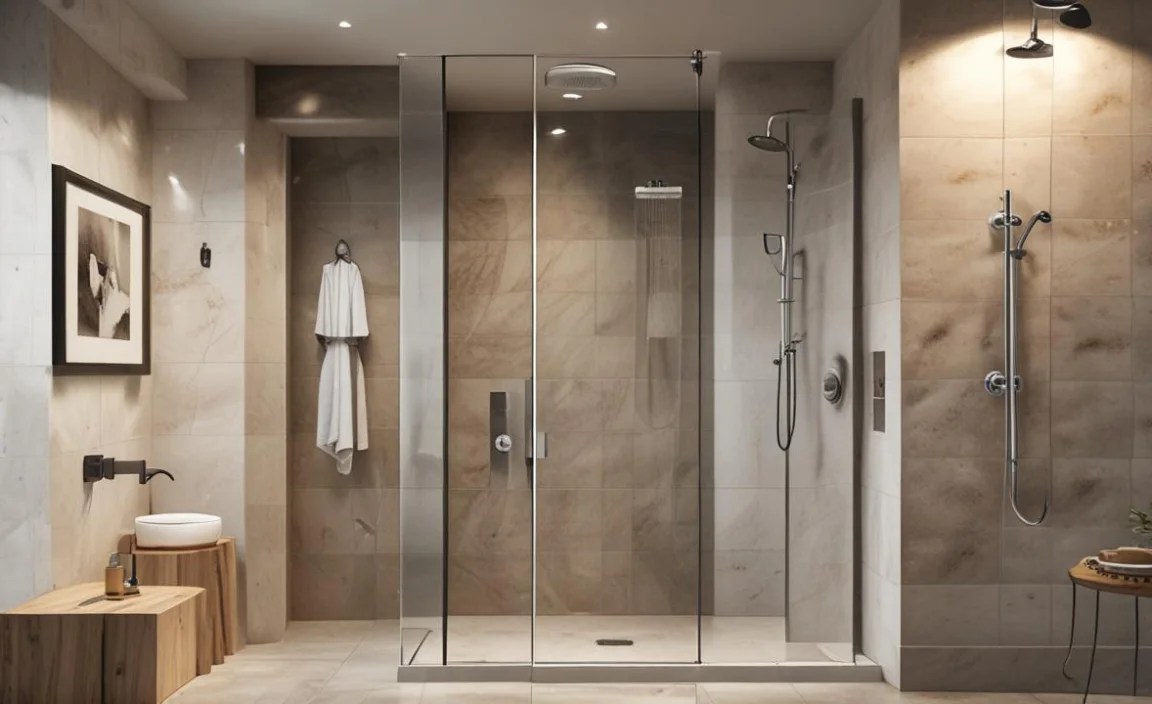
These come in several pieces, usually a base and two or three wall panels. They offer more flexibility than one-piece units, especially when navigating tight doorways.
- Pros: Easier to transport and maneuver into place, more variety in sizes and shapes, still relatively straightforward installation.
- Cons: More seams to seal compared to a one-piece unit, potential for leaks if seams aren’t properly sealed.
Installation: Similar to a one-piece unit, but you must pay extra attention to how the wall panels connect to each other and to the base, ensuring you apply sealant to all interlocking edges and seams.
Custom Tiled Showers
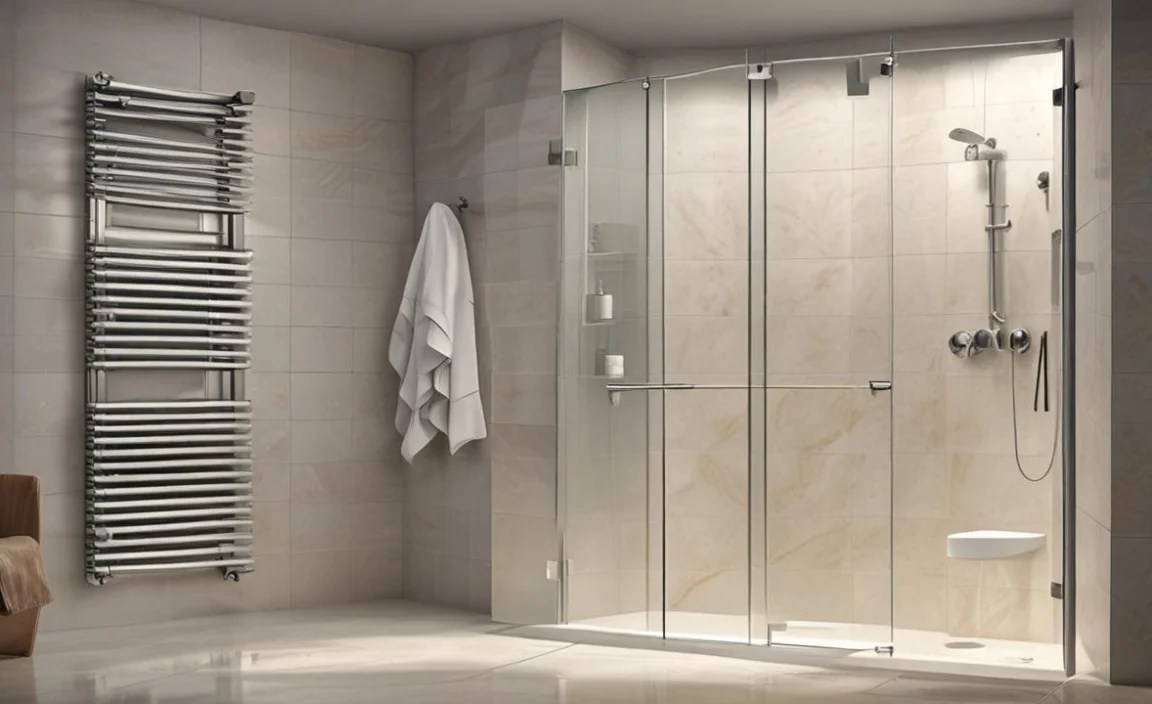
These involve installing a waterproof backing (like cement board), a waterproofing membrane, and then tiling the shower area. This offers the most design flexibility but is also the most complex installation.
- Pros: Unlimited design options, can create unique shapes and sizes, highly durable and luxurious.
- Cons: Most labor-intensive, requires more specialized skills (tiling, waterproofing), higher material costs, more potential for installation errors leading to leaks if not done perfectly.
Installation: Involves framing, subfloor prep, backer board installation, applying multiple layers of waterproofing membrane (e.g., liquid membrane, sheet membrane), tiling, grouting, and then sealing all edges and corners with silicone caulk.
Walk-in Shower (Curbless Showers)
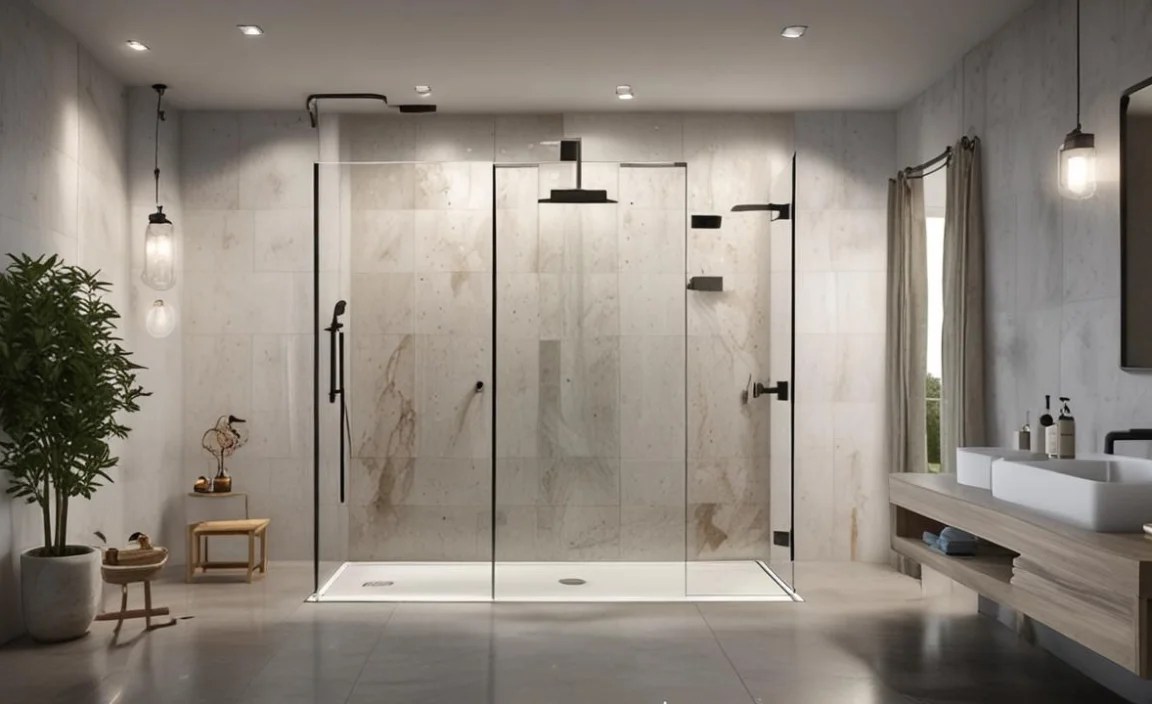
This is a type of shower design rather than a construction material. A curbless shower has no raised threshold, making it fully accessible. This requires meticulous slope management for drainage to prevent water from escaping the shower area.
- Pros: Modern aesthetic, highly accessible, can make small bathrooms feel larger.
- Cons: Requires precise floor sloping towards the drain, specialized waterproofing and drainage systems often needed, can be more expensive.
Installation: The critical factor here is the slope of the floor within the shower area. This is usually achieved by building up the subfloor with a proper slope before installing the waterproofing membrane and the finished flooring (tile, etc.). Proper drain placement and connection are paramount. Guidance from resources like those provided by the HGTV can be very helpful for understanding the design nuances.
Common Pitfalls and How to Avoid Them
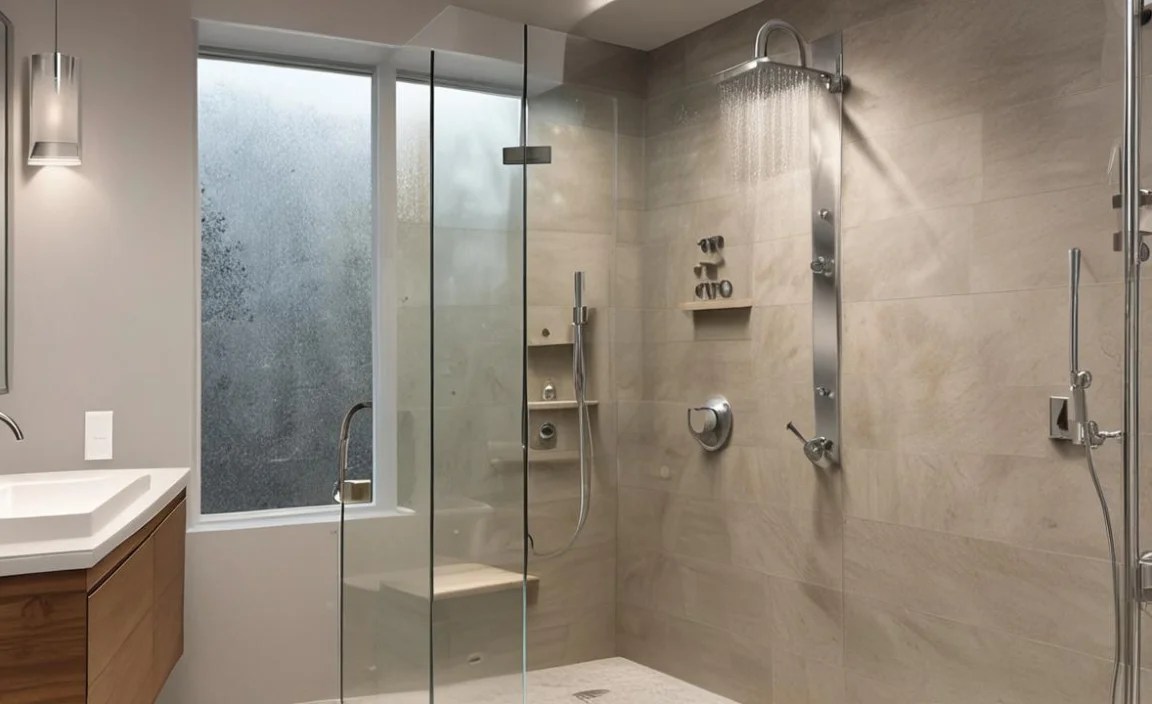
Even with a guide, mistakes can happen. Being aware of common issues in shower installation in plumbing can help you prevent them:
1. Improper Sloping of the Drain:
- Problem: Water pools instead of draining, leading to standing water, potential mold, and mildew.
- Solution: Ensure the shower base is perfectly level, or if tiling, that the subfloor has a consistent, slight slope (usually 1/4 inch per foot) towards the drain. Use a level frequently.
2. Inadequate or Failed Waterproofing:
- Problem: Water seeps behind walls, causing rot, mold, and structural damage. This is the most common and costly mistake.
- Solution: Use appropriate water-resistant backer board (not regular drywall) in wet areas. Apply a reliable waterproofing membrane correctly, covering all seams and corners thoroughly. For tiled showers, this step is non-negotiable.
3. Poor Sealing with Caulk:
- Problem: Gaps in caulk allow water intrusion.
- Solution: Use high-quality, mildew-resistant silicone caulk. Apply a consistent bead and tool it smoothly. Reapply caulk periodically as part of routine bathroom maintenance.
4. Incorrectly Connected Plumbing:
- Problem: Leaks at supply lines or the drain.
- Solution: Use plumber’s tape on threaded connections. Ensure all pipe connections are secure and follow manufacturer guidelines for drain assembly. If unsure, consult a professional plumber.
5. Ignoring Manufacturer Instructions:
- Problem: Improper installation due to not following specific product requirements.
- Solution: Read and understand all manufacturer manuals for your shower unit, valve, drain, and any waterproofing products you use.
Table: Shower Unit Materials Comparison
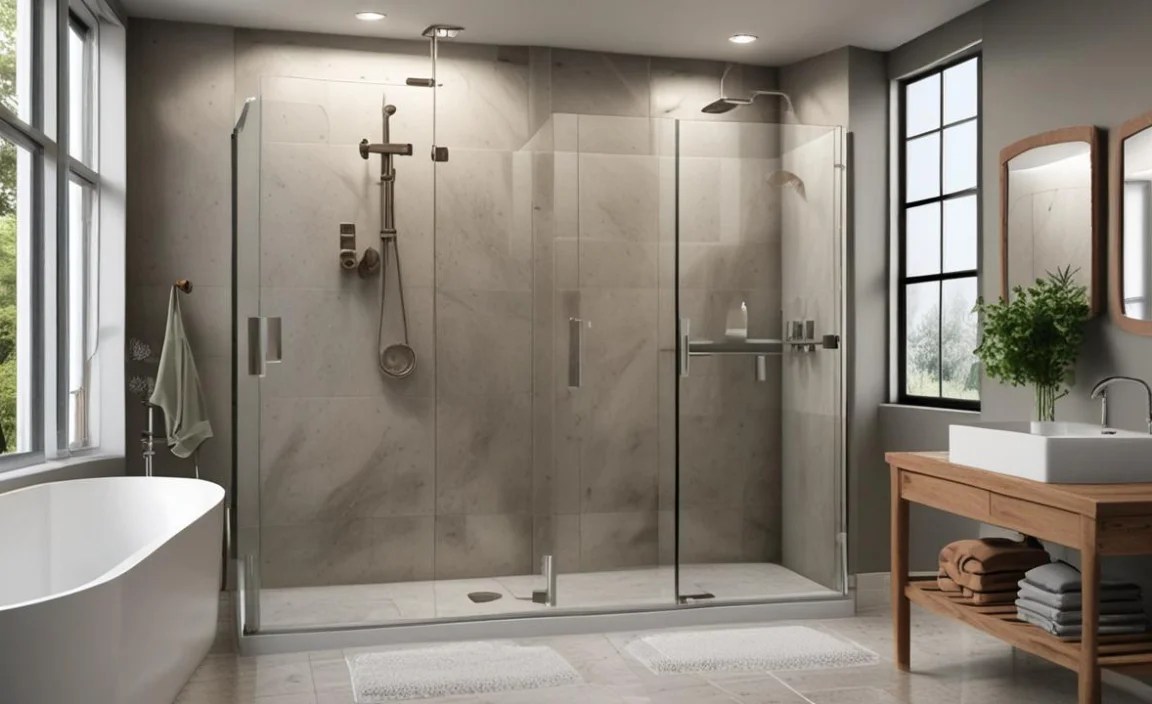
Choosing the right material for your shower components can impact durability, maintenance, and cost.
| Material | Typical Use | Pros | Cons | Beginner Friendliness |
|---|---|---|---|---|
| Acrylic | Shower bases, one-piece/multi-piece walls | Lightweight, easy to form into shapes, affordable, relatively easy to clean. | Can scratch or crack under heavy impact, can appear less luxurious than other materials. | High |
| Fiberglass Reinforced Plastic (FRP) | Shower bases, multi-piece walls | Durable, water-resistant, cost-effective, lightweight. | Can be prone to discoloration or staining, less rigid than acrylic. | High |
| Composite/Solid Surface | Shower bases, wall panels | Durable, seamless appearance, non-porous, can be repaired. | Heavier and more expensive than acrylic or FRP, can be harder to cut and install. | Medium |
| Ceramic/Porcelain Tile | Shower walls, floors | Extremely durable, vast design options, waterproof with proper installation and grouting. | Requires skilled installation (cutting, setting, grouting), grout lines need sealing and maintenance, can be cold underfoot. | Low (for full installation) |
| Natural Stone | Shower walls, floors | Luxurious, unique beauty, durable. | Expensive, porous (requires sealing), can be heavy, requires professional installation and maintenance. | Very Low |
When to Call in the Professionals
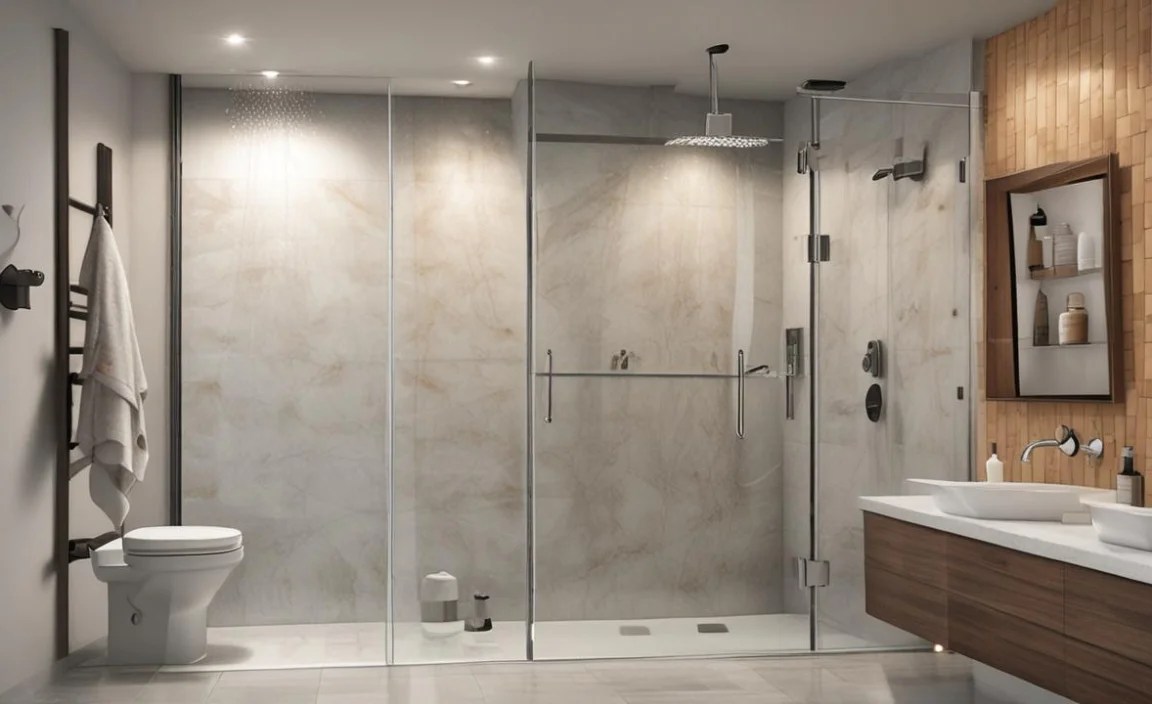
While this guide empowers you to tackle shower installation in plumbing, there are instances where calling a professional plumber or contractor is the wisest choice:
- Major Plumbing Rerouting: If the existing drain or supply lines are not positioned correctly for your new shower, and significant pipe relocation is needed, a professional is essential.
- Structural Issues: If you discover rotten subflooring, damaged studs, or other structural problems during demolition, these need professional repair.
