
Quick Summary:
Understanding common shower jargon like GPM, valve types, and showerhead finishes demystifies your bathroom upgrade or repair. This guide breaks down essential terms for beginners, helping you confidently choose and maintain your shower system for a better experience.
Ever felt lost when talking to a plumber or browsing shower parts? You’re not alone! The world of showers has its own language, filled with terms that can sound like a foreign dialect. From “flow rate” to “trim kit,” it’s easy to get overwhelmed. But what if understanding these terms could actually make choosing, installing, or even just fixing your shower easier? This guide is here to untangle that jargon for you. We’ll walk through the essential terms, explaining them in simple, everyday language, so you can feel confident in your next bathroom project. Get ready to master shower speak!
Why Shower Jargon Matters for Homeowners

As a homeowner, you’ll inevitably encounter terms related to your bathroom fixtures. Whether you’re upgrading your showerhead, troubleshooting a leaky faucet, or discussing a renovation with a professional, knowing the lingo is incredibly helpful. It ensures you’re getting exactly what you want, understanding the scope of work, and making informed decisions about your home’s comfort and efficiency.
Imagine trying to explain a problem without the right words. It’s frustrating, right? Similarly, if you don’t understand terms like “P-trap” or “cartridge,” you might end up with a shower that doesn’t meet your needs or a repair that costs more than it should. This article aims to equip you with the knowledge to confidently navigate these conversations and ace your next bathroom task.
Understanding Shower Water Usage: Flow Rate and Efficiency
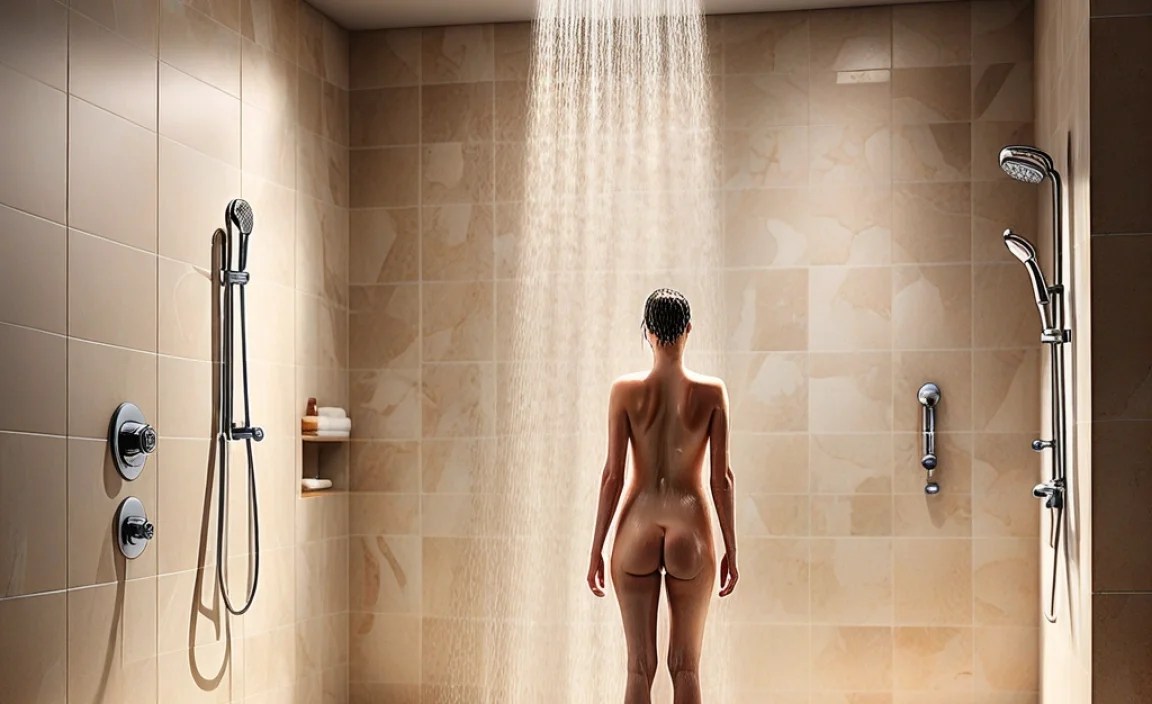
When we talk about water use in the shower, two main terms come up: Gallons Per Minute (GPM) and water efficiency standards.
Gallons Per Minute (GPM)
GPM stands for Gallons Per Minute. It’s a measurement of how much water your showerhead releases each minute. Think of it like the speed of water flow. A higher GPM means more water is coming out, offering a stronger spray, but it also uses more water.
Historically, showerheads could have GPMs of 5 or more. However, to conserve water and energy (since heating water uses energy!), regulations have been put in place. The U.S. Department of Energy has set a maximum GPM for showerheads.
Key Points on GPM:
- A standard showerhead in the U.S. is typically limited to 2.5 GPM.
- Low-flow showerheads use even less, often around 1.5 to 2.0 GPM, saving significant water and money on bills.
- You can often find the GPM rating printed on the showerhead’s packaging or the fixture itself.
For more detailed information on water efficiency standards and regulations, the U.S. Department of Energy provides extensive resources. You can explore their energy efficiency standards for appliances and equipment, which include plumbing products.
WaterSense Label
The U.S. Environmental Protection Agency (EPA) created the WaterSense program to help consumers find water-efficient products. Products with the WaterSense label are certified to use at least 20% less water than other products on the market while still meeting performance requirements.
Benefits of WaterSense labeled showerheads:
- Water Savings: Significant reduction in water consumption.
- Energy Savings: Less hot water used means less energy spent on heating it, leading to lower utility bills.
- Cost Savings: Lower water and energy bills add up over time.
- Performance: Designed to provide a satisfying shower experience despite reduced water flow.
When shopping for new shower fixtures, look for the WaterSense label. It’s an easy way to make an environmentally friendly and cost-effective choice.
Anatomy of a Shower System: Components You Should Know

A shower isn’t just a showerhead. There are several interconnected parts, and knowing their names can help you identify issues or discuss upgrades with a professional.
The Valve System
The shower valve is the heart of your shower. It’s the control mechanism that mixes hot and cold water to the desired temperature and controls the flow of water to the showerhead, tub spout, or hand shower.
Types of Shower Valves:
| Valve Type | Description | Pros | Cons |
|---|---|---|---|
| Compression Valve | An older type that uses rubber washers to stop water flow. Turning the handle compresses a stem against a seat. | Simple design, easy to understand for basic repairs. | Prone to leaks over time due to washer wear; difficult to maintain consistent temperature. |
| Cartridge Valve | Uses a removable cartridge with ports that align to control water flow and temperature. Most common in modern showers. | Easy to replace cartridge for repairs; good temperature control; more durable than compression valves. | Cartridge can be specific to the brand, making replacement tricky if brand is discontinued. |
| Ball Valve | Features a single handle that moves over a rounded cap (ball), controlling water flow and temperature. | Simple operation with a single handle; can be durable. | Can be more complex to repair than cartridge valves; temperature consistency can be an issue. |
| Thermostatic Valve | Maintains a preset water temperature, even if water pressure fluctuates. Often has two handles or a single dial with temperature markings. | Precise temperature control; prevents scalding or sudden cold shocks; luxurious feel. | More expensive; installation can be complex; requires specific cartridge types. |
| Pressure-Balancing Valve | Mixes hot and cold water and adjusts to changes in water pressure to maintain temperature. Usually has a single handle. | Responds to pressure changes to keep water temperature stable; safer than basic valves. | May not offer as precise temperature control as thermostatic valves. |
The Trim Kit: The Visible Part
The “trim kit” refers to the visible parts you interact with daily: the handle(s), the escutcheon plate (the decorative plate behind the handle), and sometimes the tub spout. These are purely aesthetic and don’t affect the water flow or temperature control itself, but they dramatically impact your shower’s look.
When you’re choosing a new shower handle or plate, you’re selecting a trim kit. These often come in various finishes to match other bathroom fixtures.
Showerhead Components
The showerhead is what delivers the water. While they can look simple, there are several types and features:
Types of Showerheads:
- Fixed Showerhead: The most common type, mounted directly to the shower arm coming out of the wall.
- Adjustable/Swivel Showerhead: Allows you to change the angle of the spray.
- Handheld Showerhead: Connects to a hose and bracket, offering flexibility for rinsing, cleaning, or bathing children and pets.
- Rainfall/Rainshower Head: Larger diameter, designed to simulate a gentle, widespread rain-like experience. Often mounted from the ceiling or a high shower arm.
- Body Jets: Small, multiple spray heads mounted directly into the shower wall for a full-body massage experience.
Shower Arm and Flange
The shower arm is the pipe that extends from the wall to which the showerhead is attached. The shower arm flange (or flange escutcheon) is the decorative cover that hides the hole where the shower arm enters the wall.
Understanding Shower Finishes

When selecting a shower trim kit, showerhead, or other faucet components, you’ll encounter various finishes. These are not just about looks; they also affect durability and maintenance. Choosing a finish that complements your bathroom’s style and is easy for you to care for is important.
Here’s a look at some common shower finishes:
| Finish Type | Description | Pros | Cons | Maintenance Tips |
|---|---|---|---|---|
| Chrome | Bright, reflective, and universally popular. It’s a classic, clean look. | Durable, resistant to corrosion and tarnishing (when good quality), easy to find. | Shows water spots and fingerprints easily; can appear sterile if overused. | Wipe dry after each use, use mild soap and a soft cloth for cleaning. |
| Brushed Nickel | A matte, warm, silvery-grey finish that hides water spots and fingerprints better than polished chrome. | Elegant, hides smudges well, versatile with many décor styles. | Can sometimes have a slight brownish undertone; more expensive than chrome. | Use a soft cloth and mild, non-abrasive cleaner. Avoid harsh chemicals or abrasive pads. |
| Polished Brass | A classic, warm, golden-yellow metallic finish. | Adds a touch of vintage or traditional elegance. | Can be prone to tarnishing and requires regular polishing to maintain its shine; has fallen out of trend for some. | Requires specialized brass polish. Some modern brass finishes are lacquered to prevent tarnishing, requiring less maintenance. |
| Oil-Rubbed Bronze | Features a dark, brown, sometimes reddish-brown, rustic look, often with lighter highlights. | Adds warmth and a classic or rustic feel; excellent at hiding water spots. | Appearance can vary significantly between manufacturers; can look too dark in some settings. | Generally easy to clean with a soft cloth and mild soap. Avoid abrasive cleaners that can remove the patina. |
| Matte Black | A modern, bold, and sophisticated finish that has grown in popularity. | Striking contrast, hides water spots well, modern aesthetic. | Can sometimes be more prone to scratching than metal finishes; can show dust. | Clean with a soft cloth and mild detergent. Avoid abrasive scrubbers. |
| Gold/Brushed Gold | Warm, luxurious, and can range from bright yellow to a softer, brushed tone. | Adds a luxurious, statement-making element. | Can be expensive; some lighter gold tones can fade. | Wipe with a soft cloth. For brushed gold, use non-abrasive cleaners. |
When selecting a finish, consider your bathroom’s overall style and how much maintenance you’re willing to do. For most beginners aiming for low maintenance, brushed nickel, oil-rubbed bronze, or matte black are excellent choices as they camouflage water spots readily.
Installation and Maintenance Jargon

Even if you’re not doing the installation yourself, understanding these terms can help you communicate better with a plumber or contractor.
Rough-In
Rough-in refers to the initial phase of plumbing installation within the walls before drywall or finishes are applied. This includes installing the valve body, supply lines, and any necessary piping. It’s the “behind-the-scenes” work that makes the shower functional.
Trim-Out
The trim-out is the stage where the visible components of the shower system are installed. This includes attaching the shower arm, showerhead, handle, escutcheon plate, and tub spout. It’s when the shower starts to look like a finished product.
Cartridge Replacement
As mentioned earlier, the cartridge is a key component within many shower valves. If your shower is dripping, or the handle is stiff or leaks around the handle stem, you might need to replace the cartridge. This is often a DIY-friendly repair for those comfortable with basic tools.
A quick search for “[Your Shower Faucet Brand] shower cartridge replacement” can often lead you to helpful video tutorials that demonstrate the process step-by-step.
Valve Seat and Spring
In older compression-style faucets, the valve seat is where the stem and washer press down to stop water flow. The valve spring (often found with the washer assembly) helps the washer create a seal. These are parts that can wear out and cause leaks, requiring replacement.
CA/CSA Certification
When purchasing plumbing fixtures, you may see markings like “CA” or “CSA” certified.
- CA Certification: Refers to compliance with California’s stringent water efficiency standards, which are often more stringent than federal standards.
- CSA Certification: Indicates that a product has been tested and certified by CSA Group, meeting safety and performance standards in North America.
All fixtures sold in the US must meet federal standards, but looking for these certifications can assure you of quality, safety, and compliance with local regulations, especially regarding water flow rates.
Essential Shower Tools for Beginners
If you’re planning any DIY shower maintenance or upgrades, having the right tools makes the job much easier and safer.
- Adjustable Wrench: One of the most versatile tools. A good quality adjustable wrench can handle various nut and bolt sizes.
- Pipe Wrench: Essential for gripping and turning pipes. Make sure to get one with smooth jaws to avoid damaging chrome finishes.
- Screwdriver Set: You’ll need both Phillips and flathead screwdrivers for handle screws and escutcheon plates.
- Plumber’s Tape (PTFE Tape): Used to seal threaded pipe connections, preventing leaks. Wrapped around male threads before screwing them into female fittings.
- Plumber’s Putty: A pliable material used to create a watertight seal around fixtures like drains or tub spouts where they meet a surface.
- Bucket and Rags: For catching any residual water and for cleaning up.
- Safety Glasses: Always protect your eyes, especially when working overhead or with any potential for debris.
- Pliers (e.g., Channel Lock Pliers): Useful for gripping and turning larger or irregularly shaped objects.
Frequently Asked Questions (FAQ) About Shower Jargon
What is GPM, and why is it important for my shower?
GPM stands for Gallons Per Minute. It measures how much water your showerhead uses. Lower GPM means less water used, saving water and energy, and often resulting in lower utility bills. The U.S. standard is 2.5 GPM, but WaterSense labeled showerheads are even more efficient.
What’s the difference between a valve and a trim kit?
The valve is the internal mechanism that controls the water flow and temperature. The trim kit refers to the external, visible parts like the handle, escutcheon plate, and tub spout. The trim kit is what you see and touch; the valve is what makes it work.
How do I know which type of shower valve I have?
Look at the handle. If it has a single handle that moves freely over a rounded cap, it might be a ball valve. If it takes multiple turns to turn on/off, it could be a compression valve. Most modern showers use either a cartridge or a pressure-balancing valve, often with a single handle that moves up/down for flow and left/right for temperature.
Are low-flow showerheads worth it?
Yes, generally. While they use less water, modern low-flow showerheads are designed to provide a strong, satisfying spray. They save significant amounts of water and energy (for heating water), leading to lower utility bills and reducing your environmental footprint.
What does “rough-in” mean in plumbing?
Rough-in refers to the initial plumbing work done inside the walls before finishes like drywall are applied. It includes installing the shower valve body, water supply lines, and any necessary pipes that will be hidden from view.
What is the best finish for a shower, considering maintenance?
For low maintenance and hiding water spots, brushed nickel, oil-rubbed bronze, and matte black are excellent choices. Polished chrome is popular but shows water spots and fingerprints more readily. Always check manufacturer recommendations for cleaning specific finishes.
Can I replace my shower cartridge myself?
Yes, it’s often a doable DIY project for many beginners. You’ll need to identify your faucet brand, purchase the correct replacement cartridge, turn off the water supply, and follow step-by-step instructions, often found in video tutorials online, to remove the old one and install the new one.
Conclusion
Navigating the world of shower jargon might seem daunting at first, but as we’ve seen, it’s all about understanding the function and purpose of each component. From the crucial GPM rating that affects your water bill and environmental footprint, to the internal workings of valves and the aesthetic appeal of various finishes, each term plays a role in your shower experience.
By dem
