
Choosing between a standard sink and an alternative involves understanding your needs. This guide helps you compare sink types, installation, and maintenance to make the best choice for your kitchen or bathroom, ensuring both style and function.
Hey DIYers and homeowners! Ever stare at your kitchen or bathroom sink and wonder if there’s a better way? Many of us do! Different sink styles can dramatically change how a room looks and works. Sometimes, the standard sink just isn’t the perfect fit for your space or how you live. It can feel overwhelming trying to figure out what works best. But don’t worry, I’m Bryan Lee, and I’m here to break down all the ins and outs for you. We’ll explore sink options, what they mean for your project, and how to choose wisely. Stick around, and you’ll be making informed decisions in no time!
Sink Choices: What’s Your Style?

When you think “sink,” you probably picture a standard basin. But the world of sinks is much larger and more exciting than you might think! From the material it’s made from to how it’s installed, your sink is a key player in your kitchen or bathroom’s overall vibe and functionality. Making the right choice can boost your home’s value and make everyday tasks a little easier.
Let’s dive into the most common sink types you’ll encounter. Knowing these will help you understand your options when it’s time for a remodel or a simple upgrade.
Undermount Sinks: Sleek and Seamless
Undermount sinks are installed beneath the countertop. This creates a smooth, continuous surface that looks super clean and modern. There’s no rim for gunk to build up on, making cleanup a breeze. They are often made from durable materials like stainless steel, cast iron, or solid surface composites.
Pros of Undermount Sinks:
- Easy Cleaning: Wipe spills and crumbs directly from the counter into the sink. No awkward edges to scrub!
- Modern Aesthetic: They offer a sleek, minimalist look that fits well in contemporary kitchens and bathrooms.
- Maximizes Counter Space: Because there’s no visible lip, they can make your countertop feel more expansive.
Cons of Undermount Sinks:
- Installation Complexity: They require a finished countertop edge and can be trickier and more expensive to install.
- Not for All Countertops: Not ideal for laminate countertops, as the exposed particle board edge can be damaged by water.
- Potential for Leaks/Weakness: If not installed properly, the weight of the sink can put less stress on the countertop but can be a point of failure if mounting hardware fails.
Drop-In (Top-Mount) Sinks: The Classic Choice
Drop-in sinks, also known as top-mount or self-rimming sinks, are the most common type. They have a rim that rests on top of the countertop, essentially “dropping in.” Installation is generally straightforward, making them a popular DIY choice.
Pros of Drop-In Sinks:
- Easy Installation: They’re typically the easiest and most affordable to install. The rim supports the sink, meaning less reliance on complex mounting.
- Versatile Materials: Available in nearly every sink material imaginable – stainless steel, porcelain, cast iron, composite, etc.
- Cost-Effective: Generally less expensive to purchase and install than undermount sinks.
Cons of Drop-In Sinks:
- Cleaning Challenges: The rim can trap food particles and grime, making cleaning more difficult.
- Less Sleek Look: The visible rim can disrupt the clean lines of a countertop.
- Can Damage Countertops: Over time, the weight of the sink and water can potentially cause wear or damage to the countertop edge around the rim.
Farmhouse (Apron-Front) Sinks: Rustic Charm
Farmhouse sinks, or apron-front sinks, have a distinctive exposed front panel that extends over the cabinet. They evoke a rustic, country feel and are often quite large, perfect for big kitchens.
Pros of Farmhouse Sinks:
- Distinctive Style: Adds significant character and charm to a kitchen.
- Ergonomic Design: The front panel is lower than surrounding countertops, so you don’t lean as far forward when washing dishes.
- Spacious: Typically deep and wide, making them great for washing large pots and pans.
Cons of Farmhouse Sinks:
- Installation: They require a specially designed cabinet and can be heavier, often needing reinforced support.
- Water Splashing: The short front can sometimes lead to more water splashing onto the floor if not careful.
- Cost: Generally more expensive than standard drop-in or undermount sinks.
Integrated Sinks: Ultimate Simplicity
Integrated sinks are molded from the same material as the countertop. This means the sink and countertop are one single piece, creating a completely seamless look with no joints or seams. Materials like solid surface (e.g., Corian) or quartz are common for this style.
Pros of Integrated Sinks:
- Ultimate Seamlessness: No gaps, no rims, just pure, clean lines.
- Extremely Easy to Clean: Like undermount, you can wipe everything straight into the basin.
- Modern and Minimalist: Perfect for a very clean, contemporary design.
Cons of Integrated Sinks:
- Limited Material Choices: You’re restricted to materials that can be formed into a sink and countertop simultaneously.
- Repair Challenges: Damage to either the sink or the countertop means the whole unit often needs to be replaced.
- Cost: Can be the most expensive option due to specialized manufacturing.
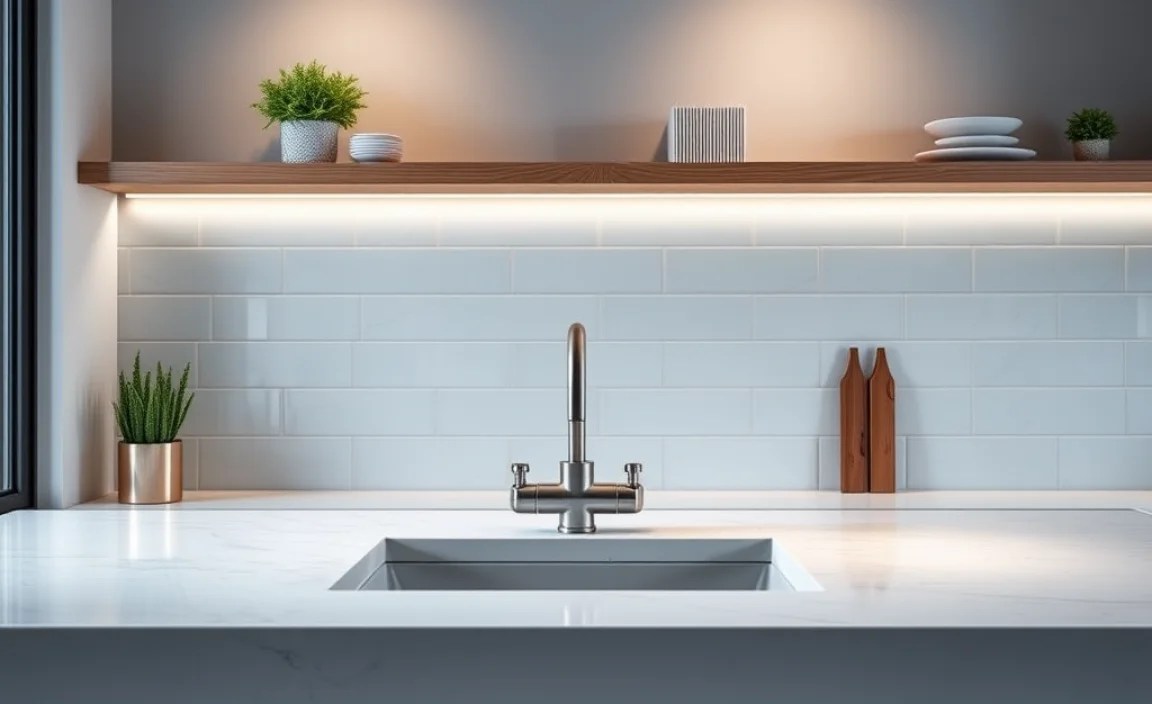
Beyond the Basin: Sink Materials Matter
The material of your sink impacts its durability, look, feel, and price tag. Here’s a rundown of the most common sink materials and what you need to know.
Stainless Steel: The Versatile Workhorse
Stainless steel is incredibly popular for kitchens due to its durability, affordability, and resistance to stains and corrosion. The gauge (thickness) of the steel matters – lower gauges (like 16 or 18) are thicker and more durable than higher gauges.
Key Features of Stainless Steel Sinks:
- Durability: Resists dents, scratches, and heat.
- Hygiene: Non-porous and easy to sanitize.
- Variety: Available in many styles, depths, and finishes (brushed, polished).
- Noise: Can be noisy when water or dishes hit them, though many come with sound-dampening pads.
Cast Iron: Timeless and Tough
Cast iron sinks are classic, especially those with porcelain enamel coatings. They are incredibly sturdy and have a beautiful, glossy finish that can add a touch of elegance. However, the enamel can chip if a heavy item is dropped in.
Key Features of Cast Iron Sinks:
- Durability: Very strong and long-lasting if cared for.
- Aesthetics: Offers a classic, substantial look, often in white or various colors.
- Weight: Extremely heavy, requiring strong cabinet support.
- Maintenance: The enamel coating needs care to prevent chipping and staining.
Granite Composite: Modern and Robust
These sinks are made from a blend of natural granite particles and acrylic resins. They are incredibly durable, resistant to scratches, heat, and stains, and come in a range of sophisticated colors.
Key Features of Granite Composite Sinks:
- Durability: Extremely tough, resisting chips and scratches better than many other materials.
- Heat Resistant: Can handle hot pans (though caution is always advised).
- Stain Resistant: The non-porous surface makes them great against spills.
- Color Options: Available in a wide array of colors to match your decor.
- Cost: Can be on the pricier side.
Fireclay: Elegant and Enduring
Fireclay sinks are made by heating clay at very high temperatures, creating a dense, durable material. They are often seen in farmhouse styles and offer a smooth, glossy finish that’s resistant to stains and scratches.
Key Features of Fireclay Sinks:
- Durability: Very hard and resistant to scratching and staining.
- Aesthetics: Offers a clean, elegant, and often glossy look.
- Heat Resistance: Can withstand high temperatures.
- Heavy: Similar to cast iron, they are quite heavy.
Solid Surface: Seamless and Seamlessly Clean
Materials like Corian are used to create beautifully integrated sinks and countertops. They are non-porous, easy to clean, and can be repaired if scratched or damaged. They offer a very modern, seamless look.
Key Features of Solid Surface Sinks:
- Seamless Integration: Can be formed as one piece with the countertop.
- Non-Porous: Hygienic and resistant to stains.
- Repairable: Scratches and minor damage can often be sanded out.
- Heat Sensitivity: Not as heat-resistant as stone or composite materials; avoid placing hot pans directly on it.
Sink vs. Alternative: When is a Standard Sink Not Enough?

Sometimes, the “standard” sink just doesn’t cut it. This happens for a few common reasons:
- Limited Workspace: If you do a lot of cooking or prep work, a small, single-bowl sink might feel cramped. You might need a larger sink, a double-bowl sink, or even a specialized prep sink.
- Accessibility Needs: For individuals with mobility issues, a shallower sink with an easily accessible faucet, or even a sink integrated into accessible cabinetry, can make a big difference.
- Specific Design Goals: Sometimes, the desired aesthetic calls for something beyond a basic sink. A statement farmhouse sink or a sleek, minimalist integrated sink can be crucial to achieving a design vision.
- Functionality Requirements: A busy family might benefit from a durable, easy-to-clean material like stainless steel, while a homeowner focused on visual appeal might opt for a striking fireclay or granite composite model.
“Sink Info vs Alternative”: A Decision-Making Table
To help you weigh your options, here’s a table comparing common sink configurations and alternatives. This isn’t just about “sink vs. no sink,” but rather, “what kind of sink solution is best for you?”
| Feature | Standard Single Bowl (Drop-In/Undermount) | Double Bowl Sink | Prep Sink | Integrated Sink System |
|---|---|---|---|---|
| Primary Use | Everyday washing, basic tasks. | Washing dishes efficiently, separating tasks (e.g., one side for washing, one for drying). | Small tasks, rinsing veggies, filling glasses, often in addition to a main sink. | Seamless washing and countertop functionality. |
| Space Requirement | Moderate. | Larger countertop space needed. | Small dedicated space, can be part of an island or bar area. | Requires larger countertop material and integrated fabrication. |
| Installation Complexity | Easy (Drop-in) to Moderate (Undermount). | Moderate (depends on installation type). | Moderate, requires plumbing. | High, usually requires professional installation and custom countertop fabrication. |
| Cleaning Ease | Good (undermount) to Fair (drop-in). | Fair to Good (depends on bowl size and installation). | Good (if undermounted). | Excellent, truly seamless. |
| Cost Estimate (Sink Unit) | $100 – $600+ | $150 – $800+ | $80 – $400+ | Varies widely, often integrated into the cost of a custom countertop ($1,000 – $5,000+ for combined unit). |
| Aesthetic | Classic, versatile. | Functional, can hide dishes. | Convenient, adds utility. | Ultra-modern, minimalist. |
| Best For | Beginners, smaller kitchens, budget-conscious. | Home cooks, entertainers, those who dislike dish racks. | Larger kitchens, workstations, bars. | Modern designs, those prioritizing aesthetics and absolute ease of cleaning. |
Step-by-Step: Installing a Drop-In Sink (Beginner’s Guide)

Installing a drop-in sink is a popular DIY project. It’s achievable if you’re comfortable with basic plumbing and tool usage. Always remember to turn off the water supply before you start!
Tools and Materials You’ll Need:
- New Drop-In Sink
- Sink Template (usually included with the sink)
- Jigsaw or Reciprocating Saw
- Measuring Tape
- Pencil
- Safety Glasses and Gloves
- Plumber’s Putty or Silicone Caulk
- Screwdriver
- Adjustable Wrenches
- Pipe Wrench
- Pliers
- Bucket (to catch water)
- New Faucet and Drain Assembly (optional, but often done at the same time)
- Silicone Caulk Gun
Measuring and Cutting the Countertop:
- Turn off Water: Locate the shut-off valves under the sink (hot and cold) and turn them clockwise until snug. Turn on the faucet to relieve any pressure.
- Disconnect Plumbing: Place a bucket beneath the P-trap (the U-shaped pipe) and use wrenches to loosen the connections. Let any residual water drain into the bucket. Disconnect supply lines from the faucet.
- Remove Old Sink: Loosen any mounting clips found underneath the sink rim. There may also be caulk sealing the sink to the countertop. Carefully cut through the caulk with a utility knife. Lift the old sink out.
- Prepare the New Sink Area: Clean the countertop surface thoroughly.
- Trace the Template: Place the sink template on the countertop in the desired location. Ensure it’s positioned so you have clearance for the faucet and any backsplash. Trace the template outline with a pencil.
- Mark the Cut Line: The template usually indicates an “inside” or “cut” line. Trace this line precisely. Double-check measurements.
- Drill a Pilot Hole: Drill a hole large enough inside the traced cutting line to insert the blade of your jigsaw or reciprocating saw.
- Cut the Opening: Wearing safety glasses, carefully cut along the traced line with your jigsaw. Take your time and try to make smooth, controlled cuts.
- Test Fit: Gently place the new sink into the opening. It should fit snugly without forcing. If it’s too tight, you may need to slightly enlarge the opening.
Installing the New Sink and Fixtures:
- Install Faucet and Drain: Following the manufacturer’s instructions, install the new faucet and drain assembly into the sink before you set the sink in place. This is much easier to do with the sink on a workbench or the floor.
- Plumber’s Putty or Caulk: Apply a bead of plumber’s putty or silicone caulk around the underside of the sink’s rim where it will meet the countertop. For stainless steel sinks, plumber’s putty is often recommended for the drain flange and strainer. For the main rim, silicone caulk is common. Check your sink’s manual.
- Set the Sink: Carefully lower the new sink into the countertop opening. Press down gently to ensure a good seal.
- Secure the Sink: From underneath, install the mounting clips that came with your sink. Tighten them evenly to pull the sink down securely against the countertop. Don’t overtighten, as this can damage the countertop or sink.
- Connect Plumbing: Reconnect the P-trap and any other drain pipes. Connect the new water supply lines to the faucet (connecting to the shut-off valves).
- Test for Leaks: Turn the water supply back on slowly. Check all connections for drips or leaks. Run water into the sink and check again. Tighten any leaky fittings slightly.
- Apply Finishing Caulk: If there are any small gaps between the sink rim and the countertop, apply a neat bead of silicone.
