
Understanding your sink’s structure in plumbing is key to handling common issues confidently, from minor leaks to efficient drainage. This guide breaks down essential sink parts, their functions, and maintenance tips, empowering you to tackle basic plumbing with ease and save on professional calls.
Ever stared at your sink and wondered what all those pipes and parts connect to? It’s a common feeling, and the plumbing underneath can seem like a mystery. But understanding the basic structure of your sink isn’t rocket science! Knowing these parts helps you spot problems early, like slow drains or drips, and even fix them yourself. This guide will demystify your sink’s plumbing, making it simple to understand and manage. We’ll walk through each component, so you’re ready for anything. Get ready to feel more in control of your home’s hidden workings!
Decoding the Anatomy: What Makes Up Your Sink’s Plumbing?

Your kitchen or bathroom sink might look simple, but beneath it lies a well-organized system designed to move water efficiently. This system, often referred to as the sink’s plumbing structure, consists of several key components working together. Understanding these parts is the first step to effectively maintaining your sink and addressing any issues that may arise. Let’s dive into the essential elements.
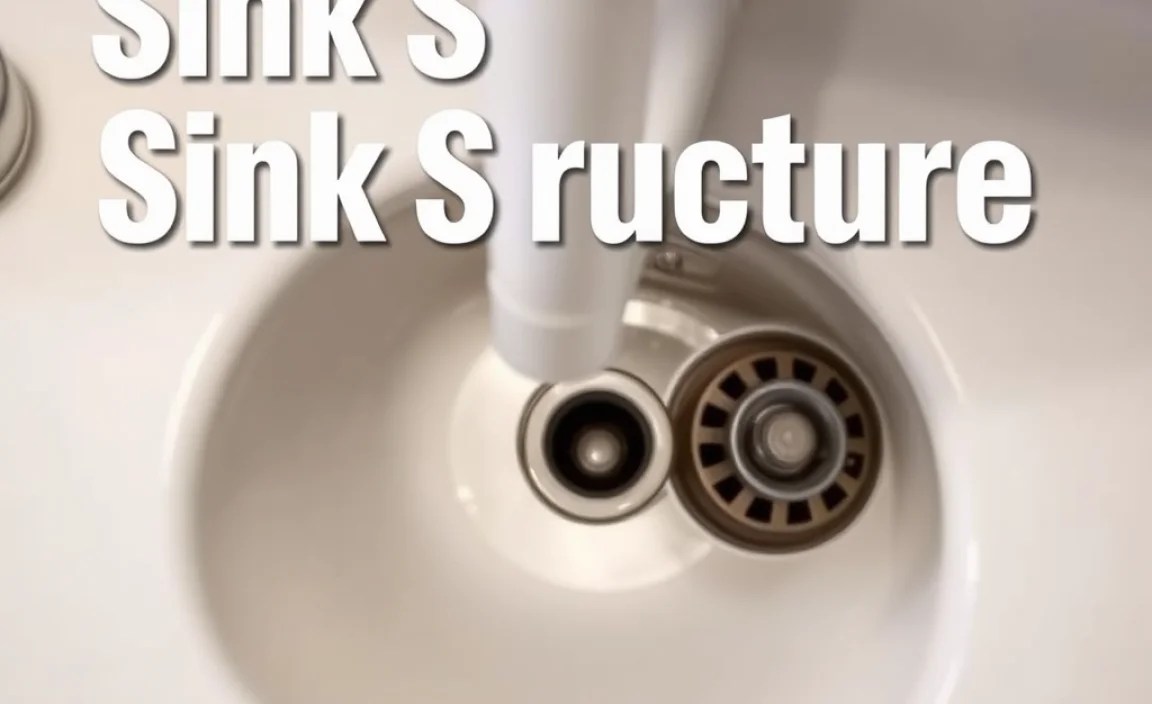
The Basin: More Than Just a Bowl
The basin is the most visible part of your sink. While its primary function is to hold water, its design impacts how water drains and how easily you can clean it. Basins come in various materials like ceramic, stainless steel, composite, and even natural stone, each with its own maintenance needs. The sink basin also sits above the drain opening, which is the gateway to the rest of your plumbing.
The Faucet: Your Water’s Control Center
The faucet is where your water journey begins. It controls both the flow and temperature of the water. Modern faucets typically involve complex internal mechanisms like cartridges or ceramic discs to manage hot and cold water mixing and to prevent leaks. Common faucet types include compression faucets, ball faucets, cartridge faucets, and ceramic disc faucets, each with a different way of operating.
The Drain Assembly: The Exit Point
This is the crucial part that allows water to leave your sink. The entire drain assembly includes several sub-components:
- Drain Flange: This is the visible rim inside your sink around the drain opening. It’s usually made of metal and is sealed to the sink basin to prevent leaks.
- Strainer Basket/Stopper: This removable part sits inside the drain flange. The strainer basket has holes to catch food particles or hair, preventing clogs. The stopper is used to seal the drain when you want to fill the sink.
- Tailpiece: A short pipe that connects the drain assembly to the P-trap. It usually angles downward to connect to the trap.
The P-Trap: The Silent Guardian Against Stinky Gases
You’ve probably seen this U-shaped pipe lurking under your sink. Its design is no accident! The P-trap’s primary job is genius: it holds a small amount of water, creating a seal that prevents sewer gases from rising up through your drain and into your home. These gases are not only unpleasant but can also be harmful. The P-trap is a vital part of preventing these odors from escaping.
When you use your sink, water flows through the P-trap and then continues down the drainpipe. The bend is specifically designed to retain enough water to form this barrier. If your sink isn’t used for a while, this water can evaporate, and you might start to smell those tell-tale sewer odors. Running water for a minute or two usually refills the trap and solves the problem.
The P-trap is also designed so that if a significant clog occurs, it’s often located within this accessible U-bend, making it easier to clear than a clog further down the line. You can usually unscrew the slip nuts on either side of the trap to remove it for cleaning.
The Overflow: A Safety Net for Your Floor
Many sinks, especially bathroom sinks, have an overflow opening. This is a small hole or set of holes located near the top of the basin. If you accidentally leave the faucet running while the stopper is in place, the overflow acts as a safety mechanism. It allows excess water to drain out through a separate small pipe that connects back into the main drainpipe, preventing your sink from overflowing and flooding your countertop and floor.
The overflow system connects to the main drain beneath the sink, typically just below the P-trap. It usually involves a small metal piece that channels water from the overflow hole into this connecting pipe.
The Vent Pipe: Essential for Smooth Flow
Though it’s not directly attached to your sink itself, the vent pipe is a critical part of the overall sink structure in plumbing. It’s a pipe that extends upwards from your drain system, eventually connecting to the outside atmosphere, usually through your roof. The vent pipe has a crucial role: it allows air to enter your drainage system. This is essential for several reasons:
- Prevents Siphoning: Without air entering the system, the rush of draining water could create a vacuum, siphoning water directly out of the P-trap. This would break the water seal and allow sewer gases into your home. The vent pipe feeds air in to equalize pressure and prevent this.
- Ensures Smooth Drainage: Airflow helps water and waste move smoothly down the drain. If the system isn’t properly vented, you might notice gurgling sounds, slow draining, or even the unpleasant smell of sewer gases, indicating an issue with the vent.
Many plumbing codes, like those established by the International Code Council (ICC), mandate specific requirements for plumbing vent systems to ensure proper function and safety.
A Closer Look at Sink Drain Components
The drain assembly is where the action happens for getting water out of your sink. It’s a multi-part system, and understanding each piece helps with troubleshooting clogs and leaks.
Drain Flange and Strainer/Stopper
The drain flange is the visible part inside your sink. It’s usually a metal ring that’s sealed to the sink. Inside this flange sits the strainer basket or the stopper. The strainer basket is a cage-like piece that catches debris, while the stopper is used to seal the drain when you want to fill the sink. Most strainers can be lifted out for cleaning, making it easy to dispose of caught gunk.
Connecting to the Trap
Beneath the sink, the drain pipe from the flange connects to the tailpiece. This tailpiece is typically a straight pipe that connects to the actual trap. The connection points usually use slip nuts and washers, which are designed to be hand-tightened or slightly tightened with a wrench, making them relatively easy to disassemble for cleaning or repair.
Understanding the P-Trap: Your Odor Barrier
The P-trap is arguably one of the most important, yet often overlooked, parts of your sink’s plumbing structure. Its simple, yet brilliant, U-shape is the key to its function.
How the P-Trap Works
Water enters the P-trap from the tailpiece of the drain. As it flows down and then back up in the U-bend, a small amount of water remains trapped in the lowest point of the curve. This standing water acts as a physical barrier, preventing unpleasant and potentially harmful sewer gases from traveling up the drainpipe and into your home. When you run water, the new water pushes the old water through and out, replenishing the trap. If the sink is seldom used, this water can evaporate, leading to those familiar sewer smells.
Common P-Trap Issues
The U-bend of the P-trap is a notorious spot for clogs. Hair, grease, and food particles can build up here over time. Fortunately, most P-traps are designed with slip nuts that allow you to easily disconnect and clean them manually.
Another issue can be leaks. The slip nuts and washers can loosen or wear out. If you notice water dripping from under the P-trap, it’s likely a sign that these connections need to be tightened or the washers replaced.
Types of P-Traps
While the U-shape is standard, P-traps can be made from different materials:
- Plastic P-Traps: These are common, inexpensive, and easy to install. They are resistant to corrosion but can become brittle over time.
- Metal P-Traps: Typically made of brass or stainless steel, these are more durable and aesthetically pleasing. They are also more resistant to cracking than plastic traps.
The choice often depends on budget, installation location (visible vs. hidden), and personal preference.
The Overflow System: An Underappreciated Safety Feature

The overflow isn’t always present, but when it is, it’s a crucial component for preventing water damage. It’s often a small hole or a series of holes located just below the rim of the sink basin.
How the Overflow Protects Your Home
If your faucet is left on and the drain is plugged, water would normally rise and spill over the sink edge. The overflow intercepts this rising water. It directs the excess water through a small channel or pipe that connects back into the main drain system below the sink, usually just below the P-trap. This effectively drains away enough water to prevent a flood, saving your countertops and floors.
Maintenance and Potential Problems
The overflow channel can sometimes get clogged with soap scum or mold, reducing its effectiveness. Cleaning it might involve using a stiff brush or a specialized cleaning tool to reach the channel. If you notice water backing up slightly in the sink when using the overflow during a test, it indicates the overflow channel itself might be obstructed.
The Vent Pipe: The Unsung Hero of Drainage

Think of the vent pipe as the lungs of your plumbing system. It’s essential for proper air circulation within the drain lines, allowing water to flow freely and preventing unpleasant odors.
Why Venting is Necessary
When water rushes down a drainpipe, it pushes air ahead of it and creates a partial vacuum behind it. Without a vent, this vacuum could siphon water out of the P-trap, breaking the seal and allowing sewer gases to enter your home. The vent pipe allows air to enter the system at various points, equalizing the pressure and ensuring the P-trap remains full of water. This also helps water flow smoothly without gurgling sounds. Improper venting can lead to slow drains, gurgling noises, and sewer odors.
Understanding Vent Pipes
Drain-Waste-Vent (DWV) systems are designed according to strict plumbing codes, such as those recommended by the U.S. Environmental Protection Agency (EPA) for public health. These codes ensure that vent pipes are properly sized and located to serve all fixtures in your home, including sinks. A typical vent pipe for a sink might connect to a larger main vent stack that goes up through the roof.
Common Sink Plumbing Problems and How They Relate to Structure
Many everyday plumbing annoyances are directly linked to the sink’s structural components. Understanding these connections can help you identify and solve issues faster.
Slow Draining
A slow drain is often caused by a clog. Most commonly, this happens in the strainer basket or the tailpiece directly below it. If the clog is further down, it might be in the P-trap or even deeper in the drain line. Grease, hair, and food particles are the usual culprits. The P-trap’s design, while key for odor control, also makes it a prime location for blockages. If you suspect a slow drain, checking and cleaning your strainer and the P-trap is usually the first step.
Leaky Connections
Leaks are almost always found at the connection points between different parts of the sink structure. This includes:
- Where the drain flange seals to the sink basin.
- Where the tailpiece connects to the P-trap (slip nuts and washers).
- Where the P-trap connects to the drainpipe extending from the wall.
- Around the faucet base.
These leaks are generally due to loose fittings, worn-out washers, or degraded plumber’s putty or caulk. Tightening the slip nuts on the P-trap is a common fix for under-sink drips.
Gurgling or Glugging Sounds
These sounds are almost always a sign of a venting problem. When water drains, it needs air to follow it. If the vent pipe is blocked or too small, the water passing through can create gurgling noises as it struggles to push the air along. This can also lead to water being siphoned out of your P-trap, allowing sewer gases to enter your home.
Bad Odors
The primary defense against sewer odors is the water seal in your P-trap. If the P-trap is dry (due to evaporation from disuse or being siphoned out), or if there’s a leak in the P-trap or its connections, sewer gases can escape. Persistent bad odors, even after running water, might indicate a more significant issue with your venting system or a compromised P-trap seal.
Tools You Might Need for Sink Plumbing Maintenance
Don’t worry, you don’t need a professional plumber’s toolkit for most basic sink maintenance. A few common household tools will likely suffice:
| Tool | Purpose | Why It’s Useful |
|---|---|---|
| Adjustable Wrench (Crescent Wrench) | Tightening or loosening nuts, especially on P-trap slip nuts. | Versatile for various nut sizes. |
| Plumber’s Wrench or Pipe Wrench | For gripping and turning pipes, especially if slip nuts are stubborn. Caution: can damage plastic. | Provides strong grip on round pipes. |
| Bucket or Basin | To catch water when disconnecting P-traps or pipes. | Prevents a mess on your floor or in cabinets. |
| Screwdriver Set (Phillips and Flathead) | Securing or unsecuring faucet components or mounting brackets. | Commonly used for various small fasteners. |
| Plunger | Clearing minor clogs in the drain. | A simple, non-chemical method for blockages. |
| Drain Snake or Auger (Handheld) | Breaking up or retrieving clogs deeper in the drainpipe. | More effective than a plunger for stubborn debris. |
| Gloves | Protecting your hands from dirt and potentially harmful substances. | Keeps hands clean and safe. |
| Safety Glasses | Protecting your eyes from debris or splashes. | Essential when working under the sink. |
| Rag or Towels | Wiping up spills and drying parts. | Essential for keeping the work area clean. |
DIY – Step-by-Step: Cleaning a Clogged Sink or P-Trap
One of the Handiest DIY tasks you can learn is how to clear a clogged sink or P-trap. This process is straightforward and can save you a plumber’s visit. Always remember to wear gloves and safety glasses!
Step 1: Gather Your Supplies
Make sure you have your bucket, rags, adjustable wrench, and possibly gloves and safety glasses. If you’re preparing for a potential clog, have a plunger and a drain snake handy.
Step 2: Prepare the Area
Place your bucket directly under the U-shaped P-trap. Clear out any items stored under the sink to give yourself ample working space. Lay some old towels or newspaper down to catch any drips or spills.
Step 3: Loosen the P-Trap Slip Nuts
The P-trap is typically held in place by two large plastic or metal nuts, called slip nuts, on either side of the U-bend. You’ll need an adjustable wrench for this. Turn the nuts counter-clockwise to loosen them. Often, these can be loosened by hand, but a wrench may be necessary if they’re tight.
Step 4: Remove the P-Trap
Once the slip nuts are loose enough, carefully pull the U-shaped section of the pipe away from the tailpiece and the wall pipe. As you do this, the trap will empty its contents into the bucket you placed below. Be prepared for a small amount of water and debris!
Step 5: Clean the P-Trap and Check for Debris
Inspect the P-trap for any blockages. You’ll likely find hair, soap scum, grease, or food particles. Use a brush (an old toothbrush works well) or a rag to thoroughly clean the inside of the trap. Rinse it out with water.
