
Tired of mushy soap and messy counters? This guide breaks down the best soap holder options and smart alternatives, showing you how to keep your soap dry and your bathroom tidy with simple, budget-friendly solutions. Find your genius fix today!
Is your bar soap turning into a slimy puddle? Do you find yourself constantly wiping up goo around the sink or shower? You’re not alone. A soggy bar of soap isn’t just messy; it wastes soap and can make your bathroom look untidy. The good news is, there’s a simple fix! Finding the right soap holder or a clever alternative can make a world of difference. We’ll guide you through the best options, showing you how to keep your soap in perfect condition and your space looking clean. Let’s transform your soap situation from frustrating to fantastic!
The Humble Soap Holder: More Than Just a Dish

We often overlook the simple things, and the soap holder is one of them. Its primary job is to keep your bar soap dry between uses. When soap stays dry, it lasts longer, smells better, and is less likely to create that infamous “soap scum” residue. But not all soap holders are created equal. Understanding the different types available will help you pick the one that best suits your needs and your bathroom’s style.
Common Types of Soap Holders
Let’s dive into the most popular kinds of soap holders you’ll find. Each has its own way of dealing with that pesky moisture.
1. Drip Trays and Dishes
These are the classic soap holders. They typically have a small indentation or bowl to hold the soap. Many come with raised ridges or drainage holes to allow water to flow away. Some have a lid, which can be handy for travel or keeping dust off.
- Pros: Simple, widely available, often inexpensive, can be decorative.
- Cons: Can still collect water if not designed well, may require regular cleaning to prevent residue buildup.
2. Suction Cup Holders
These holders attach to the wall or shower tile using a strong suction cup. They often have a pronged or slotted design that allows air to circulate around the soap, helping it dry faster. Some even have a small tray beneath to catch any drips.
- Pros: Easy to install and remove, no drilling required, good for renters, keeps soap off the counter.
- Cons: Suction can fail over time, especially on textured surfaces or in steamy conditions; may leave marks on walls.
3. Wall-Mounted Holders (Adhesive or Screwed)
These are more permanent solutions. Adhesive options stick directly to the wall with a strong glue backing, while others require drilling for a more secure fit. They usually feature a basket or a plate with drainage slots.
- Pros: Very secure, can hold more weight, often look sleek and modern, frees up counter space entirely.
- Cons: Adhesive can damage paint or drywall upon removal; drilling requires tools and creates holes.
4. Magnetic Soap Holders
These are a bit more innovative! They consist of a small metal disc that you press into your bar soap and a magnetic bracket that attaches to the wall (usually with adhesive or screws). The magnet holds the soap securely, allowing it to hang and dry completely.
- Pros: Excellent drainage and airflow, looks minimalist and modern, no soap mush on the holder itself.
- Cons: Requires two parts, the disc needs to be pushed into the soap, might not work with very small or crumbly soaps.
5. In-Sink or Shower Caddies
While not strictly a soap holder, these multi-compartment units often have a dedicated spot for bar soap. They can hang over the showerhead, attach to the shower wall, or sit on the counter.
- Pros: Organizes multiple bathroom items, can provide good drainage for soap.
- Cons: Can be bulky, may require installation, soap might still be exposed to excessive moisture in a busy shower.
The “Soap Warmer” Phenomenon: What It Means

You might have heard the term “soap warmer,” which is a tongue-in-cheek way people describe a soap holder that doesn’t actually work well. If your soap dish is constantly accumulating water and turning your bar into a gooey mess, it’s essentially “warming” it up into a less-than-ideal state. This is the problem we’re trying to solve! A good soap holder should be a “soap drier.”
Why Traditional Soap Holders Sometimes Fail
Even the most basic soap dish can fall victim to a few common issues:
- Poor Drainage: If there are no slots or the water can’t escape, it just sits there.
- Lack of Airflow: Soap needs air to dry. If it’s enclosed or sitting in a puddle, it won’t dry properly.
- Material Buildup: Soap residue can clog drainage holes or create a sticky film on the holder, trapping moisture.
- Placement: A holder that’s constantly drenched in a high-flow shower area will struggle to keep soap dry.
Beyond the Holder: Genius Alternatives
Sometimes, the best solution isn’t a dedicated soap holder at all. These clever alternatives use everyday items or simple DIY tricks to achieve the same goal – dry soap and a clean space.
1. The Upside-Down Mason Jar Lid Trick
This is a wonderfully simple and effective DIY. Take a metal mason jar lid (the flat part, not the ring) and place it on your counter or sink edge, logo-side down. The slight curve of the lid creates a small, elevated platform. Place your soap on top. The edges of the lid allow air to circulate, and any water drips off the sides. You can even use the lid ring to hold it steadier if needed.
- Pros: Extremely cheap (often free if you have jars), very effective drying, easy to clean, minimalist look.
- Cons: Only suitable for flat surfaces, might not look decorative enough for some.
2. The Mesh Bag Method
This is fantastic for using up those small soap slivers, but it works for full bars too. Place your bar soap in a mesh bag (like those often used for produce, or commercially available soap saver bags). These bags are designed to lather well and can be hung up by a drawstring to dry. The mesh allows for excellent airflow.
The U.S. Environmental Protection Agency (EPA) discusses how soaps work and the importance of proper use.
- Pros: Great for using small soap ends, excellent drying, portable, doubles as an exfoliating tool, prevents soap from getting mushy.
- Cons: Soap might lather excessively in the bag, surface might not dry as thoroughly as in open air.
3. The Elevated Plate or Saucer
Similar to the mason jar lid, you can use any small, slightly curved plate or saucer. The key is elevation and drainage. You can even pop a few small pebbles or decorative stones into a shallow dish, then place your soap on top of the stones. This creates air gaps underneath the soap.
- Pros: Can be decorative, utilizes existing items, promotes good airflow.
- Cons: Requires a suitable item, might need cleaning.
4. DIY Corner Shelf Drainer
If you have some basic DIY skills, you can create a simple drainer. For instance, you could take a small wire rack (like a cooling rack for baking) and place it in or over a shallow tray. This elevates the soap and allows water to drain through. Ensure the rack is rust-resistant or treated for bathroom use.
- Pros: Highly customizable, excellent drainage, can be made to fit specific spaces.
- Cons: Requires some crafting or DIY, may not be aesthetically pleasing for everyone.
5. The “No Soap Holder” Approach: Strategic Placement
In some situations, particularly in very minimalist or small bathrooms, you might forgo a dedicated holder. This requires strategic placement. Position your soap on a raised edge of the sink or shower ledge where water naturally flows away and air can circulate. This is riskier but can work if you’re diligent about wiping any drips and ensuring good airflow.
- Pros: Simplifies things, no extra item to buy or clean.
- Cons: High risk of soap mush if not placed perfectly, requires careful monitoring.
Comparison: Soap Holder Guide VS Alternatives
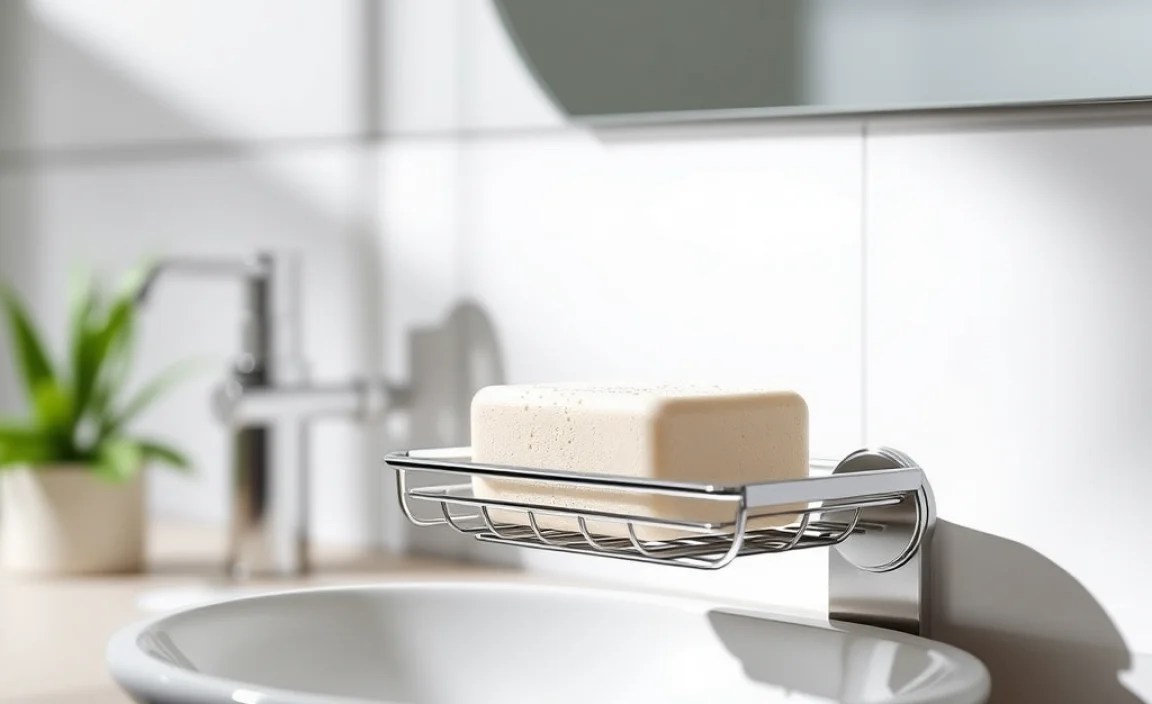
To help you choose, let’s compare the pros and cons of dedicated soap holders versus these clever alternatives. This table should give you a clear overview.
| Feature | Dedicated Soap Holders | Genius Alternatives |
|---|---|---|
| Cost | Varies greatly ($5 – $50+) | Often free or very low cost ($0 – $10) |
| Installation | May require drilling, adhesive, or suction cup application. | Generally no installation needed; “set and forget” or hang. |
| Drying Effectiveness | Varies by design; good ones offer excellent airflow. | Often excellent due to mesh, elevation, or natural drainage. |
| Aesthetics | Wide range from basic to high-end designer options. | Can be minimalist or utilitarian; some can be made decorative. |
| Durability | Generally good, but suction cups can fail, adhesives can lose grip. | Depends on the item used; mesh bags wear out over time. |
| Space Saving | Wall-mounted and magnetic are best; dishes take counter space. | Countertop options take space; mesh bags or inverted lids are compact. |
| Maintenance | Requires cleaning of the holder itself and drainage points. | Requires cleaning of the item used (e.g., mesh bag or dish). |
Choosing the Right Solution for Your Bathroom
The “genius solution” really depends on your personal needs and preferences. Consider these factors:
- Your Bathroom Style: Do you prefer minimalist, modern, rustic, or something with a bit more flair? This will influence whether a sleek magnetic holder or a decorative saucer is better.
- Your Installation Comfort Level: Are you happy to drill holes, or do you need a no-installation solution? This will guide you between screwed-in holders and alternatives like mesh bags or mason jar lids.
- Your Budget: Dedicated soap holders can range from very cheap to quite expensive. Alternatives are almost always budget-friendly.
- Soap Performance: Some people love a rich lather and find mesh bags work best. Others find they prefer their soap to air dry completely on a pronged holder.
- Maintenance: How much time are you willing to spend cleaning? Some solutions require more
frequent wiping than others.
For most beginners, a simple, effective alternative like the upside-down mason jar lid trick or a mesh soap bag offers the best balance of performance, cost, and ease of use. If you want something more integrated into your bathroom design, a well-designed wall-mounted or magnetic holder is a great option.
Step-by-Step: Implementing the Best Solutions
Option 1: The Mesh Bag Method (Super Easy!)
- Acquire a Mesh Soap Bag: You can buy these online or at many home goods/bath stores. Alternatively, use a clean, sturdy mesh produce bag.
- Prepare Your Soap: Unpackage your bar soap.
- Insert Soap: Place the bar soap into the mesh bag.
- Close Securely: Tie the drawstring to keep the soap from falling out.
- Hang to Dry: Use the drawstring to hang the bag from a hook, showerhead, or towel rack. Ensure it’s not submerged in water.
- Use: When ready to wash, simply rub the bag with your wet hands or directly on your skin. The mesh will create lather.
Option 2: The Inverted Mason Jar Lid (DIY Masterpiece!)
- Find a Mason Jar Lid: Use just the flat, circular metal lid (not the screw-on ring).
- Clean It: Wash the lid thoroughly.
- Position: Place the lid on your sink edge, counter, or a bathroom shelf. Position it so the slightly concave side is facing up, creating a shallow depression. For extra stability, the ring can sometimes be used to prop it up or hold it in place, though it’s often not necessary.
- Place Soap: Set your bar soap on top of the inverted lid. Make sure the edges of the lid are exposed for airflow and water drainage.
- Maintain: Periodically remove the lid and wipe down the area underneath to prevent any potential residue buildup.
Option 3: The Magnetic Soap Holder (Sleek and Effective)
- Purchase a Magnetic Soap Holder: These usually come as a small metal disc and a magnetic bracket.
- Prepare the Surface: Choose a spot near your sink or shower. Clean and dry the surface thoroughly where the bracket will be attached.
- Attach the Bracket: Most magnetic holders use strong adhesive. Peel off the backing and firmly press the bracket onto the wall. Hold for 30 seconds to ensure a good bond. Some may require screwing in.
- Prepare the Soap: Take your bar soap and press the small metal disc firmly into one of its sides. Use enough pressure to make it stick securely.
- Mount the Soap: Bring the soap bar with the embedded disc close to the magnetic bracket on the wall. The magnet will snap it into place.
- Dry: The soap will now hang, allowing air to circulate freely around it for complete drying.
This Old House offers great advice on home maintenance, and the same principles of good design and function apply to bathroom accessories.
Troubleshooting Common Issues with Soap Management
Even with the best solutions, you might encounter minor hiccups. Here’s how to address them:
- Problem: Soap is still getting mushy.
- Solution: Double-check your chosen method. Is the mesh bag truly hanging freely? Is the inverted lid allowing water to drain off, not pool? For holders, ensure drainage holes are clear. Try a different placement, perhaps one with more direct airflow. Magnetic holders are usually the most foolproof for complete drying.
- Problem: Adhesive on holders is failing.
- Solution: Ensure the wall surface was perfectly clean and dry before applying. For a temporary fix, you can try stronger double-sided mounting tape (designed for bathrooms if possible). For a permanent solution, consider a screwed-in holder.
- Problem: Mesh bag lathers too much.
- Solution: This is a common complaint! You can try using less soap in the bag, or simply get it wet and squeeze it a bit to reduce the suds before using it. Some people find using a softer soap works better.
- Problem: Residue building up on the sink/counter.
- Solution: This is often a sign that your soap isn’t drying completely. Ensure there’s good airflow. Wipe down the surface regularly. If using a dish or tray, clean it out weekly to prevent build-up from trapping moisture.
Maintaining Your Soap Holder or Alternative
Regular cleaning is key to keeping any soap management system working effectively and looking good. For most soap dishes and holders, a weekly wipe-down with a damp cloth and a bit of mild soap or vinegar solution is enough to remove soap scum and prevent clogs.
Mesh bags can usually be rinsed under running water. If they start to smell or get grimy, most can be thrown in with a load of laundry (though check the material first, usually they can be hand-washed or put in a lingerie bag). For DIY alternatives like the mason jar lid, a quick rinse or wipe is usually sufficient.
Proper maintenance ensures your chosen method continues to protect your soap and keep your bathroom tidy, preventing the need for deeper cleaning or replacement down the line.
