
A well-planned soap holder layout in construction ensures functionality and longevity for bathrooms and showers. Proper design prevents water damage, keeps soap dry, and enhances user experience. This guide covers essential considerations for creating an effective soap holder design from the start.
Soap Holder Layout In Construction: Essential Design for Durability and Functionality
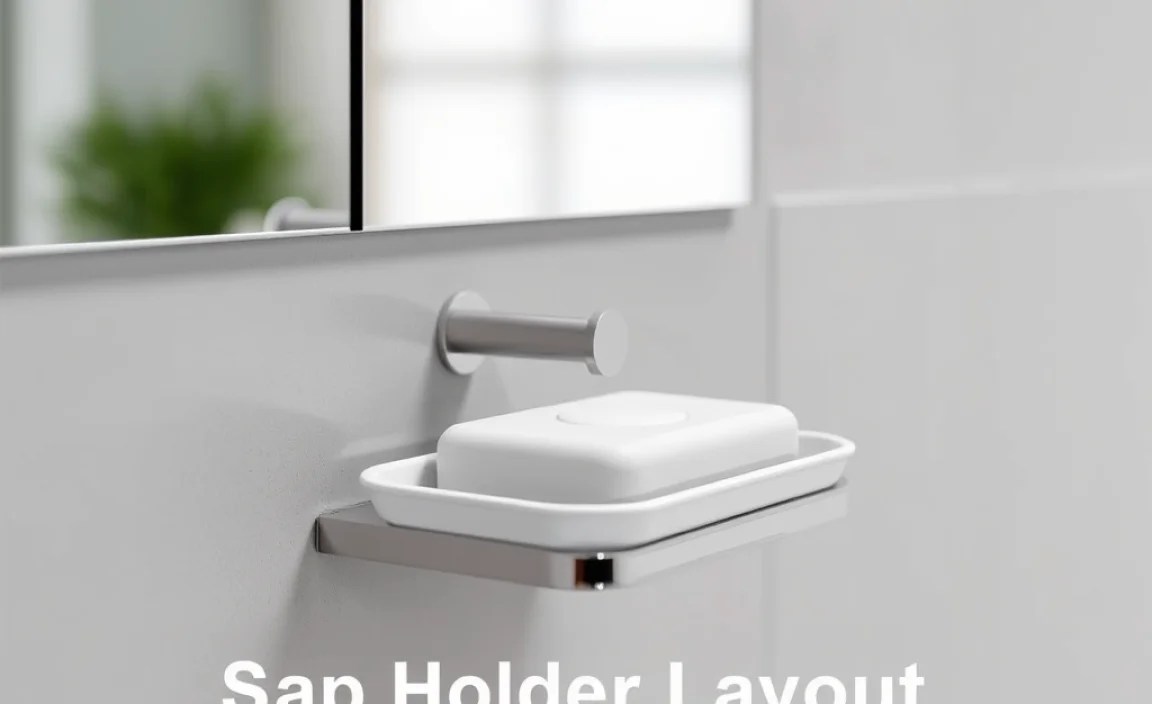
Ever stepped into a bathroom that just feels right? Where everything has its place, and little details make a big difference? One of those overlooked heroes is the soap holder. A poorly placed or designed soap holder can lead to slimy soap, cluttered counters, and even water damage in your walls. But don’t worry! Getting the soap holder layout right in construction is simpler than you think. We’re going to break down exactly what you need to know to make sure your soap has a happy, dry home.
Think about it: the soap dish is a small but mighty fixture. Its placement and design directly impact how well your bathroom functions day-to-day. A misplaced holder can mean water constantly pooling, leading to mold and mildew growth. Too high, and it’s awkward to reach. Too low, and it gets in the way. This guide will walk you through the essential design considerations, from choosing the right spot to understanding different types of holders, ensuring your bathroom stays neat, hygienic, and problem-free. Let’s dive in and make your bathroom design work for you!
Why Proper Soap Holder Layout Matters
It might seem like a minor detail in the grand scheme of construction, but where you place your soap holder, and how you design it, makes a significant difference. This isn’t just about aesthetics; it’s about functionality, hygiene, and the longevity of your bathroom surfaces.
Functionality and Accessibility
The primary purpose of a soap holder is to keep soap accessible and prevent it from becoming a soggy mess.
- Easy Reach: It should be placed at a comfortable height for the average user. For a shower, this typically means within easy reach from a standing or seated position.
- Convenience: A well-placed holder means you don’t have to bend down unnecessarily or search for your soap.
- Space Saving: Integrated or strategically placed holders can save valuable counter or shelf space.
Hygiene and Mold Prevention
This is a crucial aspect. A good soap holder design needs to facilitate drainage.
- Keeps Soap Dry: Excess water is soap’s enemy. It melts the bar and creates a slippery, unhygienic residue. Proper drainage is key.
- Reduces Mildew Growth: Standing water around the soap can lead to mildew and mold on nearby surfaces like tiles or grout. A well-draining holder minimizes this risk.
- Cleaner Surfaces: When soap is properly contained and drained, it prevents unsightly soap scum from building up on tub ledges or shower floors.
Protecting Your Walls and Tilework
Believe it or not, the humble soap holder can impact your bathroom’s structural integrity if not designed thoughtfully.
- Water Damage Prevention: If water pools around the soap and holder, it can seep into grout lines, behind tiles, and eventually into the wall structure, causing significant damage.
- Surface Longevity: Constant moisture can degrade grout and sealant over time. A design that channels water away protects these vulnerable areas.
- Aesthetically Pleasing: Preventing water damage also means preventing unsightly stains and deterioration of your beautiful tilework.
Key Design Considerations for Soap Holder Layout
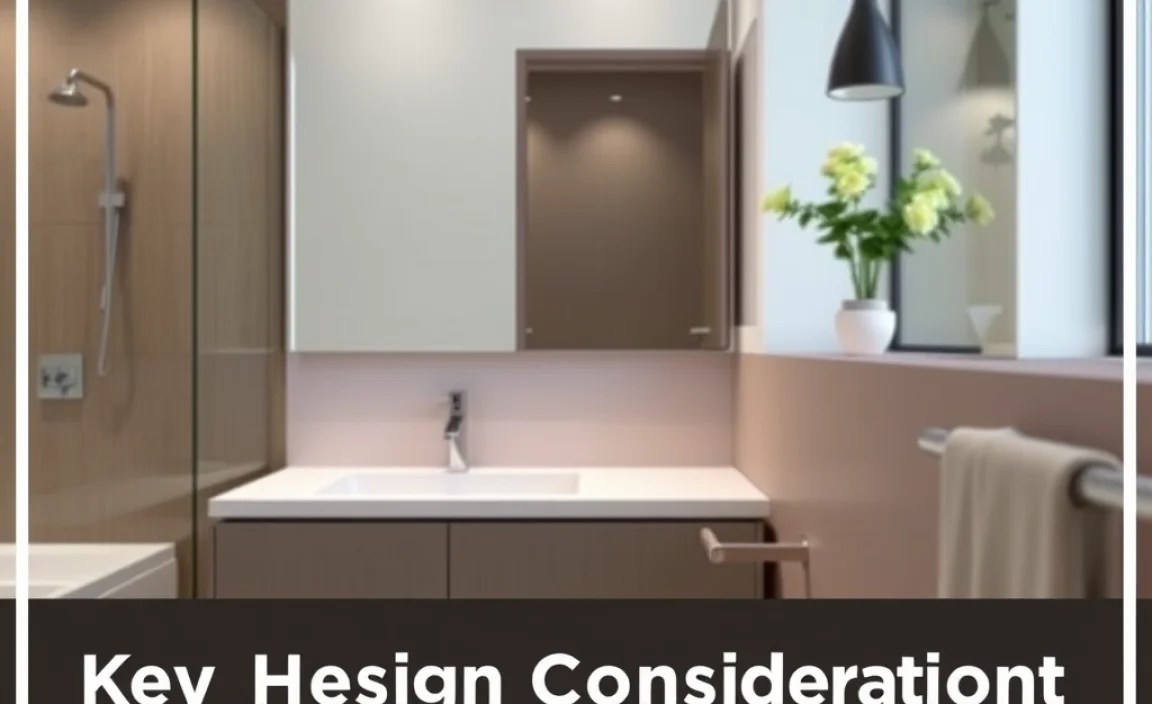
When planning a bathroom or shower construction, several factors must be considered to ensure the soap holder is both practical and integrated seamlessly into the design. It’s about thinking ahead to prevent future headaches.
Location, Location, Location
The placement is paramount. We need to think about who will use the space and how.
- Shower vs. Bathtub:
- In a shower stall, holders are typically mounted on the wall, often near the showerhead or controls, at a height that’s easy to reach without stretching or bending too much. A common height is around 48-60 inches from the shower floor.
- For a bathtub, a holder might be integrated into the corner ledge, on the wall near the faucet, or a separate dish placed on the tub surround.
- Vanity Countertops: If the holder is for hand soap at the sink, it should be placed far enough from the faucet to avoid constant splashing but still be easily reachable.
- Height and Reachability: Consider the primary users of the bathroom. For a family bathroom, a central, accessible height is good. For a master suite, personal preference might dictate slightly different placement.
- Proximity to Water Source: While it needs to be near where you use soap, it shouldn’t be directly under a constant stream of water from the showerhead or faucet unless it’s specifically designed for that (like a built-in niche).
Drainage is Non-Negotiable
This is the single most important functional aspect of any soap holder.
- Holes or Slats: The most effective soap dishes have holes in the bottom or are designed with slats that allow water to drain away freely. This prevents the soap from sitting in its own puddle.
- Sloped Surfaces: If it’s a built-in shelf or niche, ensure it has a slight slope towards a drain or an area where water can easily run off, rather than pooling.
- Material Choice: Some materials hold water more than others. Porous materials might absorb moisture, while smooth, non-porous ones will encourage water to run off quickly if sloped.
Materials and Durability
The material of the soap holder should be resistant to moisture, soap scum, and easy to clean.
- Ceramic: Classic and elegant, but can chip or break. Needs good drainage design as it’s non-porous.
- Stainless Steel: Durable, rust-resistant, and modern. Excellent choice for wet environments.
- Brass/Bronze: Offers a premium look and good corrosion resistance, especially if coated or treated.
- Plastic/Resin: Affordable and lightweight, but can sometimes look less premium and may degrade with UV exposure over time.
- Glass: Can be beautiful but is prone to breaking.
- Natural Stone: Luxurious, but requires sealing and can be porous if not properly treated.
Integration with Bathroom Design
The soap holder should complement the overall aesthetic of the bathroom, not detract from it.
- Built-in vs. Mounted:
- Built-in Niches: These are custom-built into the wall during construction, offering a sleek, seamless look. They can be tiled to match the shower or clad in stone. They require careful waterproofing during construction.
- Mounted Holders: These are fixtures screwed or adhered to the wall. They come in a vast array of styles and finishes.
- Style and Finish: Match the holder’s finish (chrome, brushed nickel, matte black, oil-rubbed bronze) to other bathroom fixtures like faucets and towel bars.
- Shape and Size: Ensure the holder is large enough for standard soap bars and has a design that prevents the soap from easily falling out.
Waterproofing and Installation
This is critical, especially for in-wall or tiled elements.
- During Construction: If installing a niche or a wall-mounted holder that requires drilling, proper waterproofing membranes (like those from the National Park Service’s Sustainable Building resources) are absolutely essential behind the tile.
- Sealants: Ensure any sealant used around the holder, especially against tile or grout, is mold-resistant and durable.
- Drainage Pathways: For built-in niches, design a slight slope and ensure water doesn’t sit within the niche itself.
Types of Soap Holders and Their Layout Implications

The kind of soap holder you choose will directly influence its layout and how it’s integrated into your bathroom construction. Each type has its own set of advantages and considerations.
Surface-Mounted Soap Dishes
These are the most common type of soap holder. They attach to the wall surface, usually with screws or strong adhesive.
Pros:
- Easy Installation: Can often be installed after main tiling is complete.
- Variety: Huge range of styles, materials, and finishes available.
- Replaceable: If it breaks or you want an update, it’s usually straightforward to replace.
Cons:
- Wall Penetration: Screw-mounted types require drilling, which needs careful sealing to prevent leaks.
- Aesthetics: Can sometimes look less integrated than built-in options.
- Cleaning: The area around the base can be a spot for grime accumulation if not cleaned regularly.
Layout Implication:
The layout decision here focuses on height and proximity. Mount it at a convenient height (48-60 inches for showers) and a comfortable distance from the showerhead or faucet, ensuring it’s not directly in the main water spray unless designed to be. Consider the plumbing behind the wall if you’re screwing it in – avoid hitting pipes!
Recessed Soap Niches
These are custom-built cavities within the bathroom wall, tiled to match the surrounding surfaces.
Pros:
- Seamless Look: Creates a clean, integrated, and modern appearance.
- Space Efficient: Doesn’t protrude into the room, saving space.
- Durable: When properly constructed and waterproofed, can be very long-lasting.
Cons:
- Complex Installation: Requires careful planning and execution during the framing and waterproofing stages of construction.
- Cost: Generally more expensive due to custom labor and materials.
- Waterproofing is Crucial: Improper waterproofing can lead to severe wall damage.
Layout Implication:
The layout is decided during the framing and sub-surface preparation. The niche’s depth, height, and width are critical design choices. It’s essential to build in a slight downward slope towards the front or a drainage channel to prevent water from pooling inside. Fine Homebuilding offers excellent insights into building robust shower niches.
Corner Shelf Soap Holders
These are designed to fit into the corner of a shower or bathtub, often featuring multiple tiers.
Pros:
- Space Utilization: Excellent for using often-unused corner space.
- Versatile: Can hold more than just soap (shampoo bottles, washcloths, etc.).
- Easy Installation: Many are tension-rod-based and require no drilling.
Cons:
- Can Look Cluttered: If a lot of items are placed on them.
- Water Pooling: Some designs may not have adequate drainage, leading to soapy residue.
- Tension Rods: Can slip if not installed correctly or if the ceiling/floor isn’t perfectly level.
Layout Implication:
The primary layout consideration is optimizing the corner space. Ensure it doesn’t interfere with the shower door swing or obstruct easy access to the shower controls. The height of each shelf should be considered for accessibility.
In-Shower Shelves/Ledgets
These are wider, built-in shelves or ledges that can serve multiple purposes, including holding soap.
Pros:
- Ample Space: Can hold multiple items, reducing the need for separate caddies.
- Integrated Look: When tiled with the shower, they look very clean and modern.
- Durability: Can be very robust if built correctly.
Cons:
- Requires Planning: Needs to be incorporated during the initial construction phase.
- Drainage: Similar to niches, can have pooling issues if not sloped correctly.
- Grout Maintenance: More grout lines can mean more cleaning.
Layout Implication:
The layout involves deciding the optimal height and depth for these ledges. They are often strategically placed at comfortable seating height (if there’s a shower bench) or at standing height. Ensuring adequate slope for drainage is paramount.
Countertop Soap Dispensers/Dishes
For hand soap at the sink, this is the typical solution.
Pros:
- Easy Access: Convenient for hand washing at the vanity.
- Variety: Available in many styles to match decor.
- No Wall Damage: No drilling required.
Cons:
- Countertop Clutter: Can take up valuable space.
- Soap Scum: If the dish doesn’t drain well, it can leave rings on the counter.
- Fragile: Some materials can be easily broken.
Layout Implication:
The layout is about balance: close enough for convenience, but far enough from the faucet to avoid constant water exposure and mess. Ensure it doesn’t obstruct the view of a backsplash or the main countertop workspace.
Planning and Execution Steps

Getting the soap holder layout right involves a few key steps, starting from the design phase and carrying through to installation.
Step 1: Assess Your Needs and Space
Before any construction begins, think about how the bathroom will be used.
- Who are the primary users? (Adults, children, elderly?)
- What type of soap will be used? (Bar soap, liquid soap dispenser?)
- How much space is available in the shower/tub area or around the vanity?
- What is the overall design aesthetic?
Step 2: Choose the Type of Holder
Based on your needs and space, select the most appropriate type of soap holder.
- For a minimalist, integrated look: Recessed niche or built-in shelf.
- For easy installation and flexibility: Surface-mounted dish or corner shelf.
- For hand soap at the sink: Countertop dish or dispenser.
Step 3: Determine the Precise Location
This is where the “layout” really comes into play.
- Shower/Tub: Aim for a height of 48-60 inches from the floor for shower holders. For tubs, consider proximity to the faucet and ease of reach from the bathing position. Ensure it’s not directly under the showerhead’s main spray.
- Vanity: Place it a comfortable distance from the faucet – far enough to avoid direct splashes, but close enough for easy use.
Step 4: Plan for Drainage (Crucial!)
This cannot be stressed enough.
- If using a niche or shelf, ensure a slight slope towards the front or a drain.
- If using a dish, ensure it has ample drainage holes.
- Choose materials that don’t retain excess water.
Step 5: Consider Waterproofing (For Built-in Options)
If you’re building a niche or a sloped shelf, proper waterproofing is non-negotiable. This involves applying a waterproof membrane behind the tile, especially in showers. Consult resources like Building Science Corporation for best practices on moisture management in buildings.
- Apply a liquid or sheet membrane according to manufacturer instructions.
- Pay special attention to corners and edges.
- Ensure all penetrations (like for a mounted holder) are properly sealed.
Step 6: Installation
Follow the manufacturer’s instructions carefully if using a pre-made holder.
- Drilling: Mark your spot, use an appropriate drill bit for your wall material (tile, drywall, etc.), and seal the hole thoroughly before inserting screws or anchors. Use spacers if needed to allow airflow behind the holder.
- Adhesive: Ensure the surface is clean and dry. Follow adhesive curing times before use.
- Built-ins: This stage is handled by experienced tile setters and plumbers during the rough-in and tiling phases.
Step 7: Sealing and Finishing
Once the holder is installed, ensure any gaps between the holder and the tile or wall are sealed with a good quality, mold-resistant caulk. This prevents water from seeping behind the fixture.
Common Mistakes to Avoid
Even with the best intentions, some common pitfalls can turn a great soap holder design into a source of frustration. Be aware of these to ensure success.
Mistake 1: Ignoring Drainage
This is the number one mistake leading to melted soap and potential water damage.
- Solution: Always prioritize holders with drainage holes or design built-in features.
