
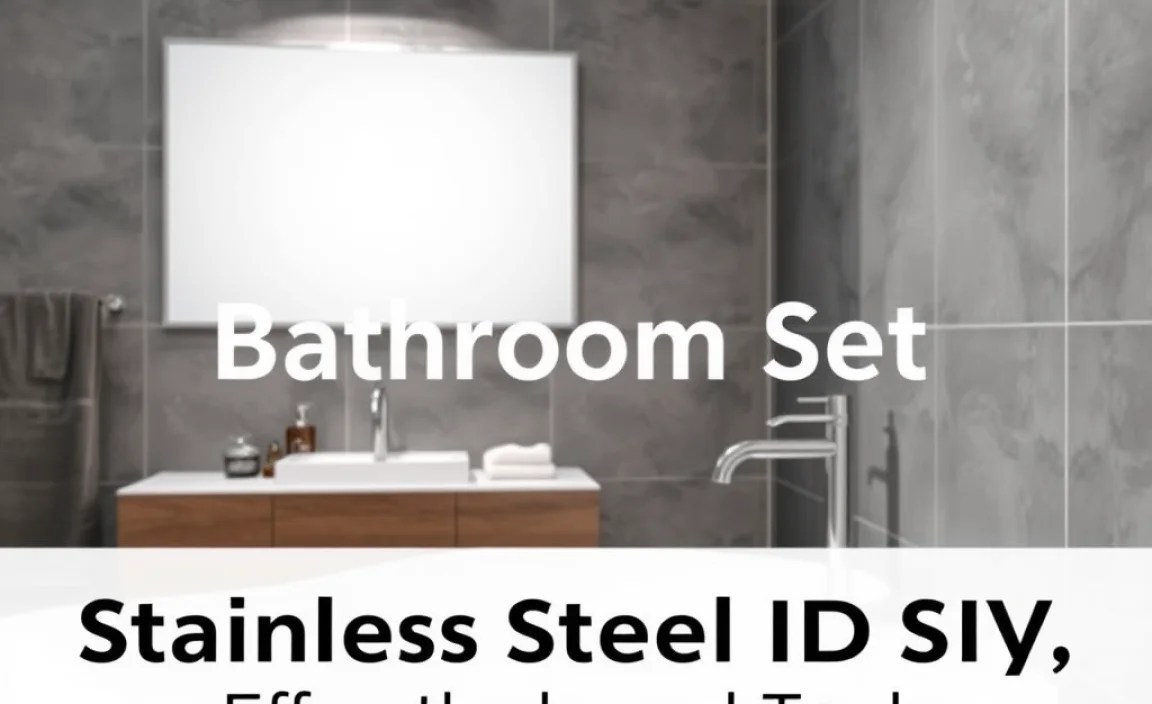
Create a brilliant, matching stainless steel bathroom set yourself with this easy DIY guide. Get professional results, elevate your bathroom’s look, and enjoy a sparkling new space without breaking the bank. We’ll walk you through selecting materials, prepping, assembling, and finishing for effortless style.
Is your bathroom missing that polished, cohesive look? Do you dream of a sleek, modern aesthetic with matching accessories, but find pre-made sets a bit pricey or not quite right? You’re not alone! Many of us want a bathroom that feels like a spa retreat, complete with beautiful, coordinated fixtures. But those perfect stainless steel collections can come with a hefty price tag.
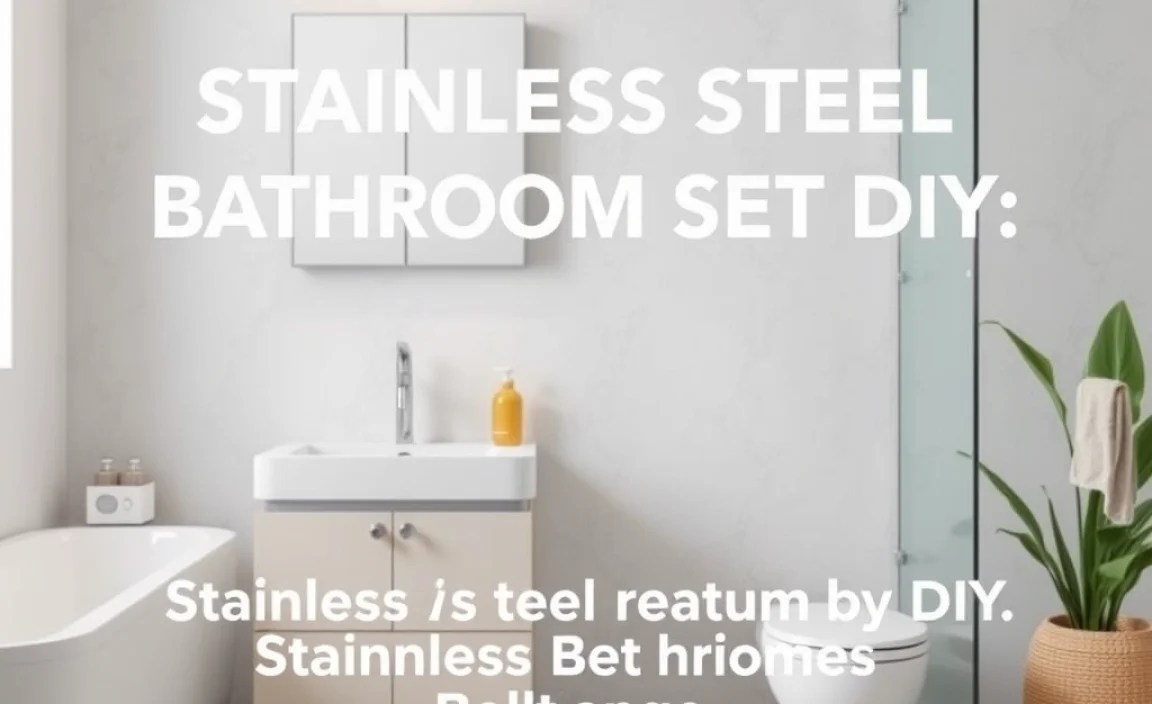
The good news is, you don’t need to be a master craftsman to achieve this look. With a little planning and some simple steps, you can create your own stunning “stainless steel bathroom set DIY” that rivals anything you’ll find in a showroom. We’ll break it all down, making it easy and stress-free for you to add that professional touch to your bathroom. Let’s get started on creating your effortless brilliance!
Why Go Stainless Steel for Your Bathroom Set?

Stainless steel is a fantastic choice for bathroom accessories, and for good reason. It’s not just about looks; it’s about durability and practicality.
Benefits of Stainless Steel
When you’re thinking about upgrading your bathroom accessories, stainless steel really shines. It offers a blend of style and substance that’s hard to beat. Let’s break down why it’s such a popular and smart choice for your DIY bathroom set.
- Corrosion Resistance: Bathrooms are naturally humid environments. Stainless steel is highly resistant to rust and corrosion, meaning your accessories will stay looking good for a long time. This is crucial in areas with high moisture.
- Durability: It’s a strong material that can withstand daily use without easily scratching or denting. This makes it ideal for items like towel racks, toilet paper holders, and soap dishes that get handled frequently.
- Hygiene: Stainless steel has a non-porous surface, which makes it difficult for bacteria and mold to grow. This is a major plus for maintaining a clean and healthy bathroom environment.
- Modern Aesthetic: The brushed or polished look of stainless steel brings a clean, contemporary, and sophisticated feel to any bathroom. It complements a wide range of decor styles.
- Low Maintenance: Cleaning stainless steel is usually straightforward. A simple wipe-down with mild soap and water or a specialized stainless steel cleaner is often all it takes to keep it looking its best.
- Eco-Friendly: Stainless steel is often made with recycled content and is itself recyclable, making it a more sustainable choice for your home.
Planning Your Stainless Steel Bathroom Set

Before you grab your tools, a little planning goes a long way. Deciding what pieces you want and how they’ll fit into your bathroom space is the first step to a successful DIY project.
What Pieces Should Be in Your Set?
A cohesive bathroom set usually includes several key items that work together visually. Think about your daily needs and the overall look you’re aiming for.
- Towel Bars/Rings: For hanging hand towels and bath towels.
- Toilet Paper Holder: A functional essential.
- Towel Hooks: Great for robes or extra towels.
- Soap Dish or Dispenser: To keep your soap tidy.
- Toothbrush Holder: For keeping your oral care items organized.
- (Optional) Shower Caddy: For shampoo, conditioner, and soap.
- (Optional) Shelving: Small floating shelves can add storage and display space.
Designing for Your Space
Measure your bathroom carefully. Consider the size of the items, where they will be mounted, and how much space they will take up. Visualizing the layout can prevent common mistakes. For instance, ensure there’s enough clearance for a toilet paper holder and that towel bars are accessible but out of the way of doorways.
Choosing Your Materials and Tools
For a DIY stainless steel bathroom set, you have a few options depending on your skill level and desired finish. We’ll focus on a project that involves assembling pre-made stainless steel components, which is perfect for beginners.
Material Options for Beginners
The easiest way to approach this DIY is by purchasing individual stainless steel bathroom accessories and ensuring they share a common finish. This means you don’t have to work with raw stainless steel sheets or tubes, which can be challenging.
- Individual Stainless Steel Accessories: Look for sets or individual pieces that already have the finish you desire. Common finishes include:
- Brushed Stainless Steel: This has a matte, textured look with visible directional lines. It’s very forgiving for DIY as minor scratches are less noticeable.
- Polished Stainless Steel: This is a shiny, mirror-like finish. It looks luxurious but shows smudges and scratches more readily.
- Satin Stainless Steel: Often similar to brushed but with a smoother, less defined texture.
- Mounting Hardware: Most accessories come with screws and anchors. Ensure they are also made of stainless steel or a rust-resistant material to avoid unsightly corrosion marks on your wall or the accessory itself.
- Adhesives (Optional): For some lighter items or if you prefer not to drill, strong, bathroom-specific adhesive strips or silicone caulk can be an alternative, though secure mounting with screws is generally recommended for longevity and weight-bearing items.
Essential Tools for the Job
You won’t need a complex workshop for this project. Most of these are common household tools.
- Measuring Tape: For precise placement.
- Pencil: To mark drilling spots.
- Level: To ensure your accessories are straight and professional-looking.
- Drill/Screwdriver: A cordless drill with various drill bits and screwdriver bits is ideal.
- Stud Finder: Crucial for mounting heavier items securely into wall studs. You can find resources on how to use a stud finder from sites like Popular Mechanics.
- Screwdriver Set: For manual tightening or if you don’t have a drill.
- Wall Anchors: If you miss wall studs, appropriate anchors are necessary for secure mounting.
- Safety Glasses: Always protect your eyes when drilling.
- Gloves: To keep fingerprints off the stainless steel and for a better grip.
- Cleaning Cloths: Microfiber cloths are great for wiping down stainless steel.
Step-by-Step: Assembling Your DIY Stainless Steel Bathroom Set
This guide focuses on mounting pre-made stainless steel bathroom fixtures. It’s about smart selection and precise installation.
Step 1: Gather Your Components and Tools
Lay out all the stainless steel bathroom accessories you’ve chosen. Check that you have all the necessary mounting hardware that came with them. Gather all your tools in one place to make the process smoother. Having everything ready before you start drilling makes a big difference!
Step 2: Plan the Placement
This is where your measurements and visualization come into play. Use your measuring tape and pencil to mark the exact spots for each accessory. For items like towel bars and toilet paper holders, hold the item against the wall at your desired height and use a level to ensure it’s straight. Lightly mark the screw hole positions with your pencil. Always double-check measurements before drilling!
Step 3: Locate Wall Studs (For Secure Mounting)
For any item that will bear weight, like towel bars or robe hooks, it’s best to mount them directly into wall studs. Use your stud finder to locate the studs in the desired mounting area. Mark the center of the studs where your screws will go. If studs aren’t conveniently located where you want the accessory, you’ll need to use appropriate wall anchors.
Why are studs important? Wall studs are the vertical wooden or metal beams that form the framework of your walls. They provide a strong anchor point for anything you need to hang. Without them, especially for heavier items, your accessory could detach from the wall, causing damage and potentially injury. The This Old House website offers excellent guidance on finding studs.
Step 4: Drill Pilot Holes
Put on your safety glasses. Based on the size of the screws that came with your accessories, select a drill bit that is slightly smaller than the screw diameter. If you are using wall anchors, select a drill bit size recommended on the anchor packaging for drilling into drywall. Carefully drill pilot holes at the marked spots. If you’re drilling into a stud, drill just deep enough for the screws to get good purchase. If you’re using anchors, drill until the hole is the correct size for the anchor.
Step 5: Install Wall Anchors (If Needed)
If you are not drilling into a stud, insert the appropriate wall anchors into the pilot holes. Some anchors simply push in, while others may require a gentle tap with a hammer or a twist with a screwdriver. Ensure they are flush with the wall surface, ready to receive the screws.
Step 6: Mount the Accessories
Align the mounting bracket or the accessory itself over the pilot holes (or anchors). Insert the screws provided and begin to tighten them. If your accessory has a separate mounting plate, attach the plate to the wall first, then clip or screw the accessory onto the plate. Use your screwdriver or drill to tighten the screws until the accessory is firmly secured to the wall. Avoid over-tightening, which can strip the screws or damage the wall material.
Step 7: Attach Any Cover Plates or Caps
Some accessories have decorative cover plates or caps that hide the screws for a cleaner look. Once the main part of the accessory is securely mounted, attach these covers. They often snap into place or screw on with a small set screw.
Step 8: Final Check and Cleaning
Gently tug on each mounted accessory to ensure it’s solid. Wipe down all the newly installed stainless steel pieces with a clean, dry microfiber cloth to remove any fingerprints or smudges from the installation process. Admire your work!
Integrating Other Stainless Steel Elements
Beyond the main fixtures, you can extend the cohesive look of your stainless steel bathroom set to other areas.
Matching Finishes are Key
When purchasing individual items, pay close attention to the finish. A brushed stainless steel soap dispenser will complement a brushed stainless steel towel rack perfectly. Conversely, mixing a polished stainless steel item with a brushed one can look disjointed. It’s worth dedicating a little extra time to find pieces with the same finish.
Beyond the Basics: Cabinet Hardware and Fixtures
Consider upgrading your cabinet knobs or drawer pulls to stainless steel. This subtle change can tie the entire room together. If you’re undertaking a larger renovation, choosing stainless steel faucets, showerheads, and even light fixtures can create a truly unified and modern bathroom design. Websites like the HGTV often showcase creative ideas for integrating hardware and fixtures into your design.
Maintenance and Care for Your Stainless Steel Set
Keeping your new DIY stainless steel bathroom set looking brilliant is simple with the right care.
Regular Cleaning
For daily or weekly cleaning, a soft cloth dampened with warm water and a mild detergent (like dish soap) is usually sufficient. Wipe down the surfaces to remove soap scum, toothpaste splatters, and water spots. Always rinse thoroughly with clean water and buff dry with a clean, dry microfiber cloth to prevent water spots and streaking.
Dealing with Tough Stains and Smudges
For more stubborn water spots or fingerprints, you can use a specialized stainless steel cleaner. Always spray the cleaner onto the cloth, not directly onto the surface. Wipe in the direction of the metal’s grain (if visible) to avoid scratching. A solution of equal parts white vinegar and water can also be effective for removing mineral deposits, but rinse well afterward.
What to Avoid
- Abrasive Cleaners: Never use scouring powders, steel wool, or abrasive sponges, as these will scratch the surface.
- Harsh Chemicals: Avoid bleach, ammonia, or oven cleaners, as they can damage the protective layer of stainless steel.
- Leaving Salt or Acids: While stainless steel is resistant, prolonged contact with highly corrosive substances like salt solutions or strong acids isn’t recommended. Wipe up spills promptly.
Troubleshooting Common DIY Installation Issues
Even with careful planning, minor hiccups can occur. Here’s how to handle them.
Accessories Aren’t Level
Problem: You’ve drilled, and now the accessory is slightly tilted.
Solution: If it’s just a little off, you might be able to loosen the screws slightly, adjust the accessory with your level, and retighten. If it’s significantly off, you may need to fill the old holes (e.g., with drywall compound), let them dry, sand smooth, and re-drill to the correct position. For a quick fix on some accessories with set screws, sometimes slightly adjusting the set screw can help compensate for minor leveling issues. Ensure the mounting bracket is perfectly level before attaching the accessory if it’s a two-part system.
Screws Aren’t Tightening
Problem: The screws just keep turning without tightening.
Solution: This usually means you’ve drilled the hole too large for the stud or the anchor. If you’re not in a stud, try using a larger or different type of wall anchor. If you are in a stud, the wood might be too soft or you might have stripped the screw head or the hole. You can try using a slightly larger screw, or filling the hole with wood filler or even a toothpick and glue before re-inserting the screw. For a more permanent fix, you may need to fill the hole completely and start again in a new spot.
Scratches on Stainless Steel
Problem: You accidentally scratched your new accessory during installation.
Solution: For minor scratches on brushed stainless steel, you can often buff them out using a special stainless steel scratch removal kit or by gently going over the scratch with very fine-grit sandpaper (e.g., 400-grit or higher) in the direction of the grain. Always test in an inconspicuous area first. Polished stainless steel is much harder to repair; for deep scratches, you might need to replace the component.
FAQ: Your Stainless Steel Bathroom Set Questions Answered
Here are some common questions beginners have about creating their own stainless steel bathroom sets.
Can I really create a matching set without being a professional?
Absolutely! The easiest DIY approach is to purchase individual stainless steel accessories that already have the same finish. By carefully selecting pieces from the same brand or with matching finishes (like brushed or polished), you can create a cohesive and professional-looking set without complex fabrication. The key is in smart shopping and precise installation.
What kind of stainless steel finish is best for DIY?
Brushed stainless steel is generally the most forgiving for DIY projects. It has a matte, textured appearance with a directional grain. This finish is excellent at hiding minor fingerprints and small scratches that can happen during installation or daily use. Polished stainless steel offers a mirror-like shine but will show smudges and scratches much more readily, requiring more frequent cleaning and careful handling.
How do I ensure my bathroom accessories are mounted securely?
The most important step is to mount accessories, especially those that will bear weight (like towel bars or robe hooks), into wall studs whenever possible. Use a stud finder to locate them. If a stud isn’t available in the desired location, use appropriate heavy-duty drywall anchors designed to support the item’s weight. Always ensure screws are tightened firmly but without stripping the hole or damaging the wall.
Is it safe to use adhesive instead of screws for mounting?
For very light items like small toothbrush holders or soap dishes that don’t bear much weight, strong, bathroom-specific adhesive strips or silicone can sometimes work. However, for anything that needs to support weight, such as towel bars, toilet paper holders, or hooks for robes, screwing directly into wall studs or using appropriate anchors is highly recommended for safety and durability. Adhesives can fail over time, especially in the humid environment of a bathroom.
What are the most common mistakes beginners make?
Common mistakes include not measuring accurately, not using a level, leading to crooked installations, not locating studs for secure mounting, drilling holes too large, and using incorrect wall anchors. Also, failing to clean and dry stainless steel properly after installation can result in water spots and a less-than-pristine finish.
How do I clean my stainless steel bathroom accessories to keep them looking new?
Regular cleaning with a soft, damp cloth and mild dish soap is usually enough. For tougher spots, use a specialized stainless steel cleaner or a solution of equal parts white vinegar and water, applying to the cloth first. Always wipe in the direction of the metal grain and buff dry with a microfiber cloth to prevent water spots and maintain shine. Avoid abrasive cleaners and harsh chemicals.
